Two and a half days to complete

This machine gun asset was created for the game Retracked, a dark, atmospheric first person shooter set within a dream like world conceptualised and developed by Elizabet Tyaneva.
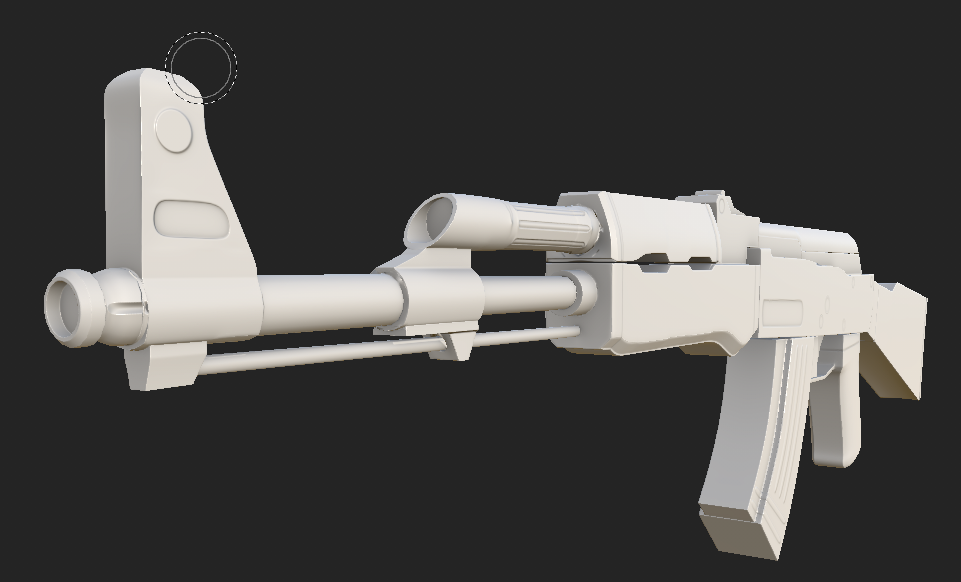
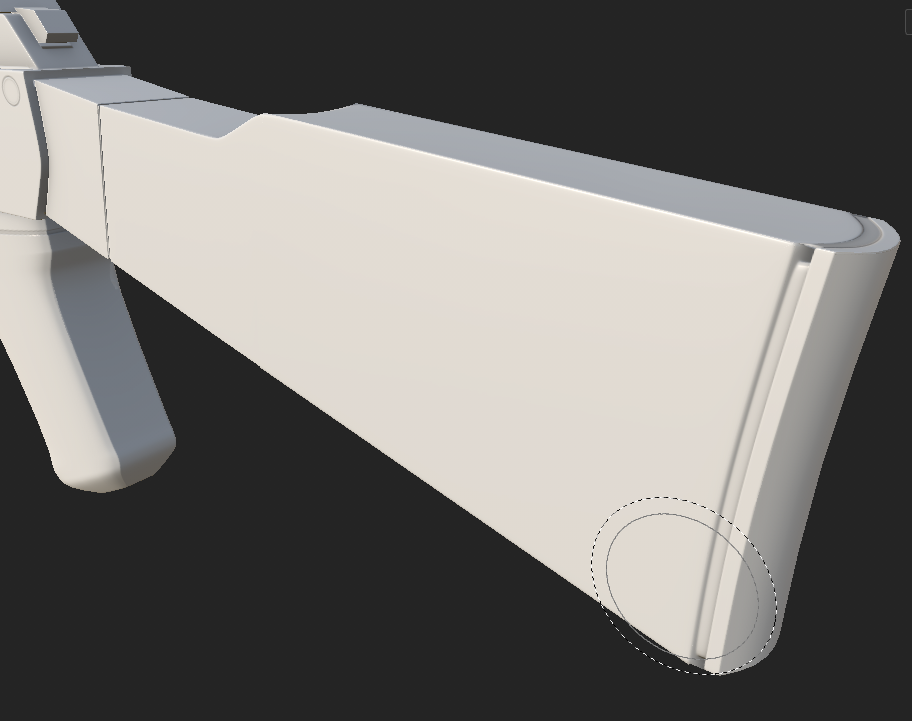
High Polly Model
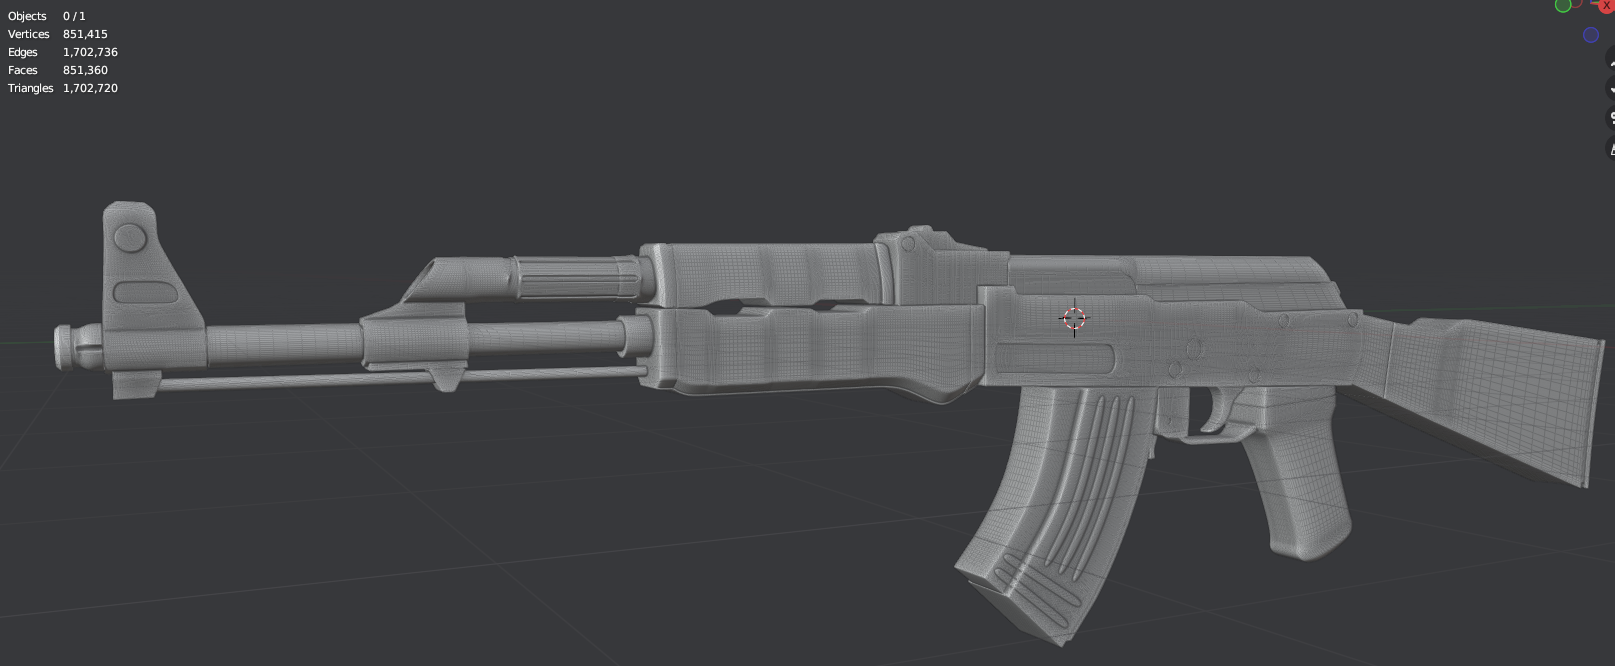
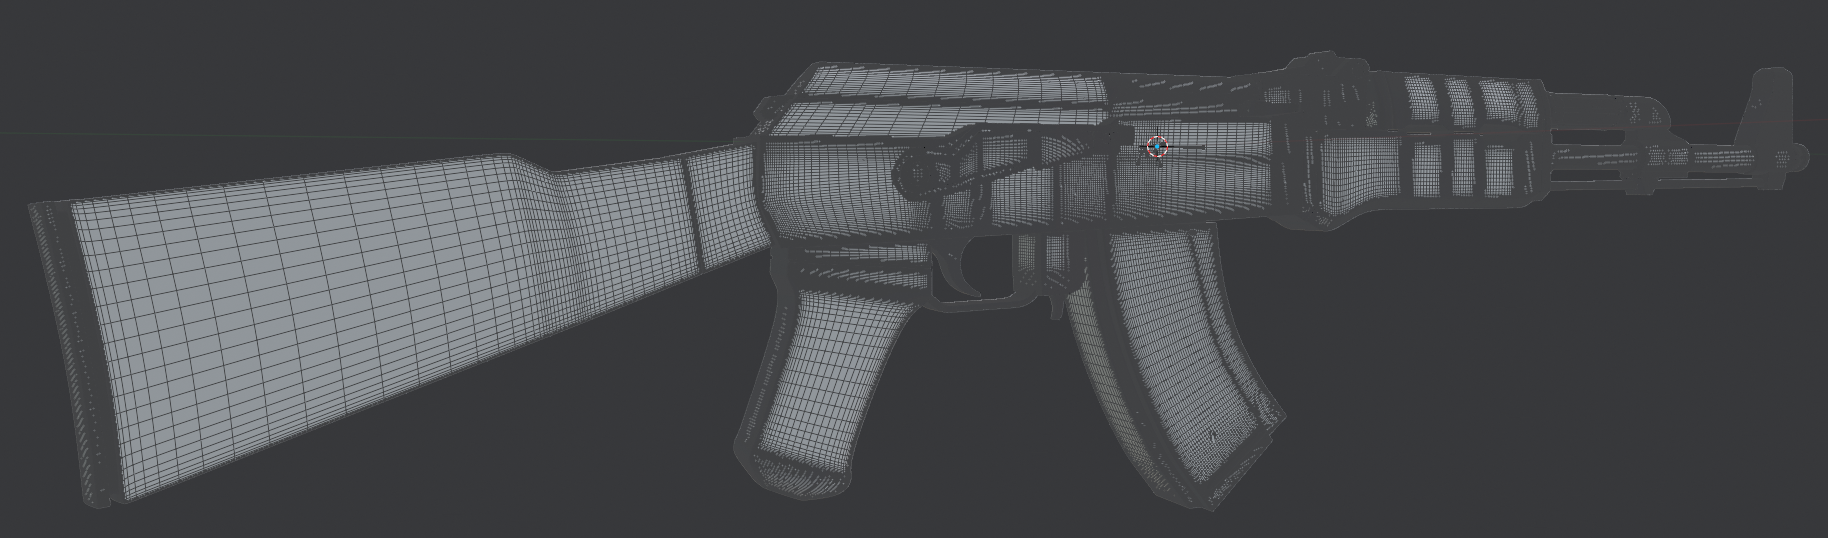
The high poly was developed through traditional Sub-D modelling methods with the use of triple edging in order to sharpen the forms. All the parts of both the high and low poly model, were made modularly.
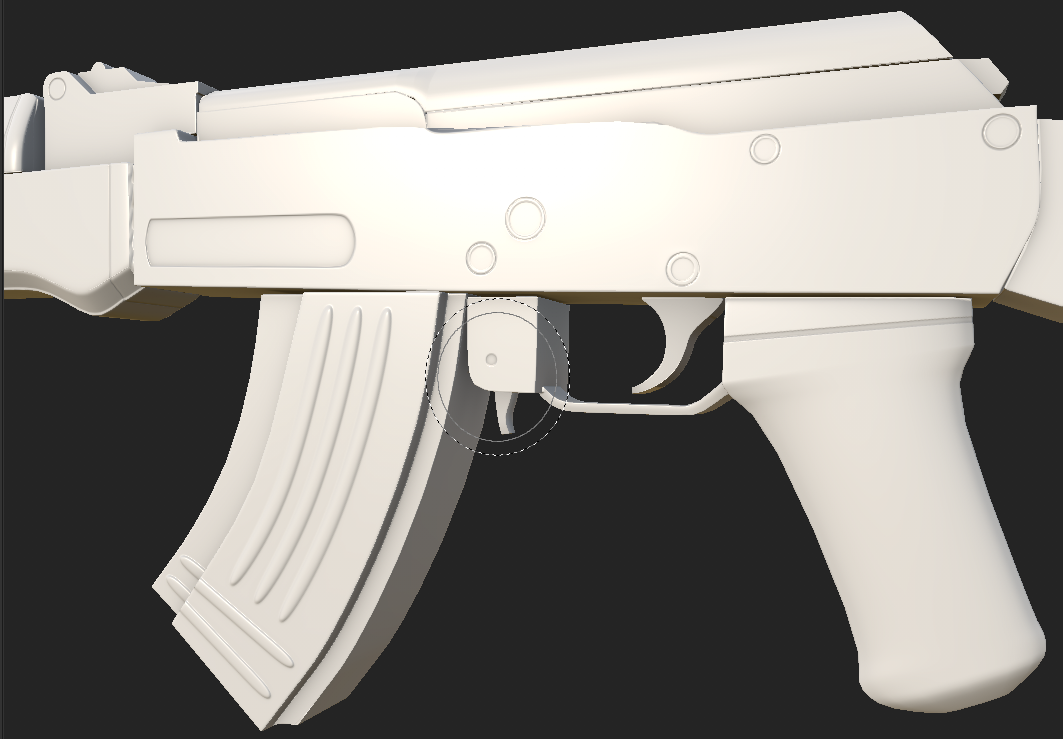
Low Polly Model
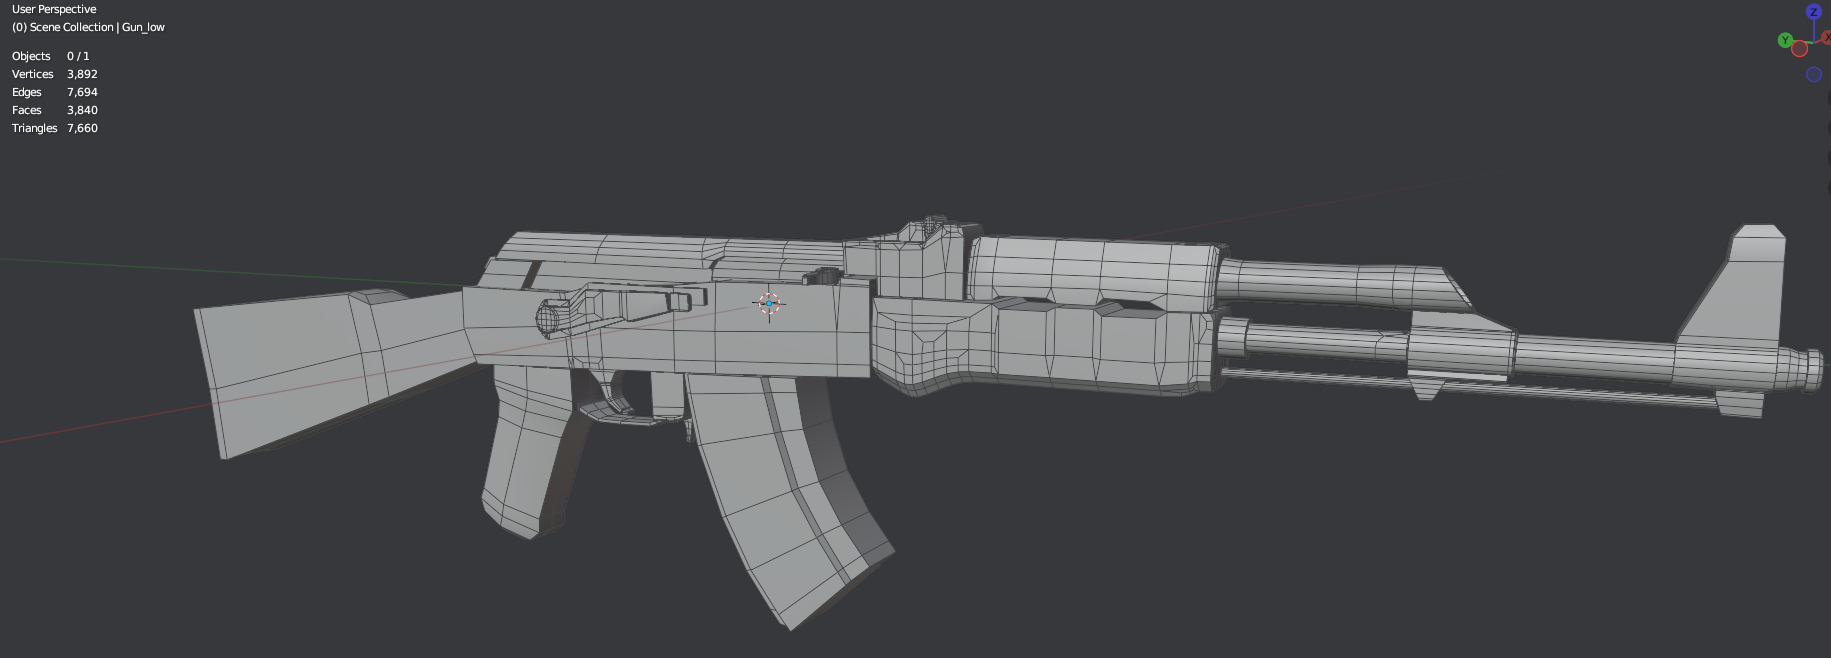
The low poly version of the model has around 8K triangles, I did perform a bit of edge flow reduction to make it as low as possible, without compromising the form of the asset. We were looking to be somewhere between 10K and 5K and the client was happy with the higher 7K mark we produce.
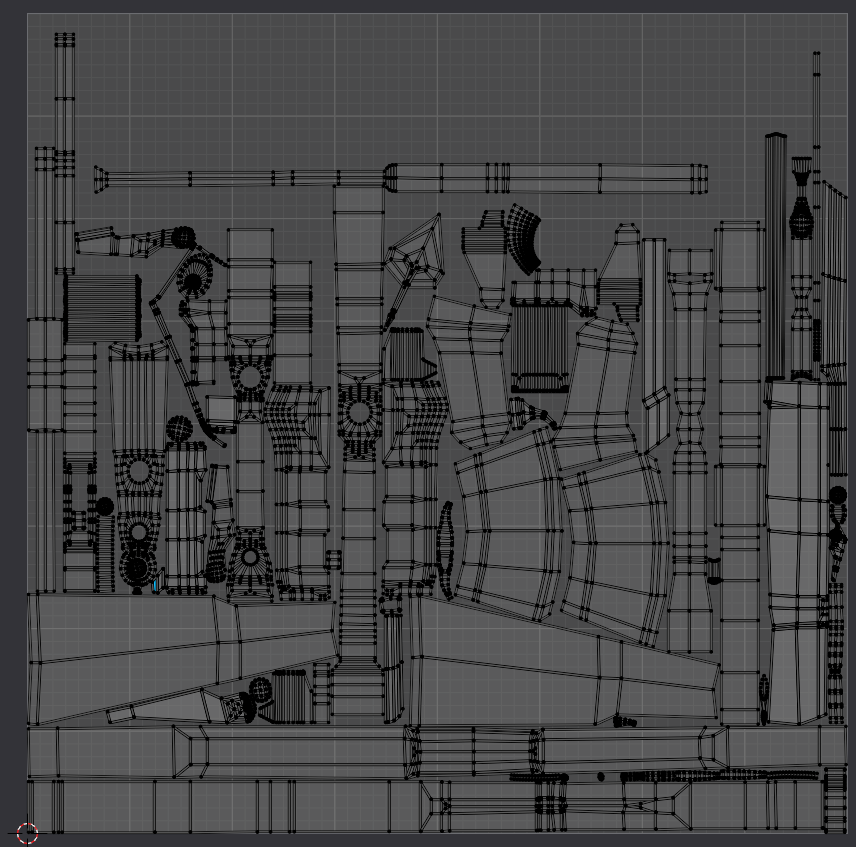
Low Polly UV Map
Low Polly Vertex Colour ID Map

On previous projects I used multiple materials to develop the ID map, however this led to creation of multiple texture sets and on output multiple maps. To keep the game assets as optimised as possible, vertex colours allowed for multiple smart materials to be placed within one texture set, leading to a reduction in required texture maps. This would create less draw calls in engine, with few textures needing to be loaded.
I originally had errors bringing the vertex colour data of the mesh into substance painter, this was resolved by using the FBX file type, instead of the OBJ file type which I was originally using.
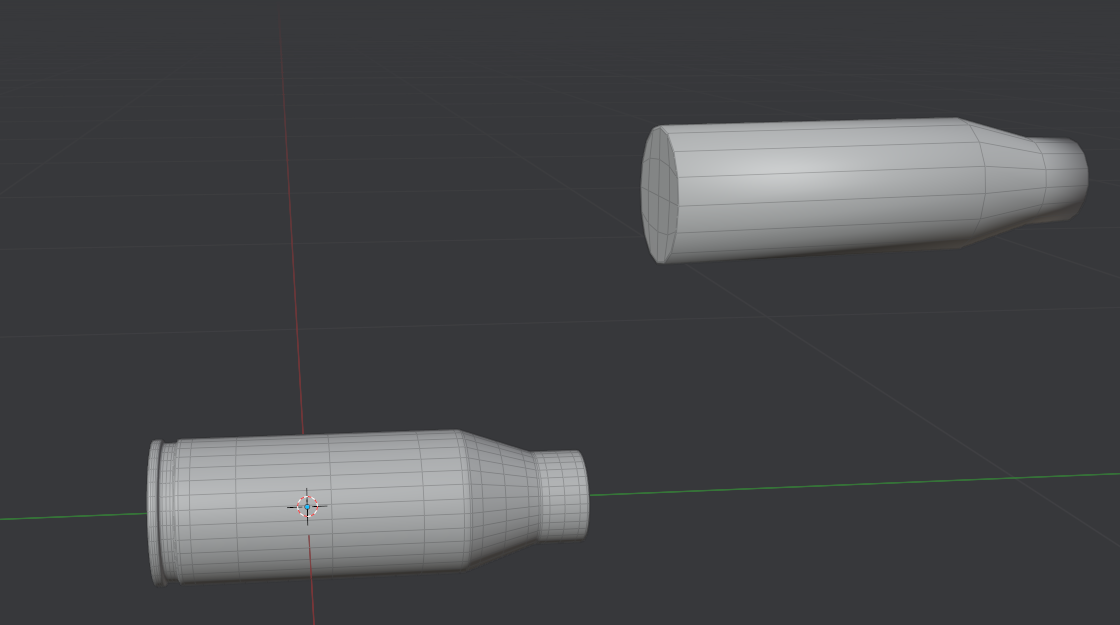
High Polly & Low Polly Bullet Shell
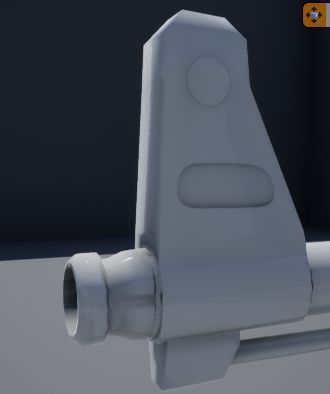
High Polly Baking
This was my first time following the full game asset pipeline and had errors with baking, that was due to overlapping UV islands which duplicated the bake to the other side and caused some of the bake to be hidden.
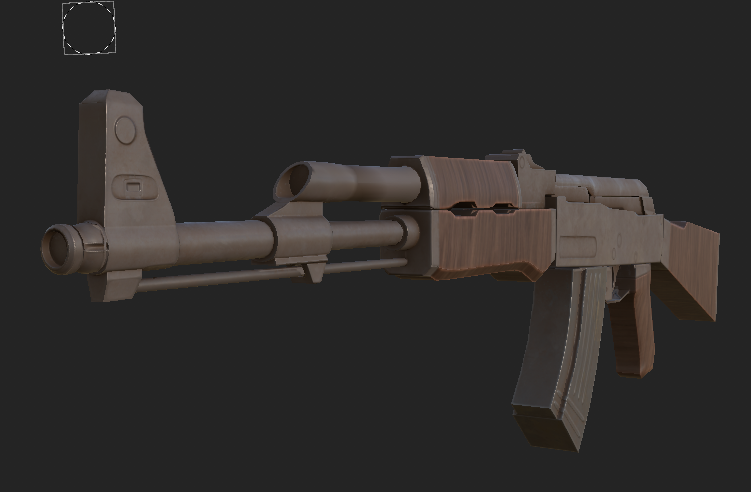
Substance Smart Materials

The textures were simply developed with the use of multiple smart materials, some of which were slightly changed in colour value as to highlight the different parts of the weapon and make it close to the visual reference I was following
Substance Output Texture Maps
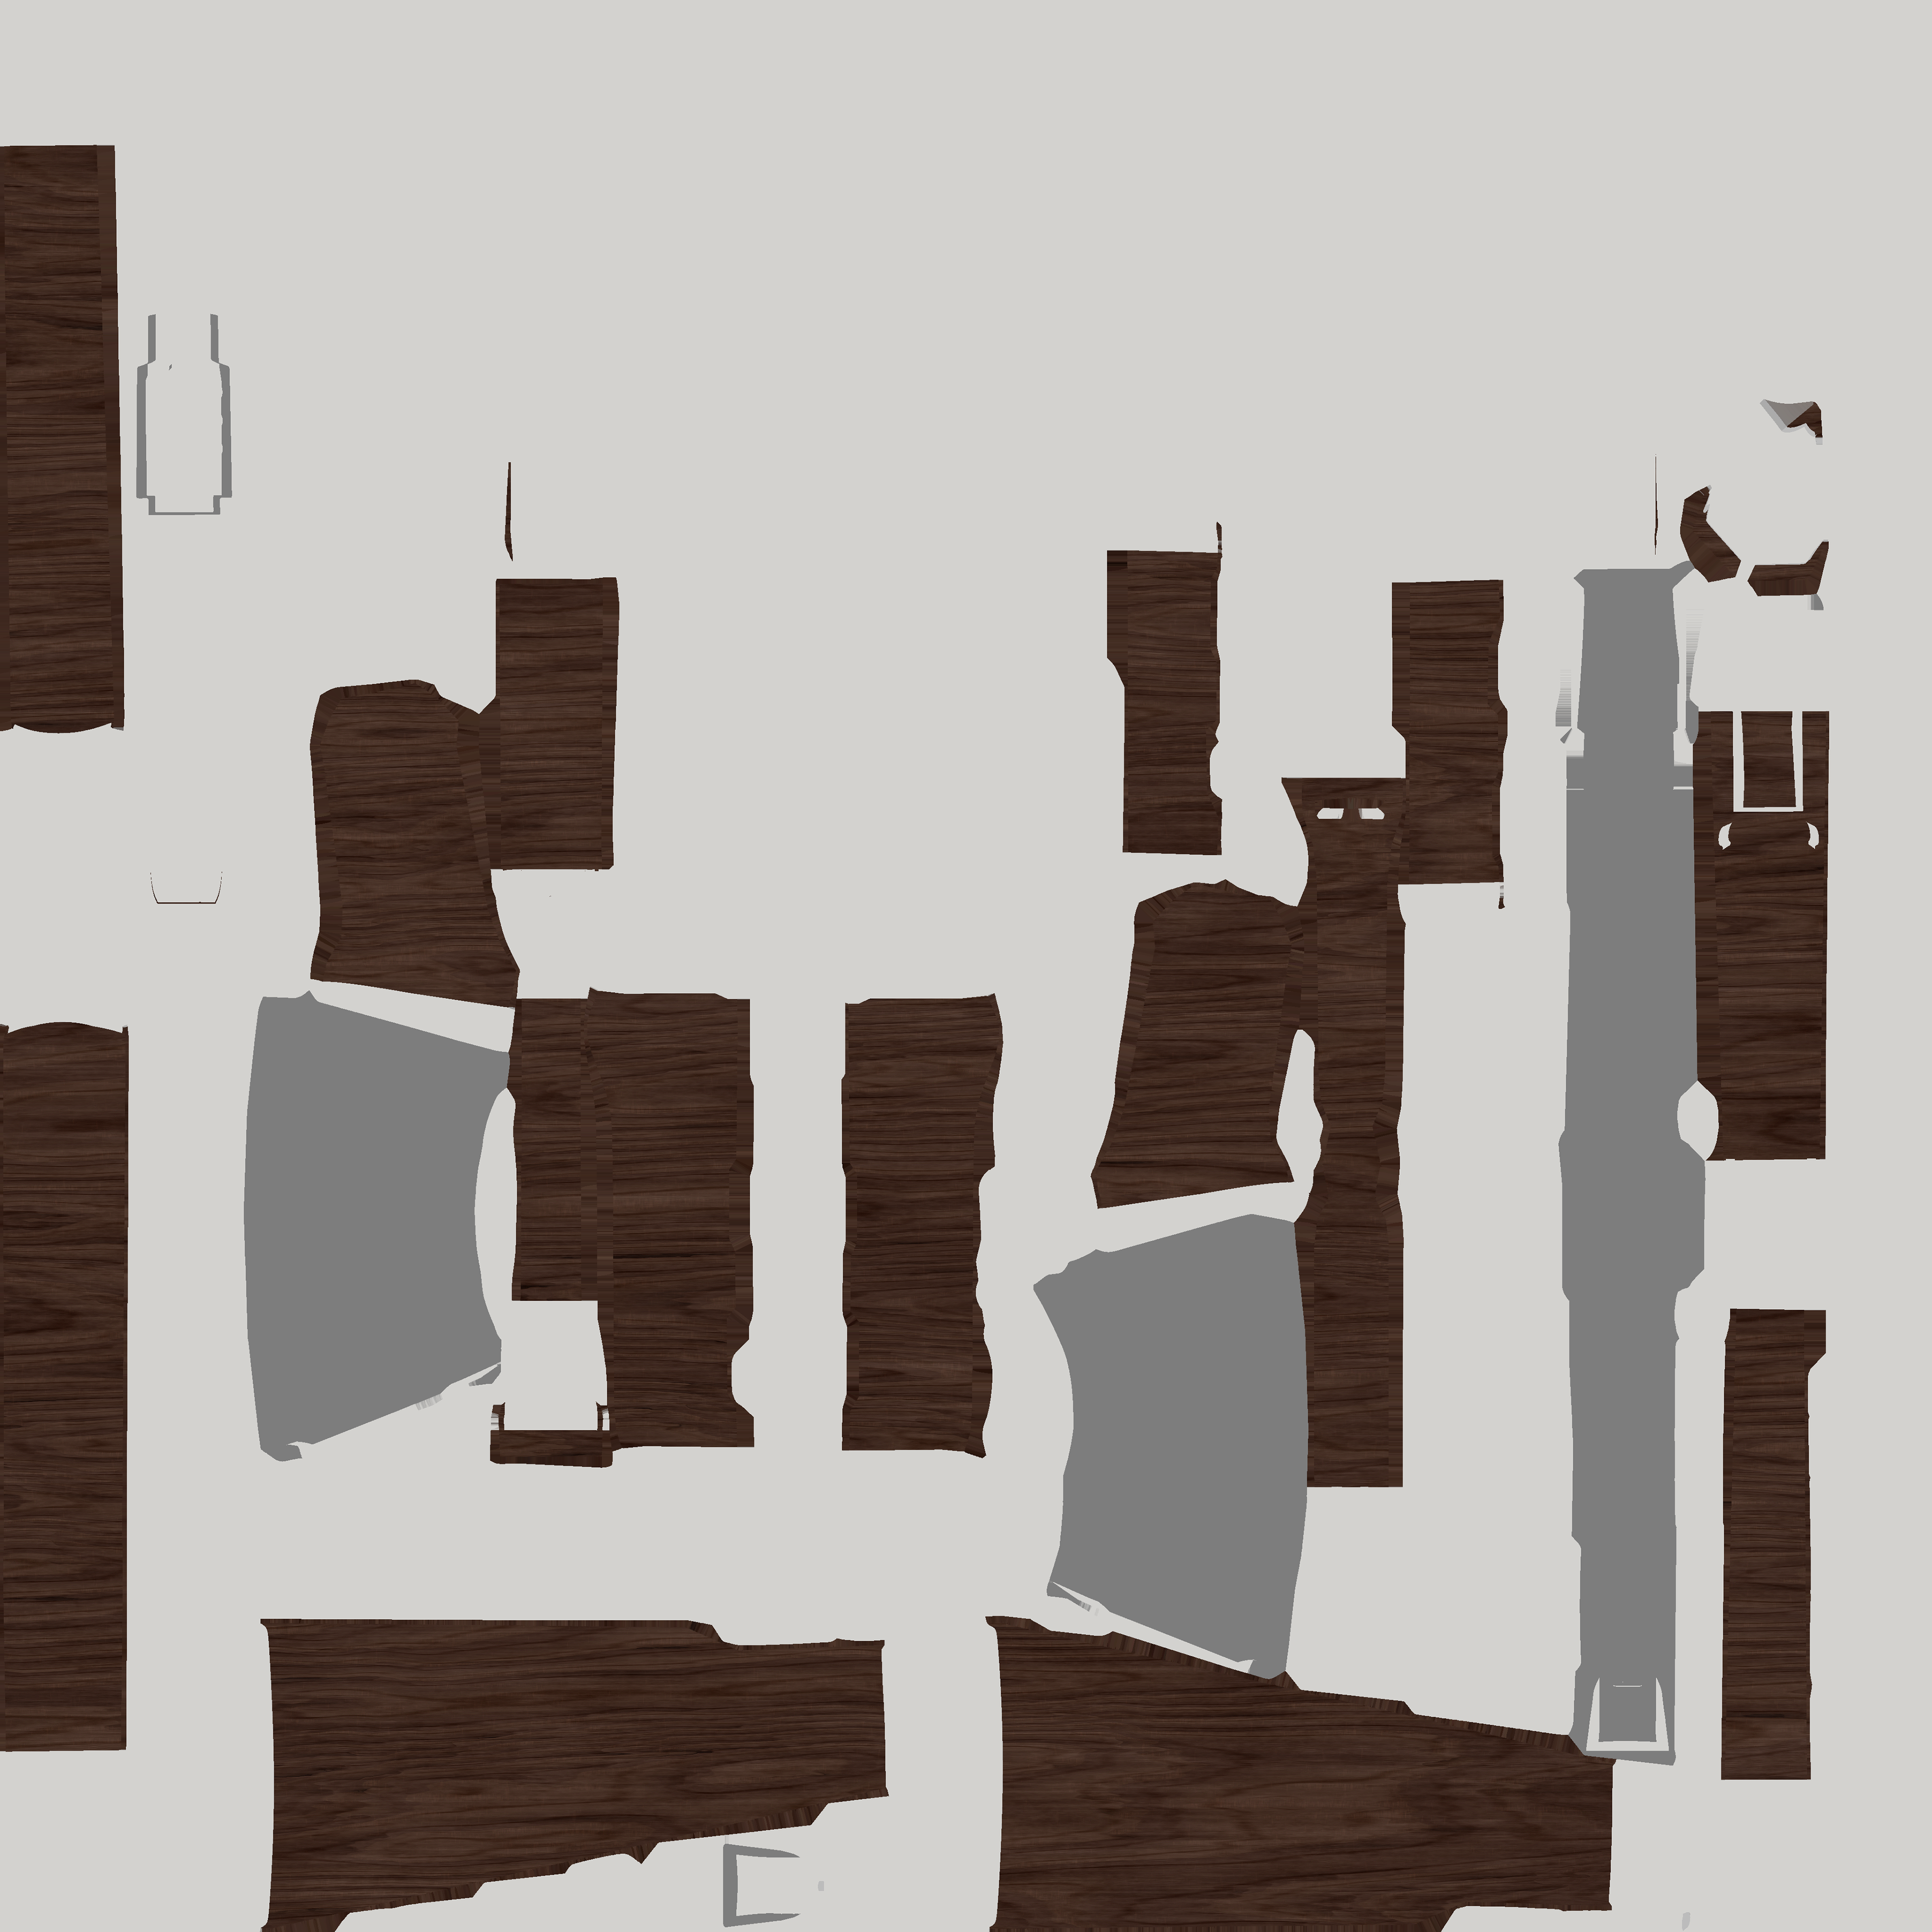
Base Colour Map

Height Map

Metalic Map

Mixed Ambient Occlusion Map

Normal Map
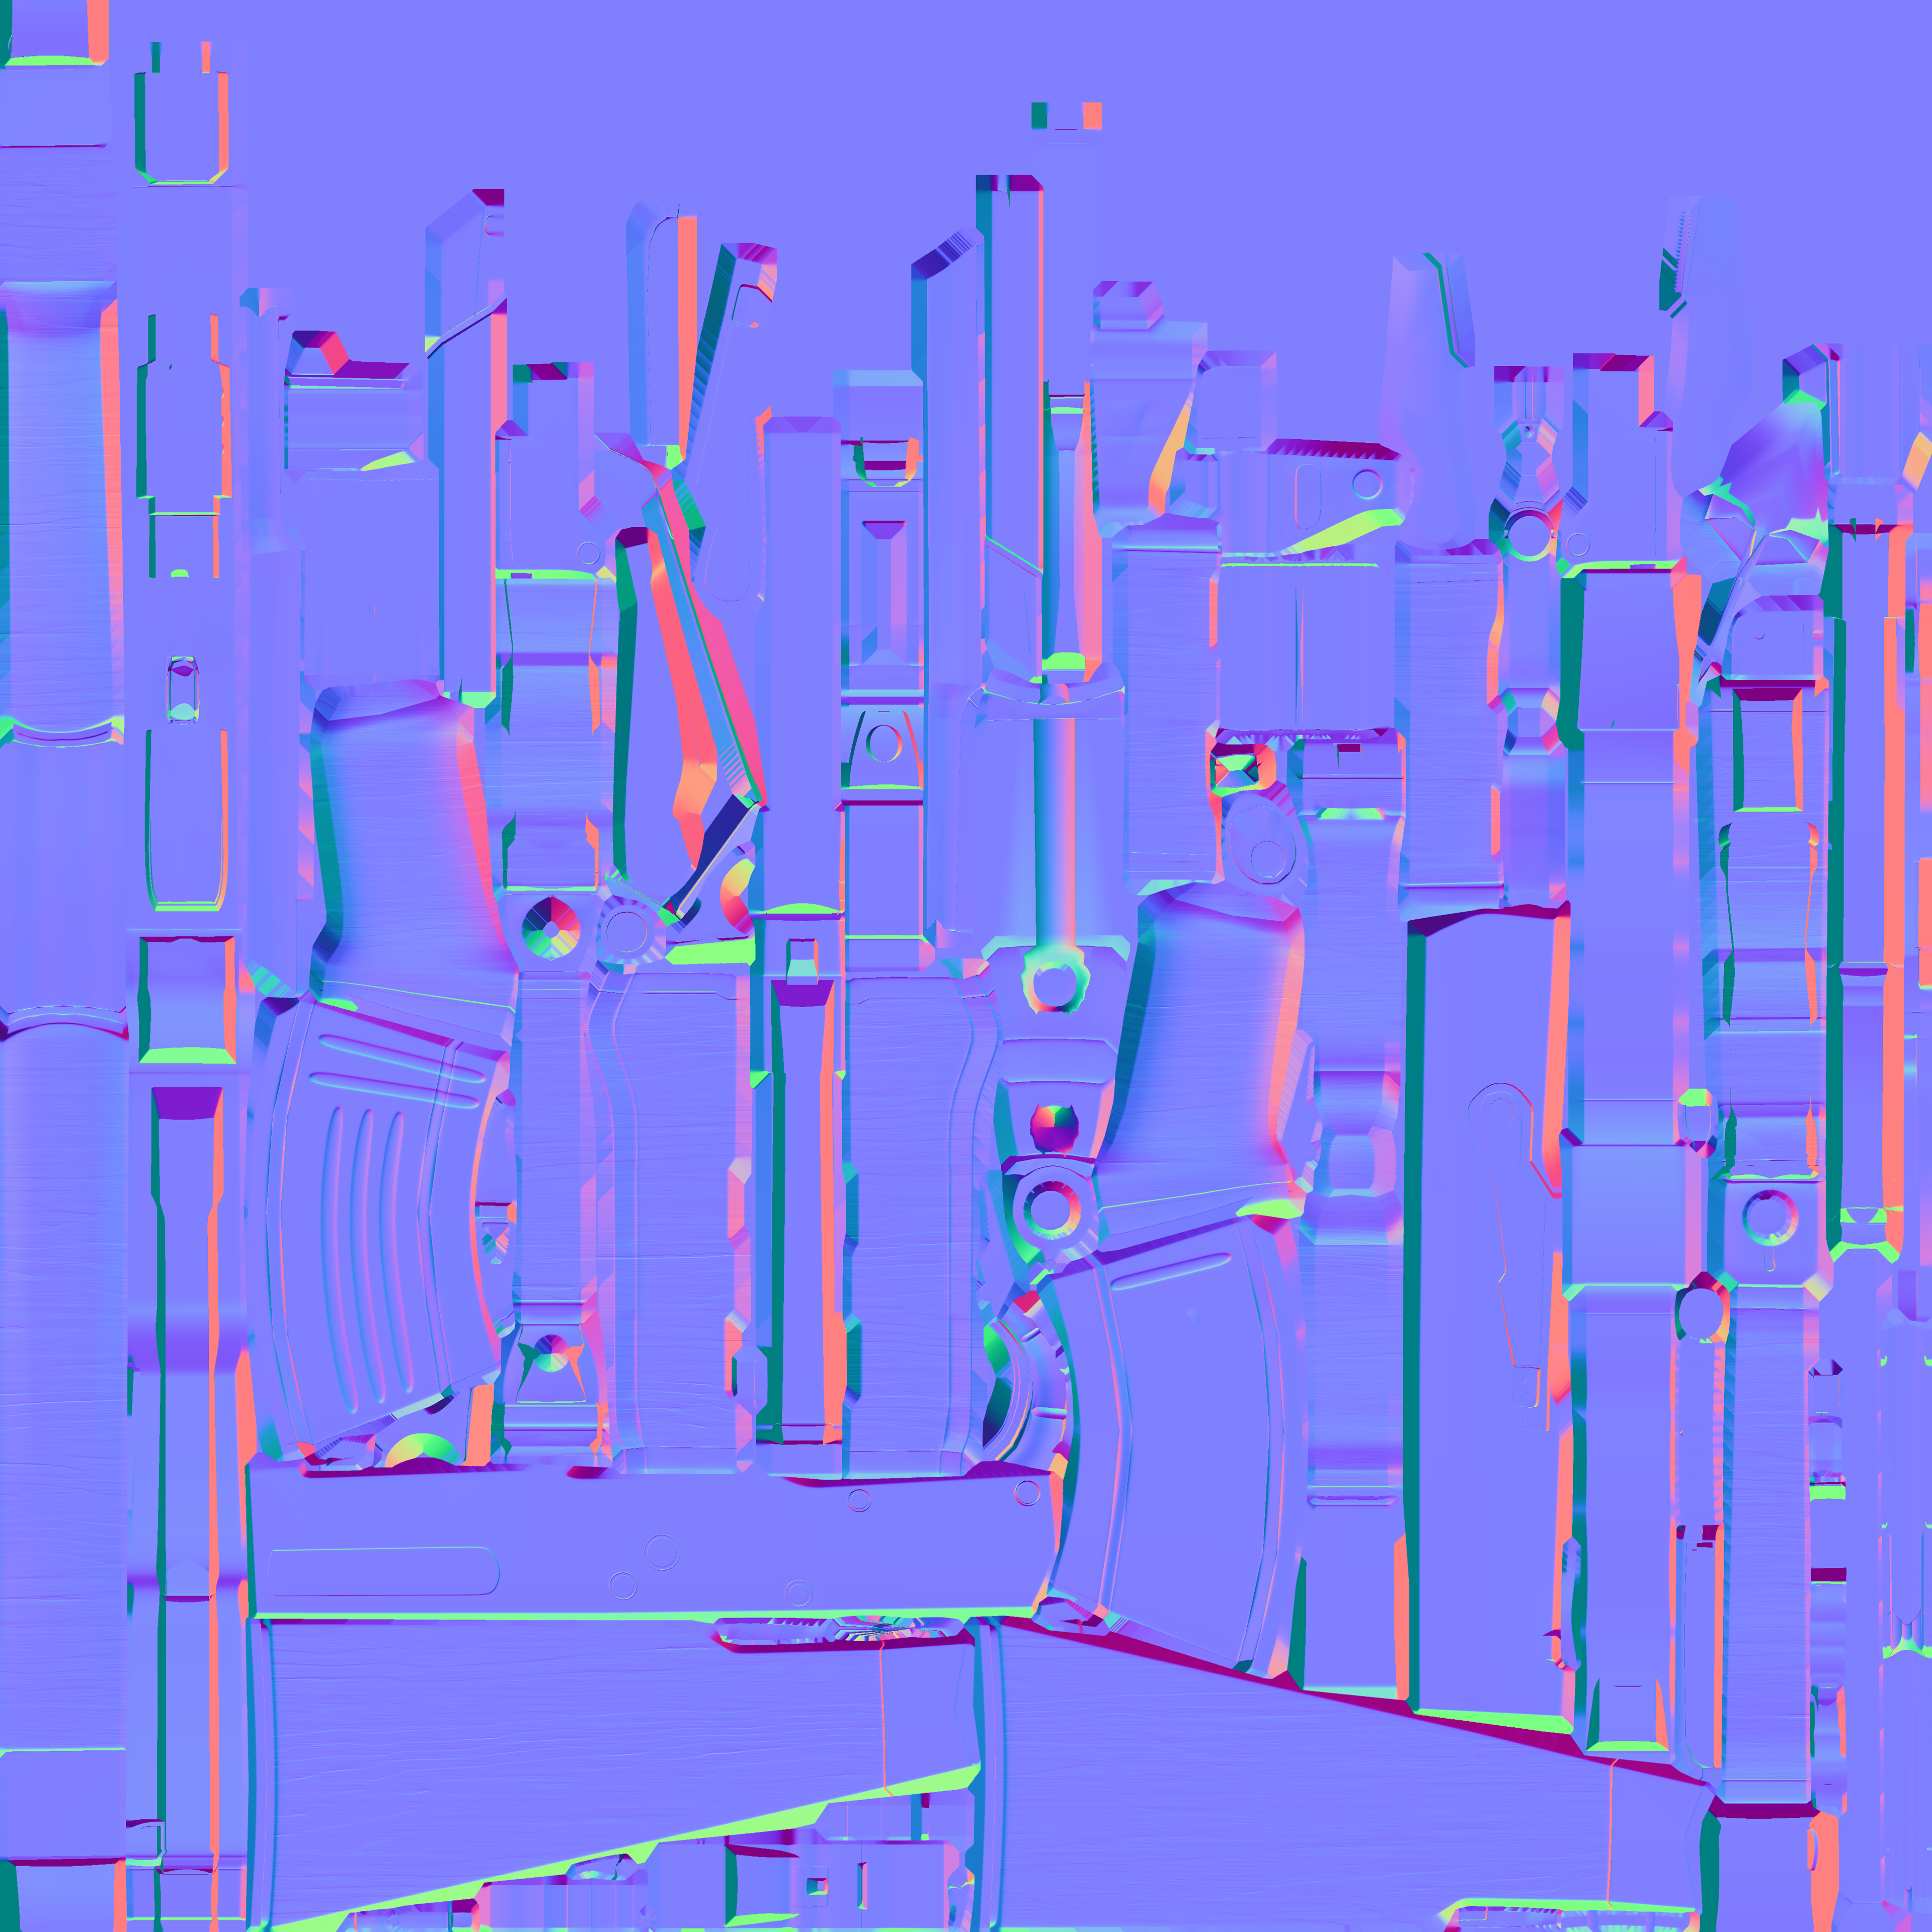
Nomal Map DirectX

Roughness Map
Gun Firing Animation (with basic bone rig)
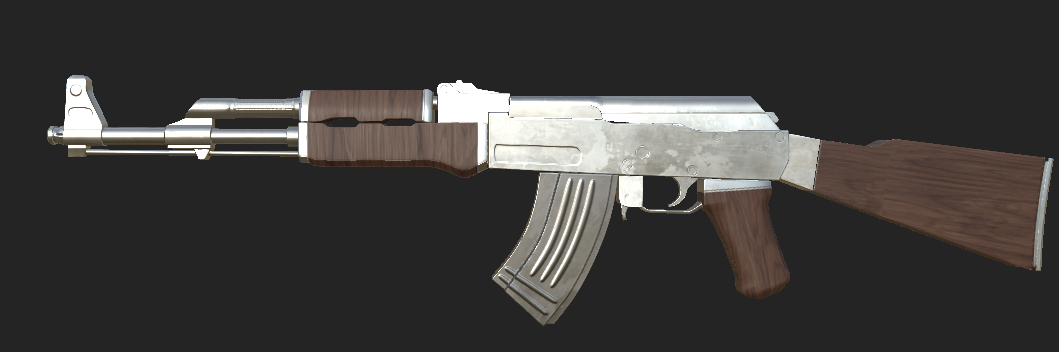
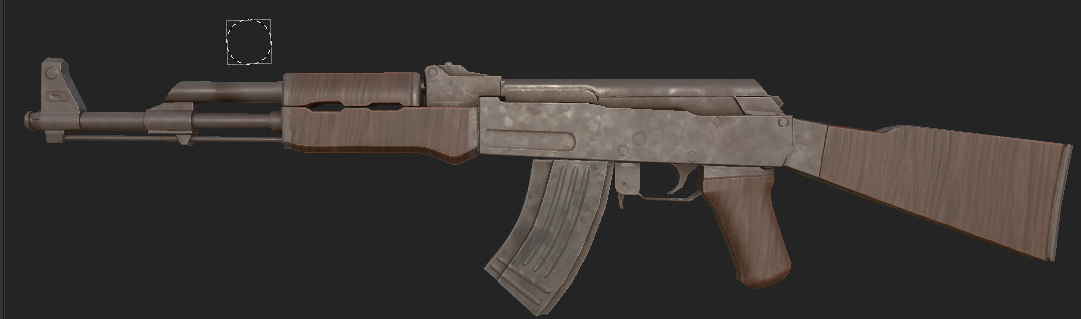
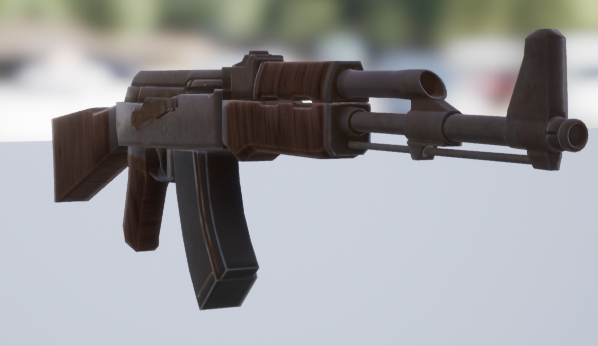
AK-47 Asset in Unreal Engine 4
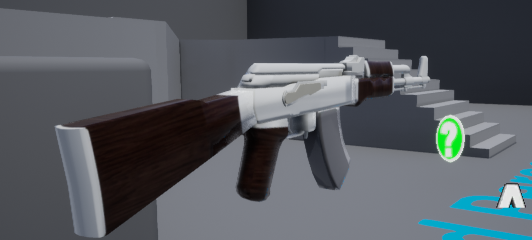

The quality of the final asset inside Unreal was not of the standard I was hoping for. Everything works as expected, however the texture quality did not come out as hoped. Further work and development would be required in Substance Painter to help resolve this issue.
Texturing Improvements
After looking at the final result of the import and texturing work of the AK47 asset I started researching and learning more about Substance Painter to improve my texturing quality to gain the ability to add more character to the assets.
I started a new project file and brought it the low poly and baked the high poly with ID, Roughness, Metallic, Ambient Occlusion maps and so on.
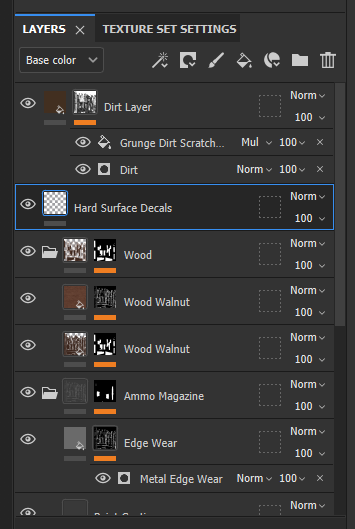
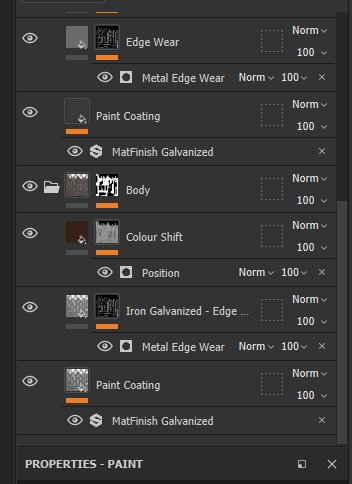
I created a folder for each part of the gun and through tutorials learned about filters (to add noise to textures via alphas), Generators to add edge wear to both the wood and the metallic surfaces.. Using the colour selection effect to use ID maps correctly
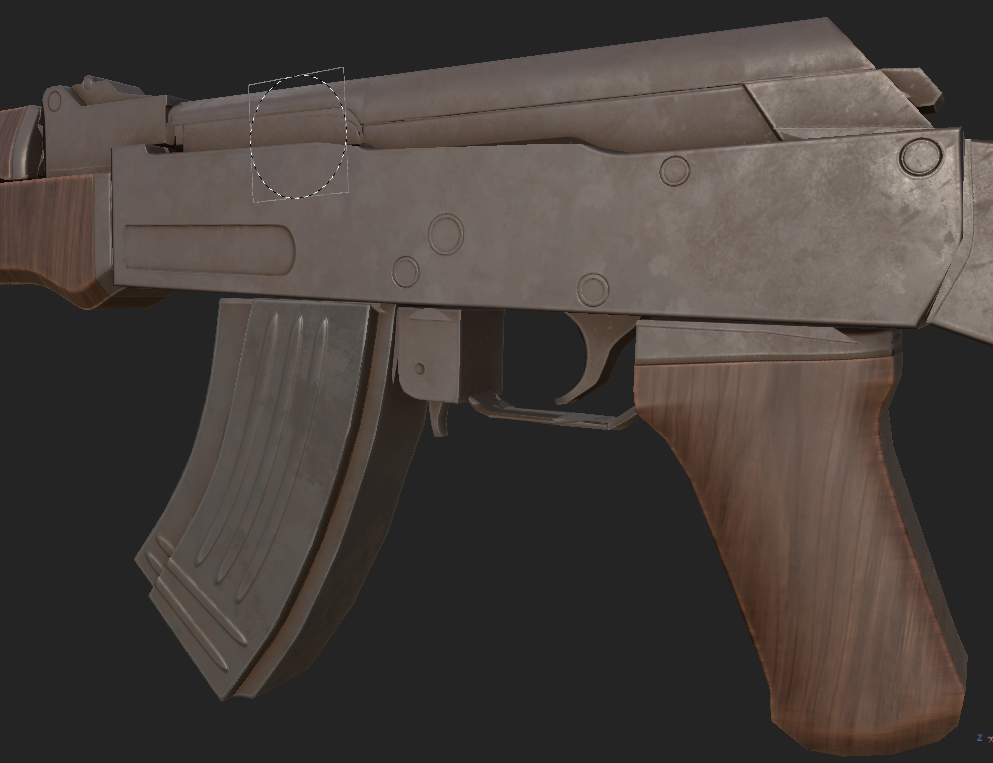
I utilized the brush tool to stamp on normal map decals form Substances brush self. Previously in my Honours Project, I had baked decals with Decal Machine in Blender and transferred them over as part of the baked maps. But using the brushes created decal of higher quality, although both methods are useful depending on the project. The normals of the Decal Machine created decals could be imported easily into substance painter also.
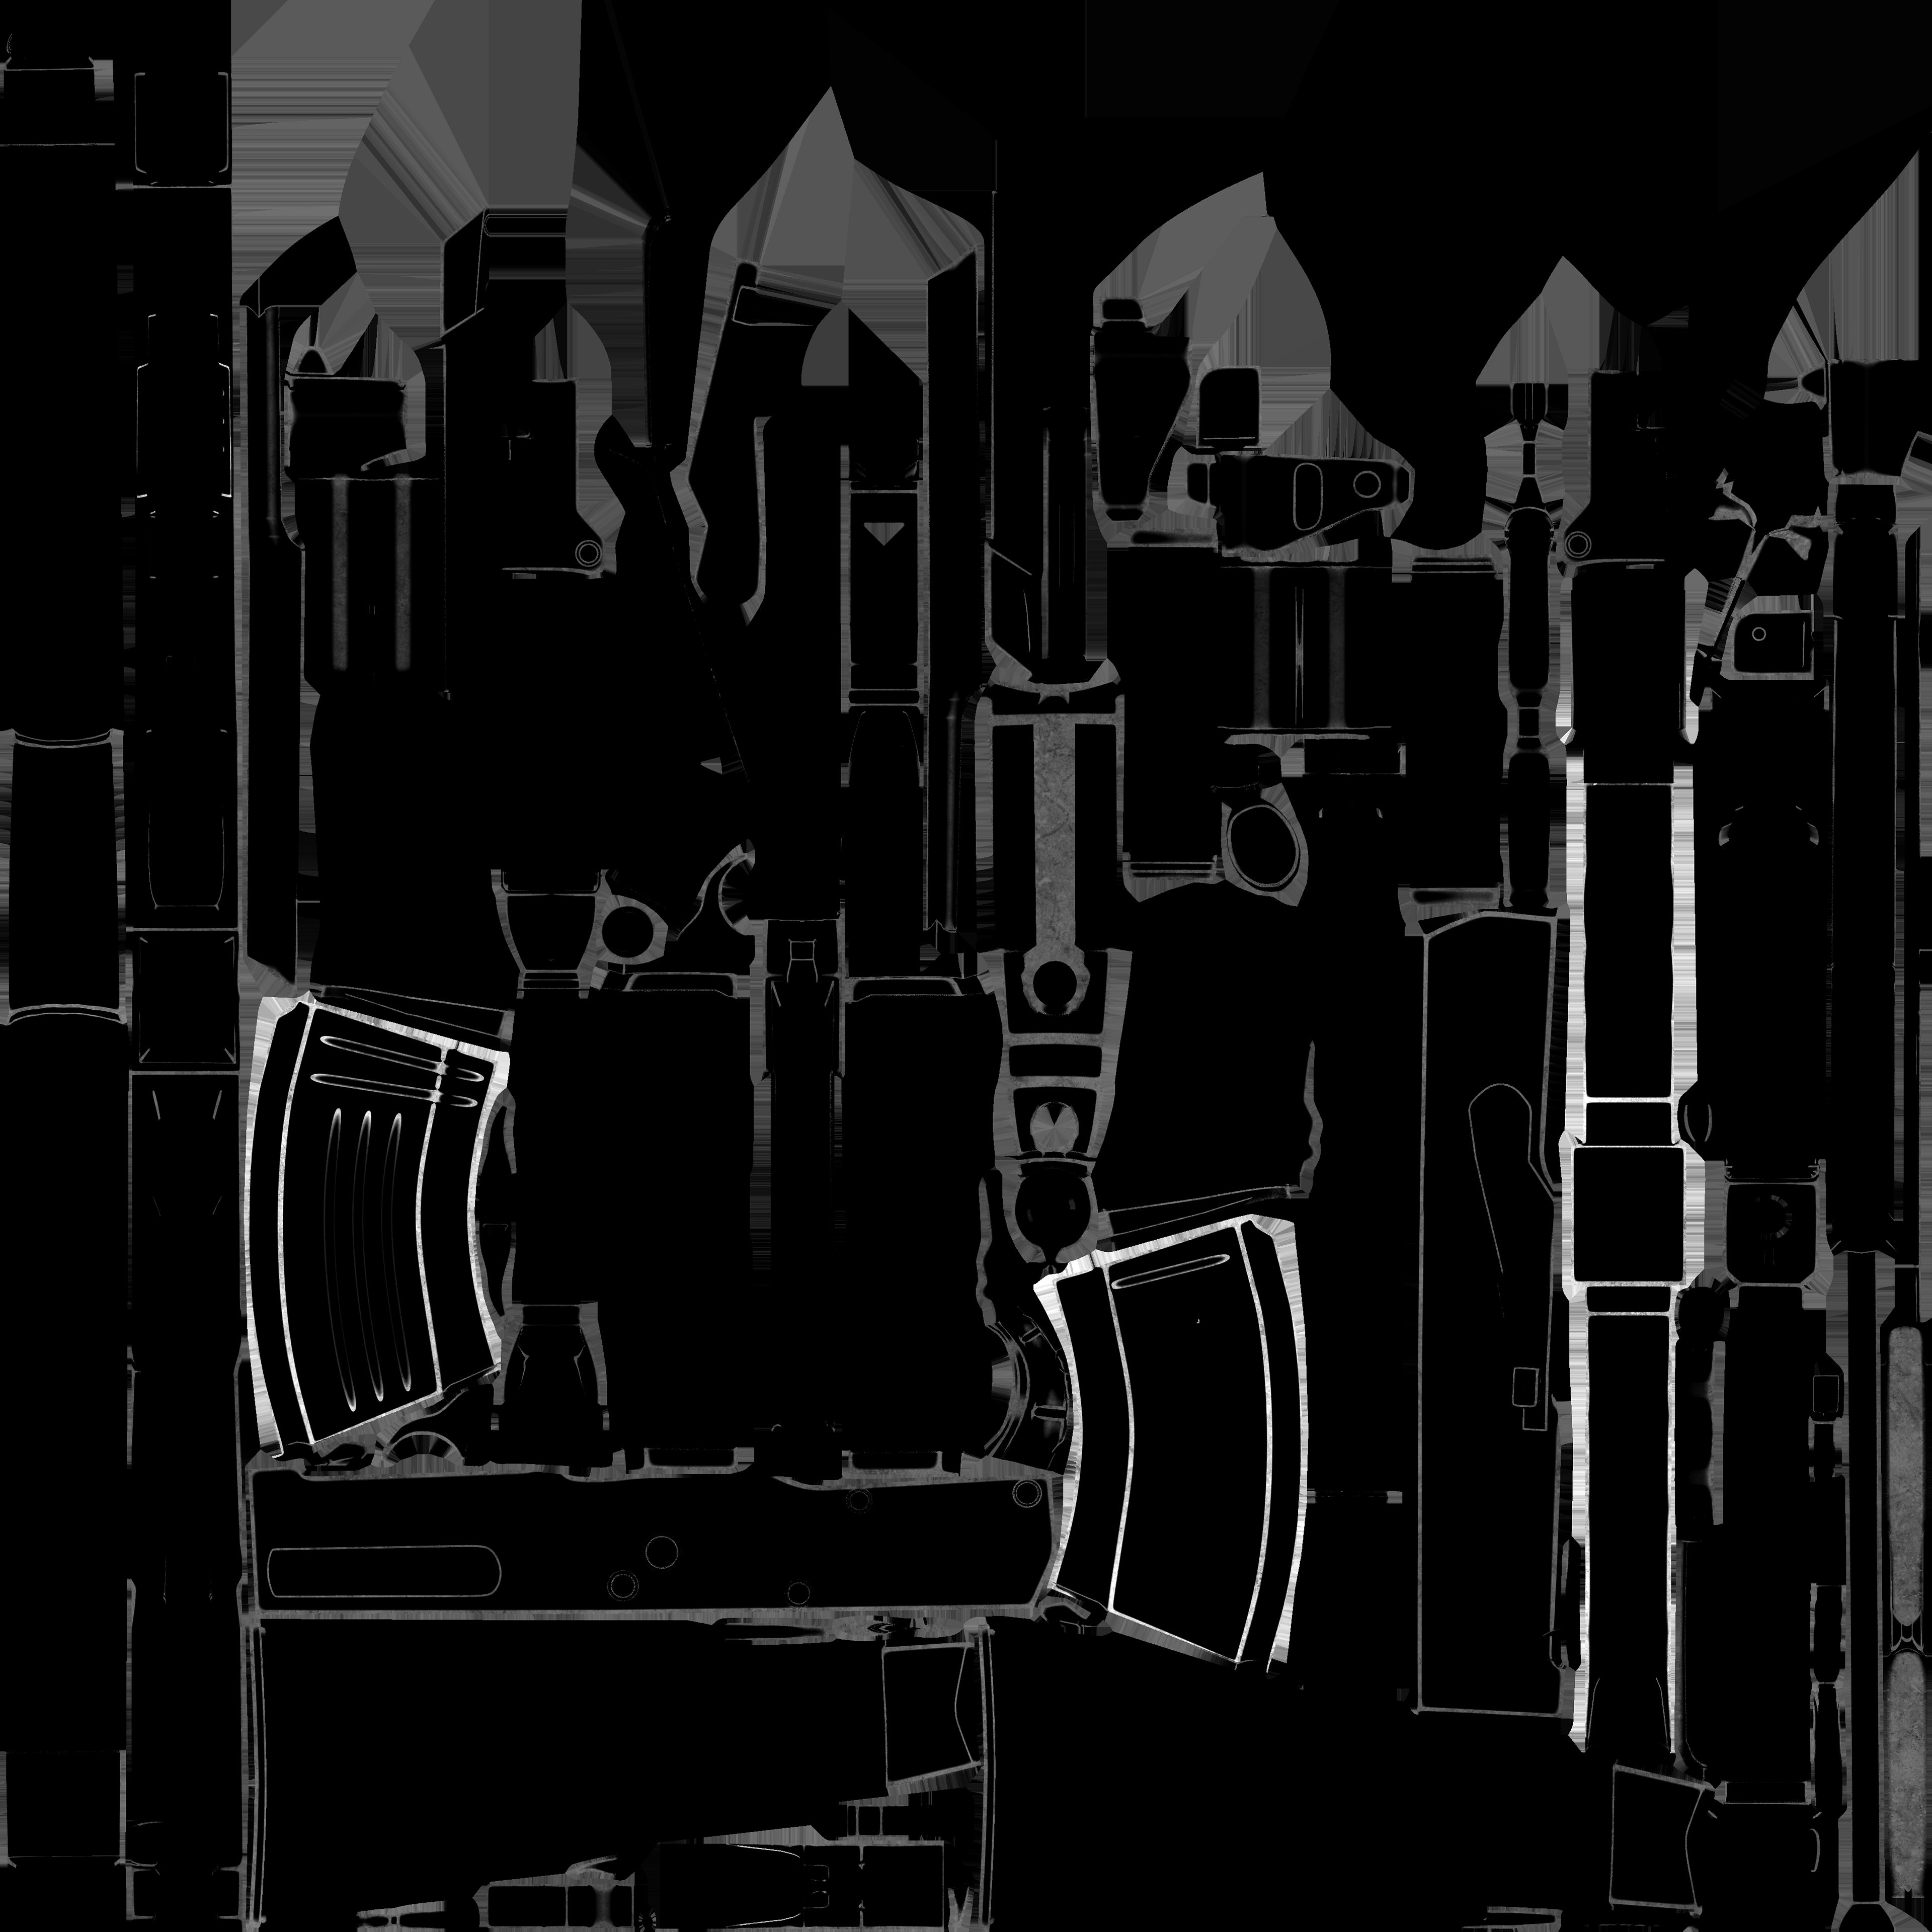
New Exported Texture Maps
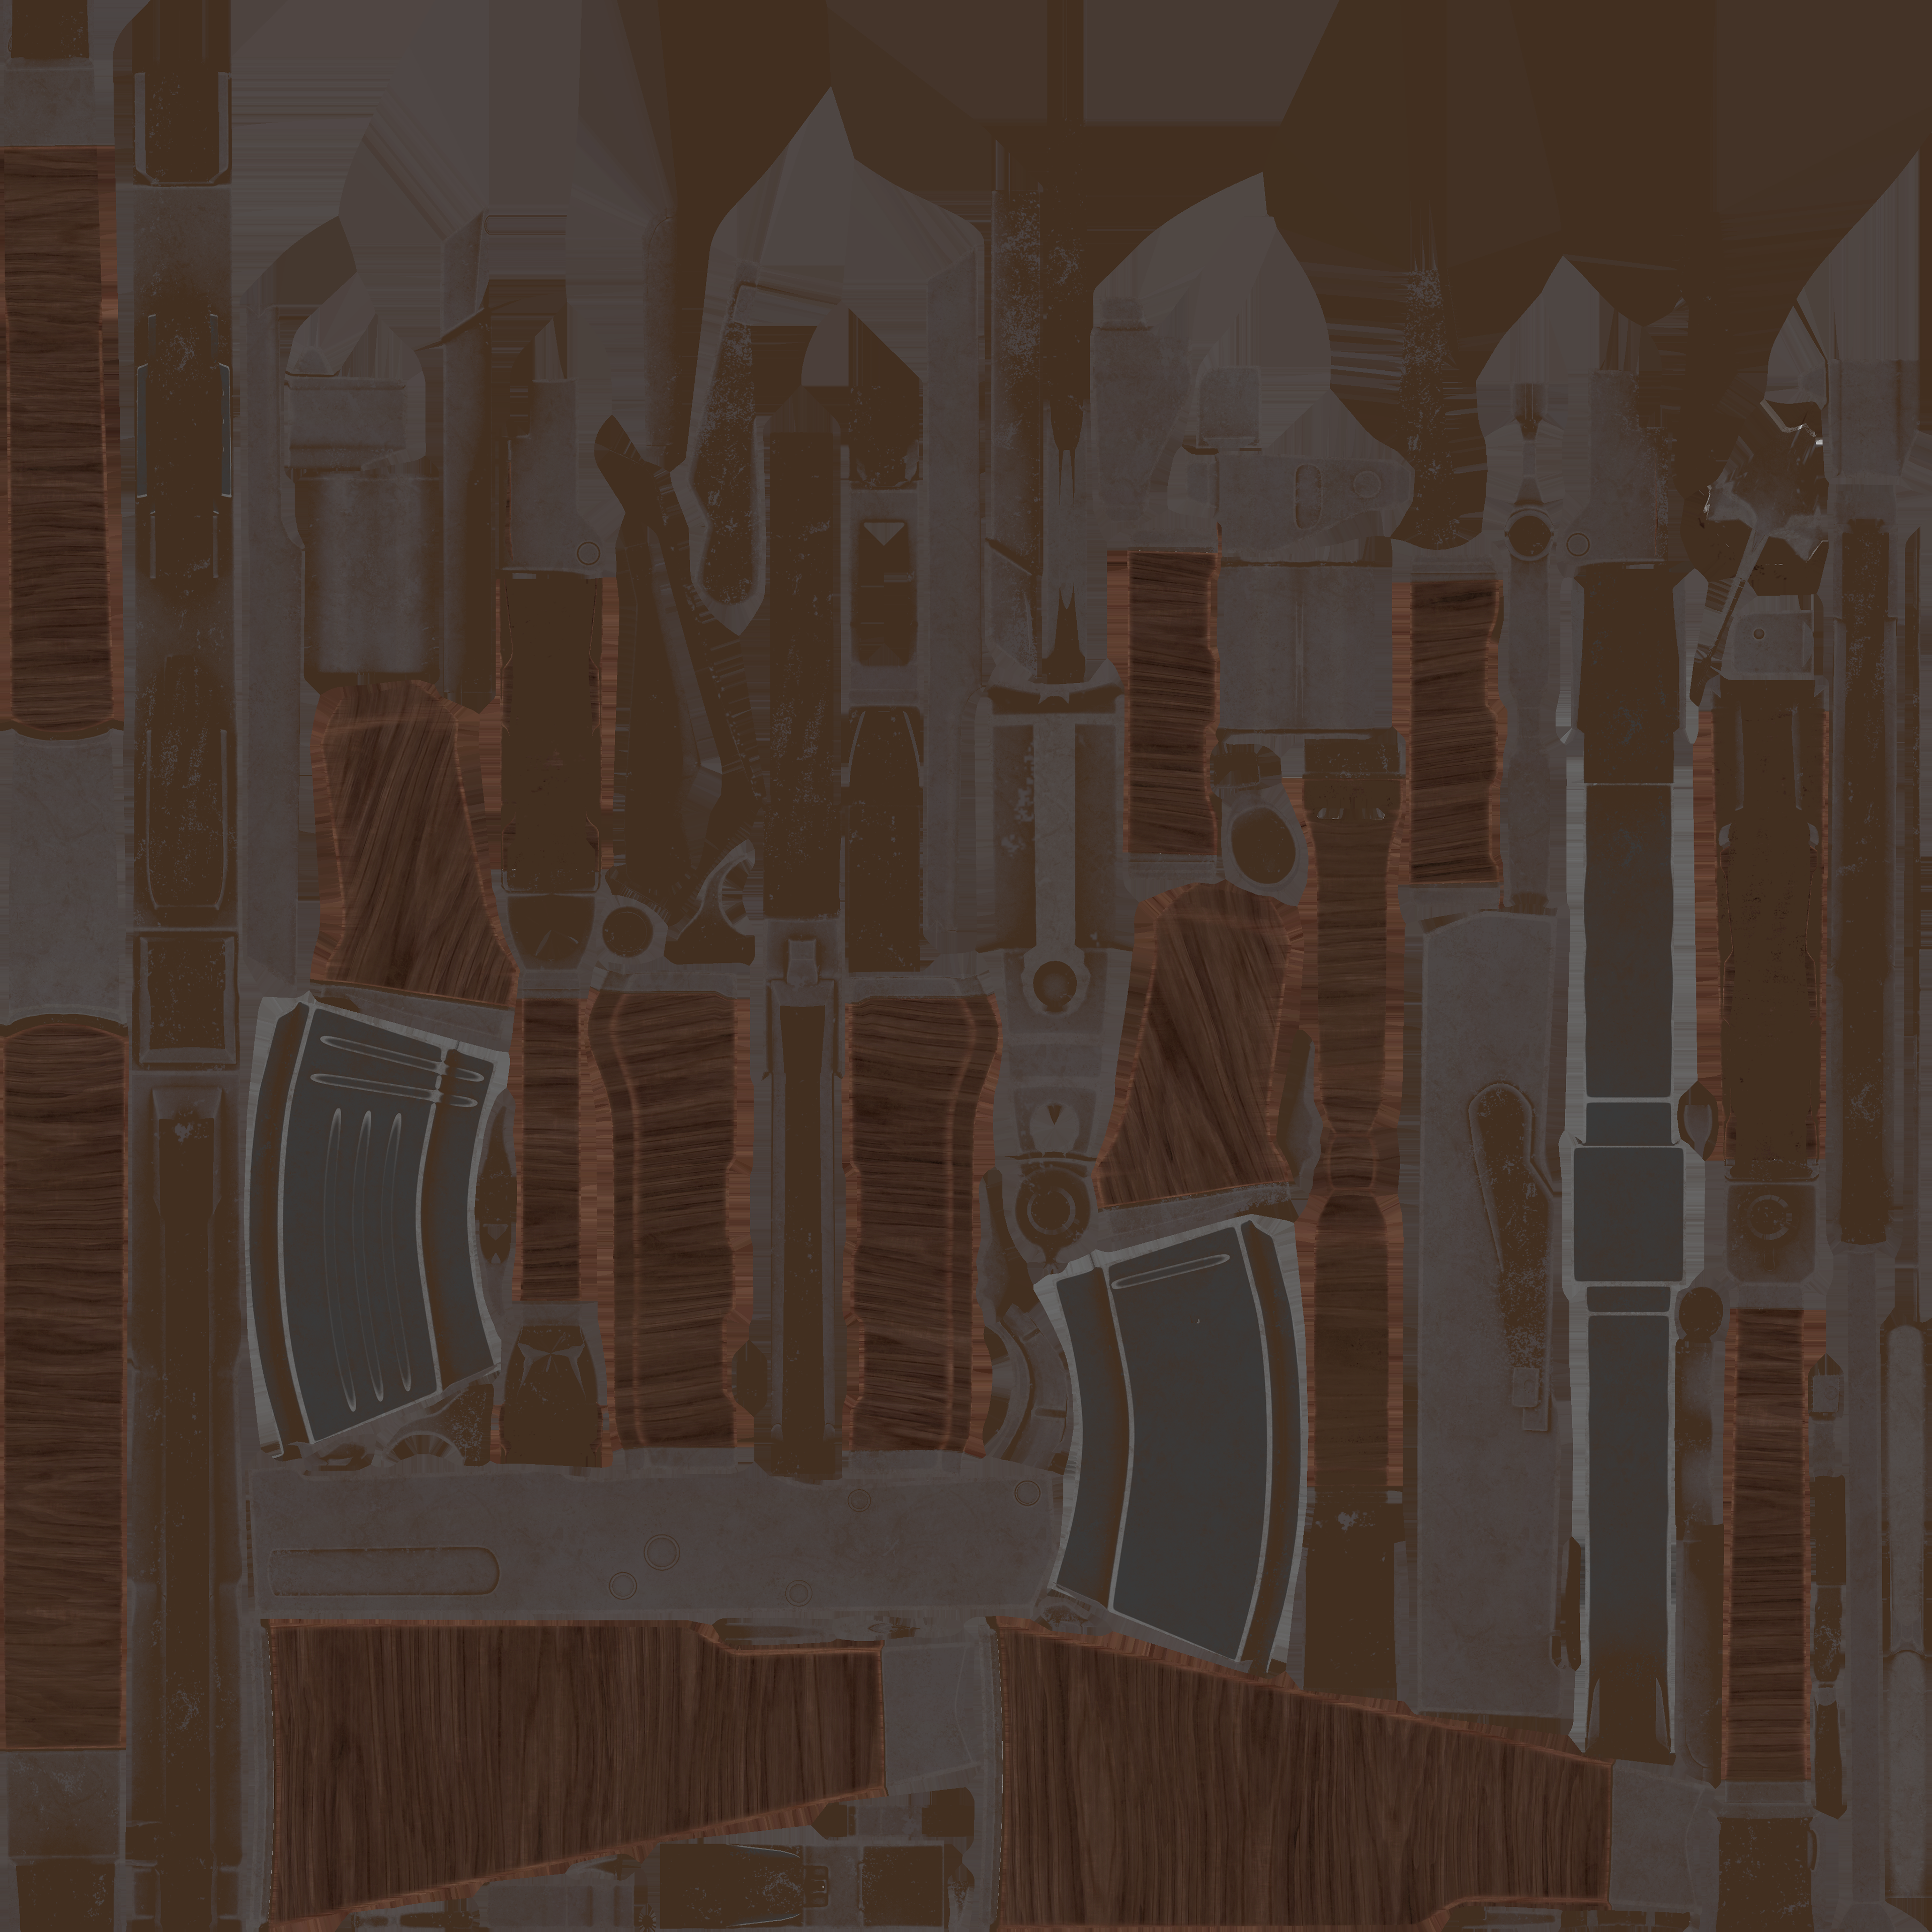
Base Colour Map
Metalic Map
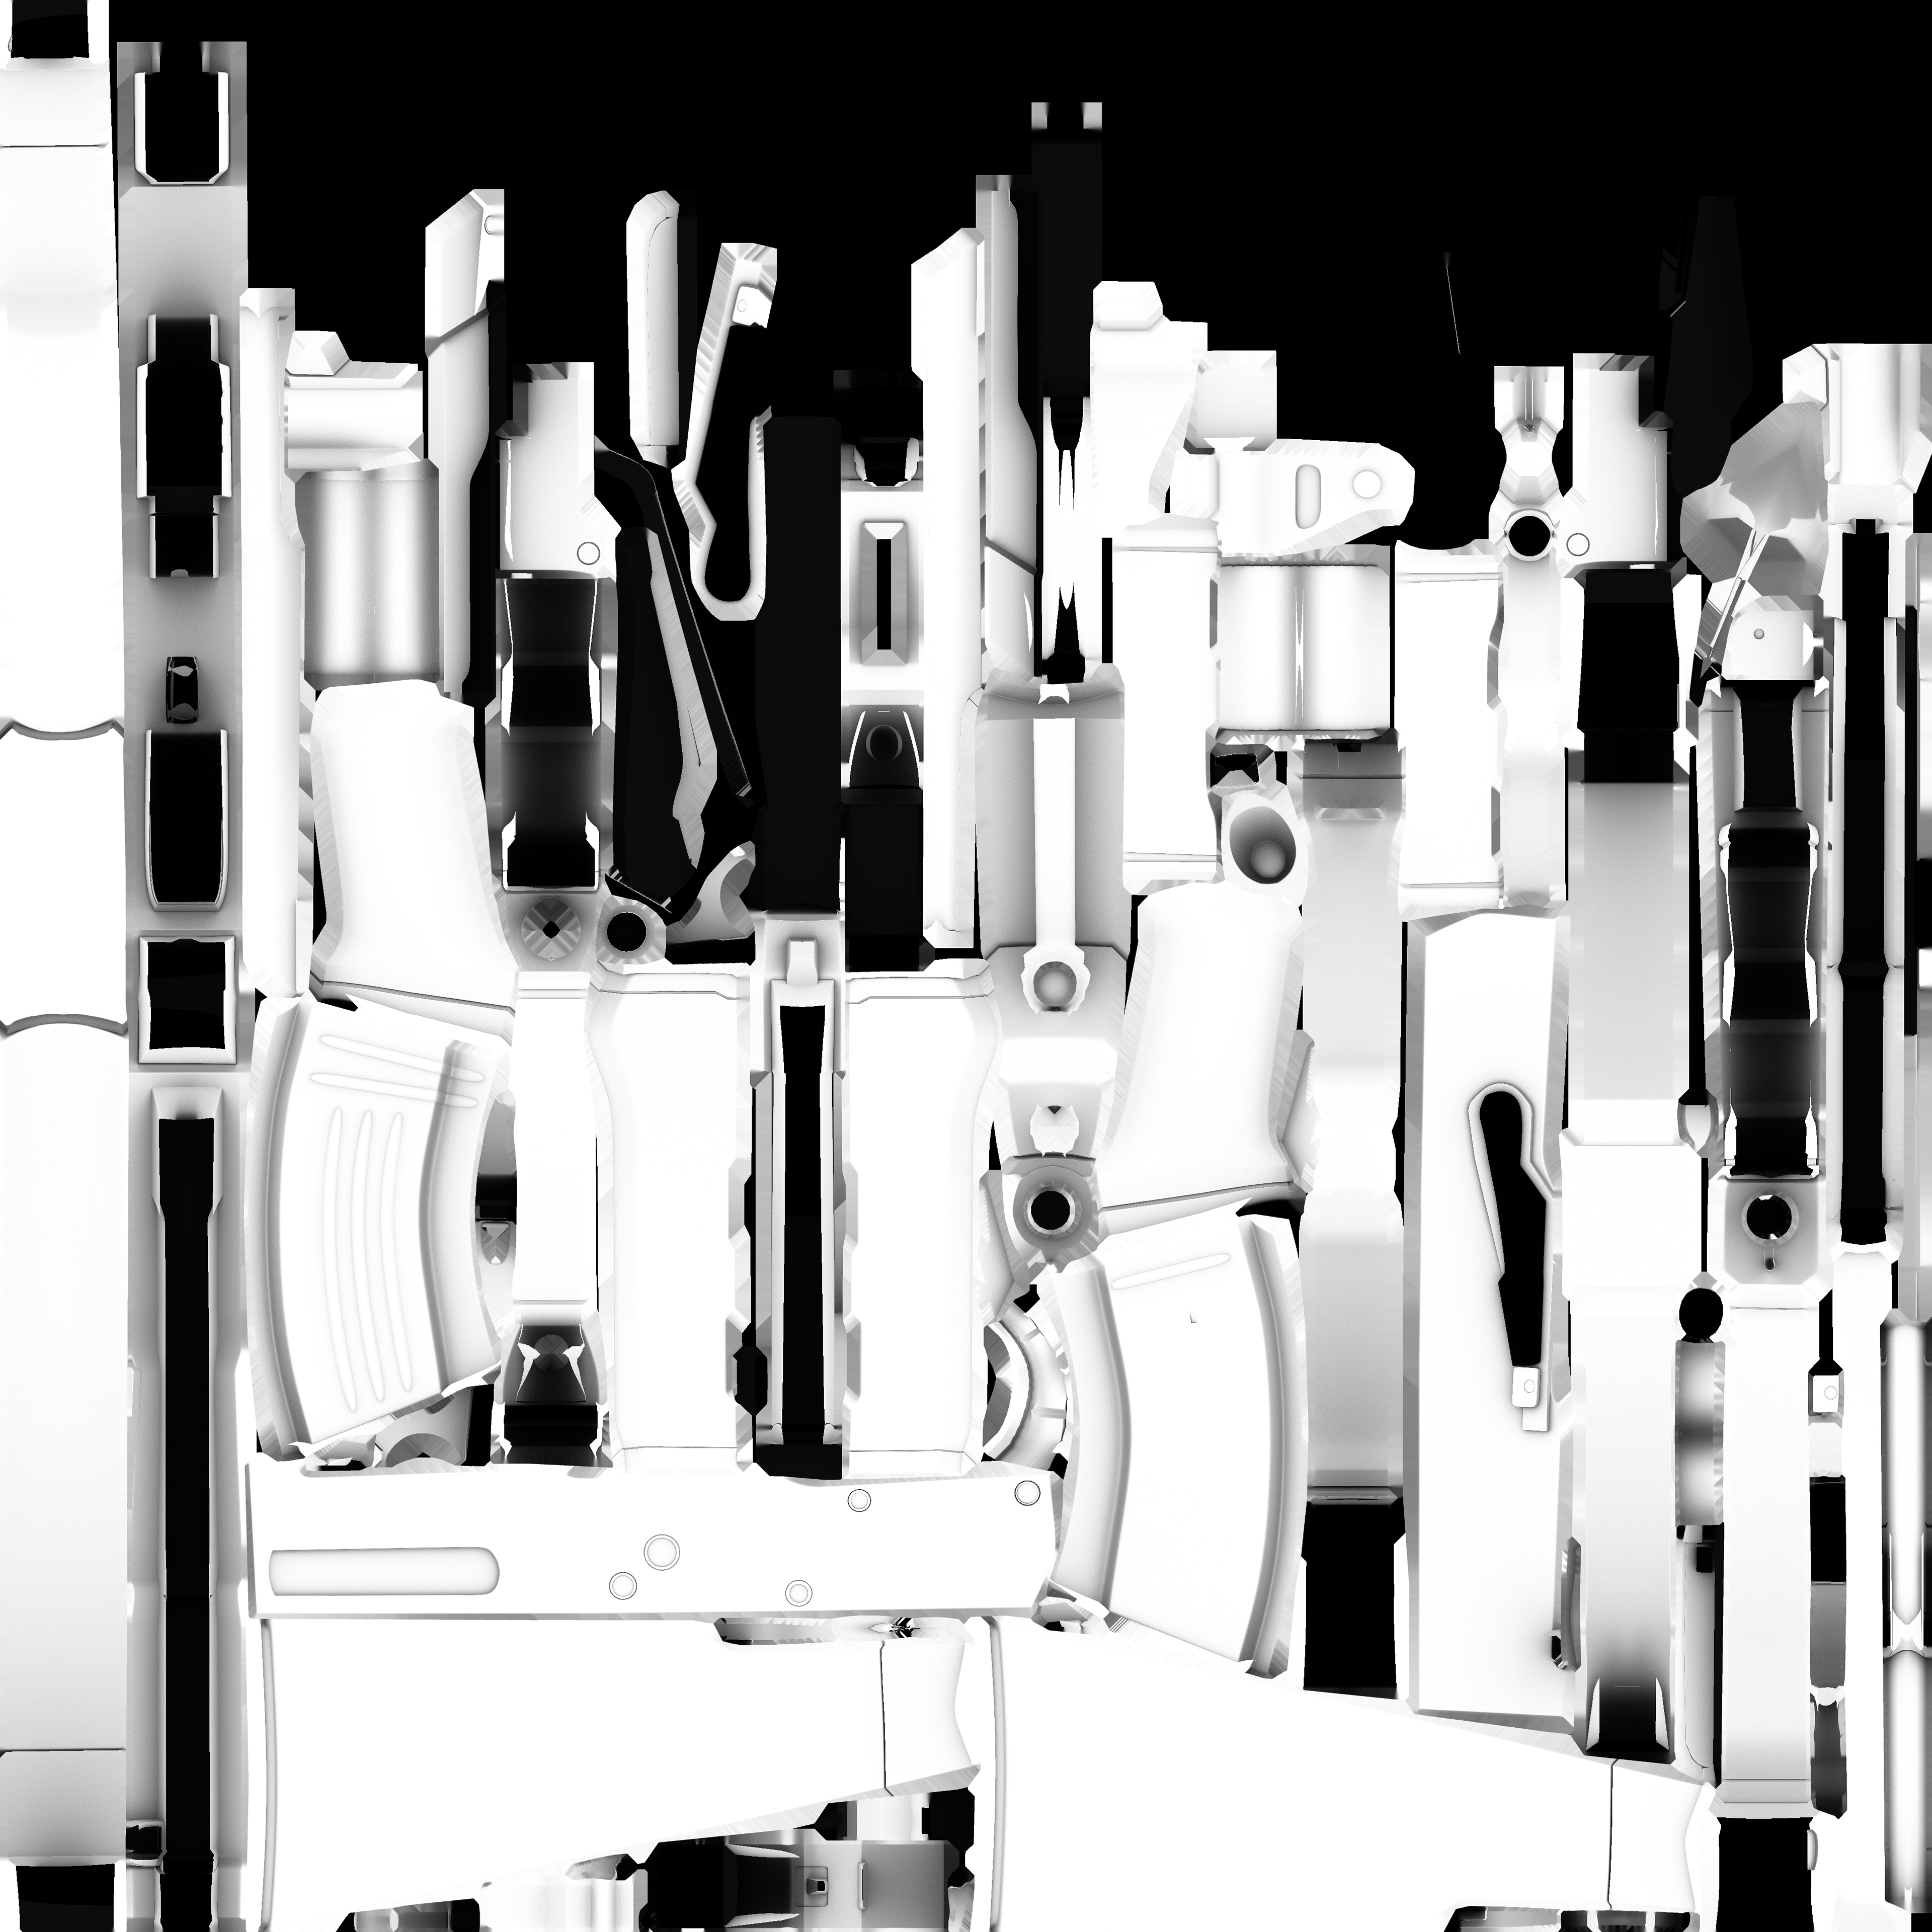
Ambient Occlusion Map

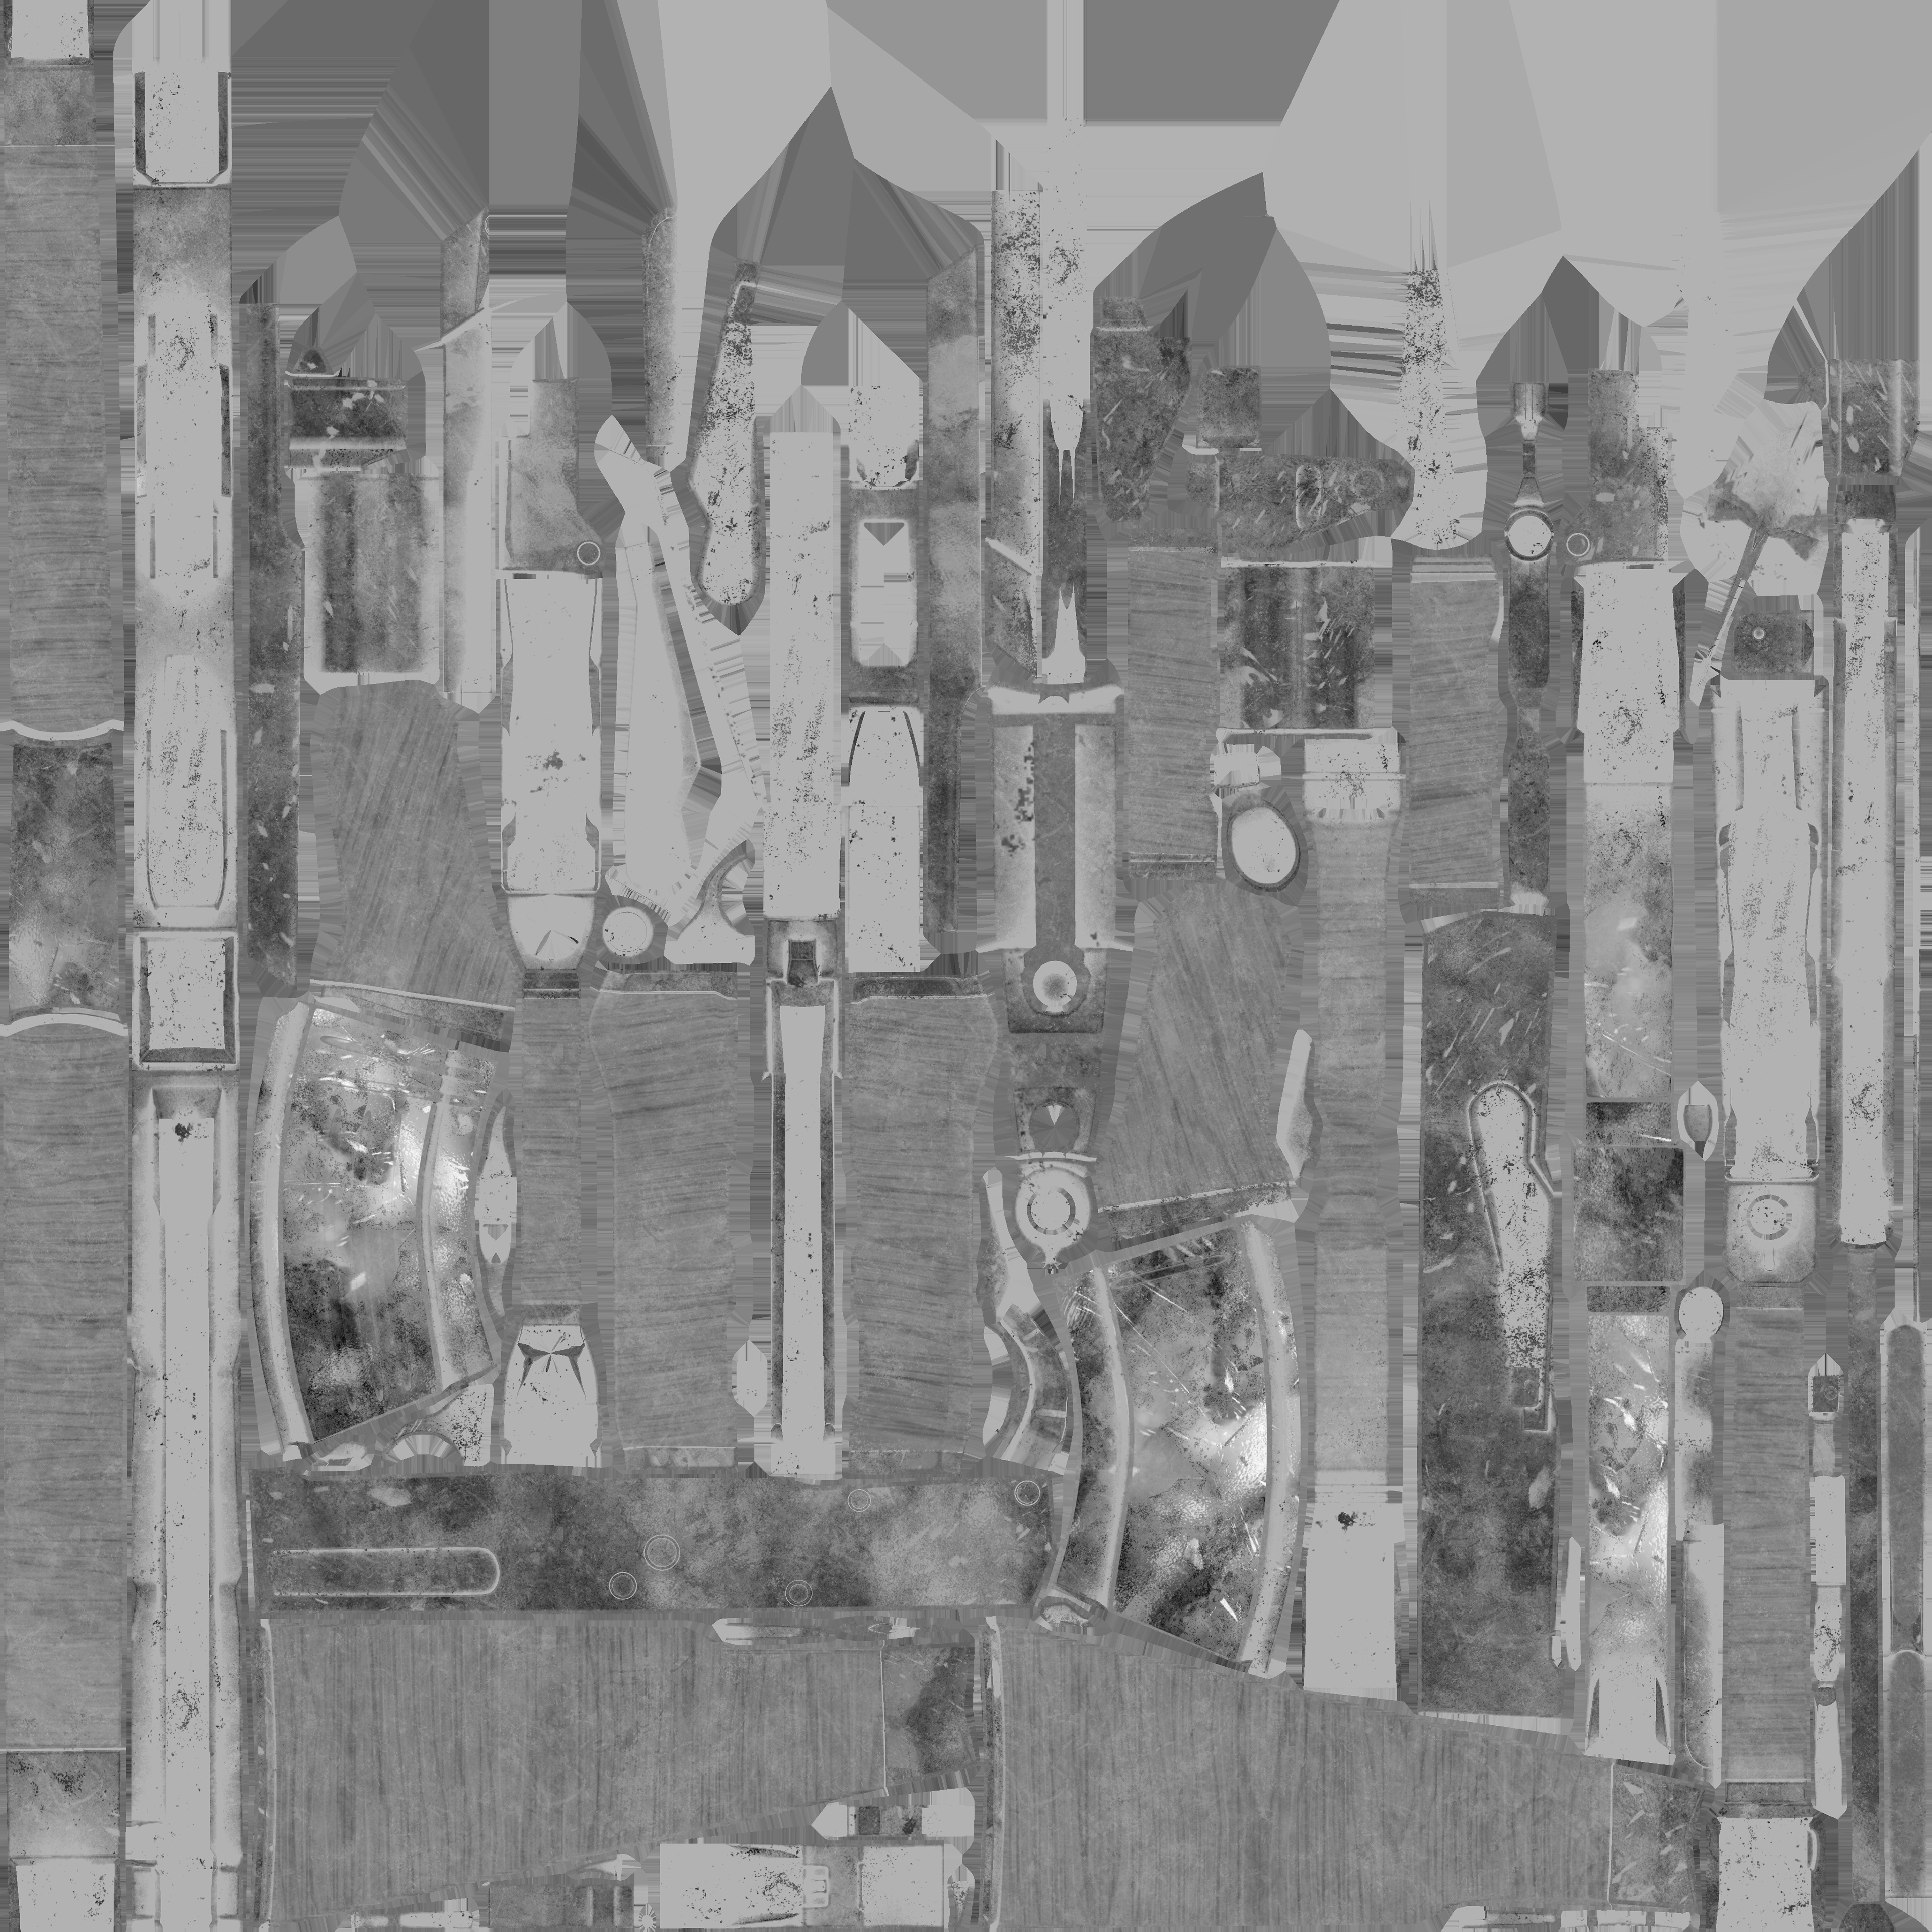
Roughness Map
Updated Textures in Unreal Engine 4
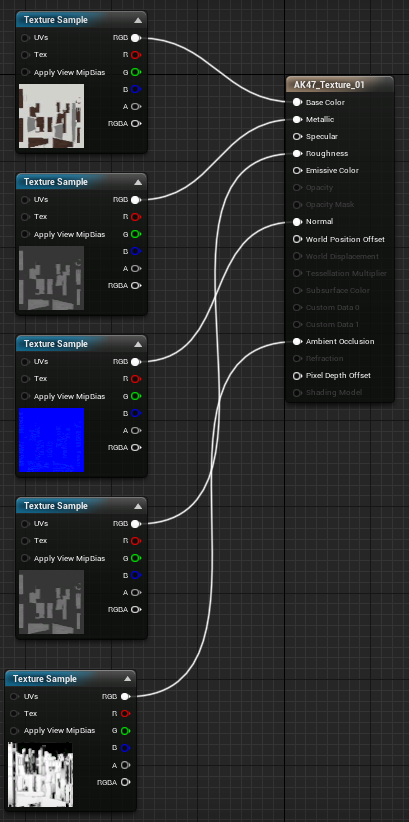
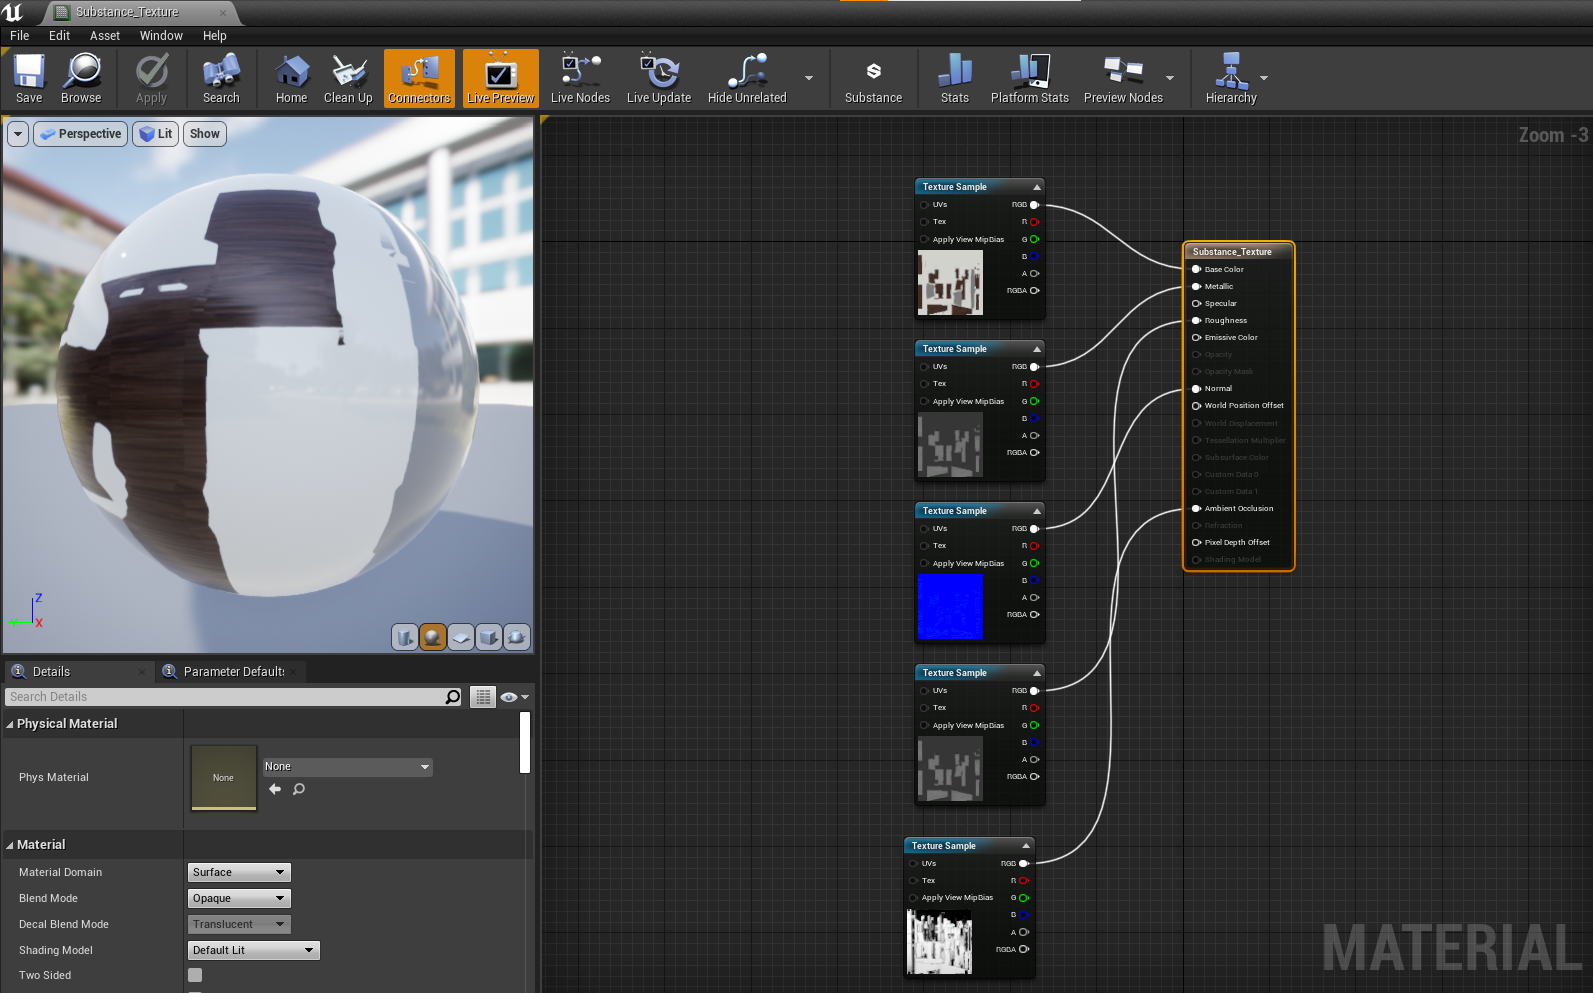
Material setup Unreal

Textures Unreal Engine 4 (Unreal Generated Normals)
Textures in Unreal 02
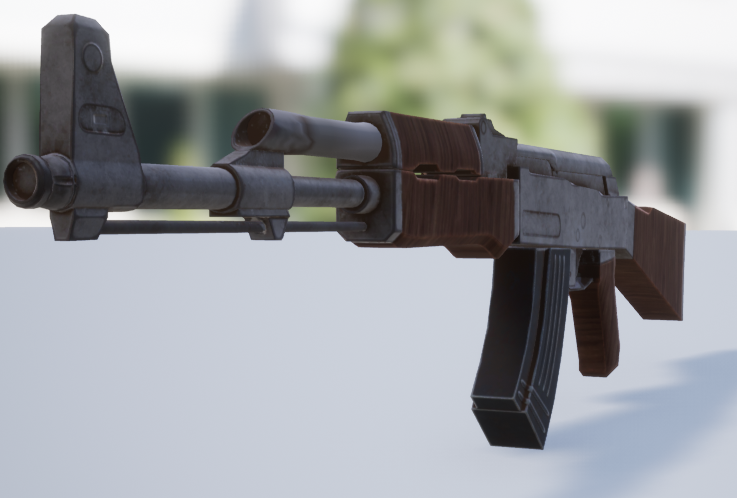
For a while I realised I wasn't getting the same normal detailing at in unreal as I was in Substance Painter, I then realized on the import settings that, I was letting Unreal generate the normals instead of importing them, once this change was made, it made the asset look 10x better in engine.