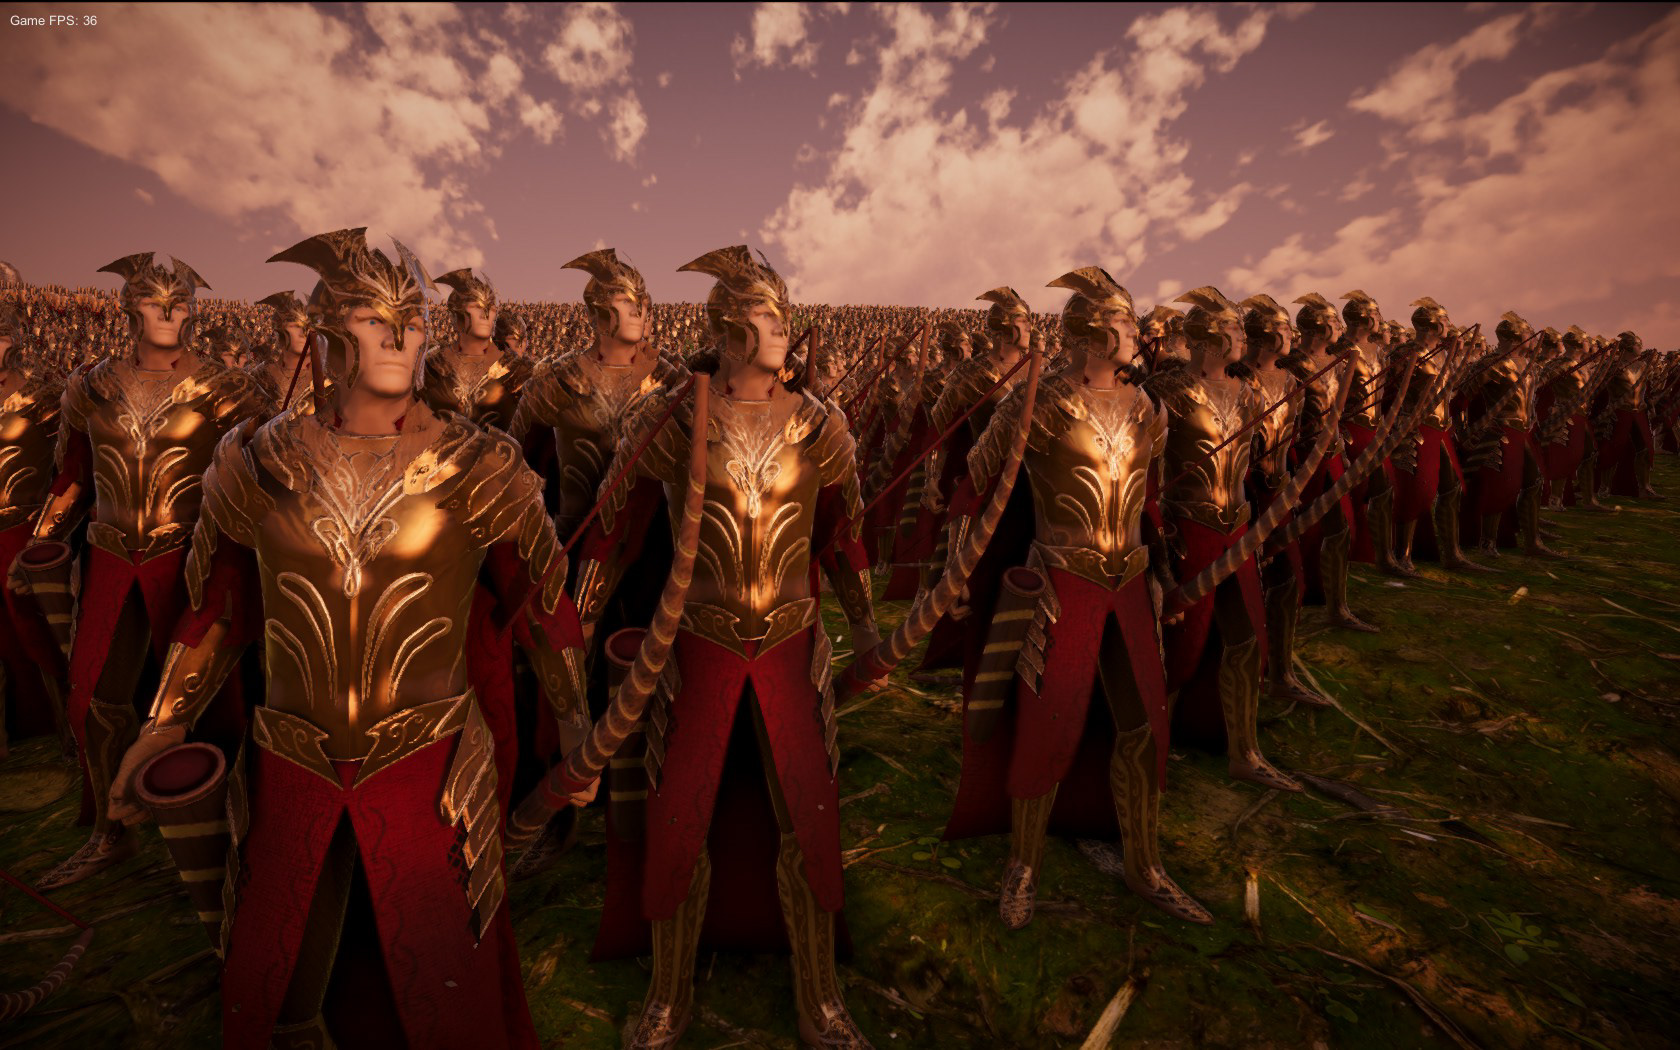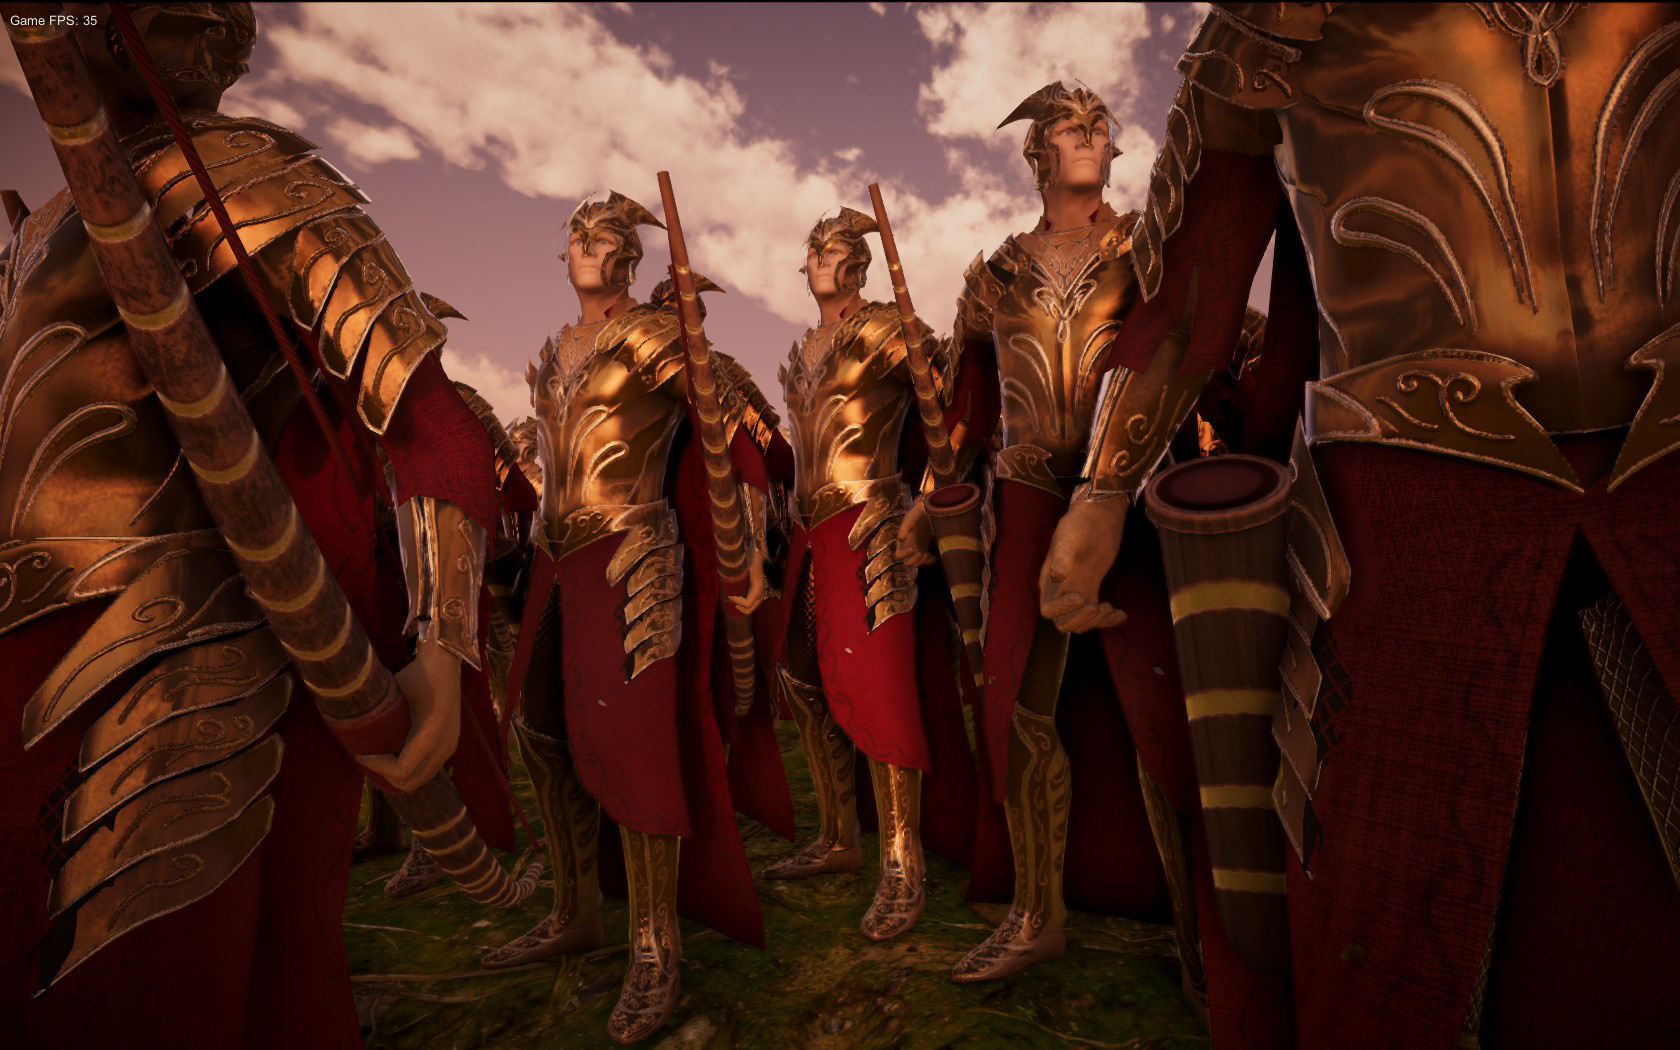
Screenshot Inside Ultimate Epic Battle Simulator 2
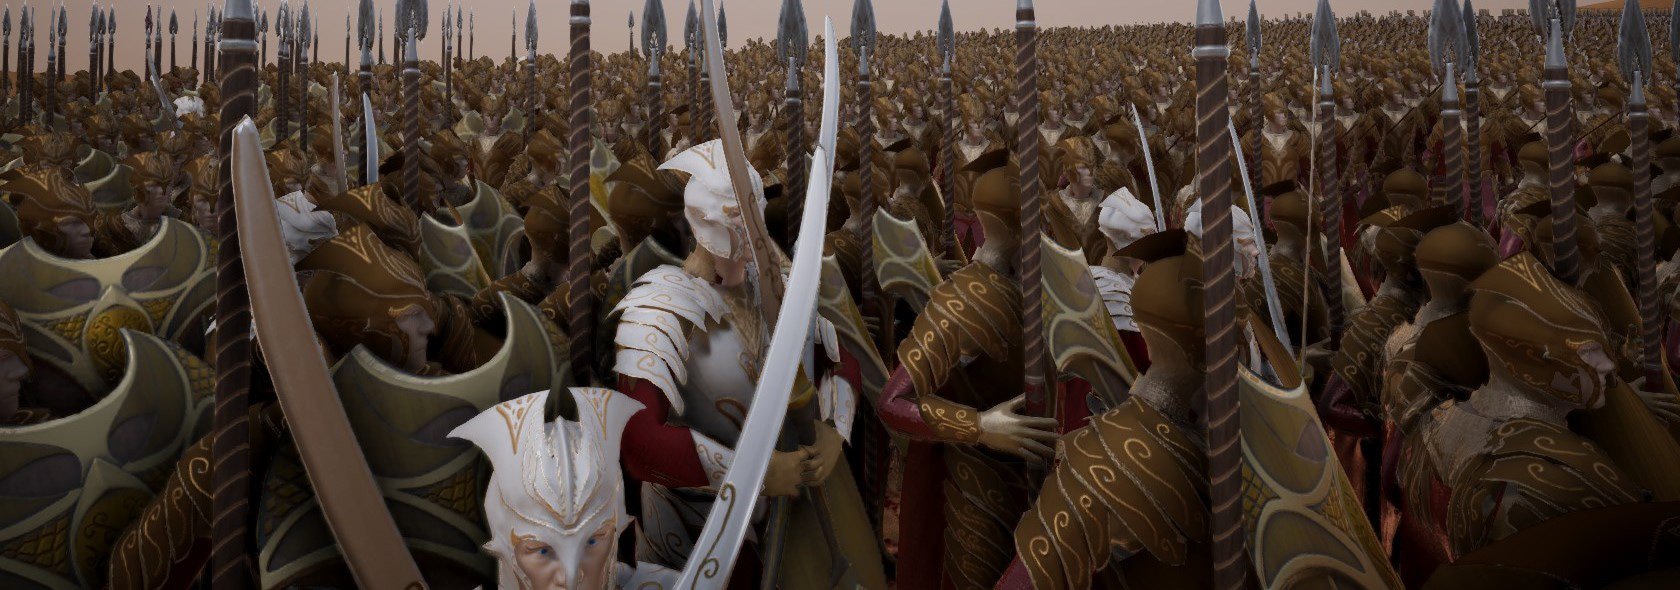
Screenshot Inside Ultimate Epic Battle Simulator 2
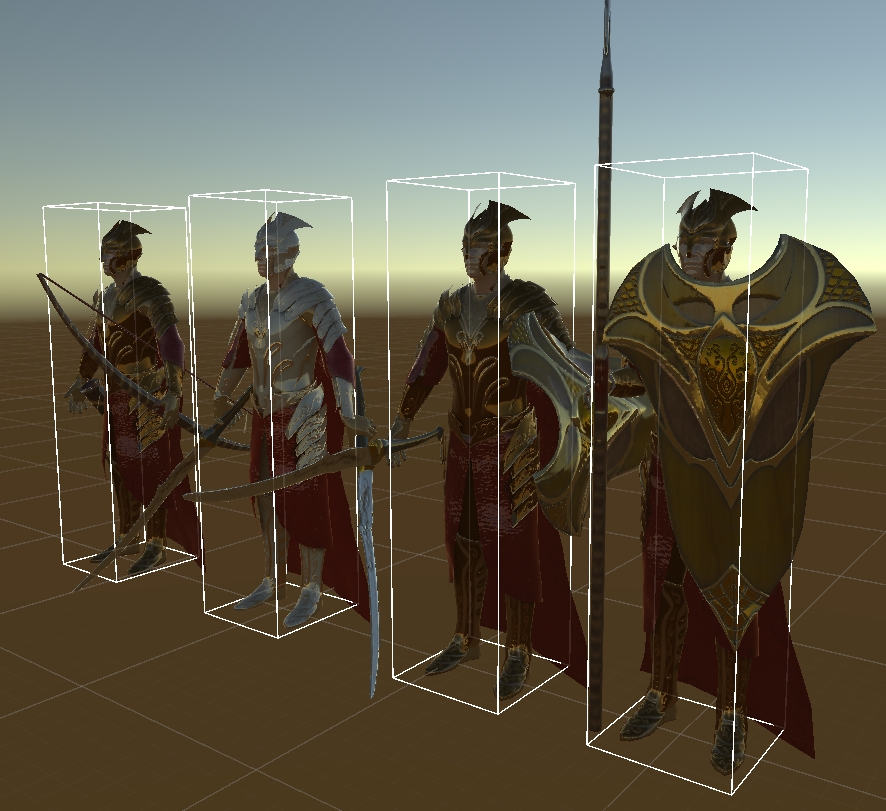
Inside Unity 2018
Steam Reviews & stats
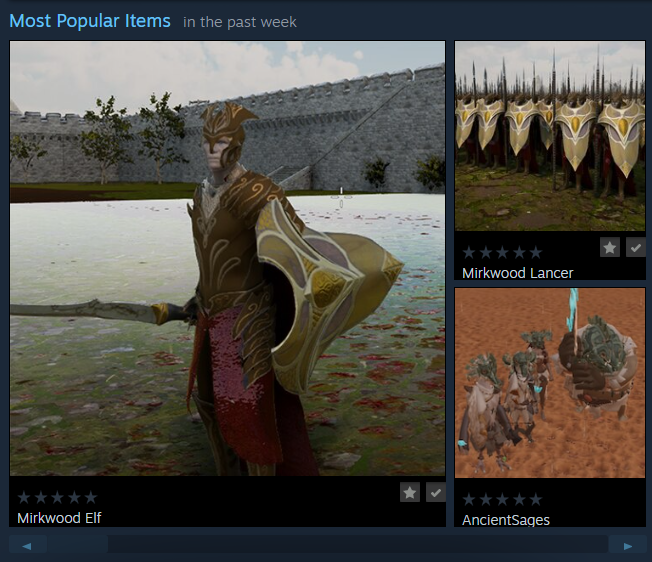
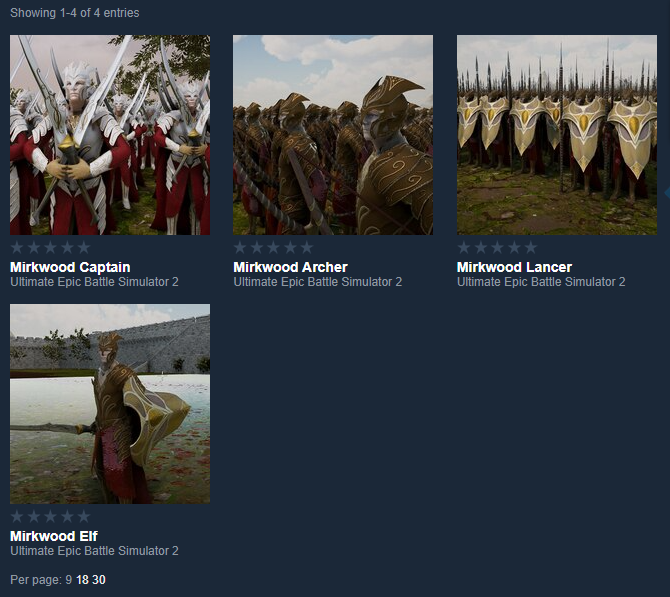
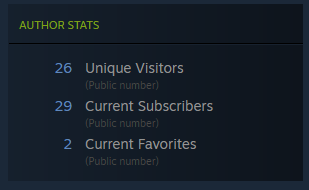
Mirkwood Captain Steam Statistics
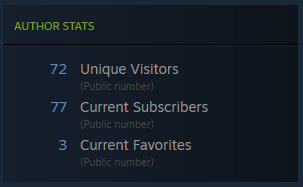
Mirkwood Archer Steam Statistics
Mirkwood Lancer Steam Statistics

Mirkwood Warrior Steam Statistics
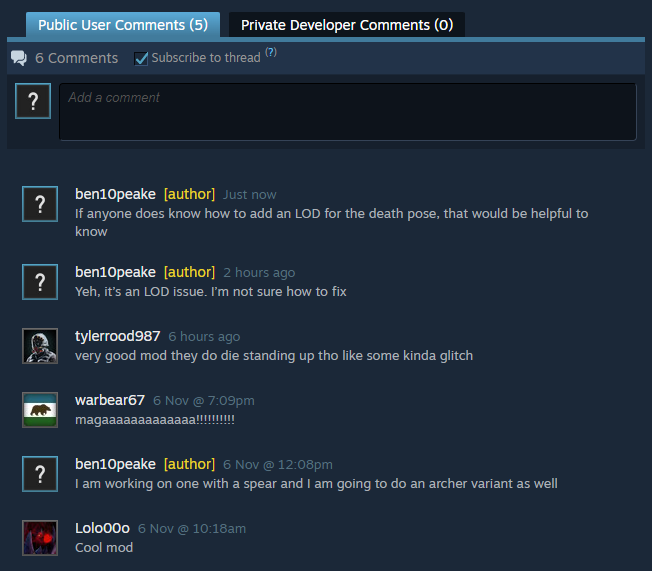
Mirkwood Warrior Mod Comments & Reactions
Development
Character Modelling
Character Modelling
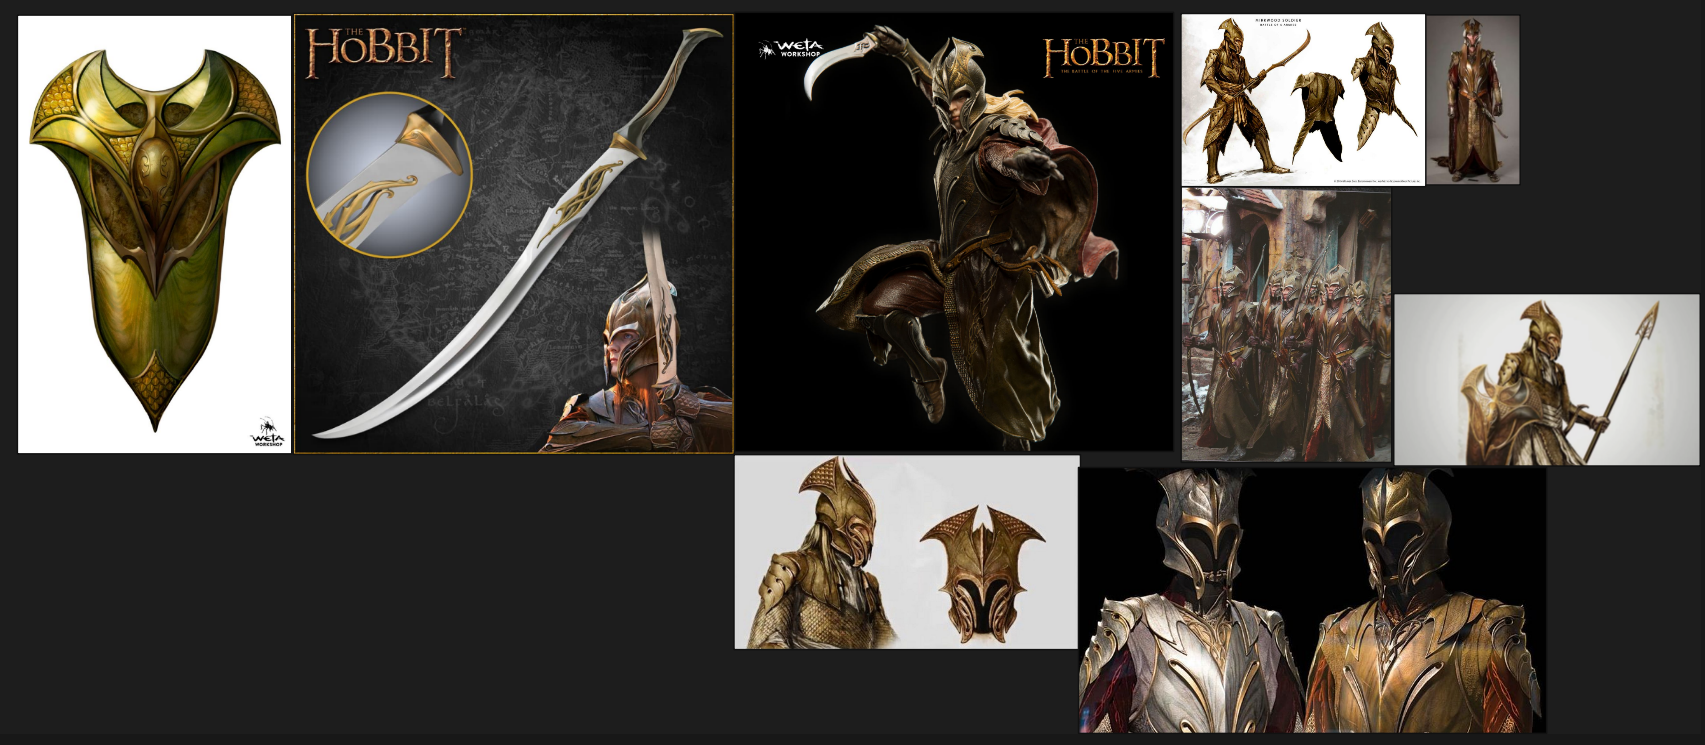
Referance_Board
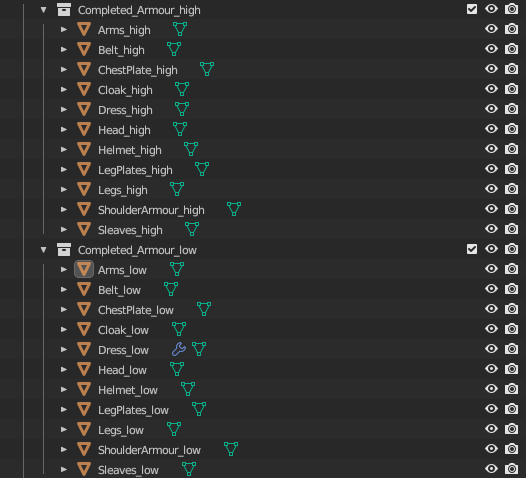
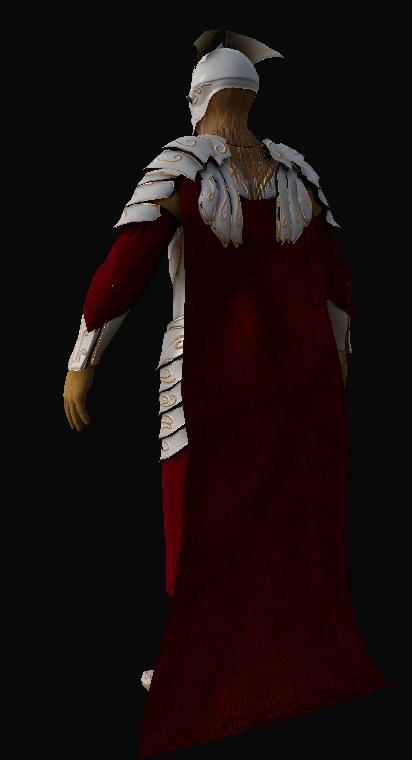
When it came to making the high poly of the Mirkwood Armour I made it in seperate parts so that to make the project managable. As Doing a full on character at this detail was a first for me. I used sub-d modelling methods, and created peices of armour by duplicating and then modifying parts of the base mesh.
Character High Poly
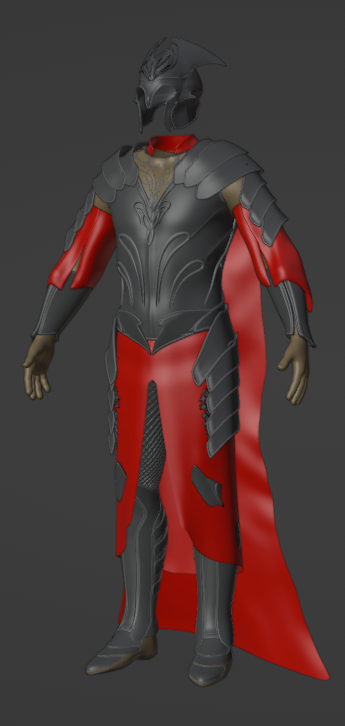
Character_high_ID
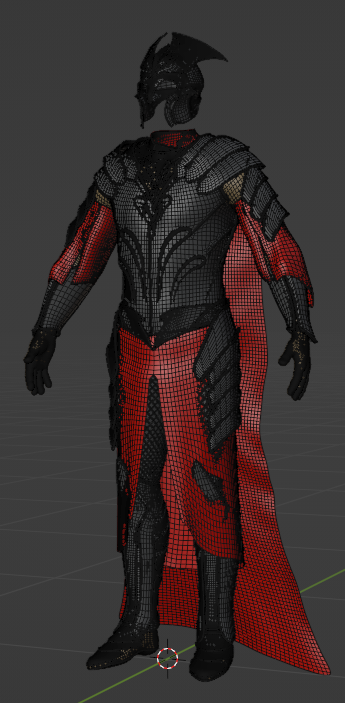
Character_high_Topology
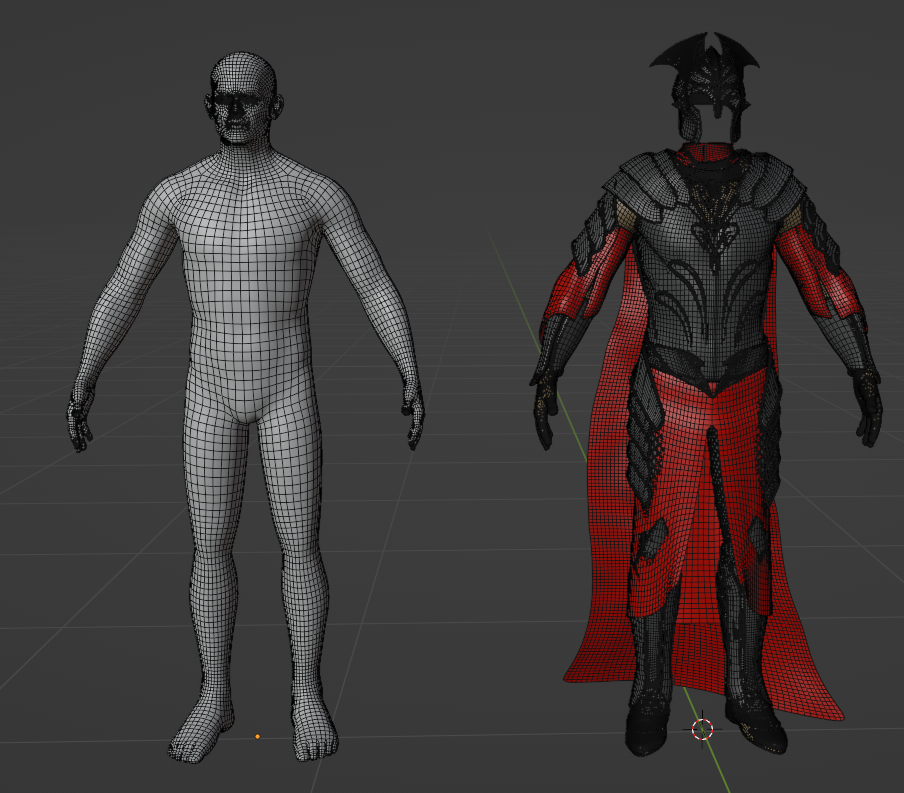
Character_high & Basemesh
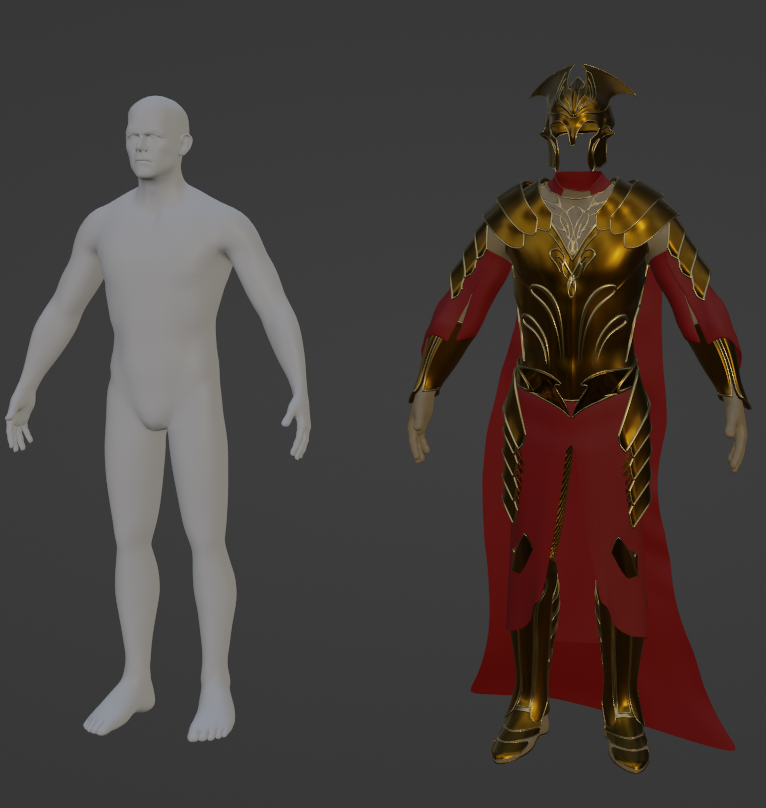
Character_high & Basemesh (Rendered ID)
Character Low Poly
When it came to creating the low poly model of the character I used the traditional retoplogy method and managed to find an Addon which matched the tool which is in Autodesk Maya for Blender and downloaded Blender 4.23 (was using 3.617 for modelling) and made a shortcut named Retopology and used that ersion of Blender just for that Task.

Character_Lowpoly
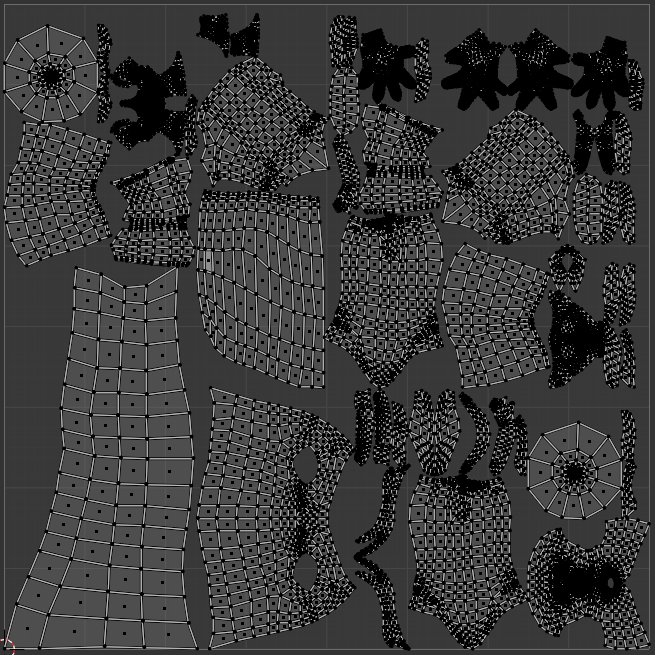
Character_UVs
Substance Painter
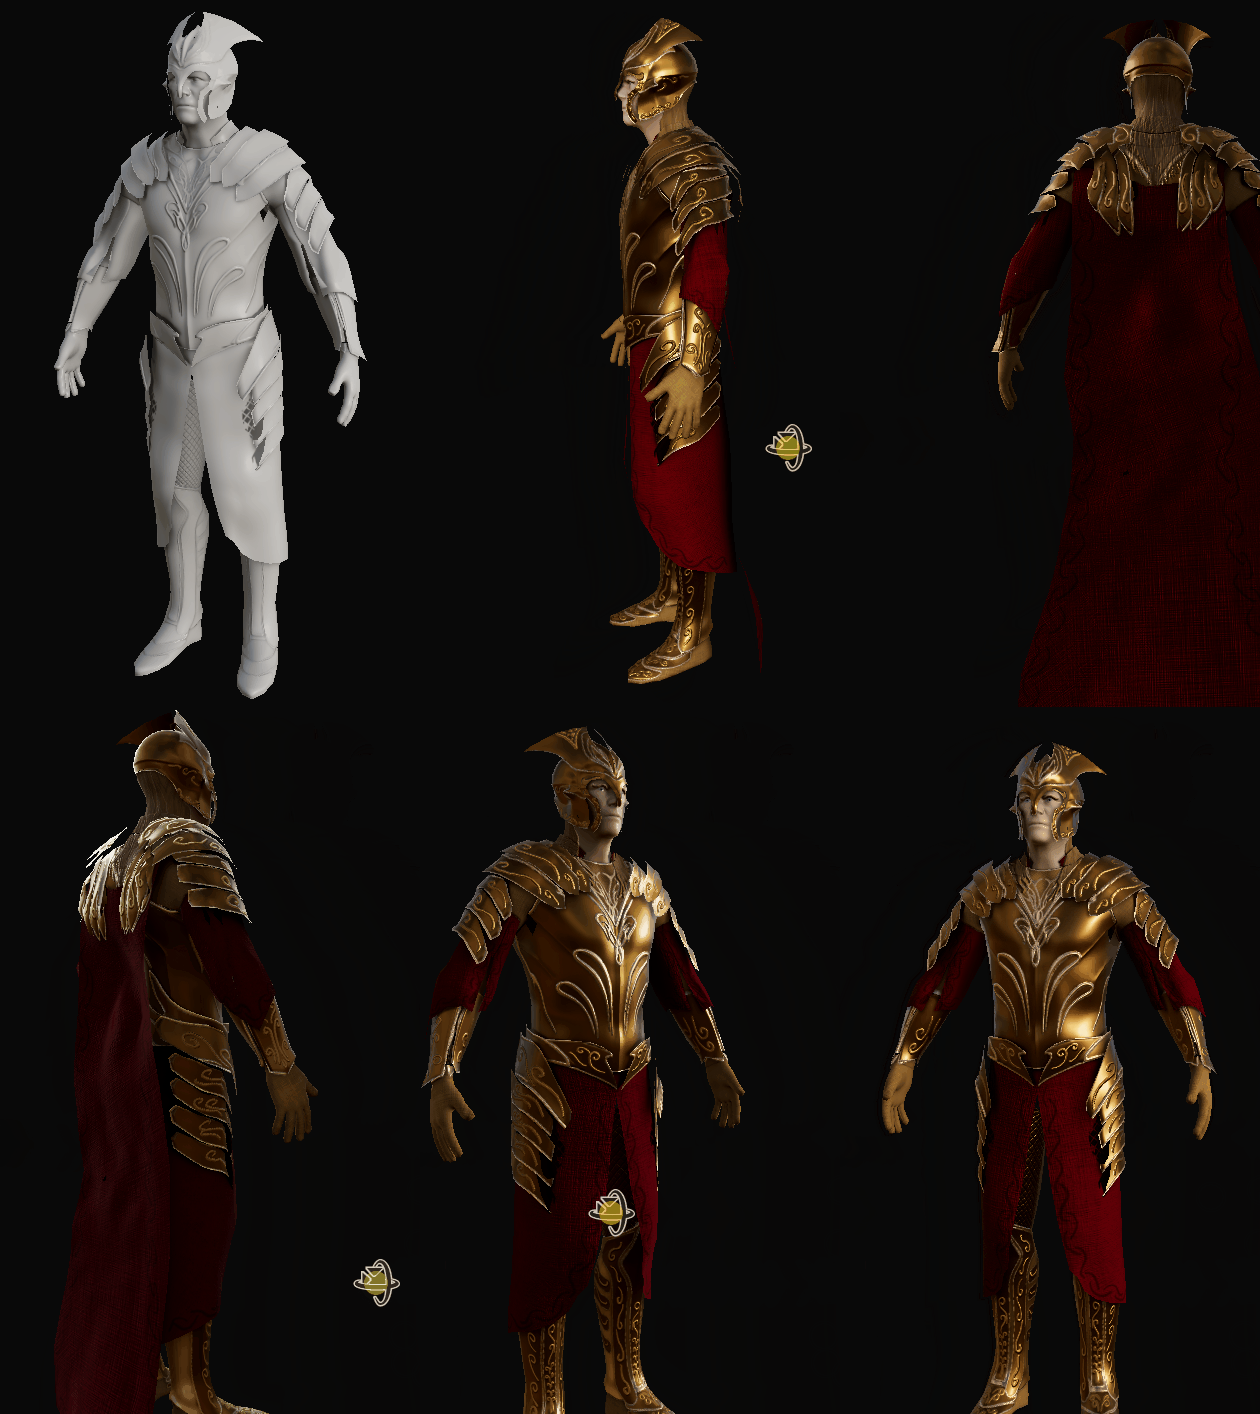
Texture_Buildup

Substance_Layers_01

Substance_Layers_02

Substance_Layers_03
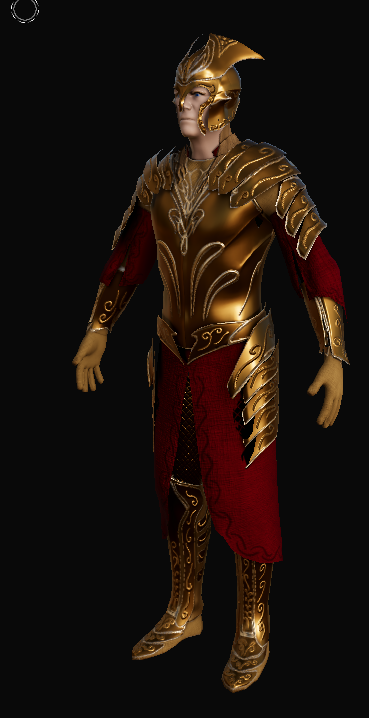

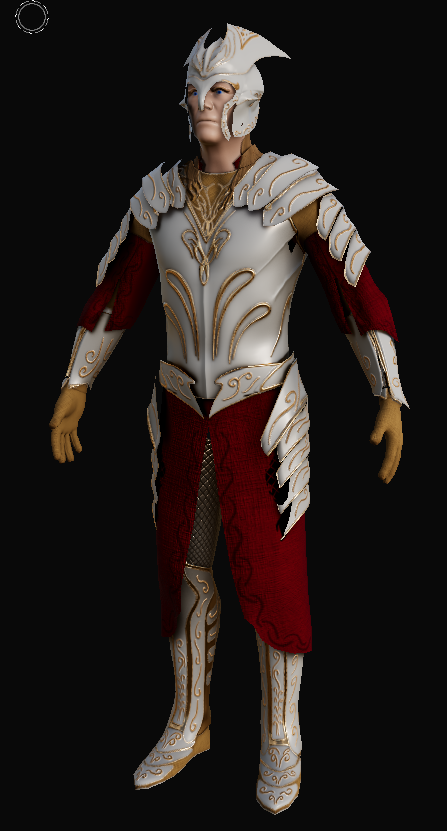
Varient 02 (Removed golden material at the bottom of the layers)
Prop Modelling
Sword & Sheild
Sword & Sheild
High&Low Sowrd
High&Low Sowrd

Sword & Sheild UVs
Sword & Sheild
Substance Painter
Substance Painter
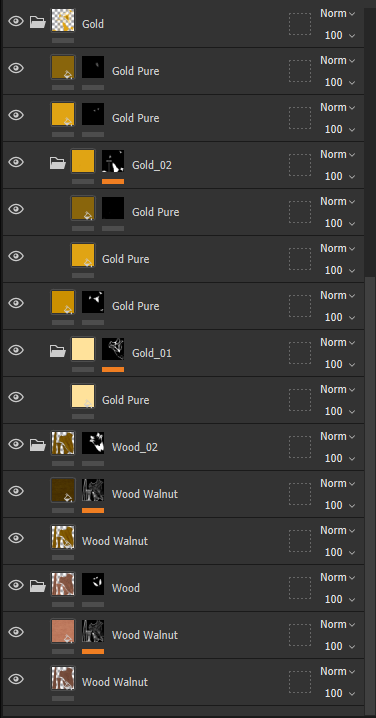


Prop Modelling
Lance
Lance
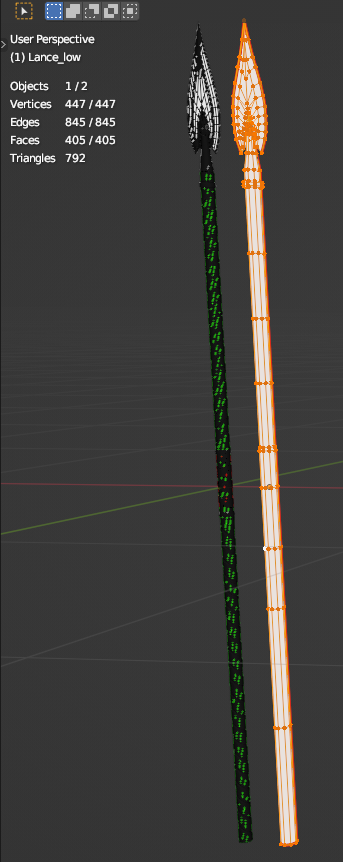
Lance_High&Low
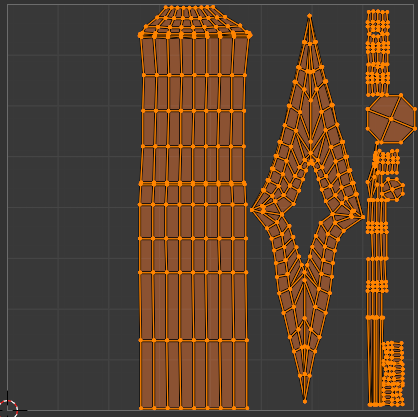
Lance_UVs
Lance
Substance Painter
Substance Painter

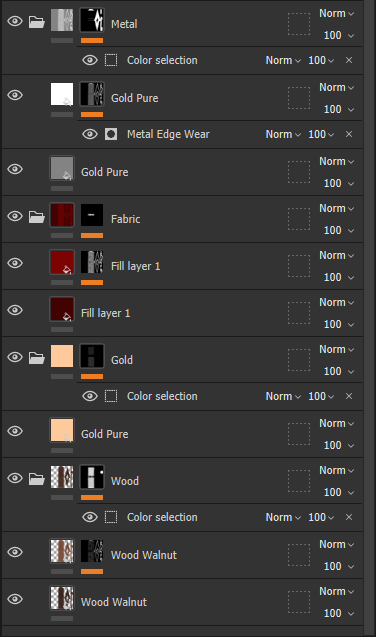
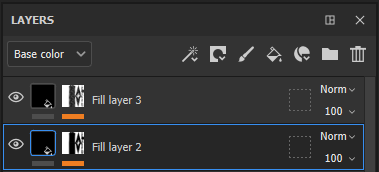
Prop Modelling
Bow & Quiver
Bow & Quiver

Bow&Quiver_High&Low_Quiver Polycount
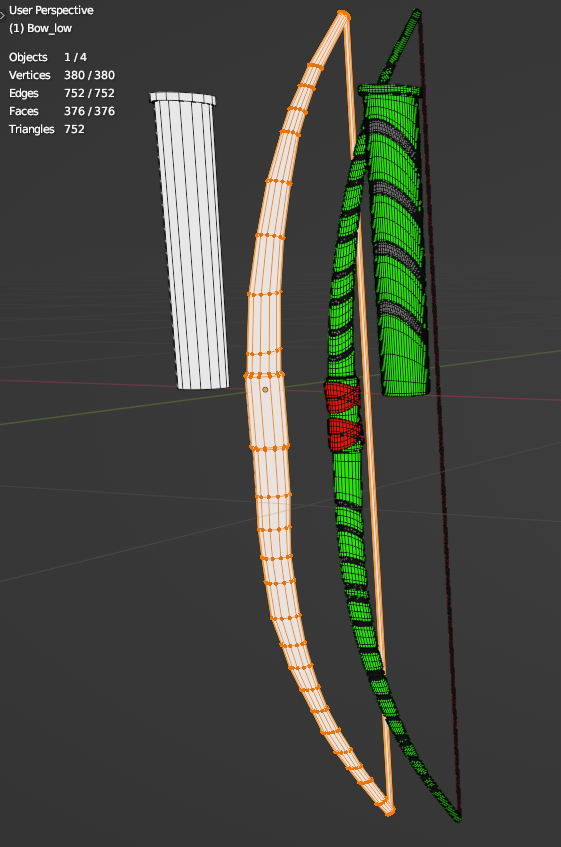
Bow&Quiver_High&Low_Bow Polycount
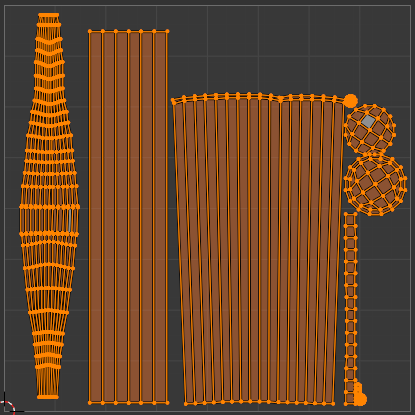
Bow & Quiver UVs
Bow & Quiver
Substance Painter
Substance Painter


Materials inside Unity

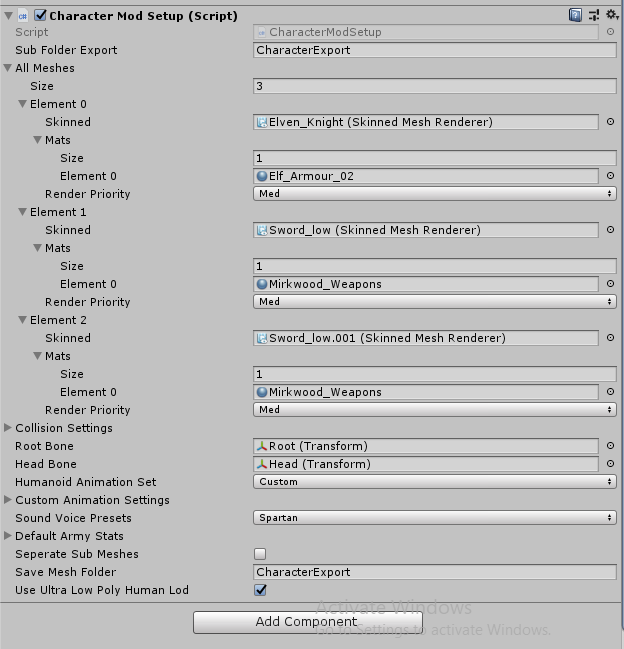
Mod Script Material Application
Rigging
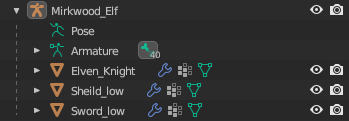
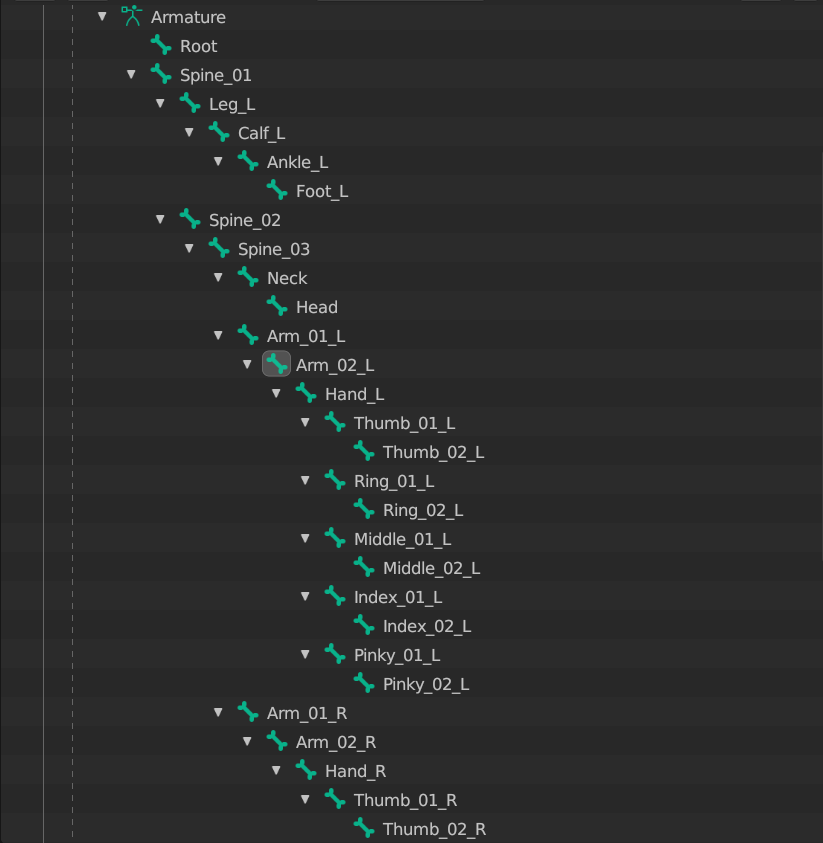
When it came to rigging the character and getting it prepared for animation, all of the individual parts were bound to the skeleton one by one, this would allow for better automatic weight mapping (as I find weight painting the hardest and most annoying part). Once all of the individual had been weighted to the skeleton, I then combined the mesh into one object, which retained all of the vertex groups and combined them all together.
When it came to rigging the character and getting it prepared for animation, all of the individual parts were bound to the skeleton one by one, this would allow for better automatic weight mapping (as I find weight painting the hardest and most annoying part). Once all of the individual had been weighted to the skeleton, I then combined the mesh into one object, which retained all of the vertex groups and combined them all together.


Animation
When it came to animation there were only two varients I wanted to make custom animations for, This was the Mirkwood Lancer and the Mirkwood Captain. When it came to making animations, there was a preset amount of animations which were specifically needed in order for the modded character to work in Ultimate Epic Battle Simulator 2.
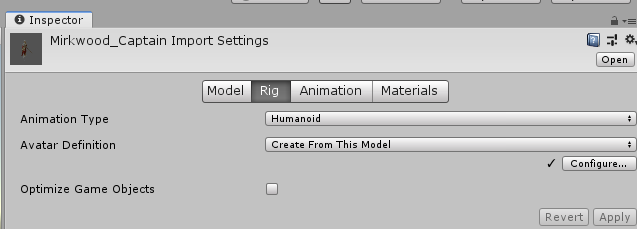

Context: In order to create a modded character, the character, materials, rig and animations all had to be packaged up into one FBX in order to be added properly to unity.
The Process would go:
01: Import character into Unity, drag the initial character package into the scene and extract its contents.
02: Setup the rig, so that the animation type is humaniod, press configure, is everything is green its all good.
03: Apply a custom made script, made by the developers of the game and attach it to the top of the heirarchy of the unpackaged character.
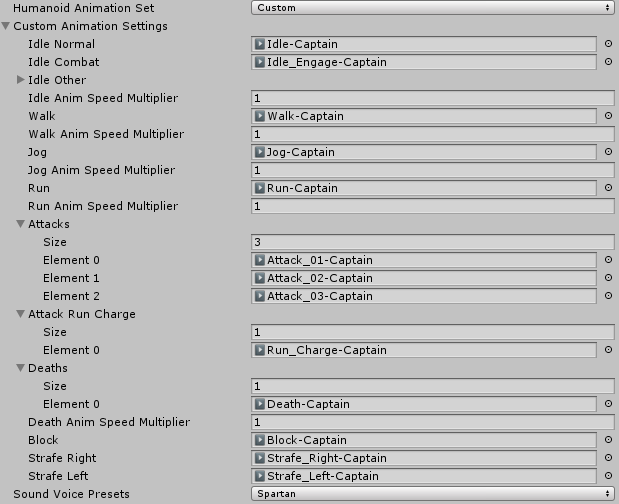
04: Create an animatior for each character which has custom animations, setup like the images below (got this correct after a bit of trial and error).

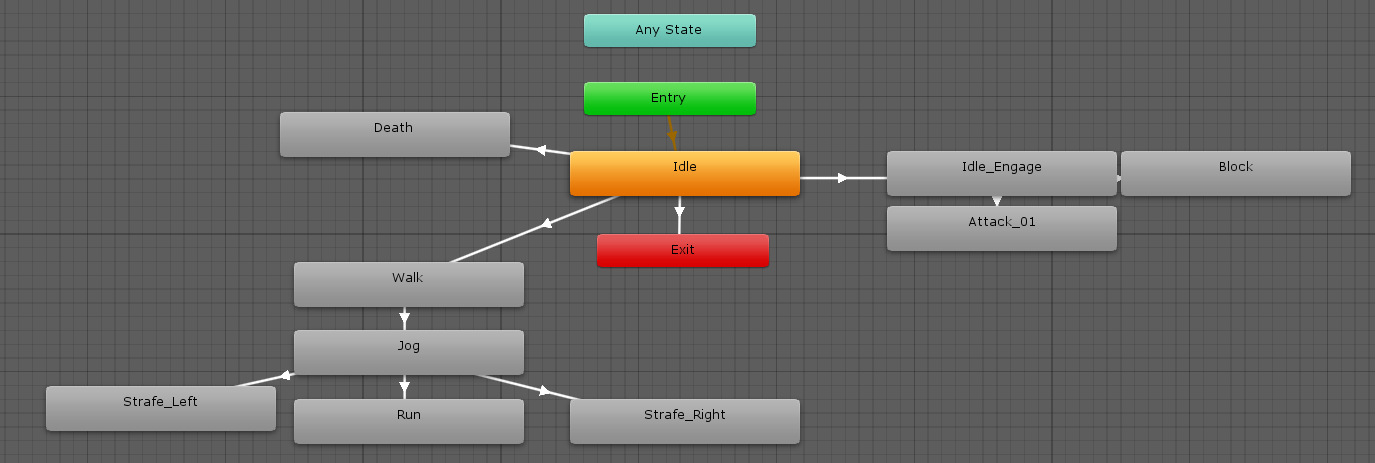
05: Set all of the animations to the correct slots in the Custom Animations section of the Script.
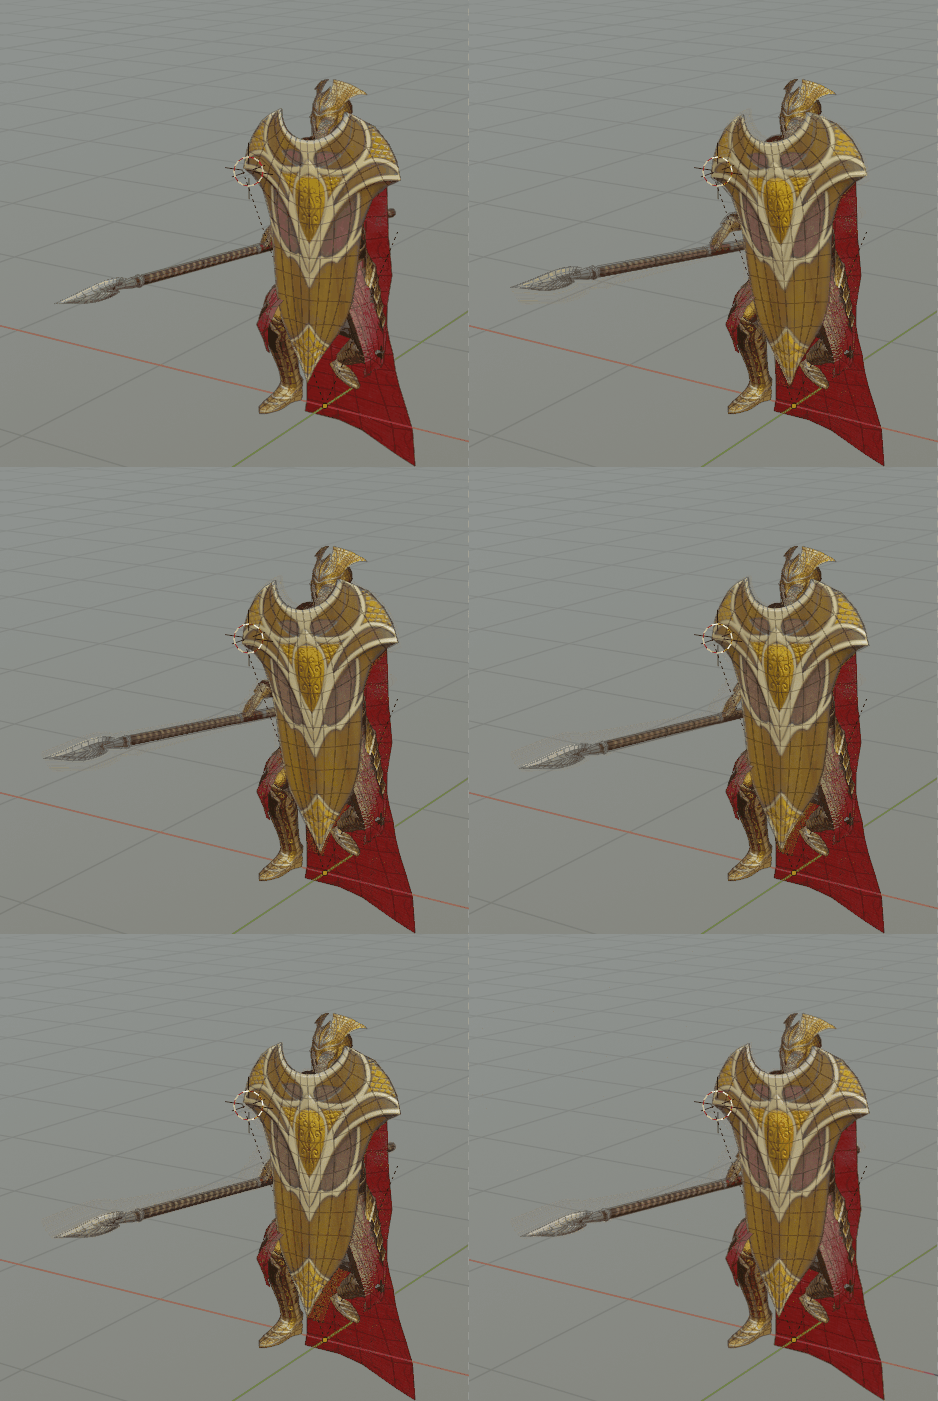
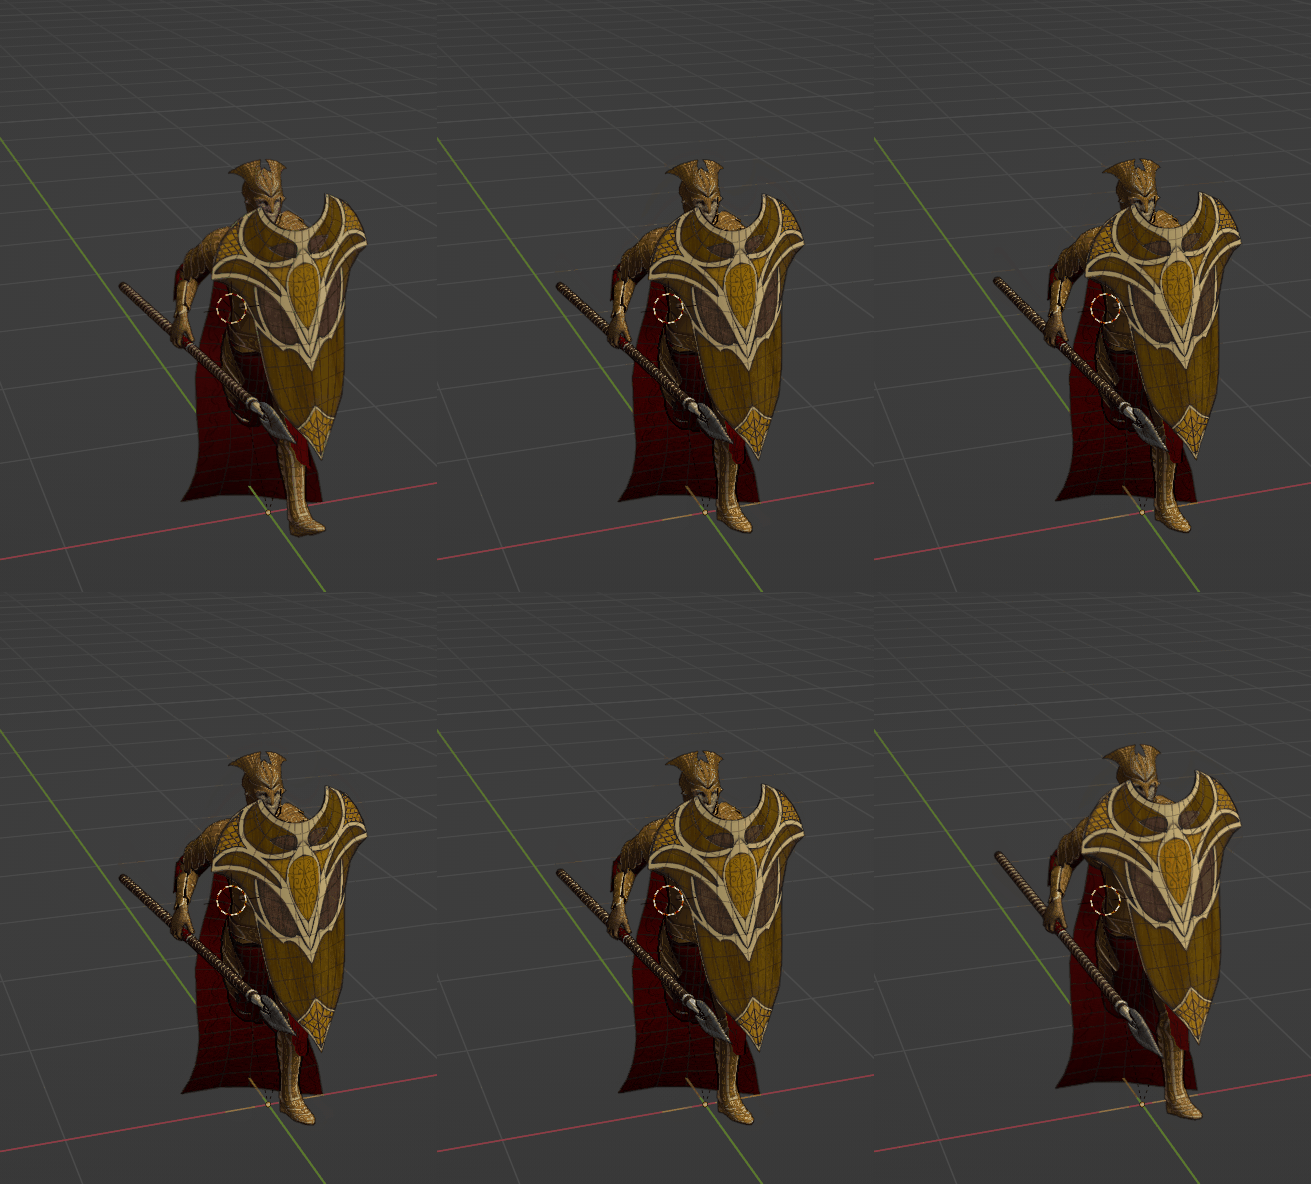
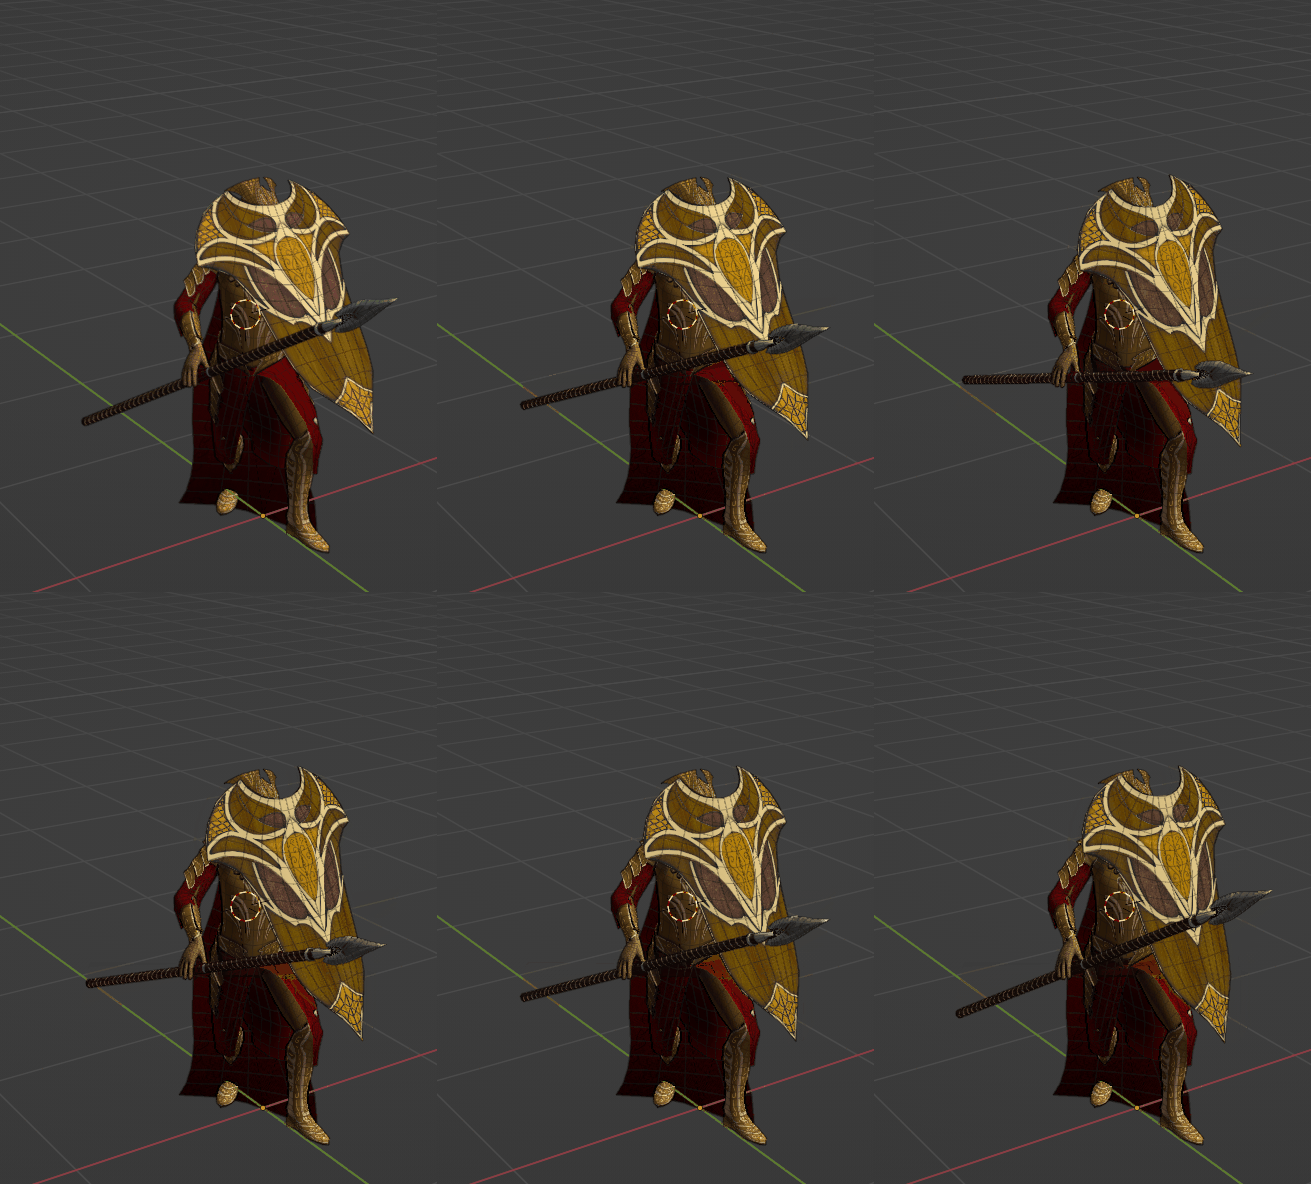
Created Custom Animations: Lancer
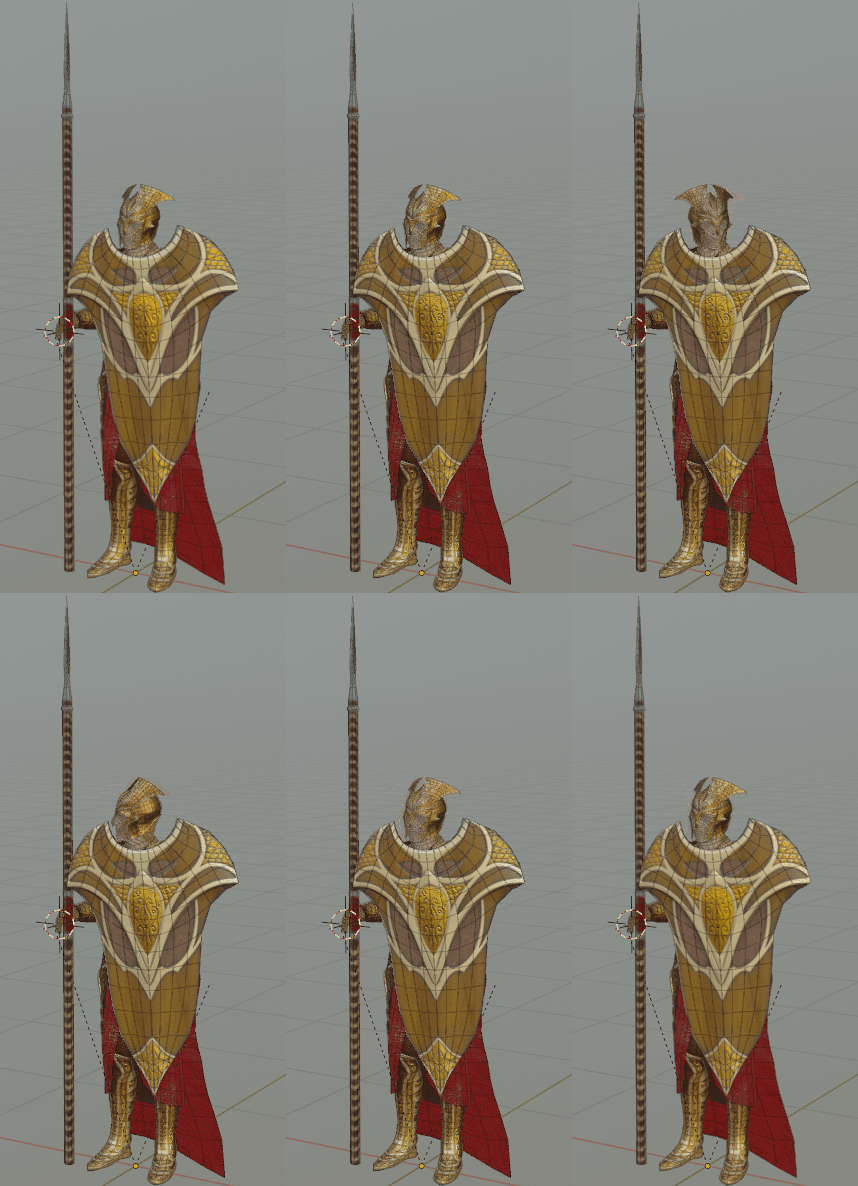
Idle
Idle_Engaged
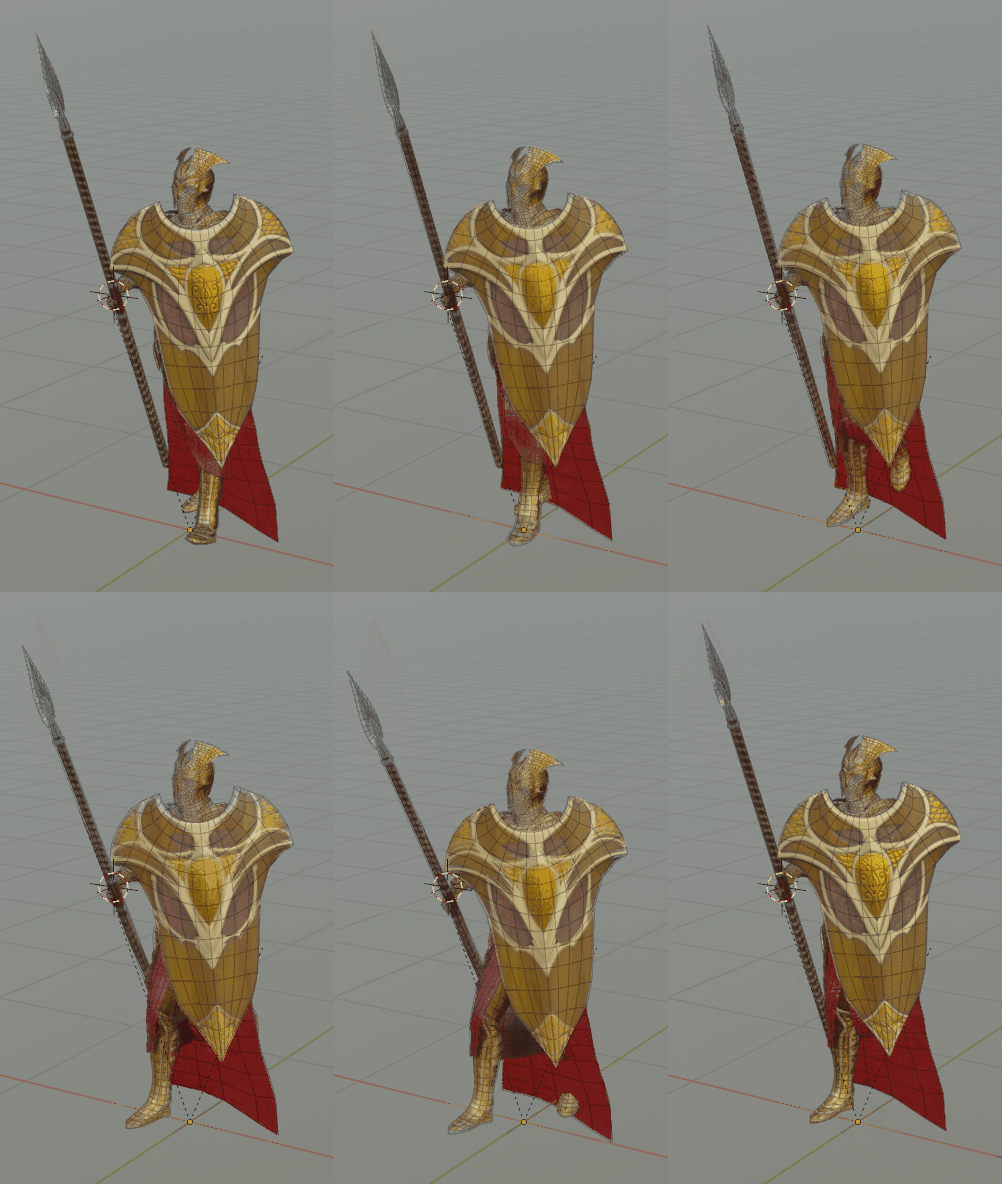
Walk
Jog
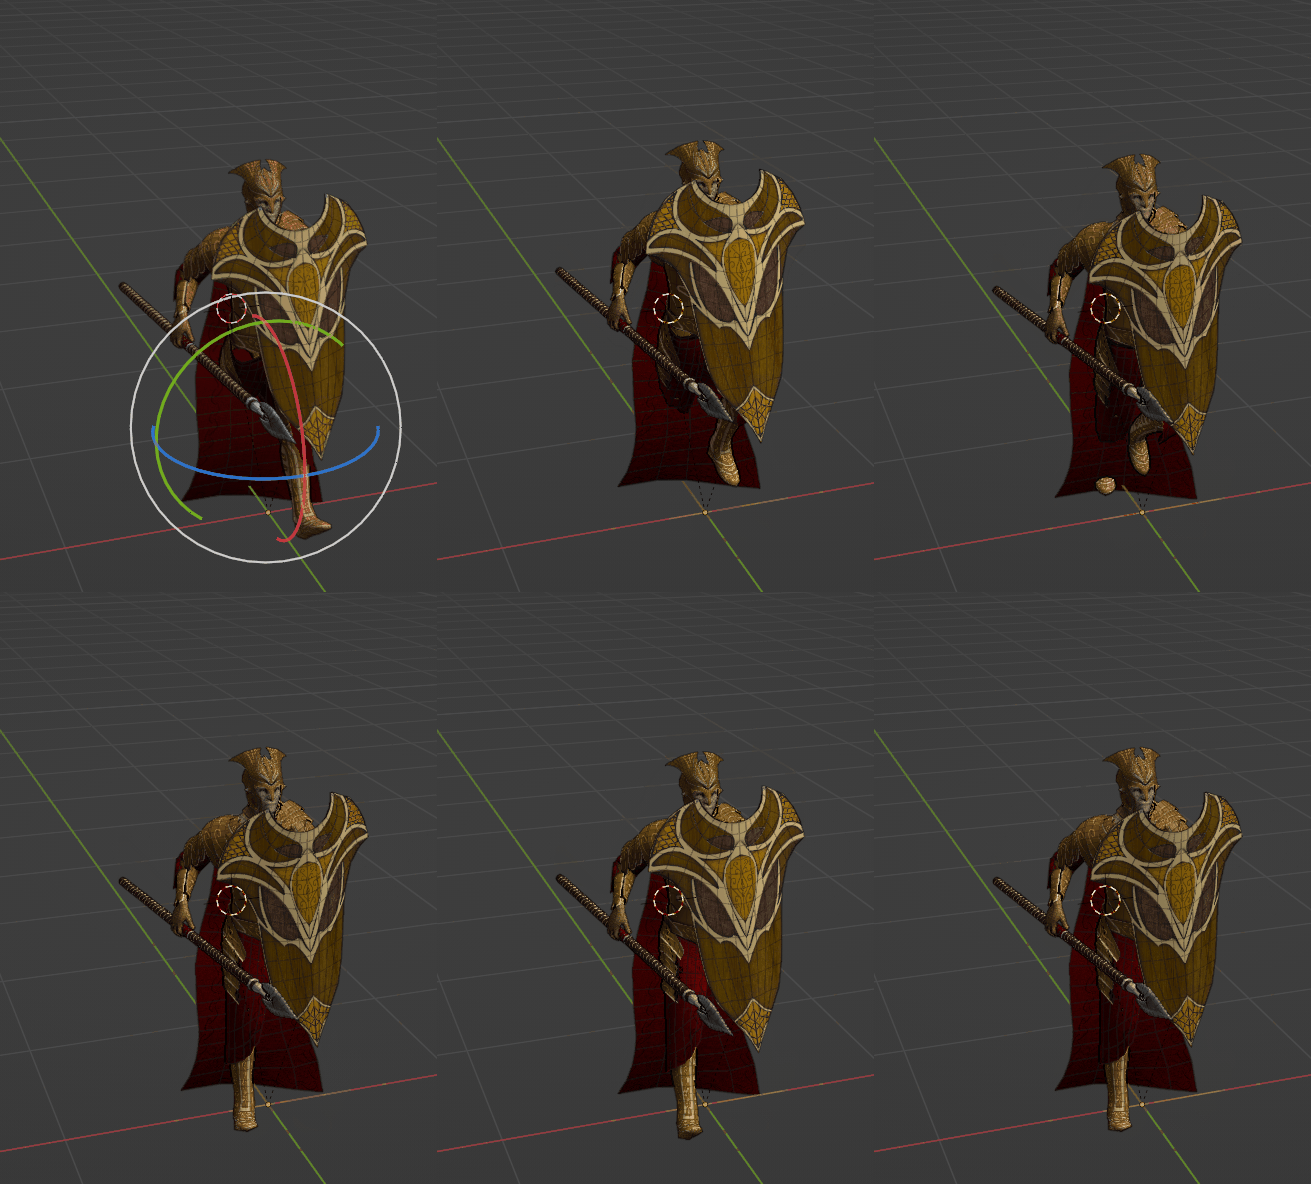
Run
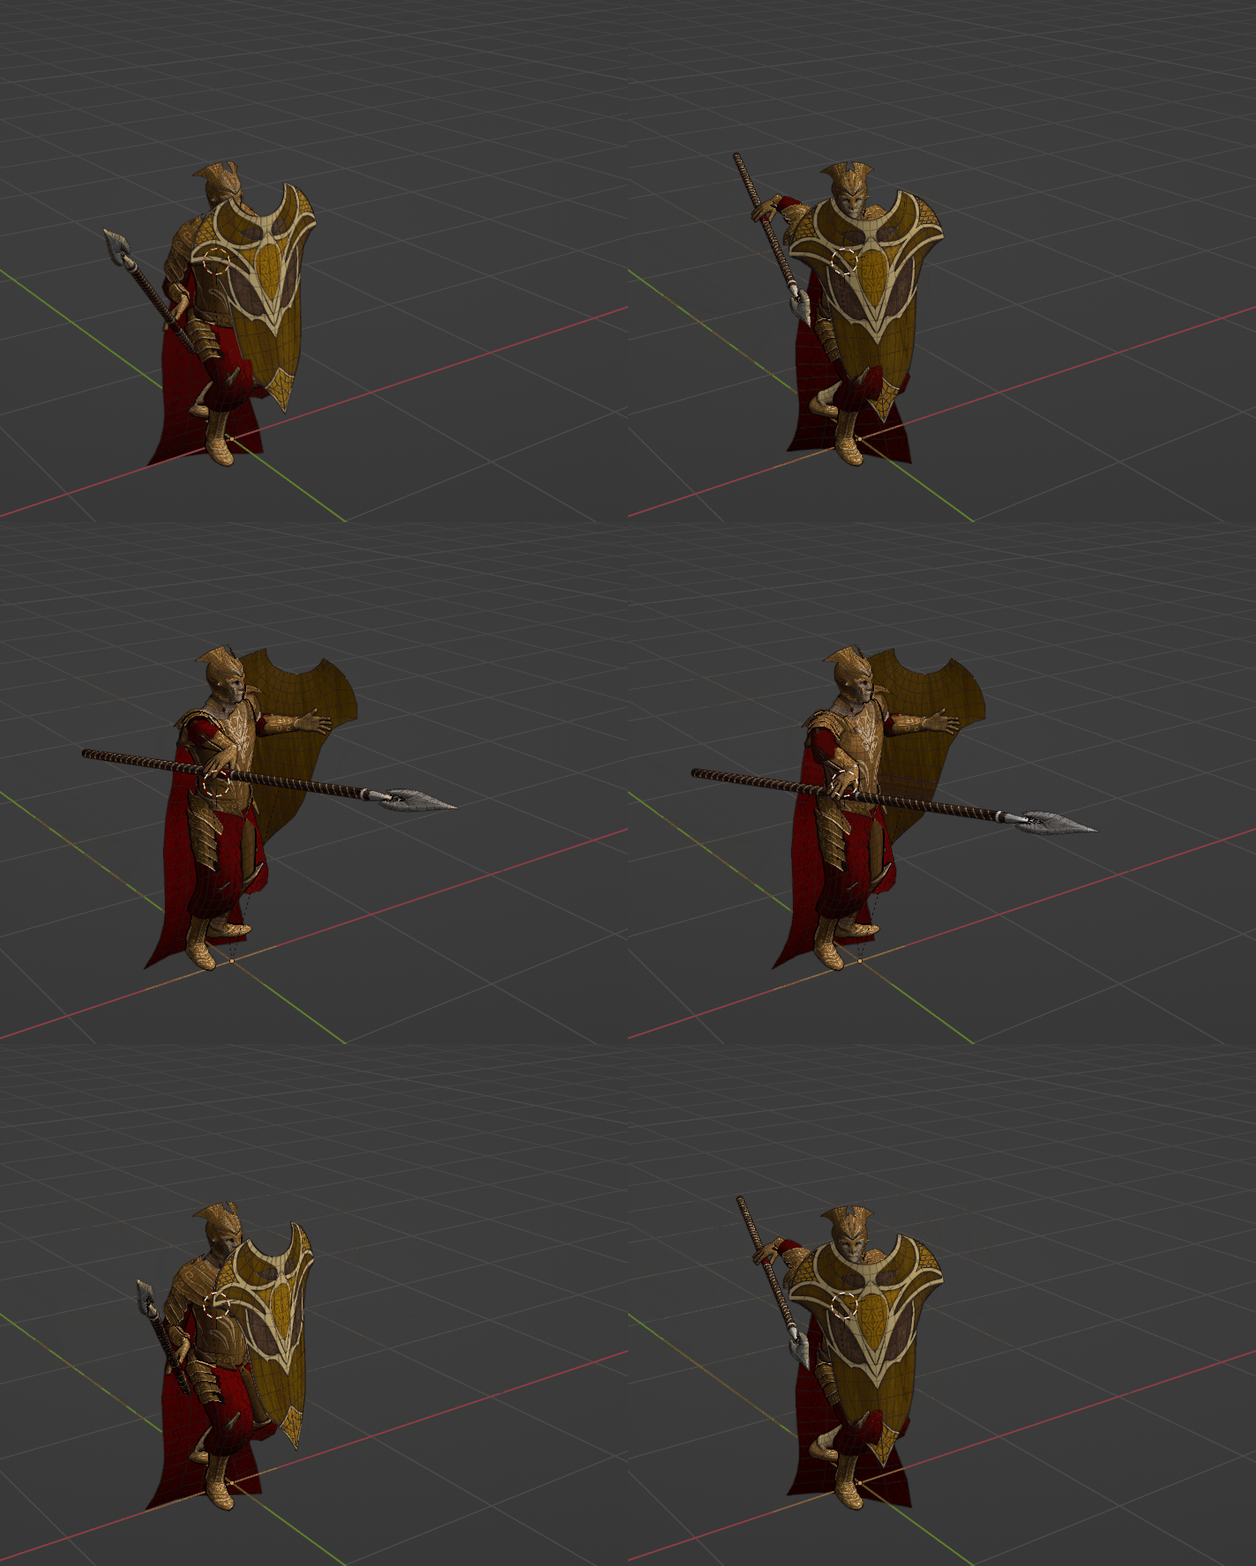
Attack
Block
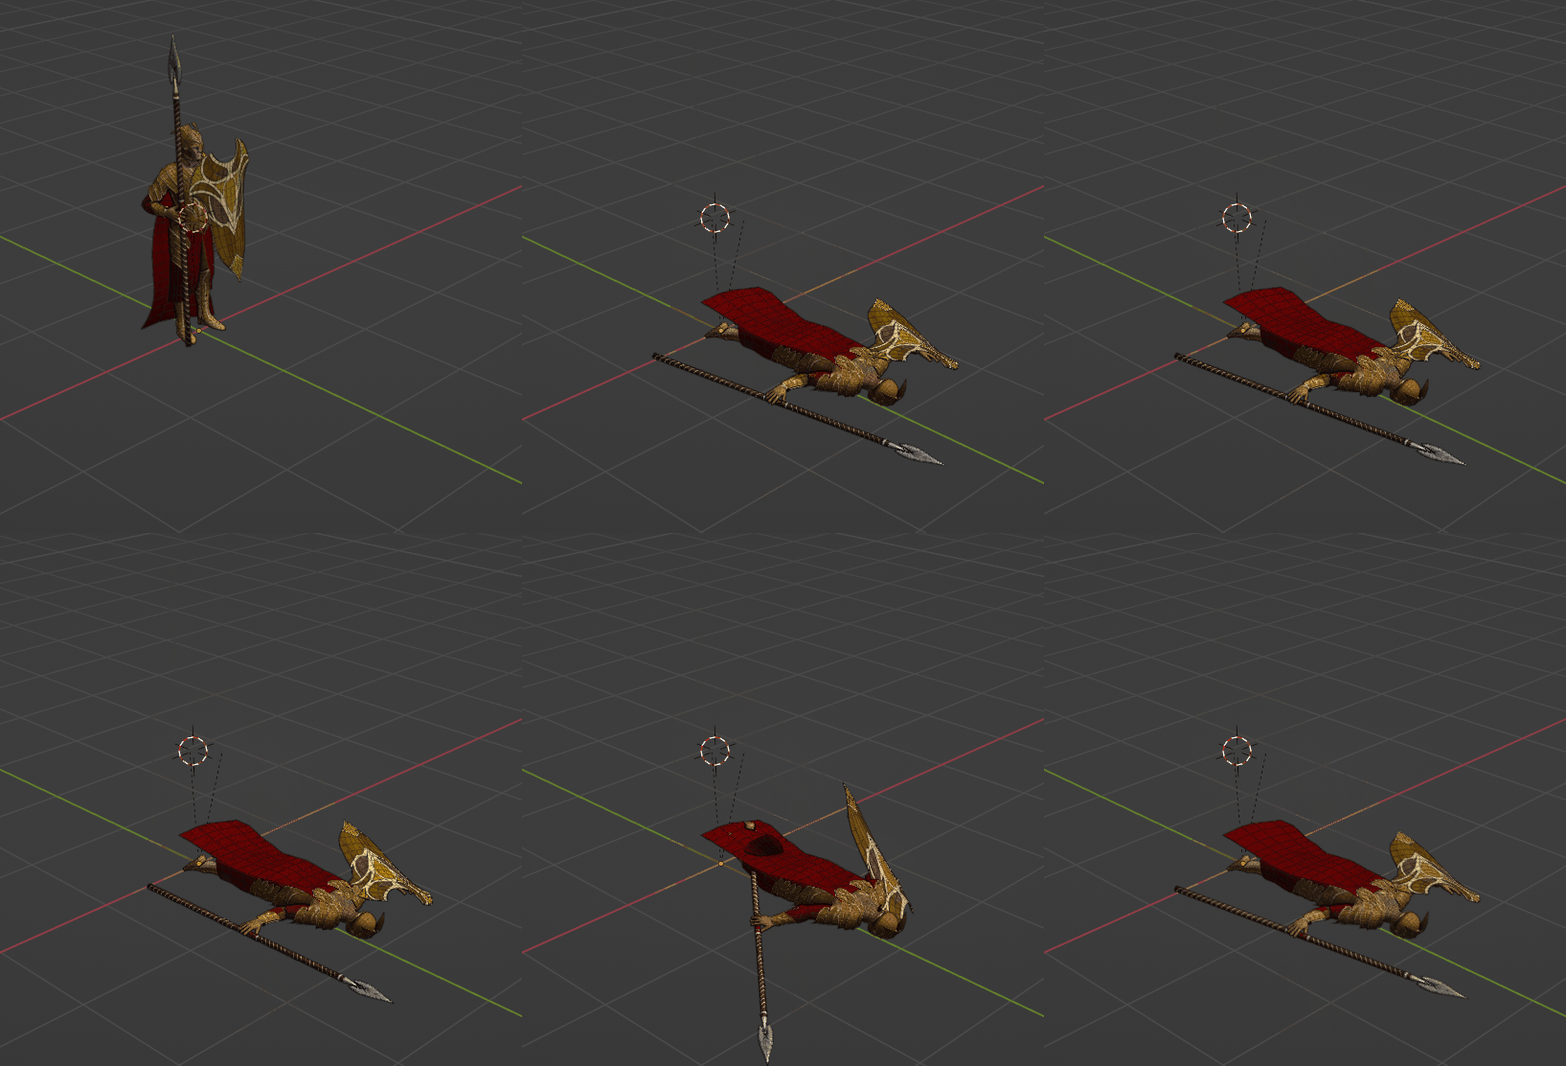
Death
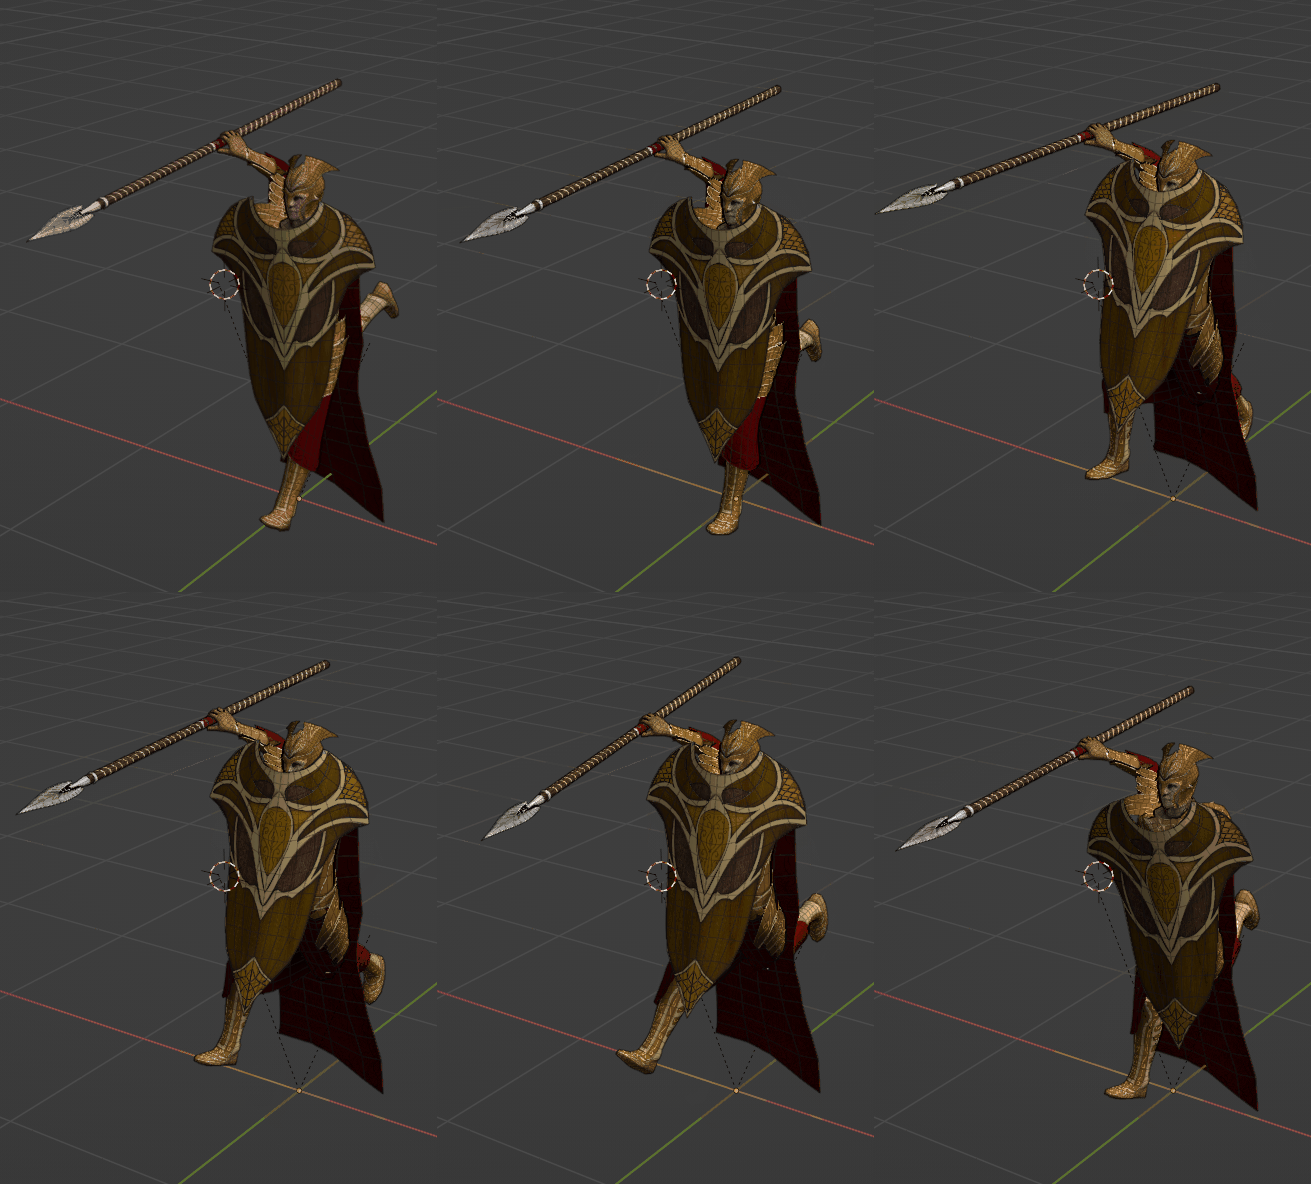
Run_attack
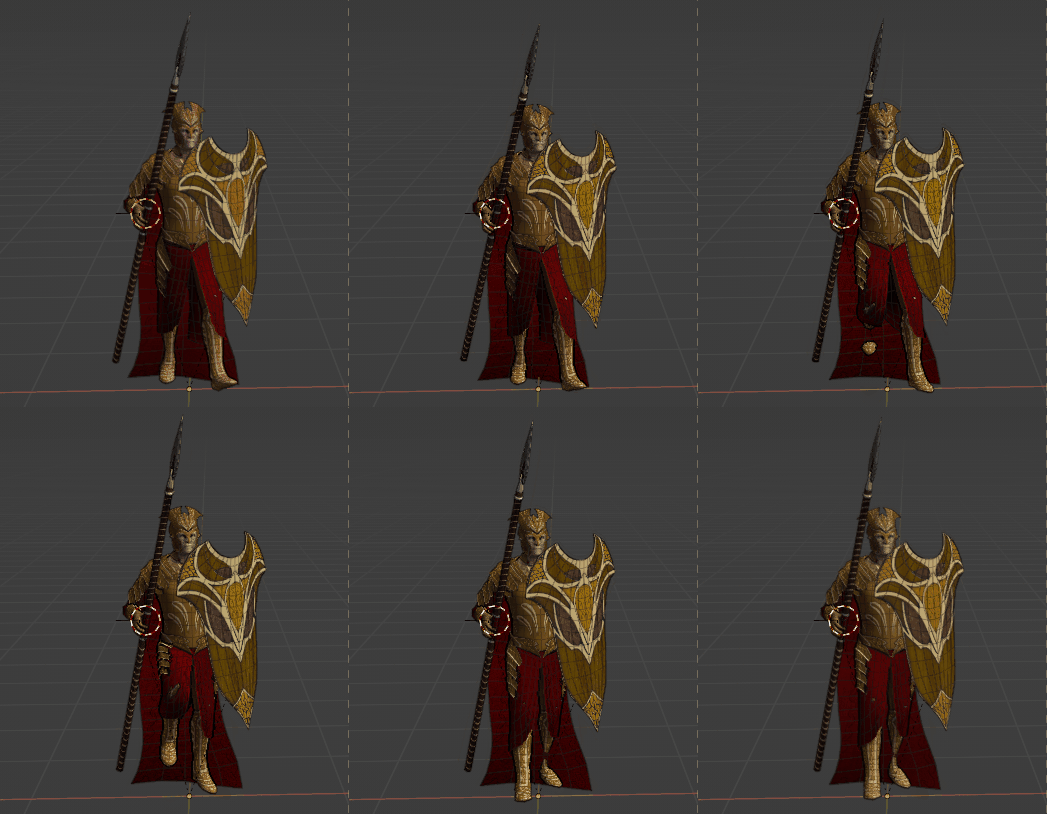
Strafe_Left
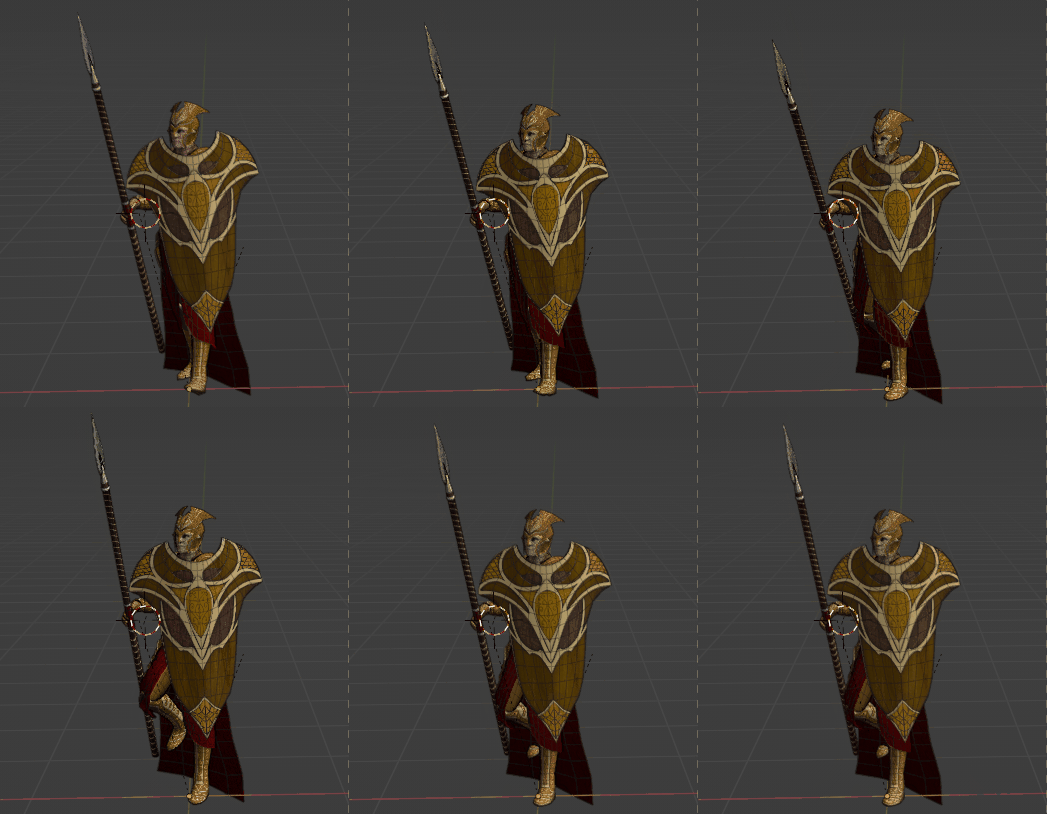
Strafe_Right
Created Custom Animations: Captain
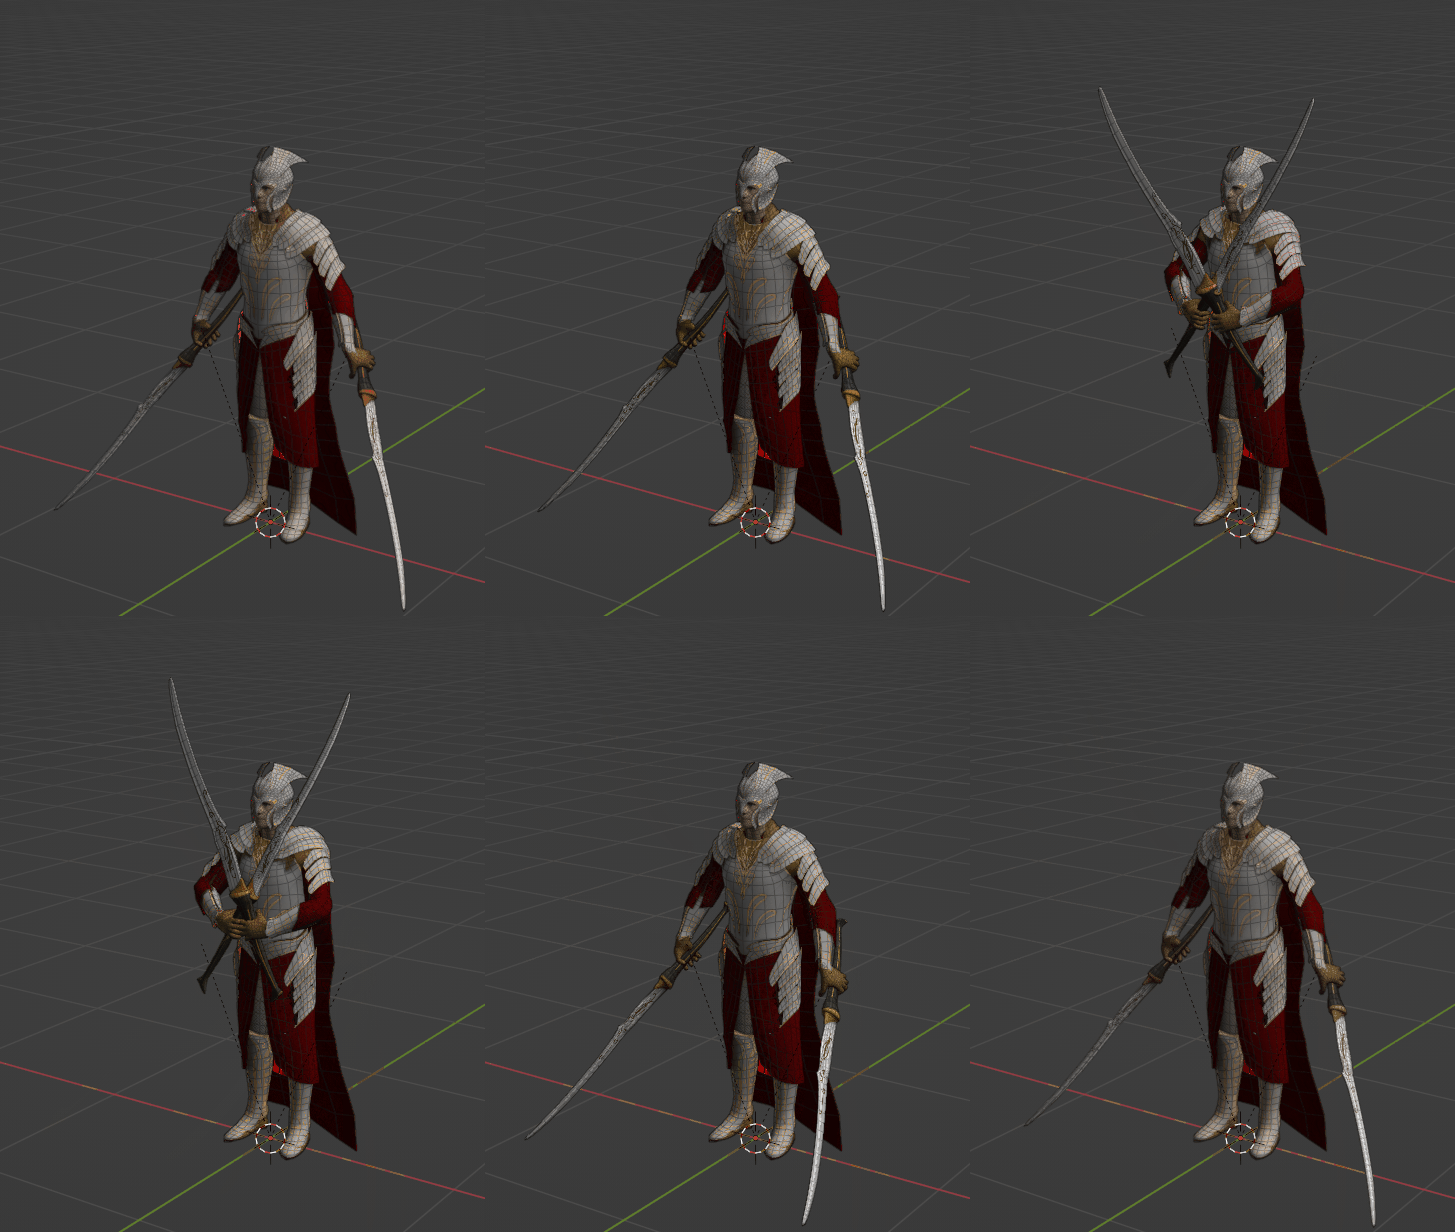
Idle
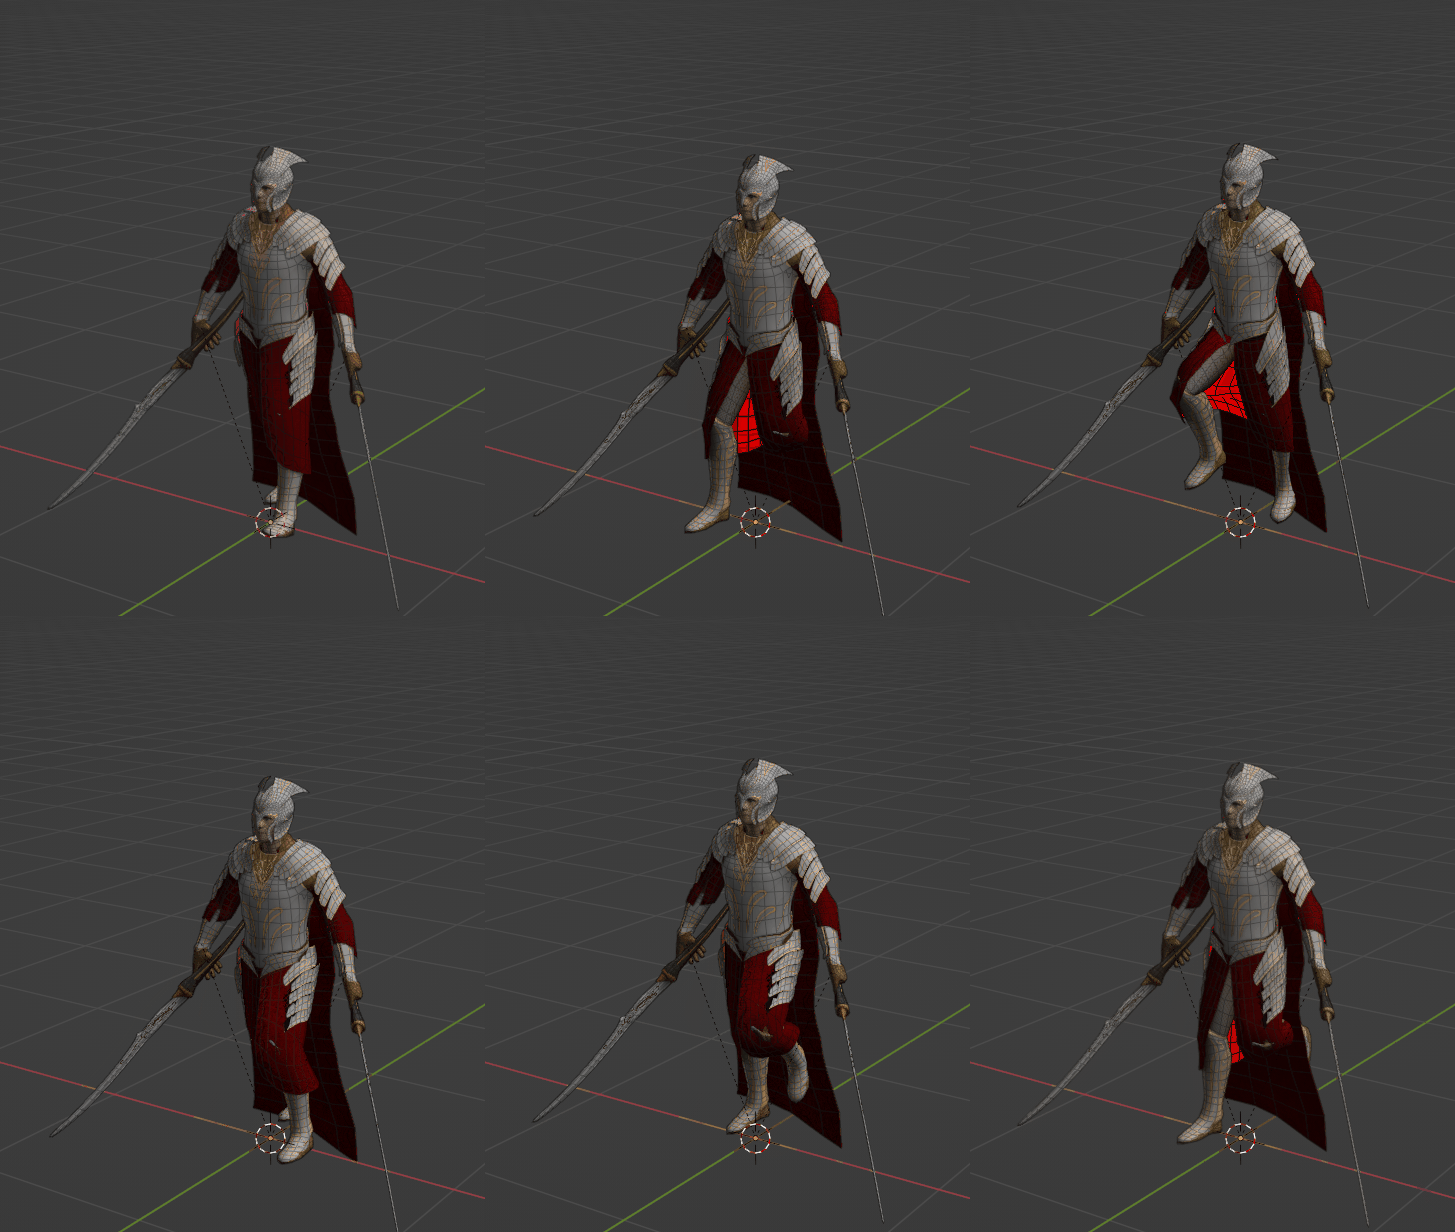
Walk
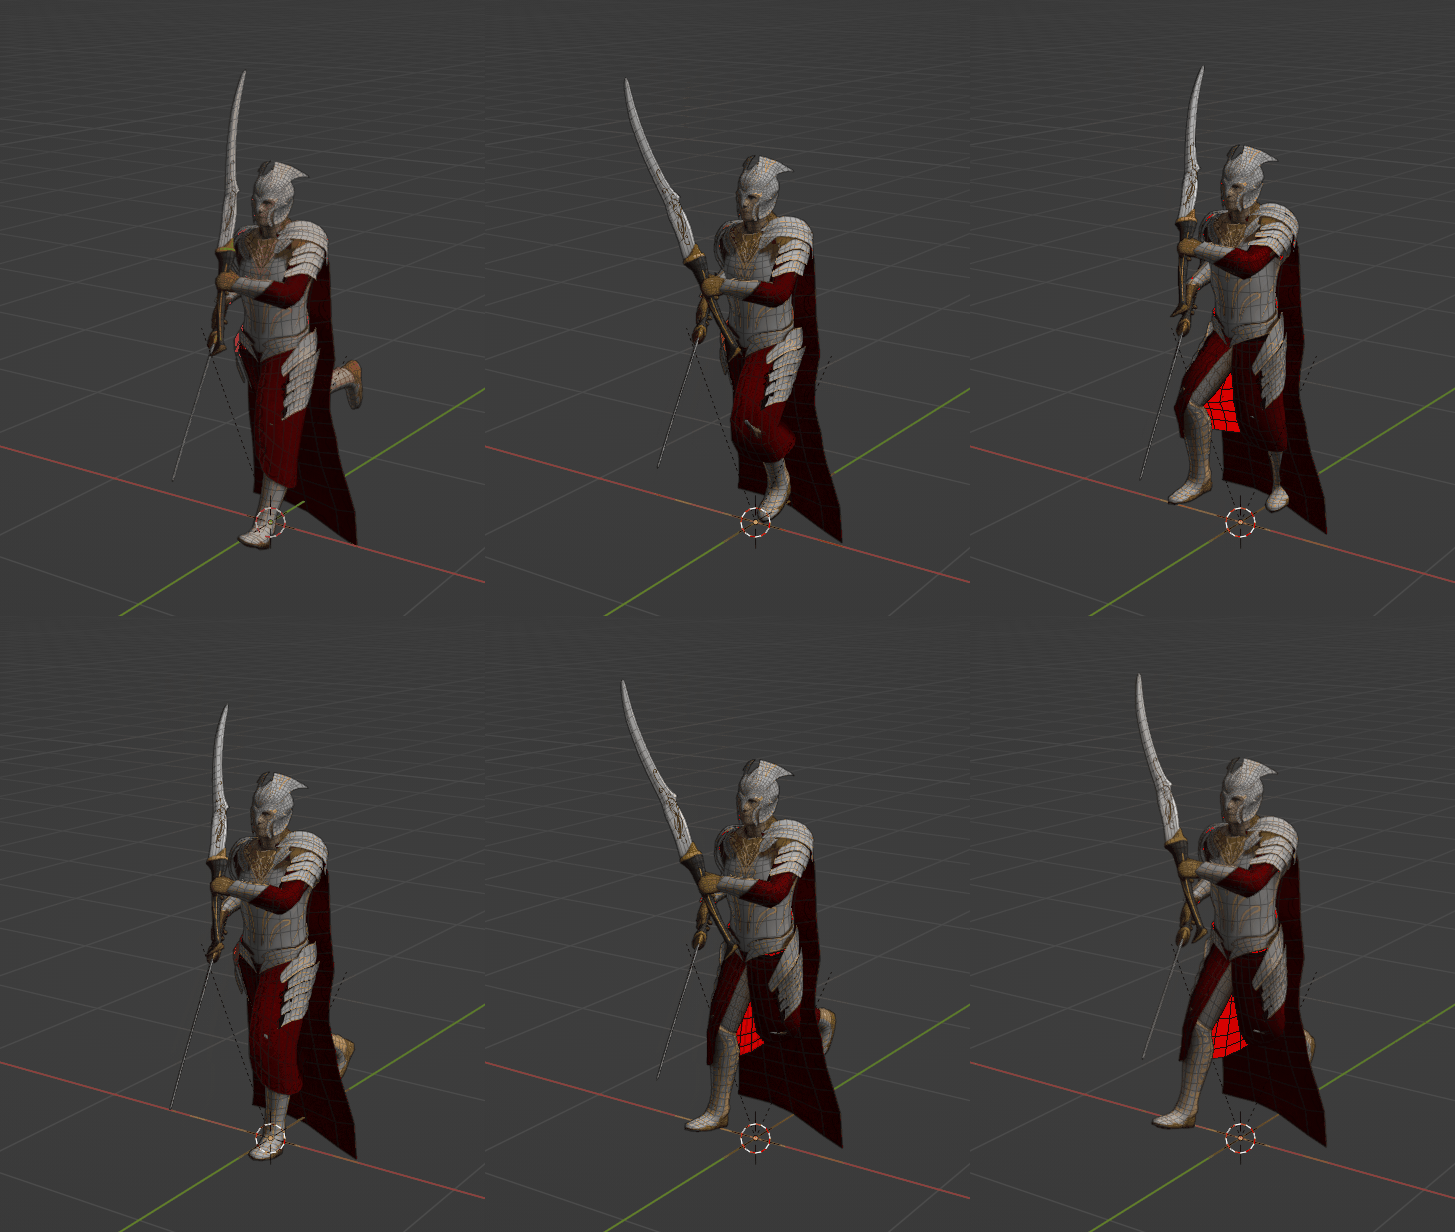
Jog
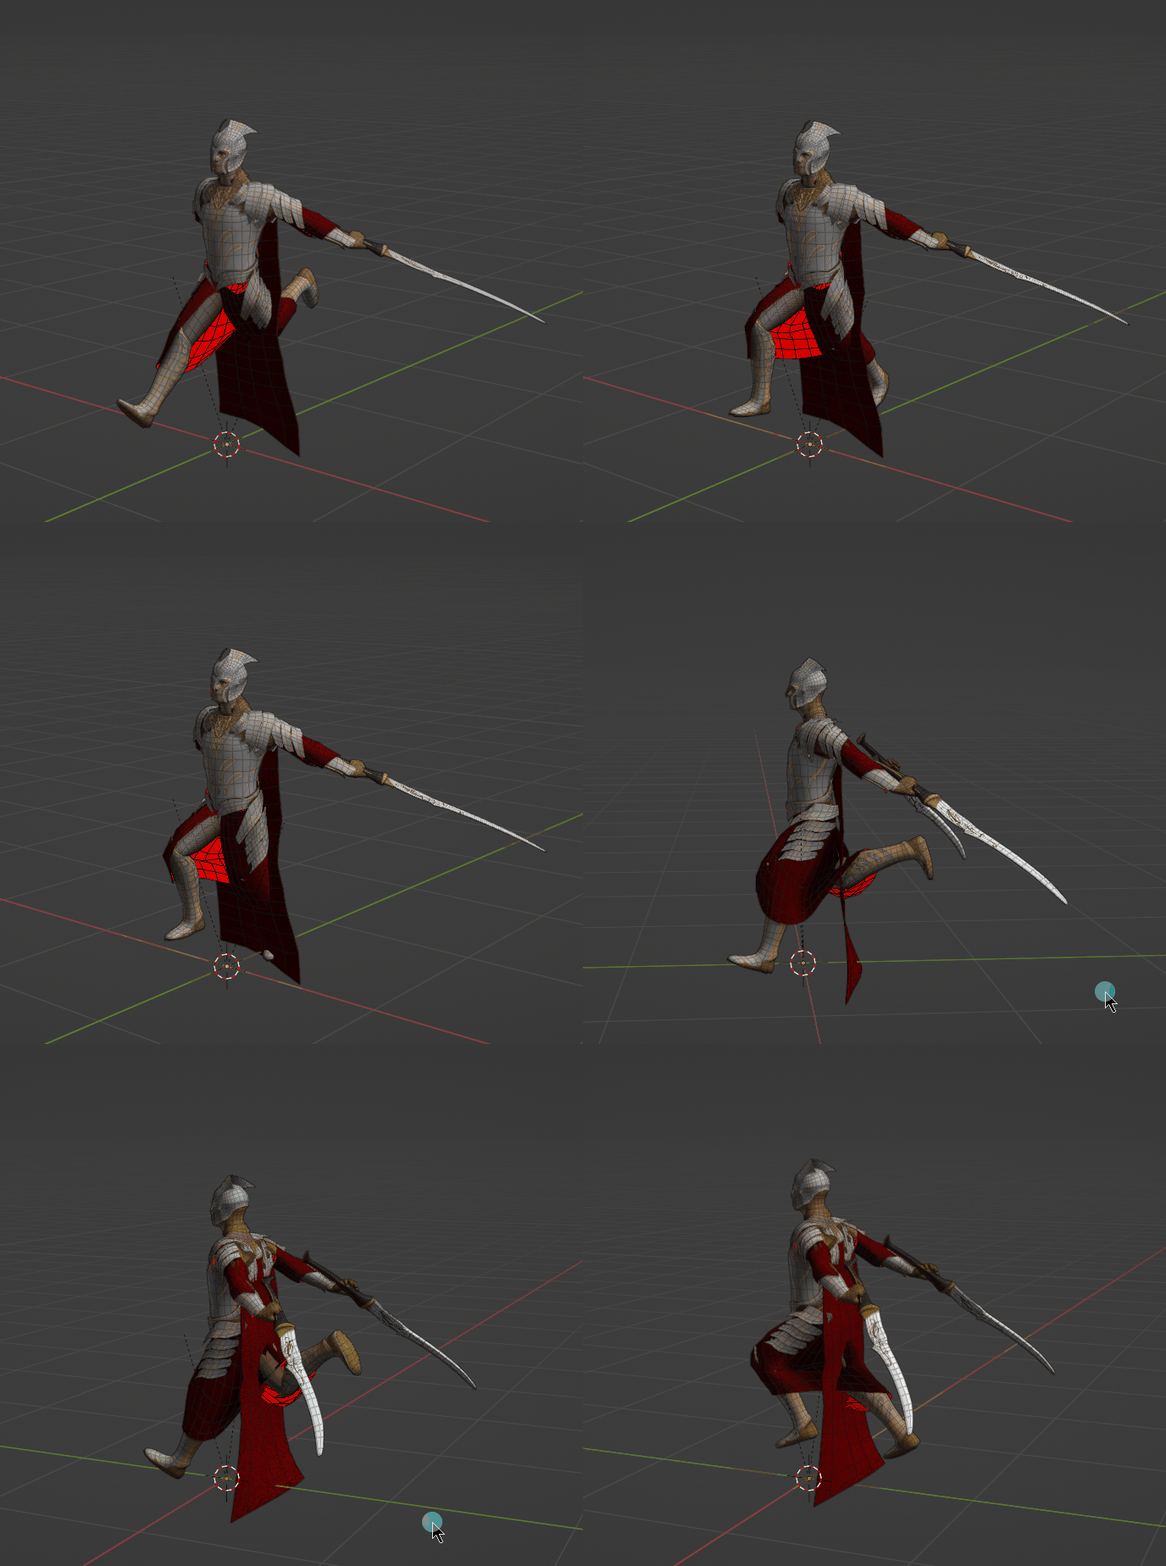
Run

Idle Engage
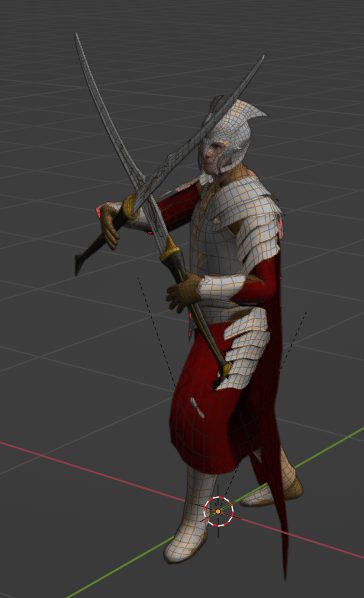
Block
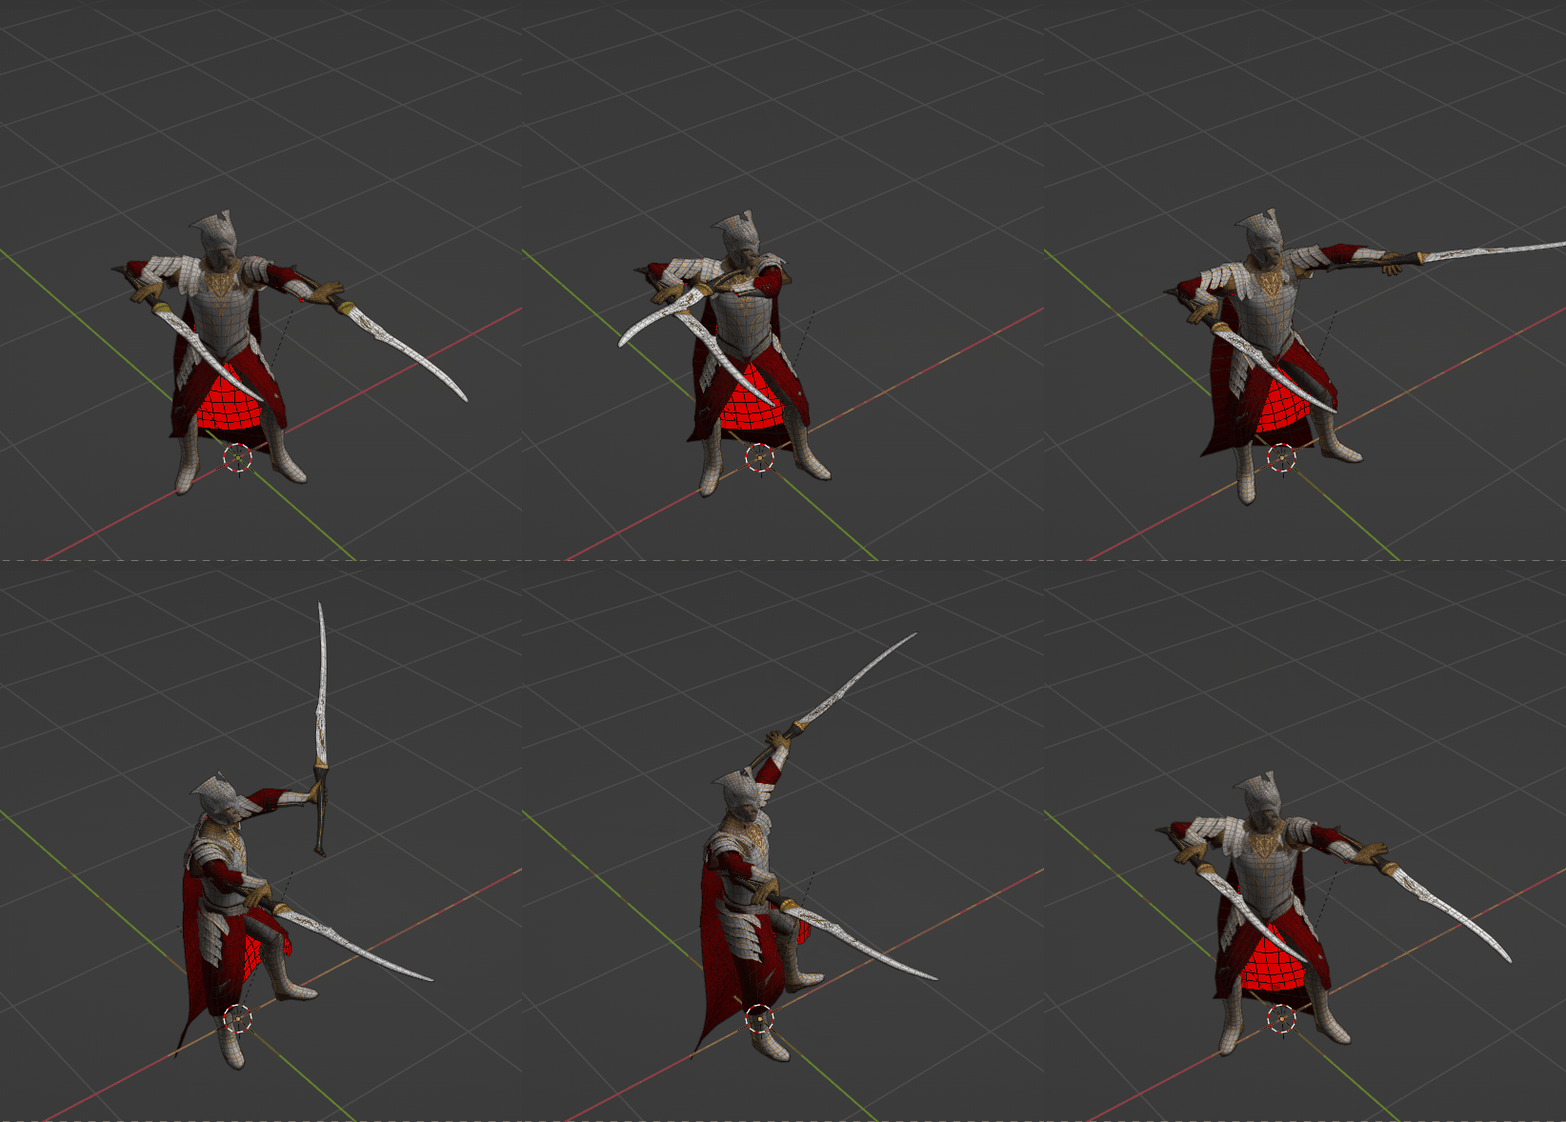
Attack 01
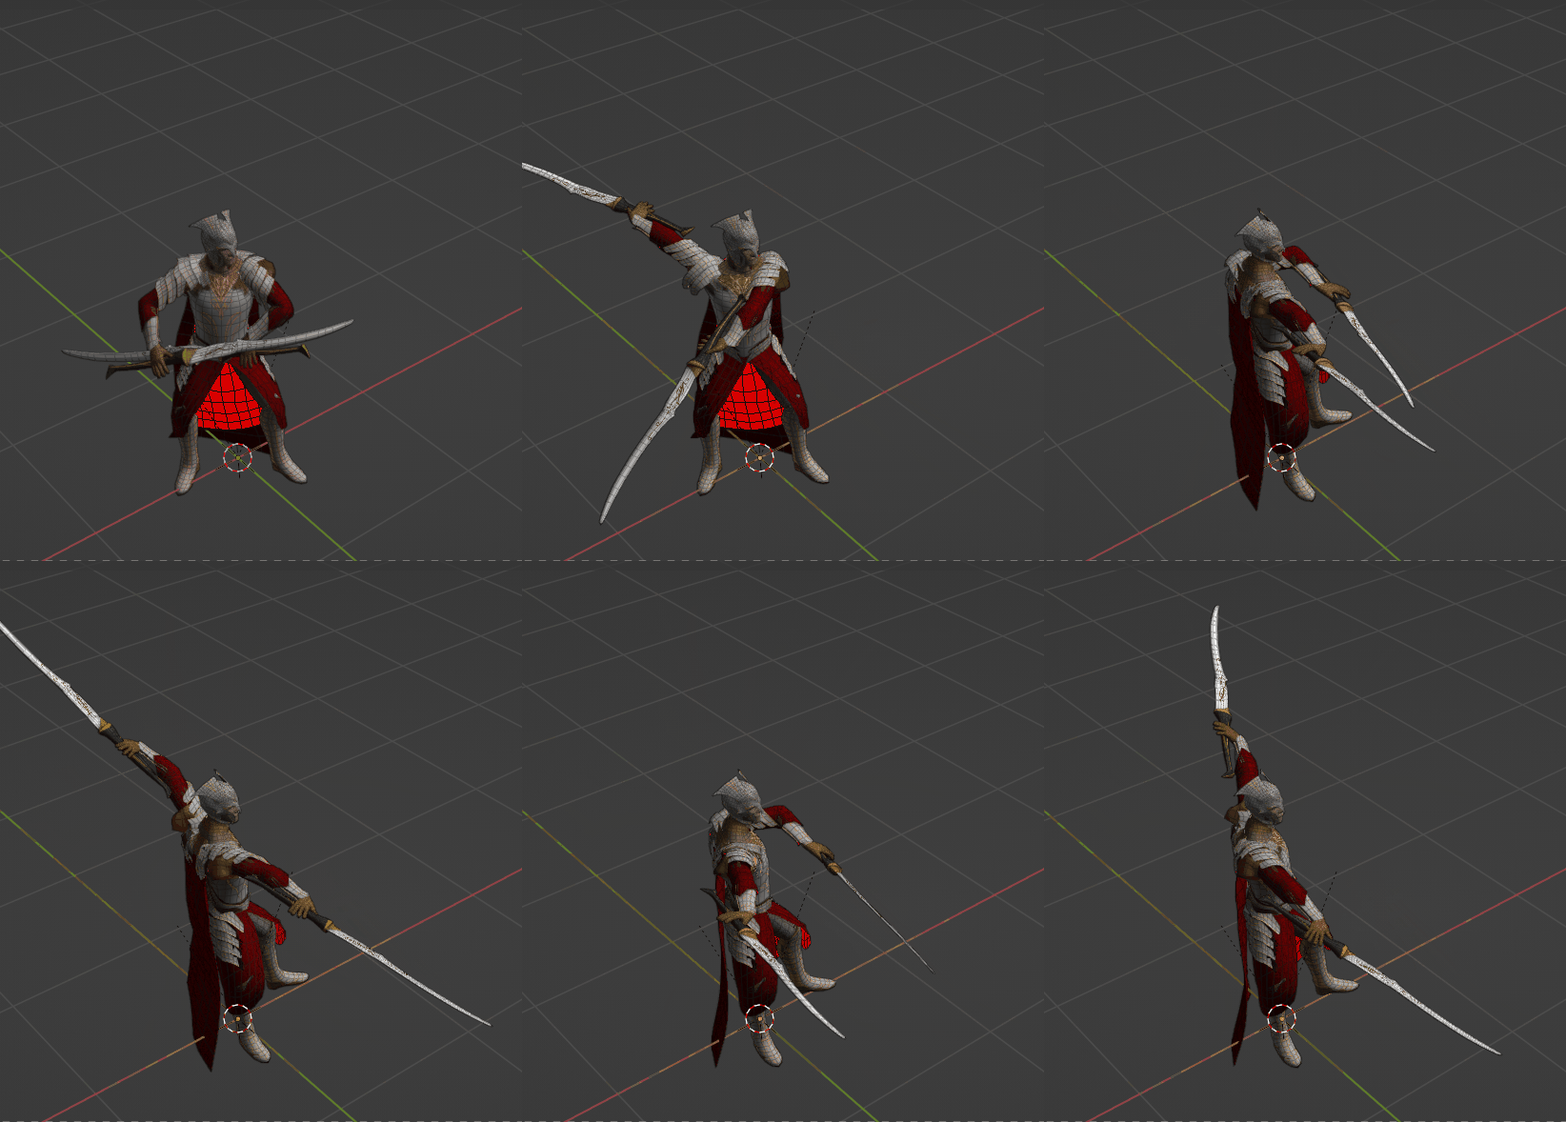
Attack 02
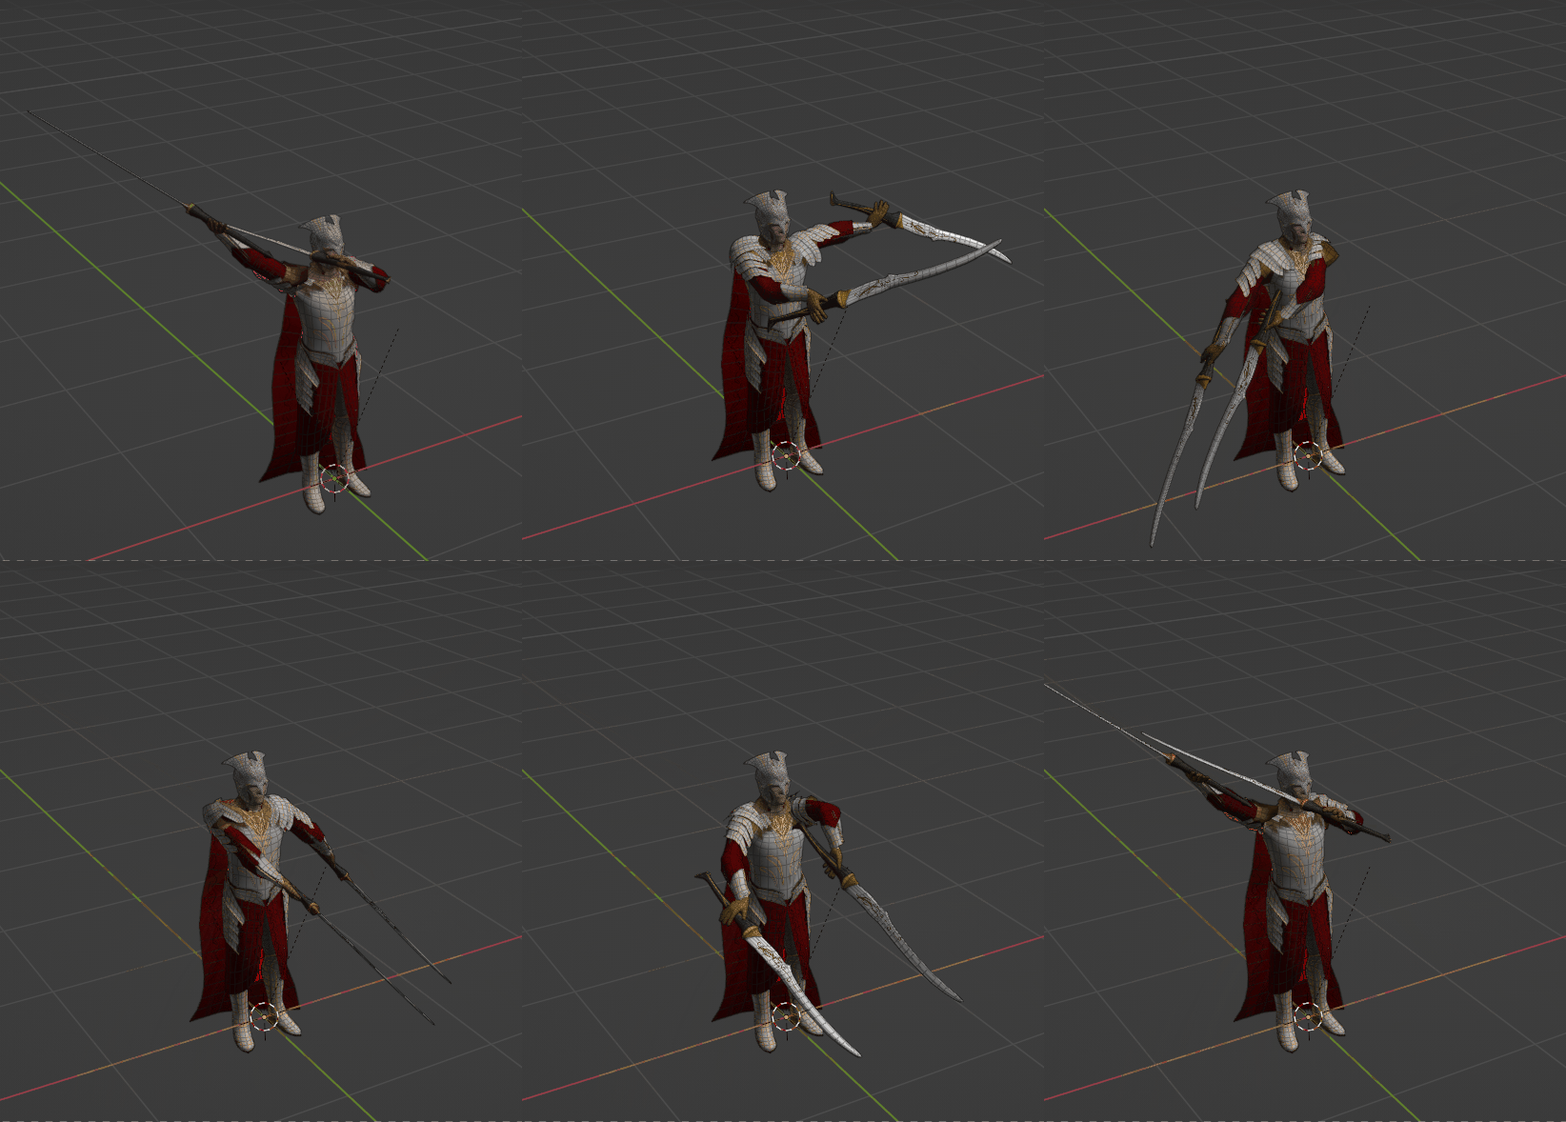
Attack 03
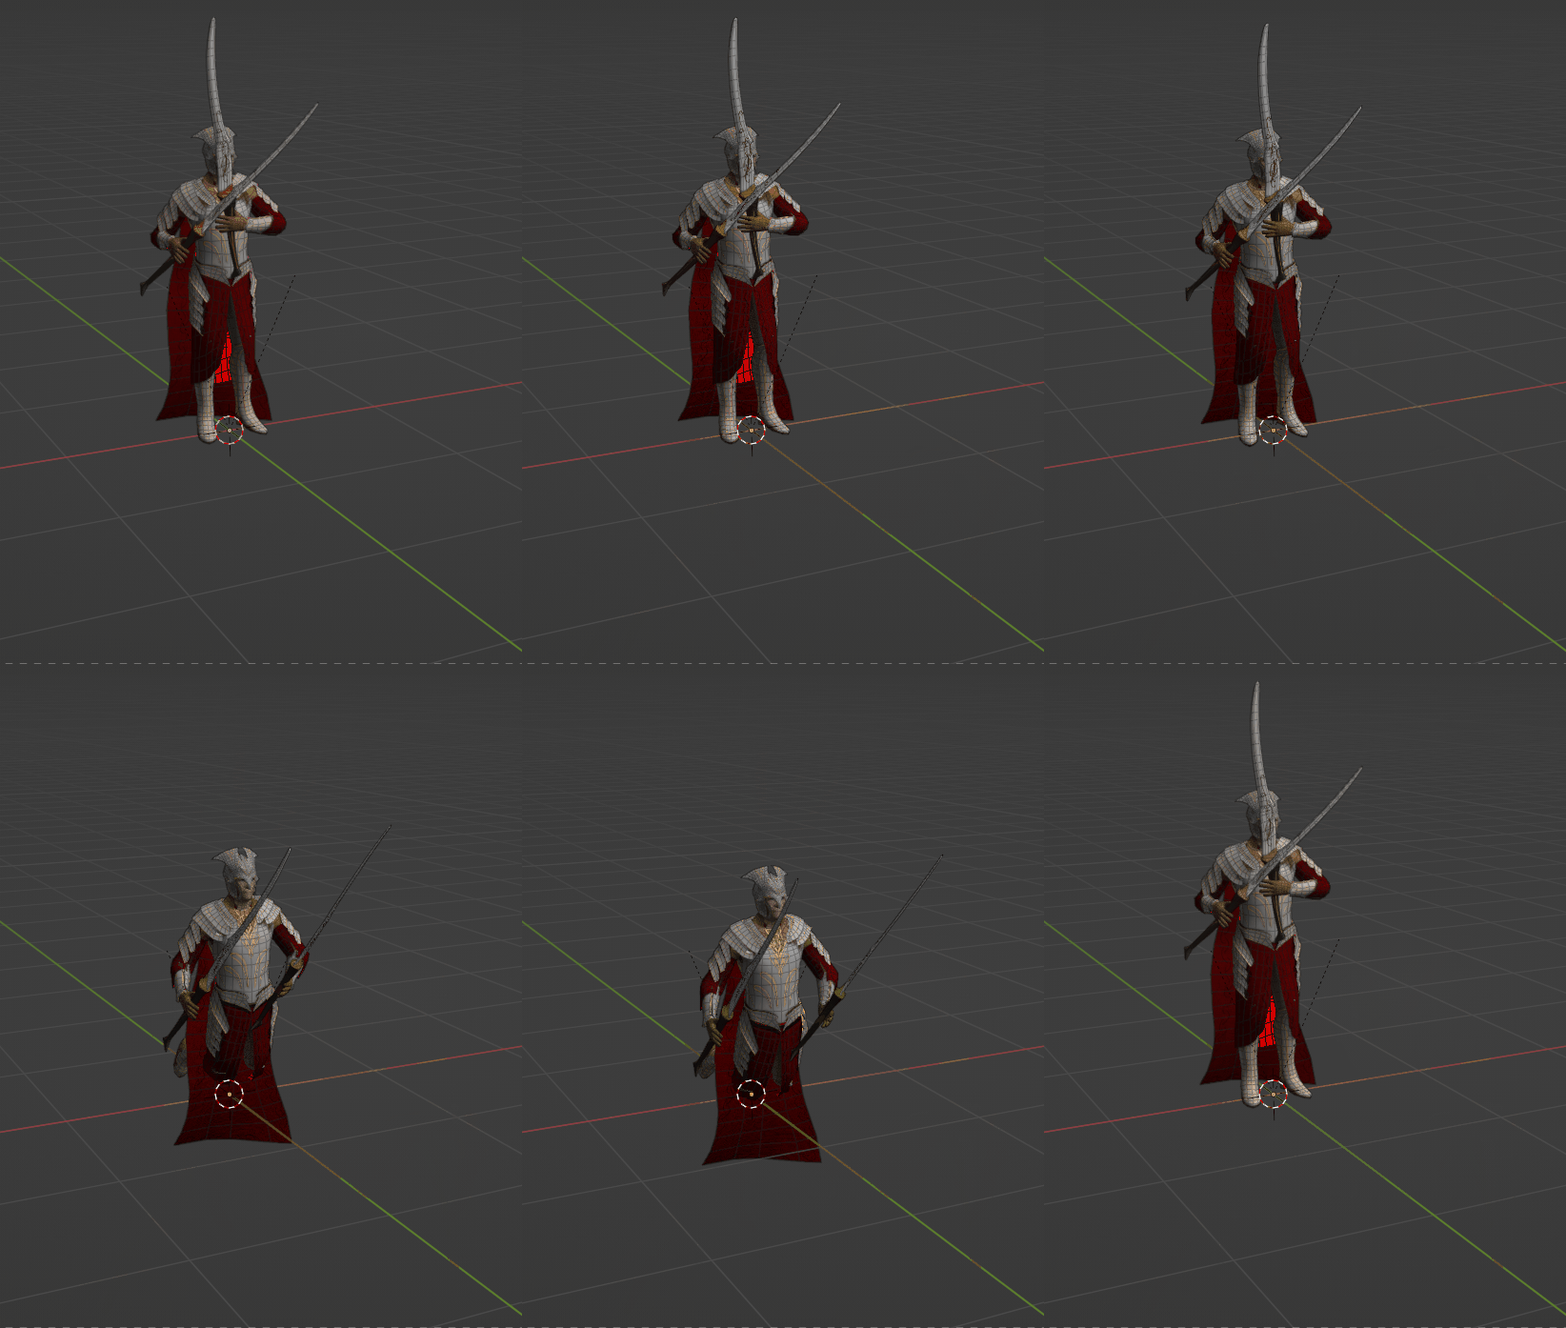
Death
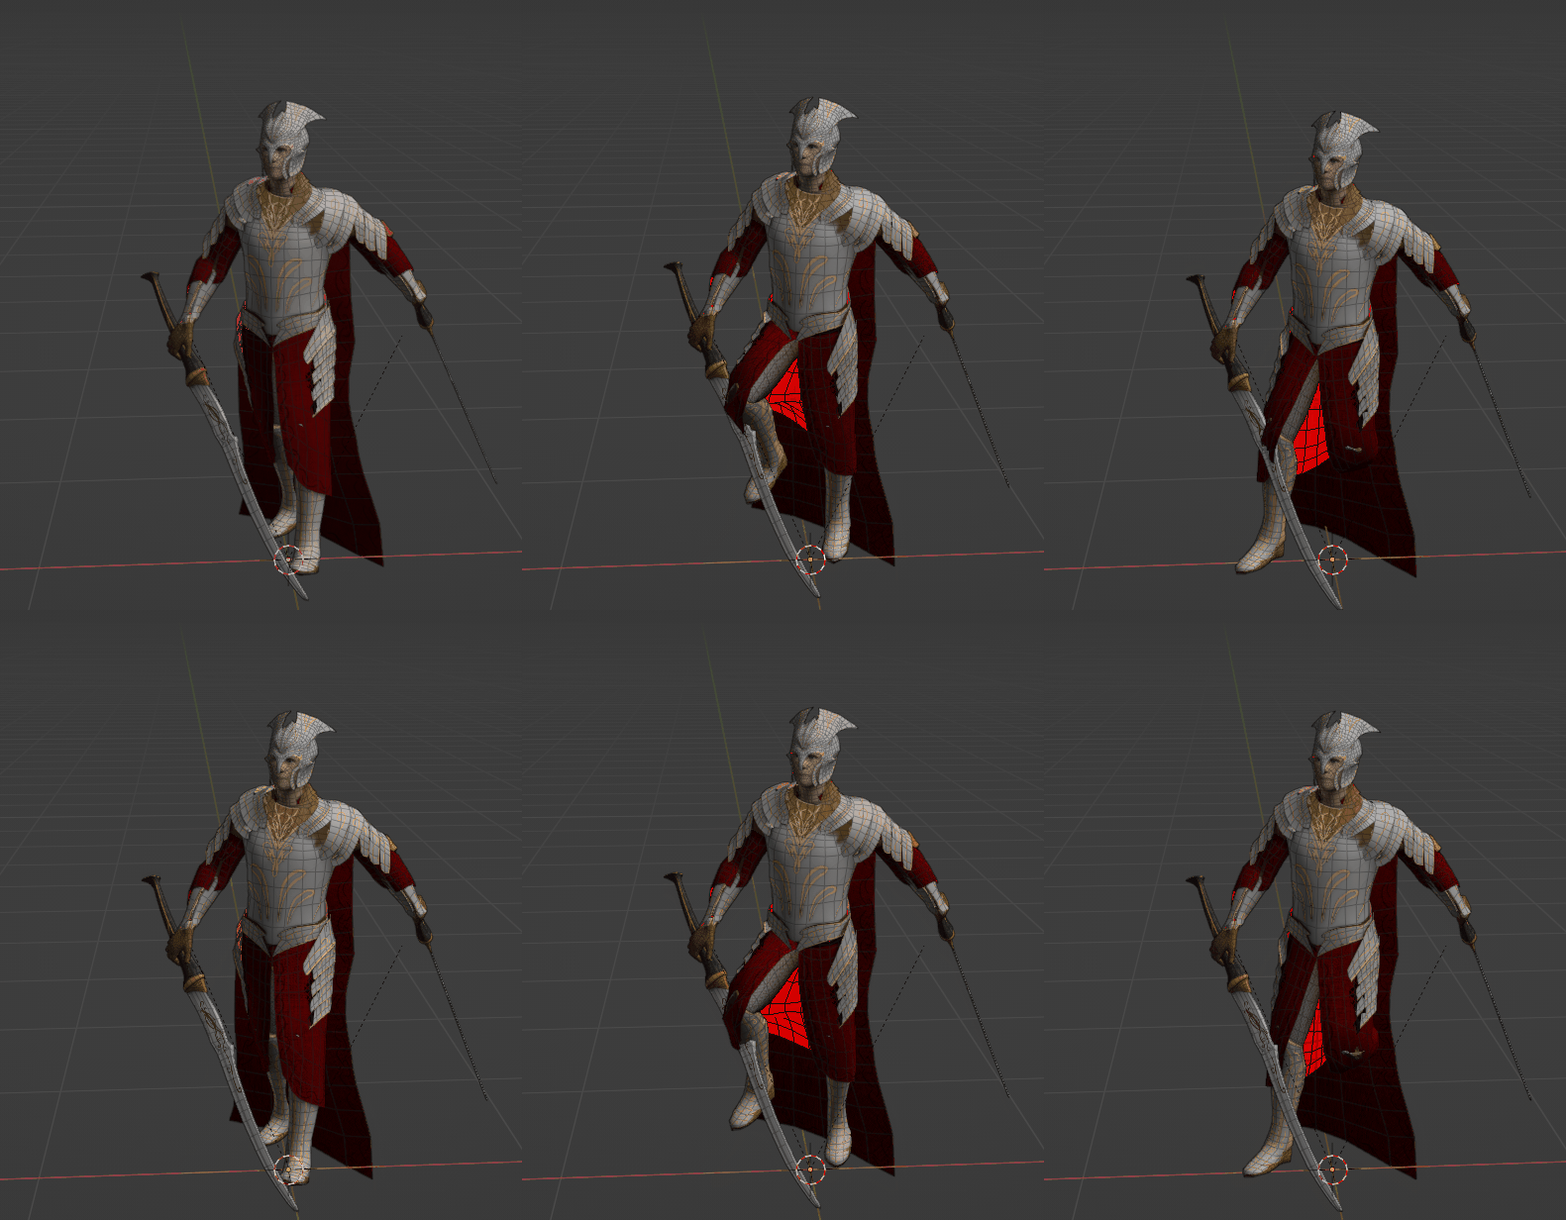
Strafe Right
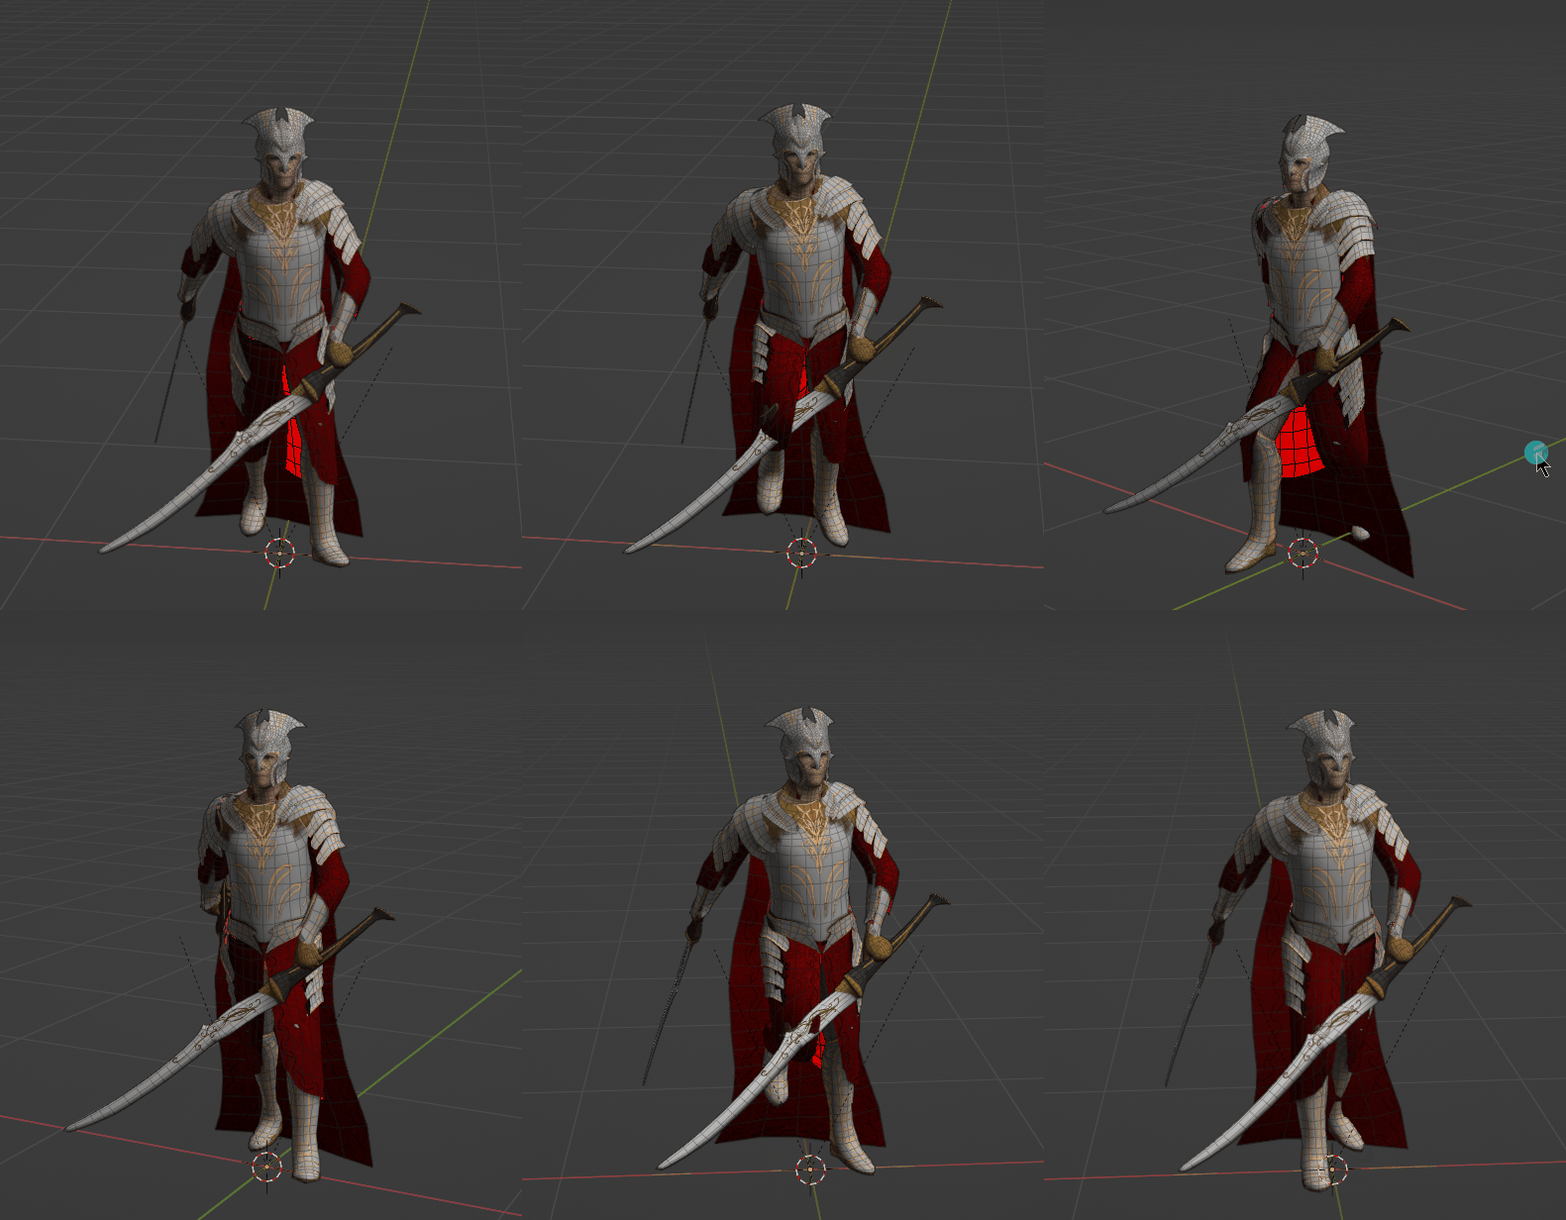
Strafe Left
Cool Final Renders
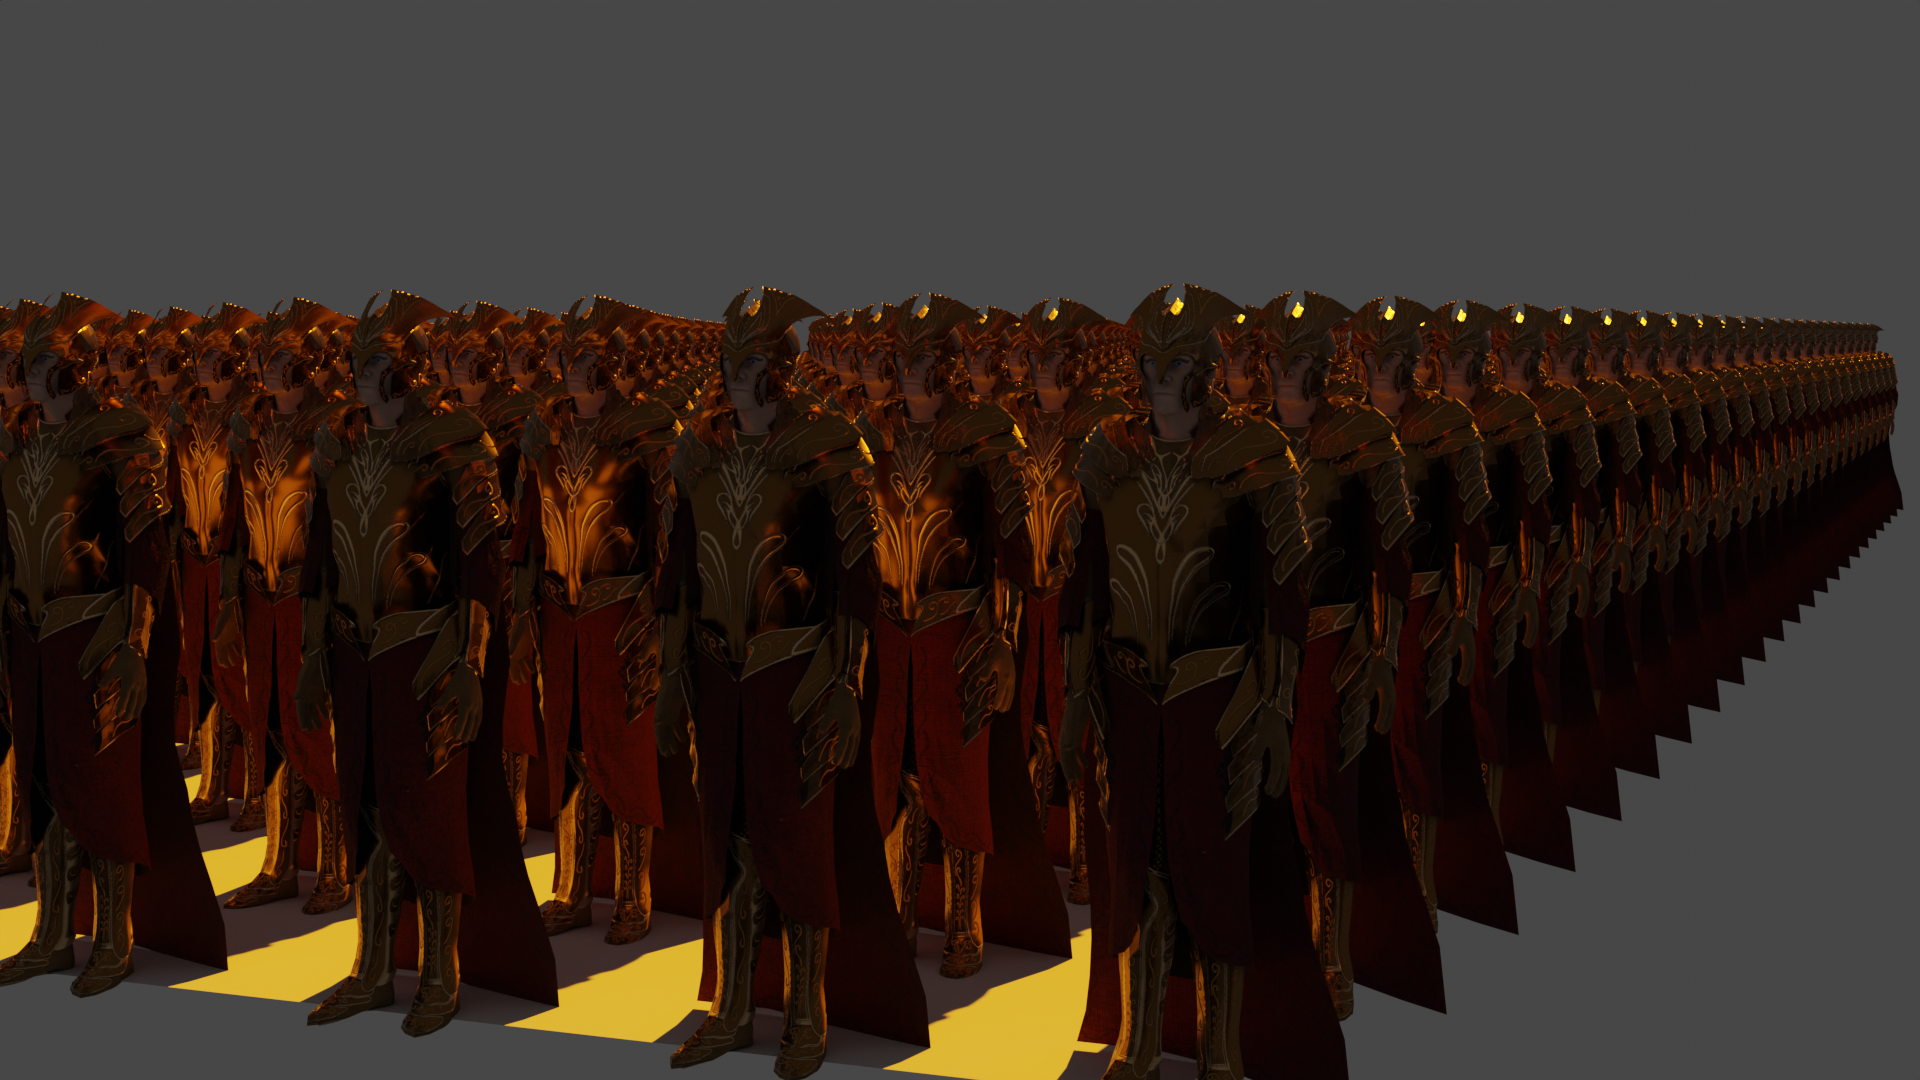


In Game Screenshots
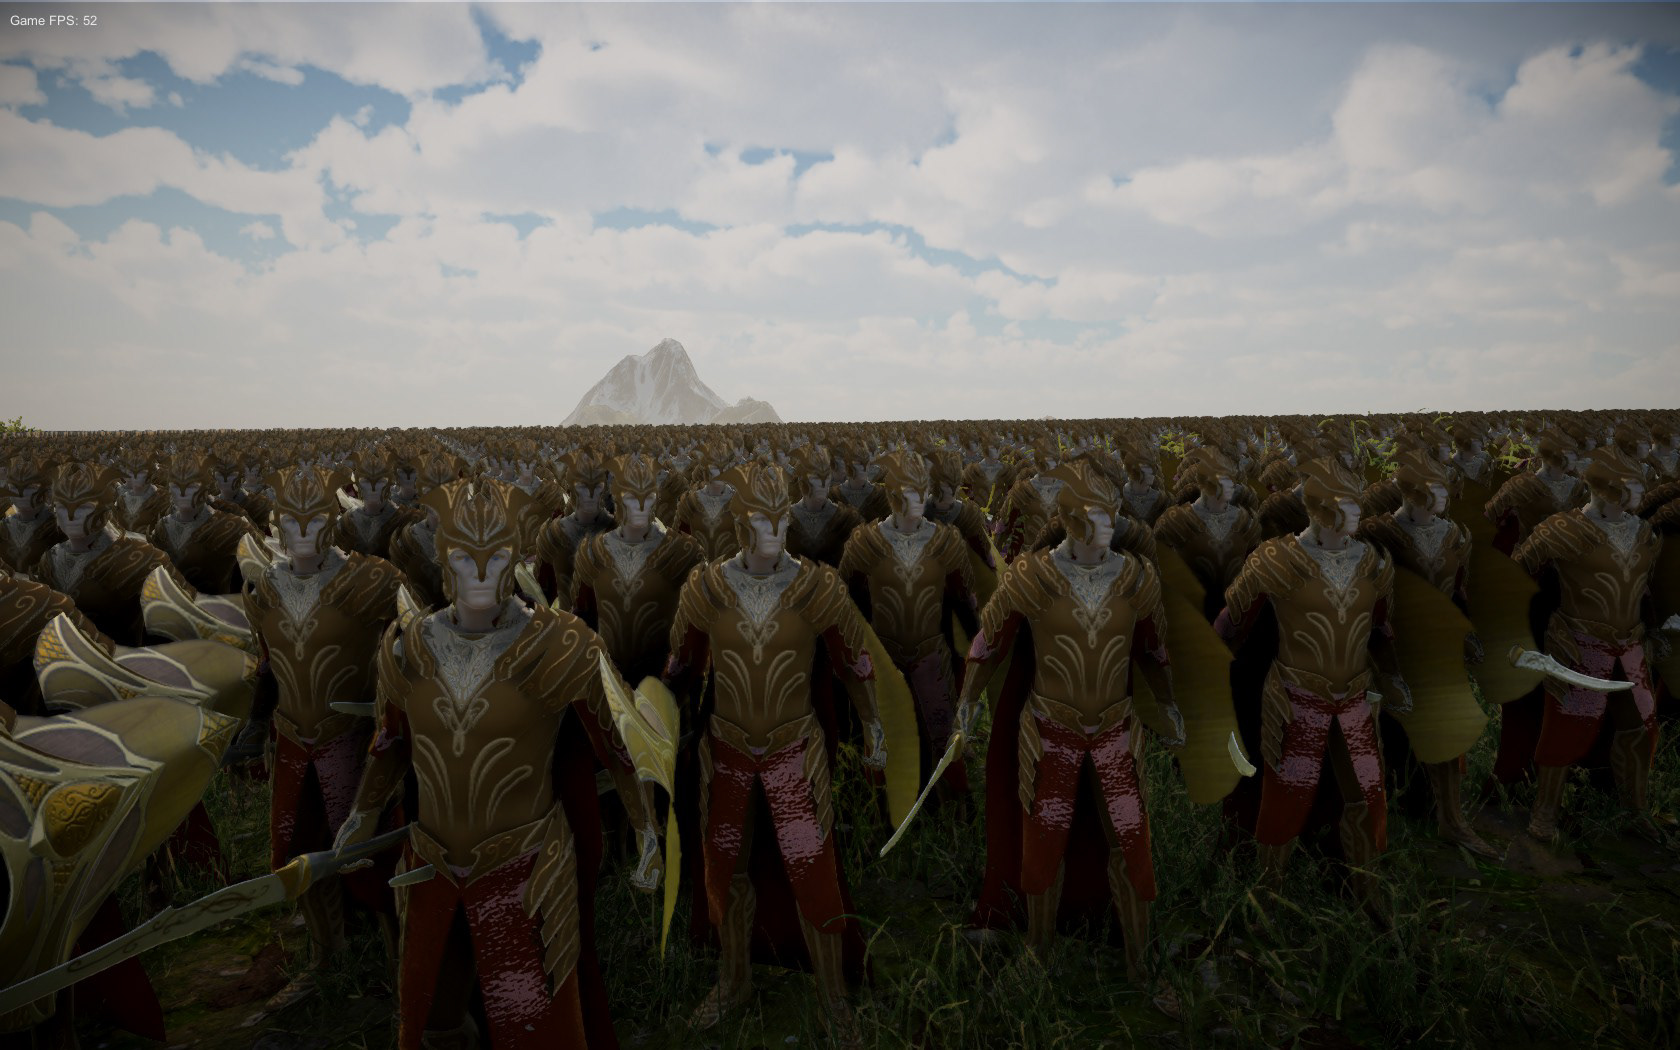
Mirkwood Warriors

Mirkwood Warriors Attack
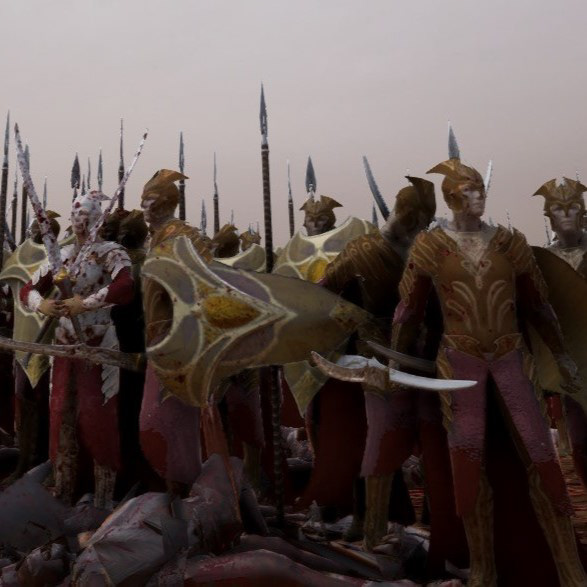
Victory

Group Shot

Group Shot 02
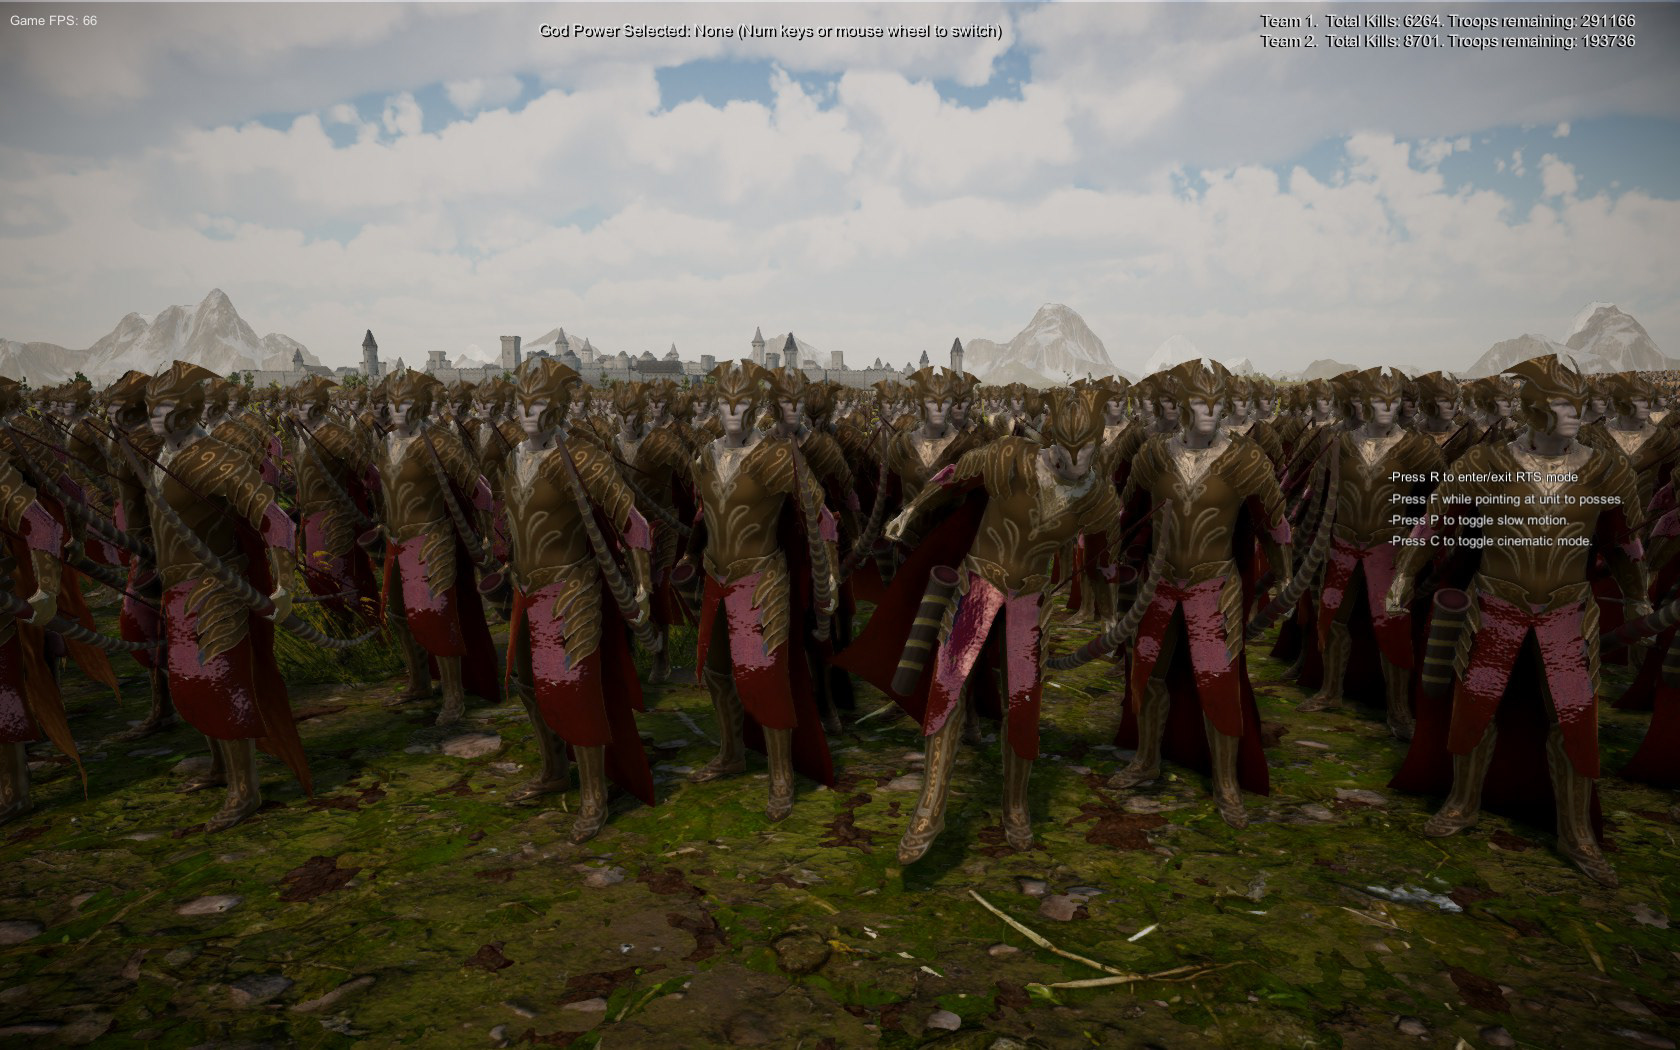
Archers

Archers 02

Captains
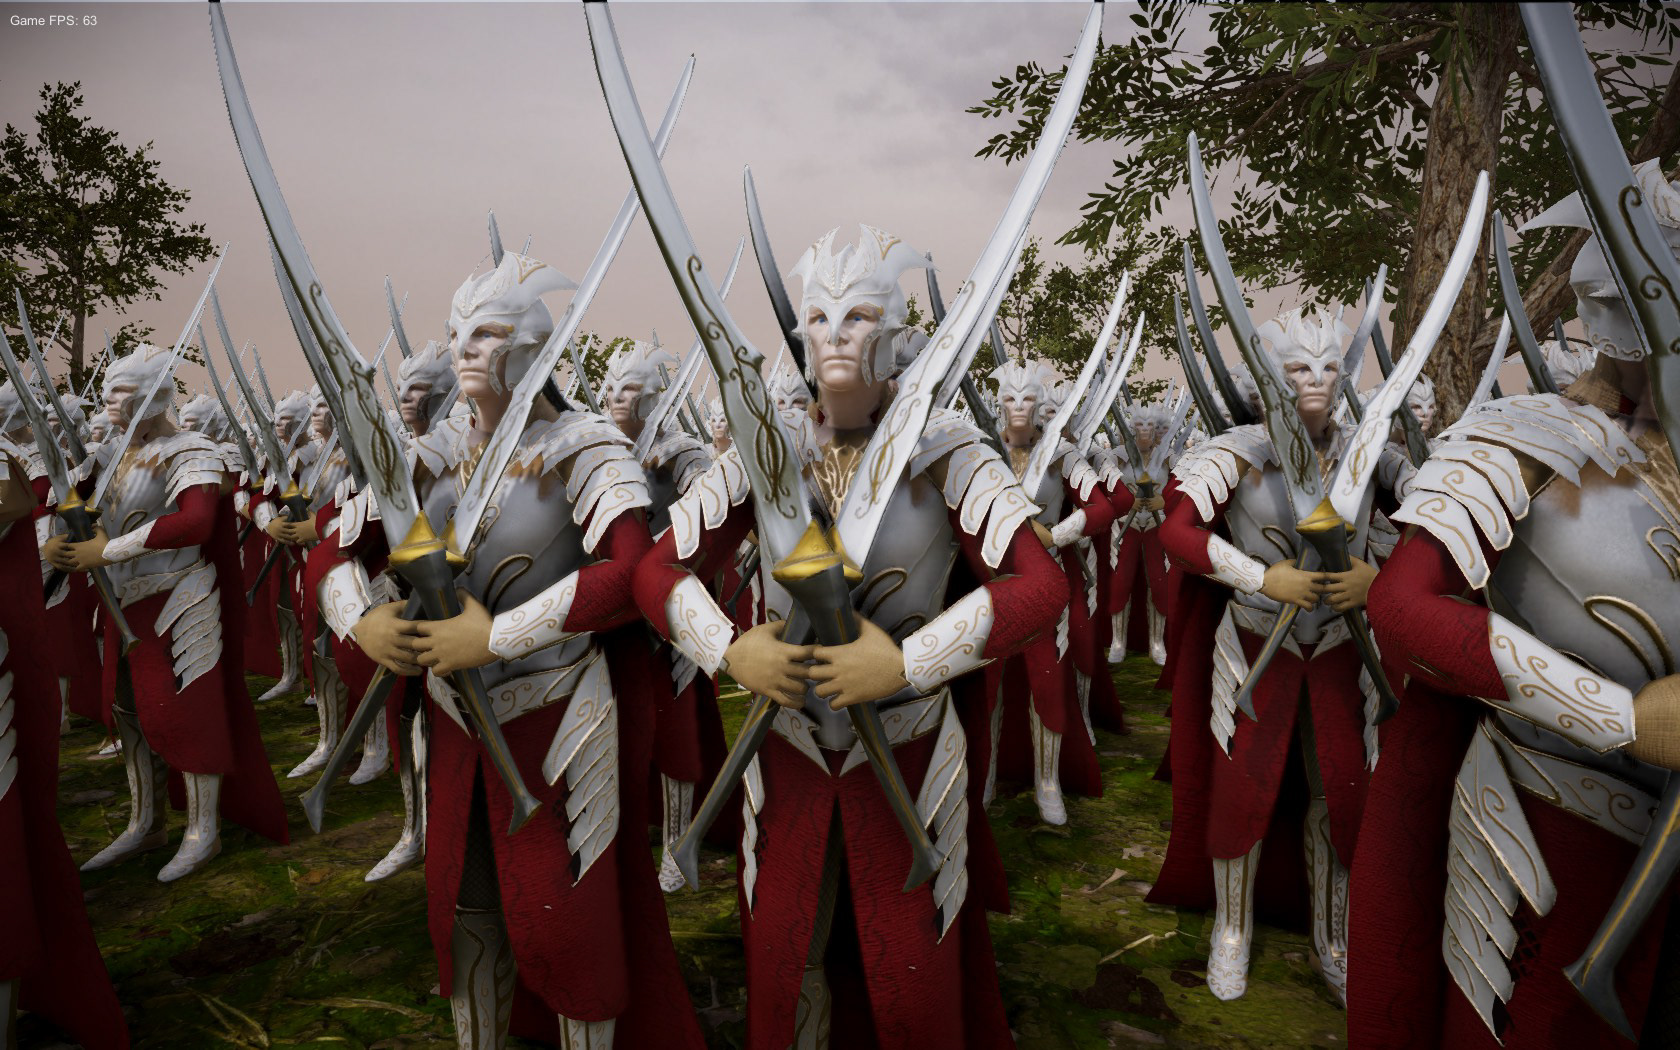
Captains 02
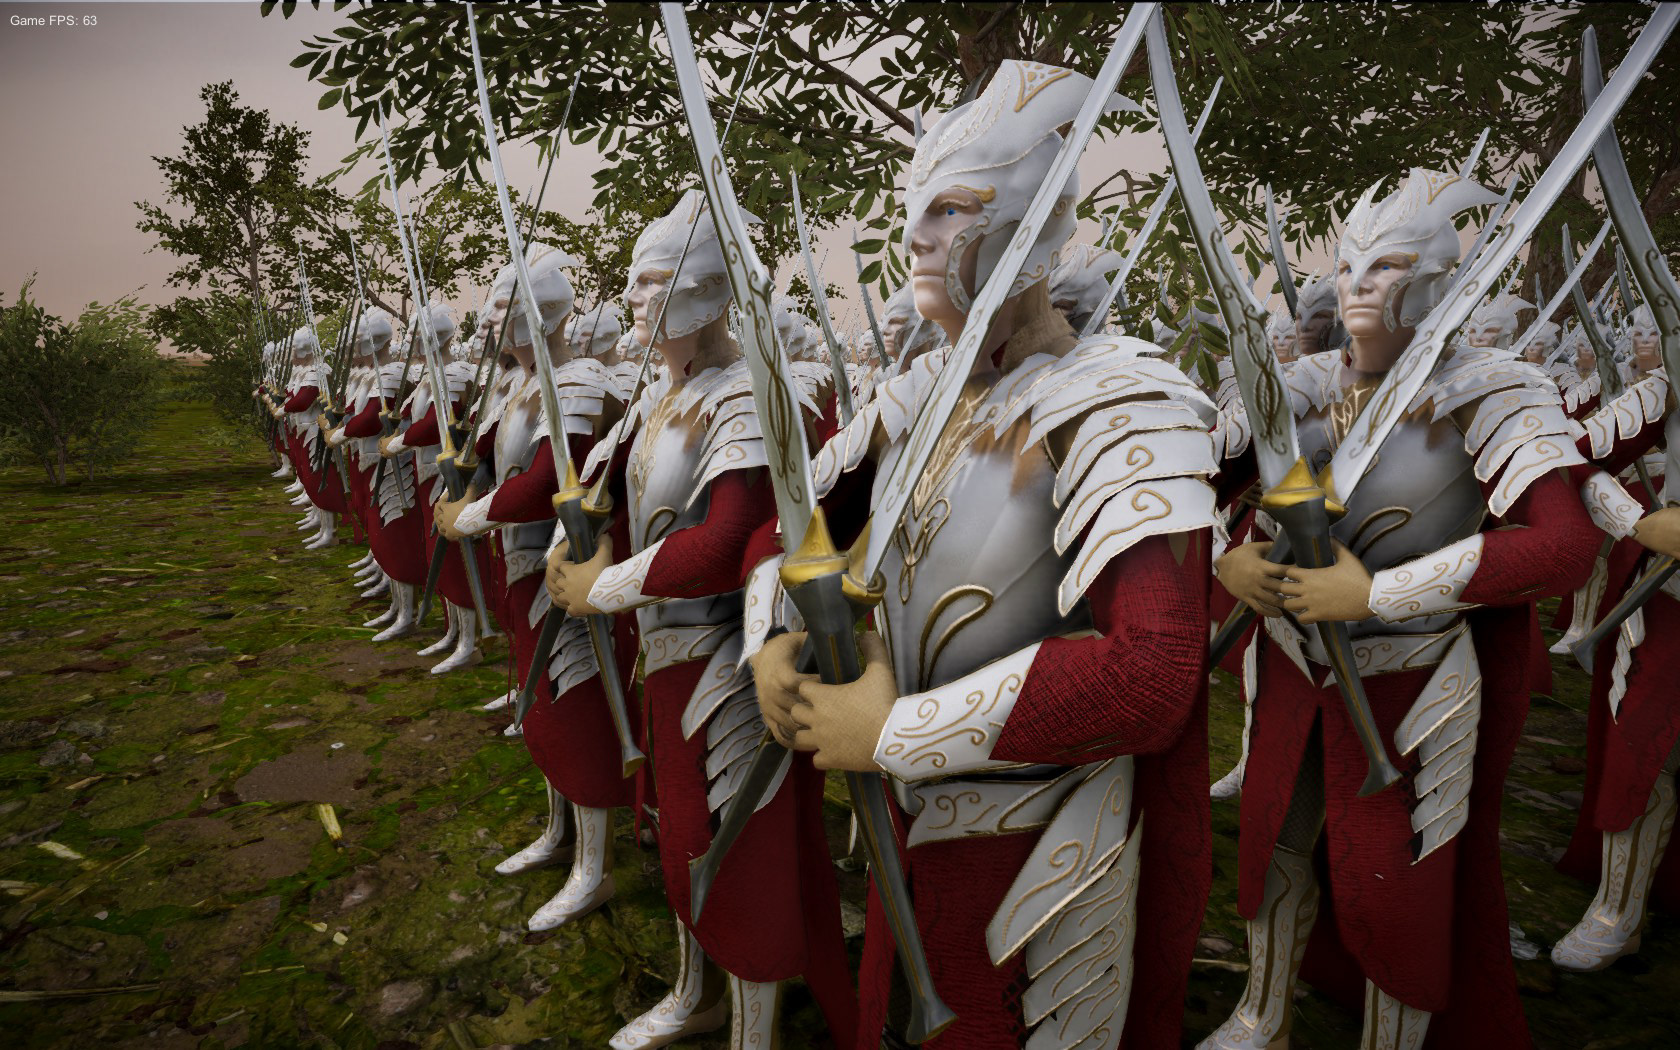
Captains 03
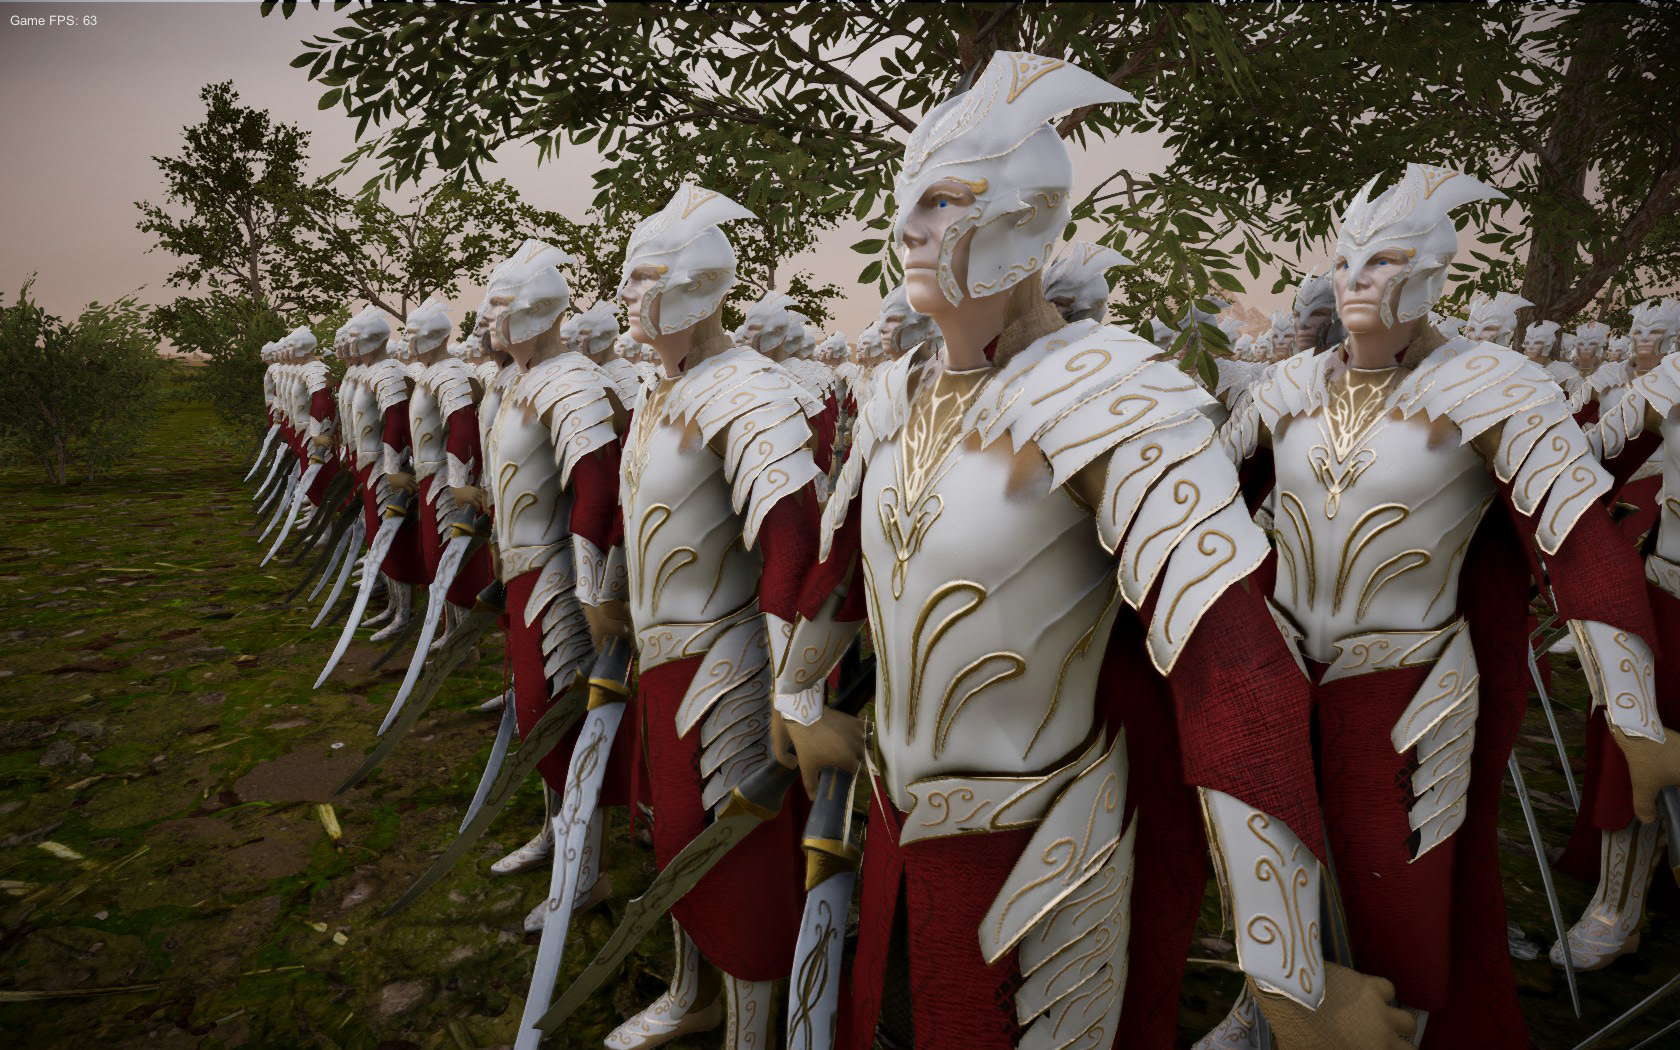
Captains 04
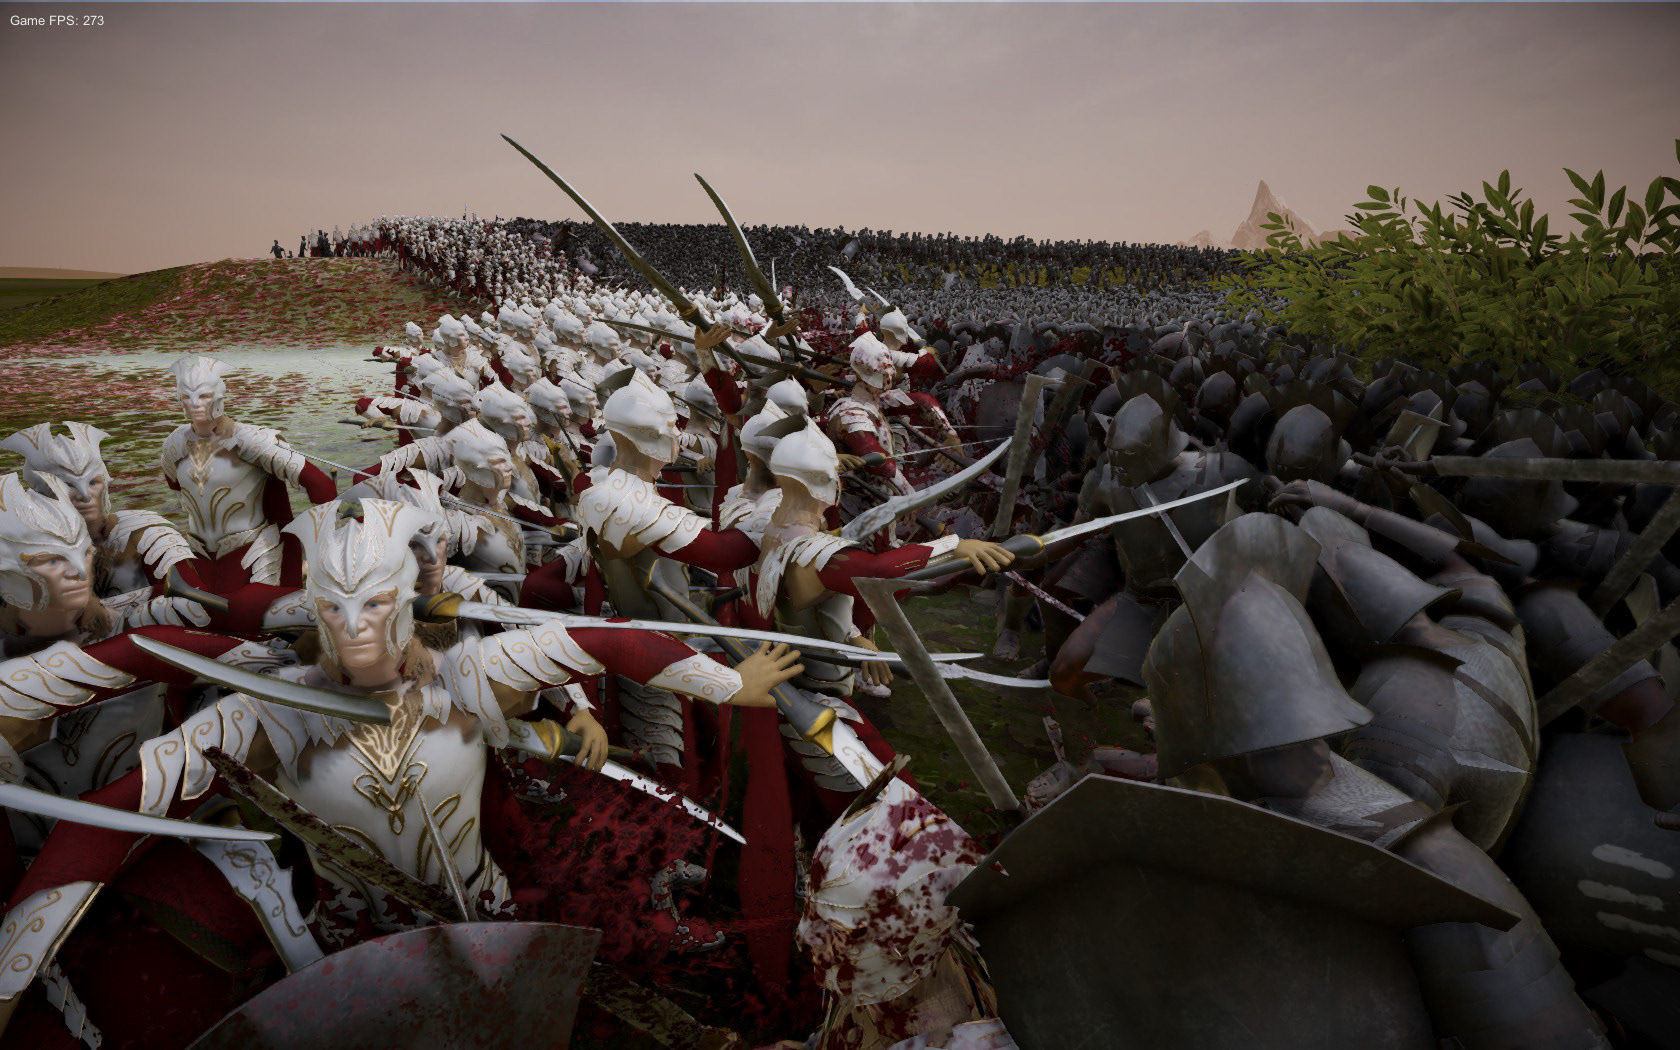
Captains Battle
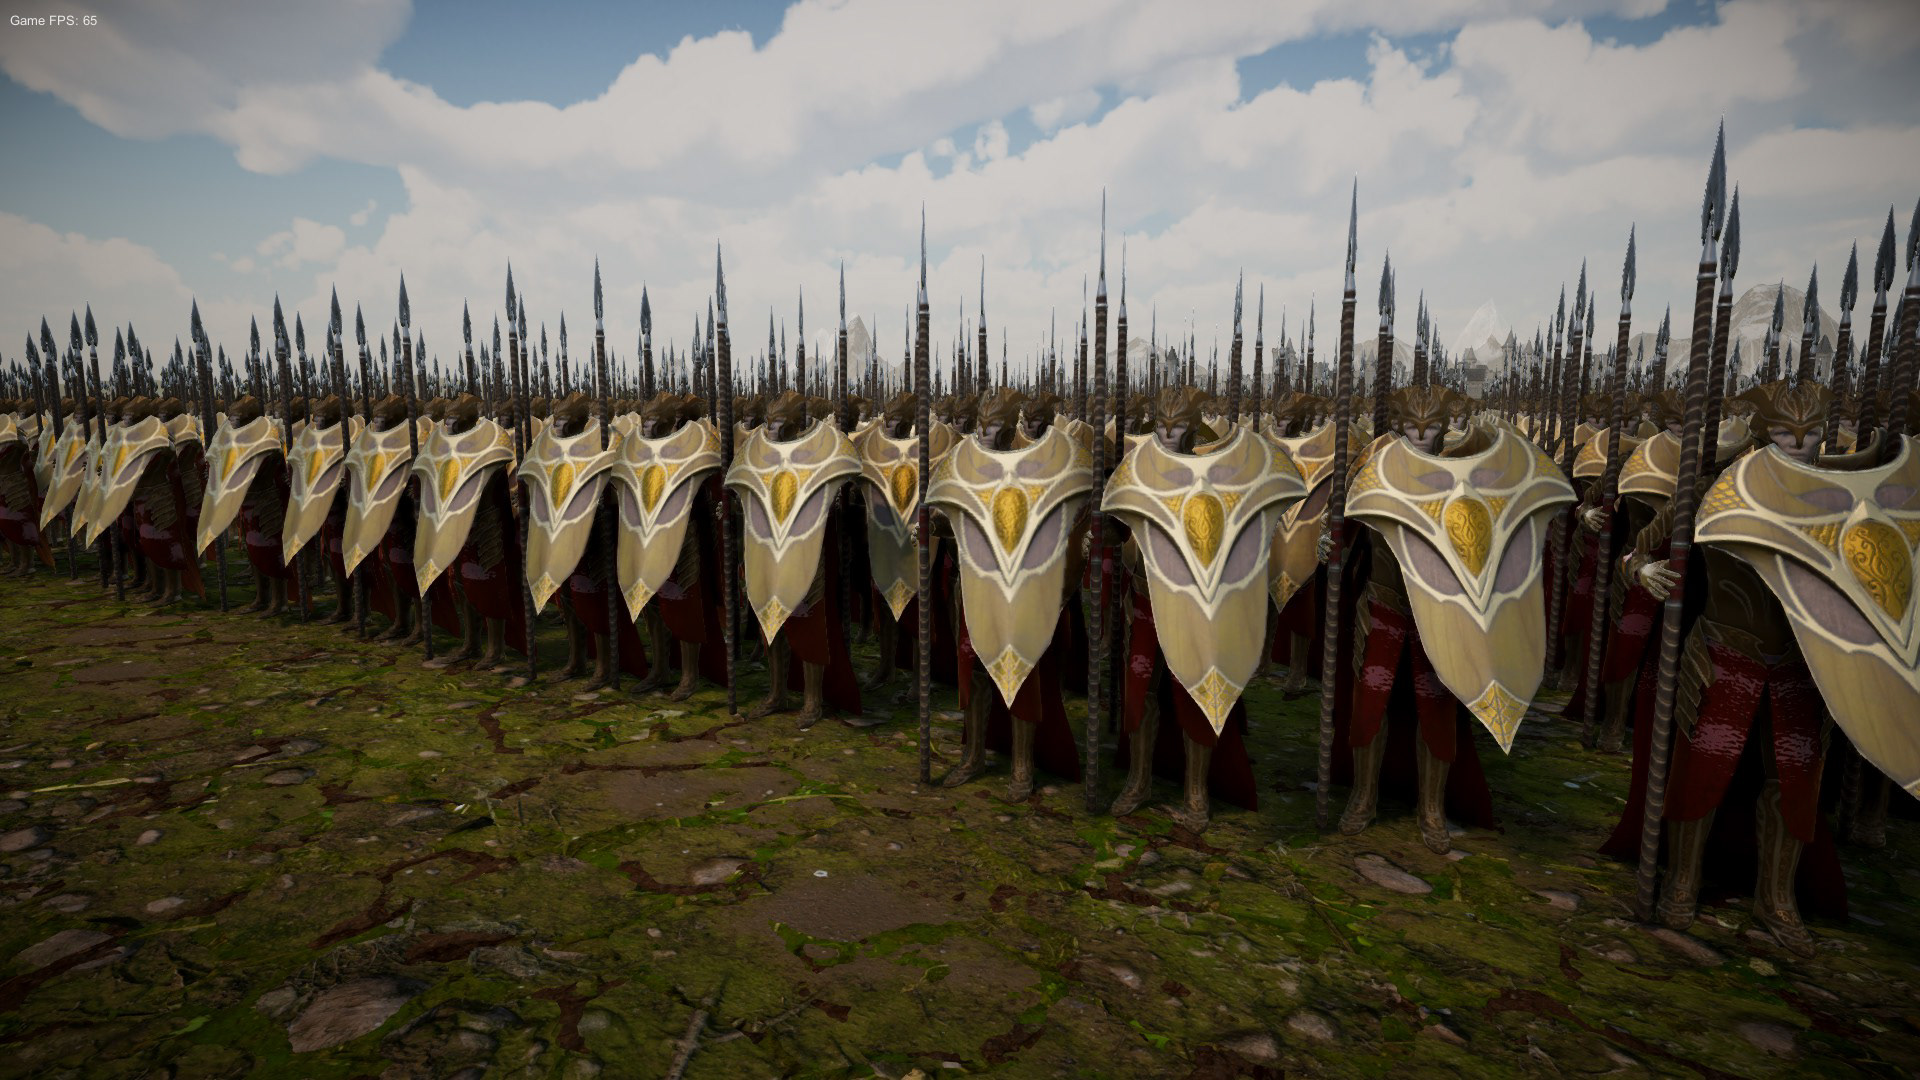
Lancers
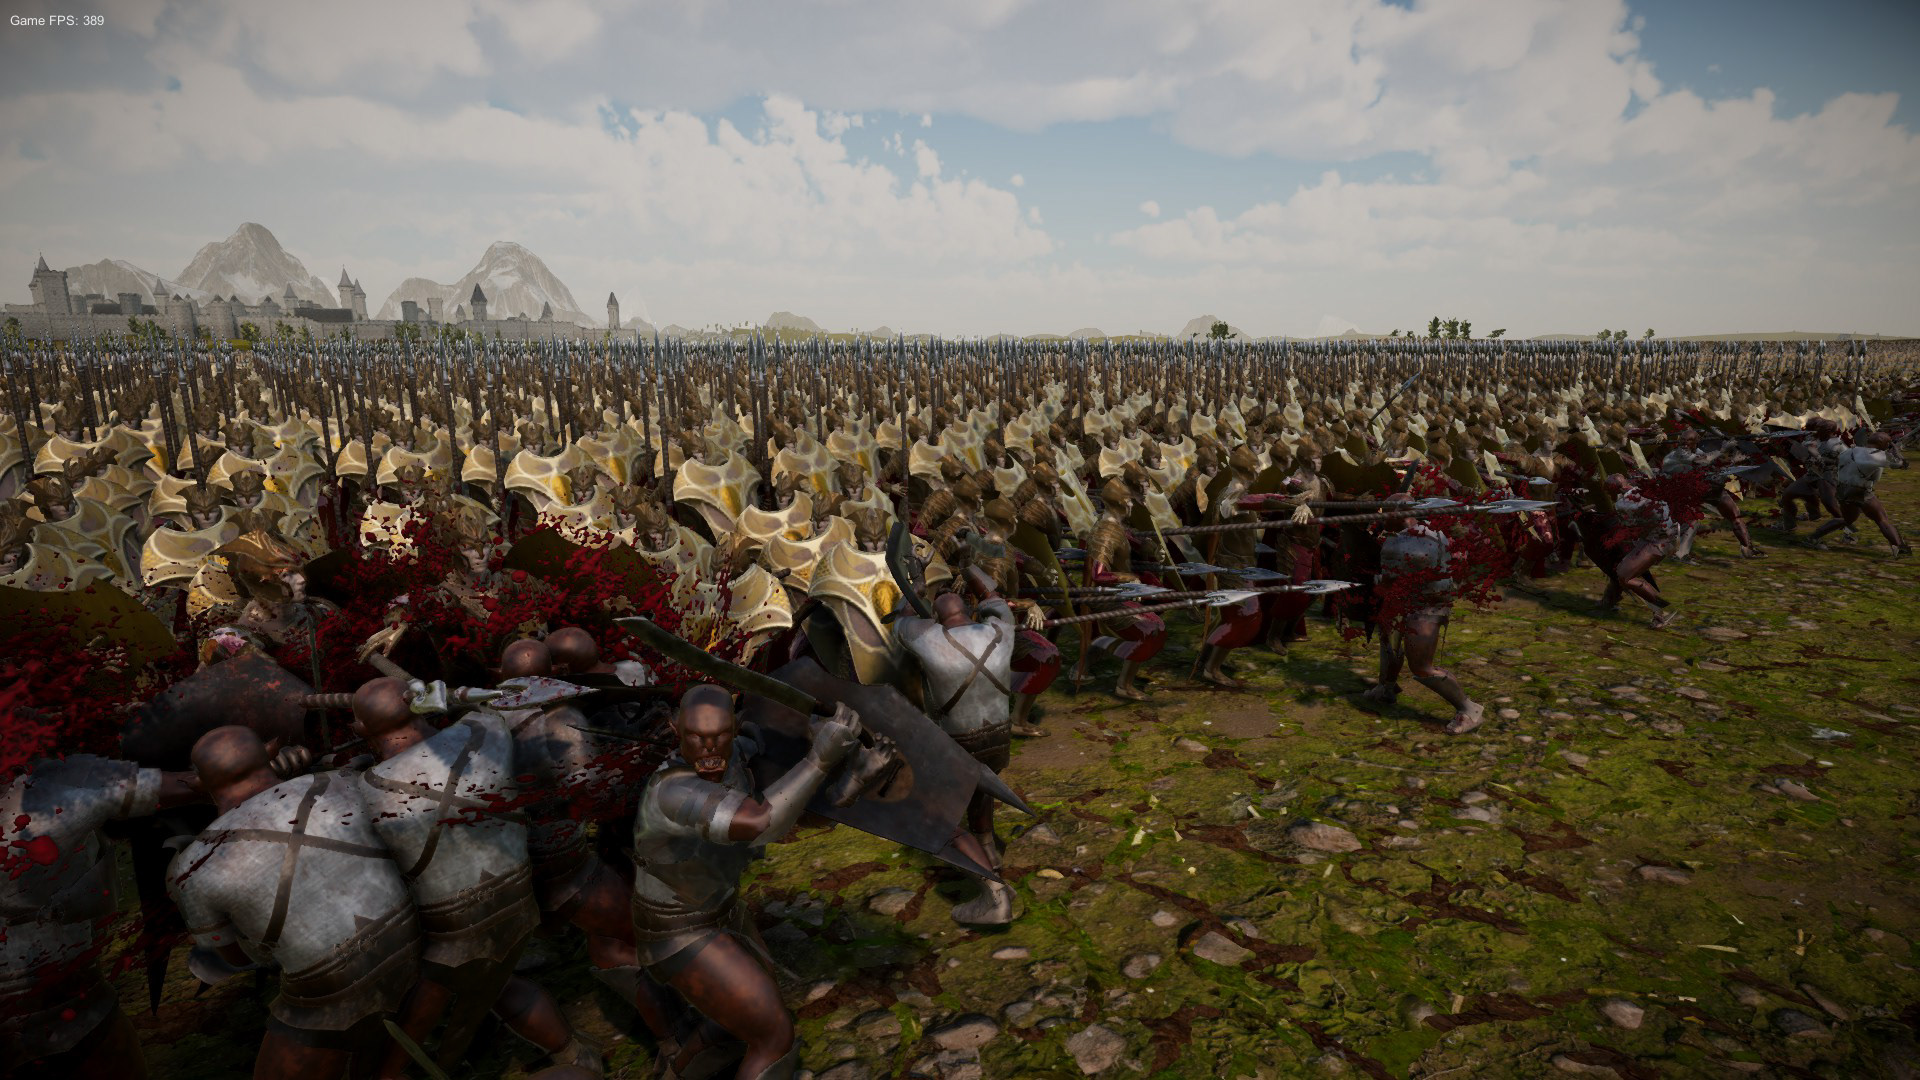
Lancers Battle 01

Lancers Battle 02
Updates and Improvements
Somthing I noticed for a while with all of these mods was an issue with the roughness values. In game the fabric looked shiny and the armour looked mat, which made the quality not look as good as the textured result in Substance Painter. Then I realised that the Metalic Smoothness had alpha source using Input Texture Alpha and changed it to From Greyscale and the results ended up looking more accurate to what they were in Substance Painter.


Mirkwood Lancers
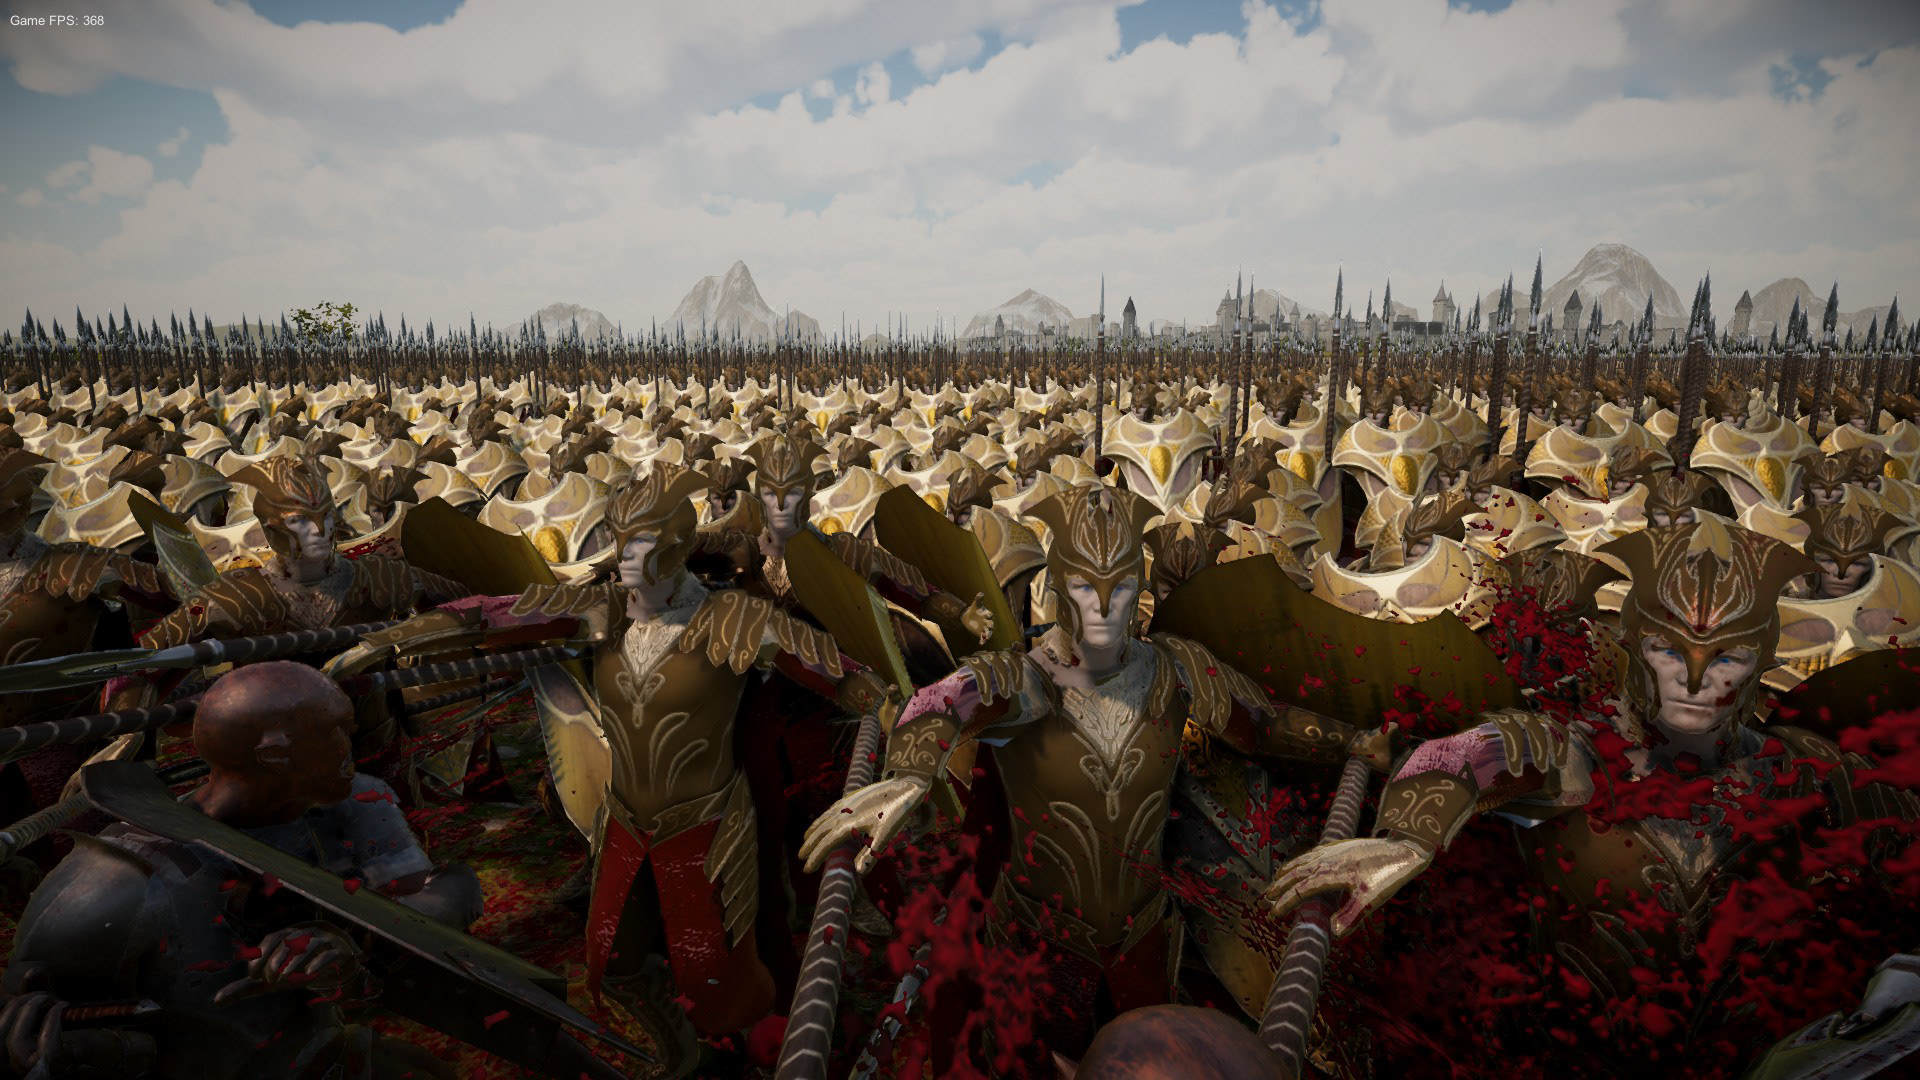
Before

After
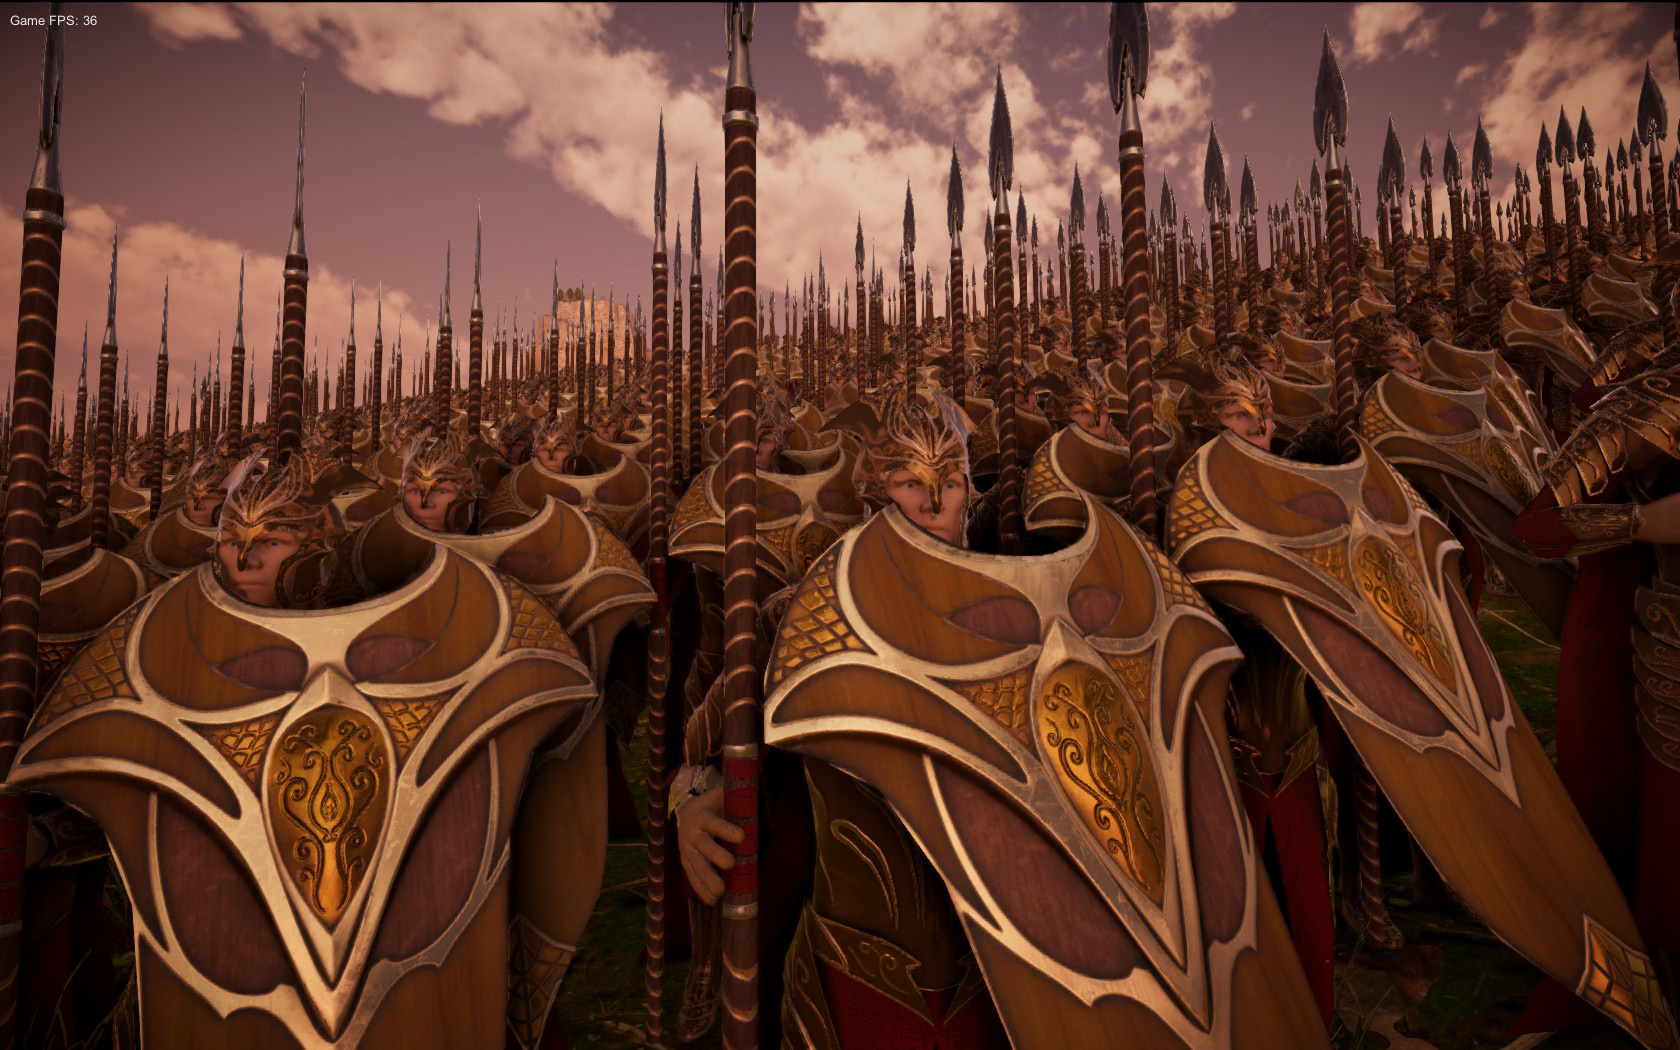
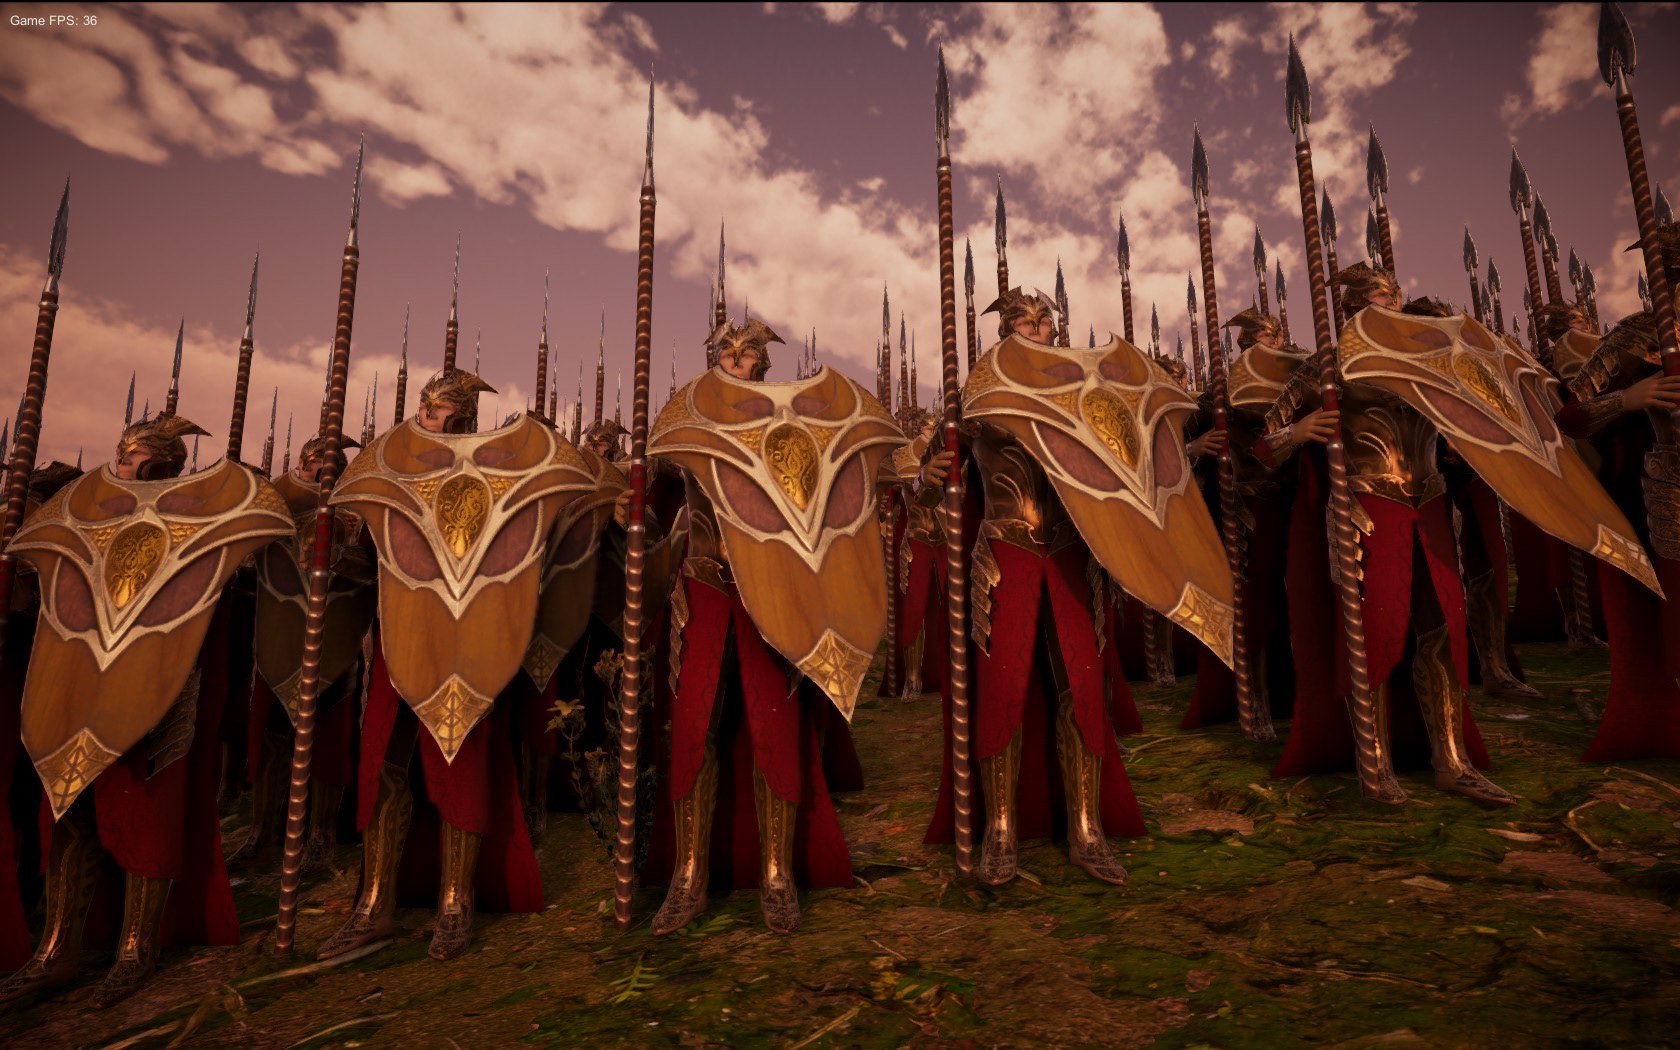
Mirkwood Knights
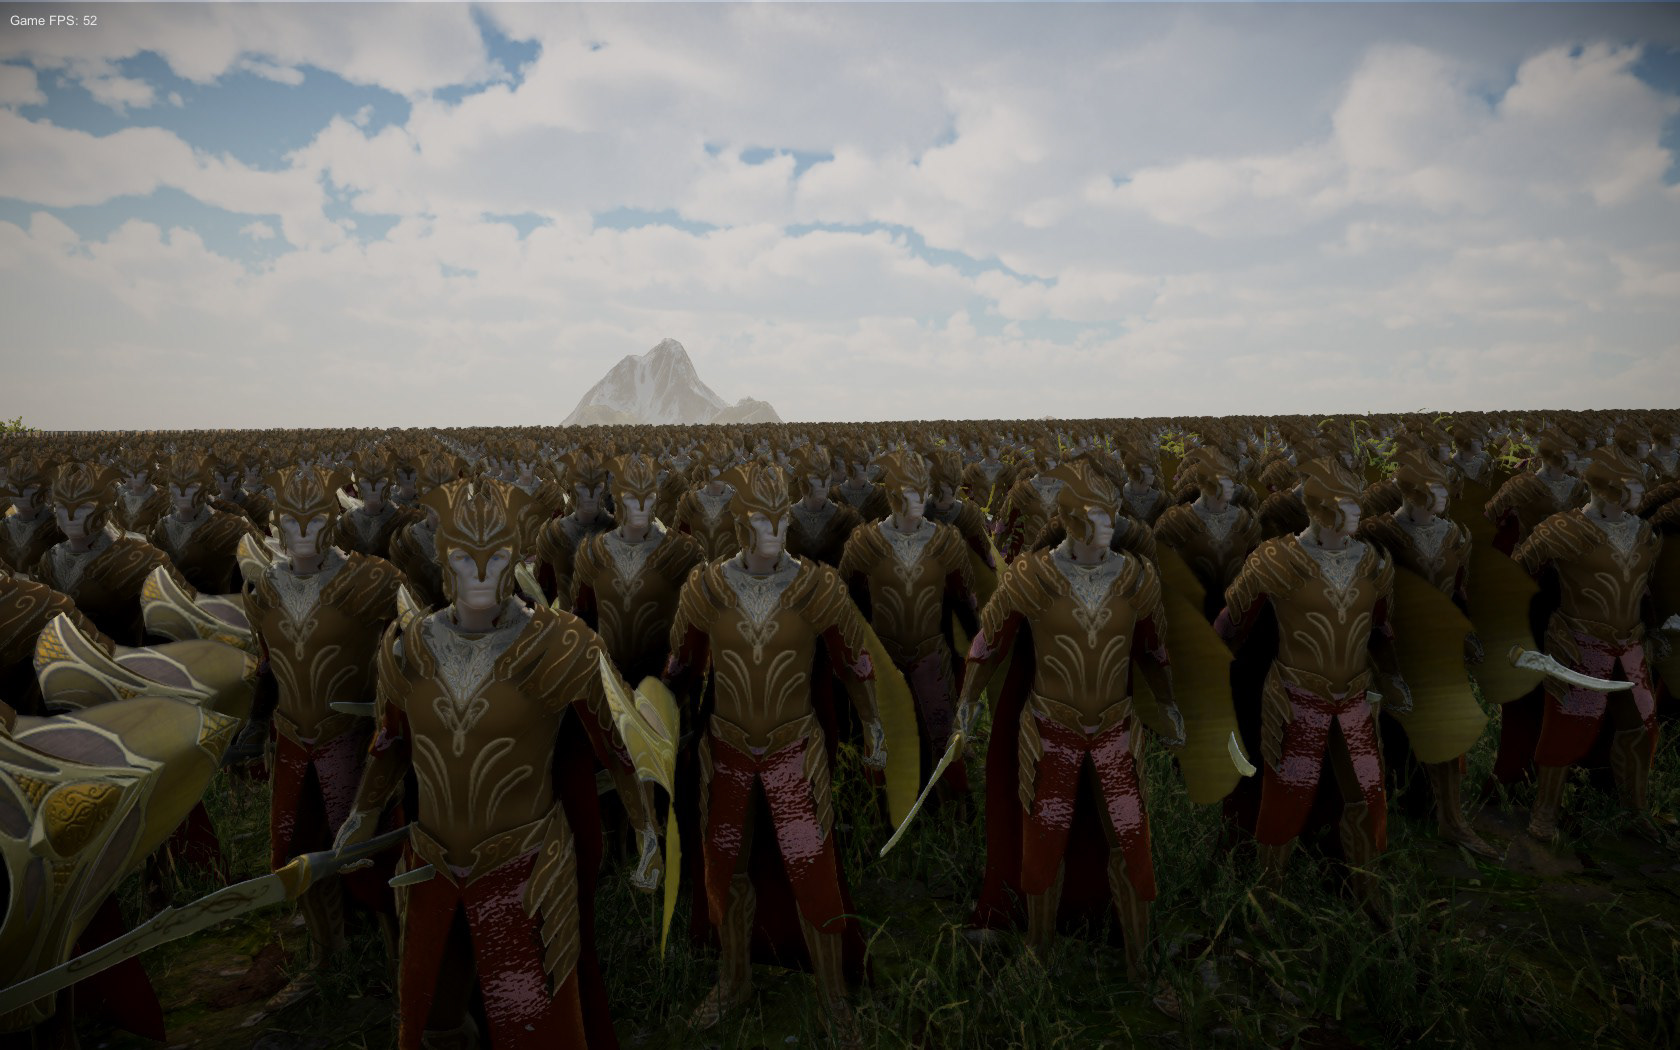
Before
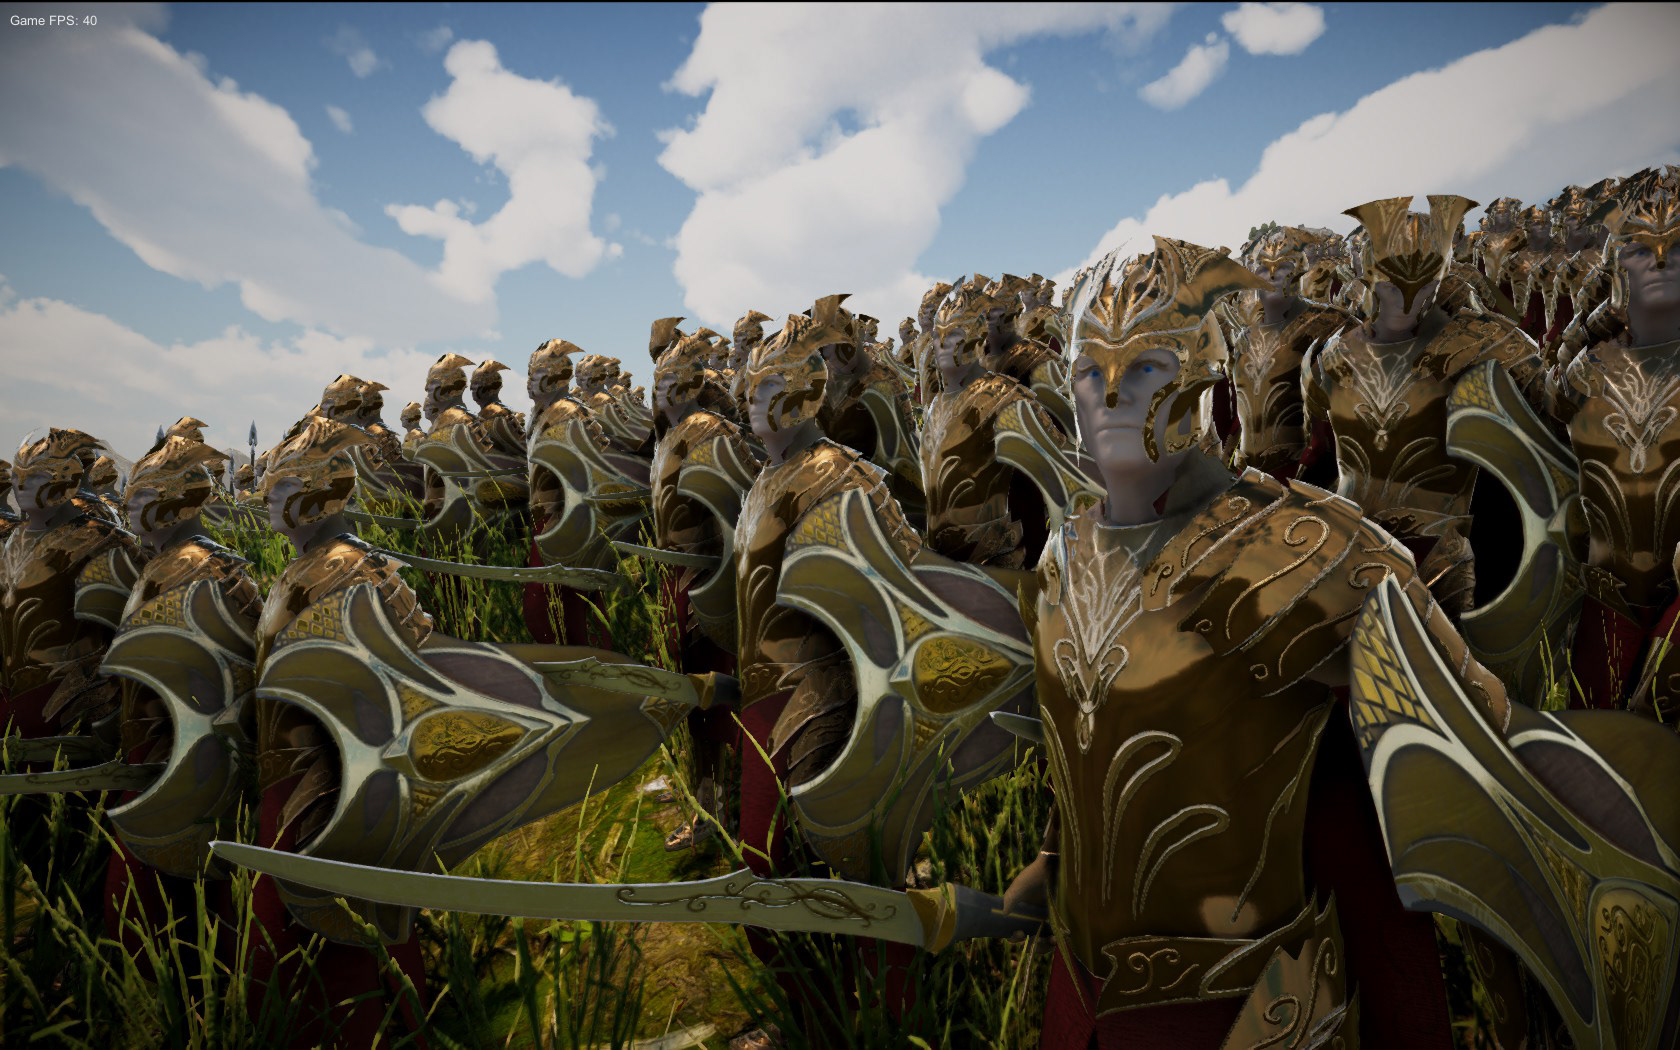
After
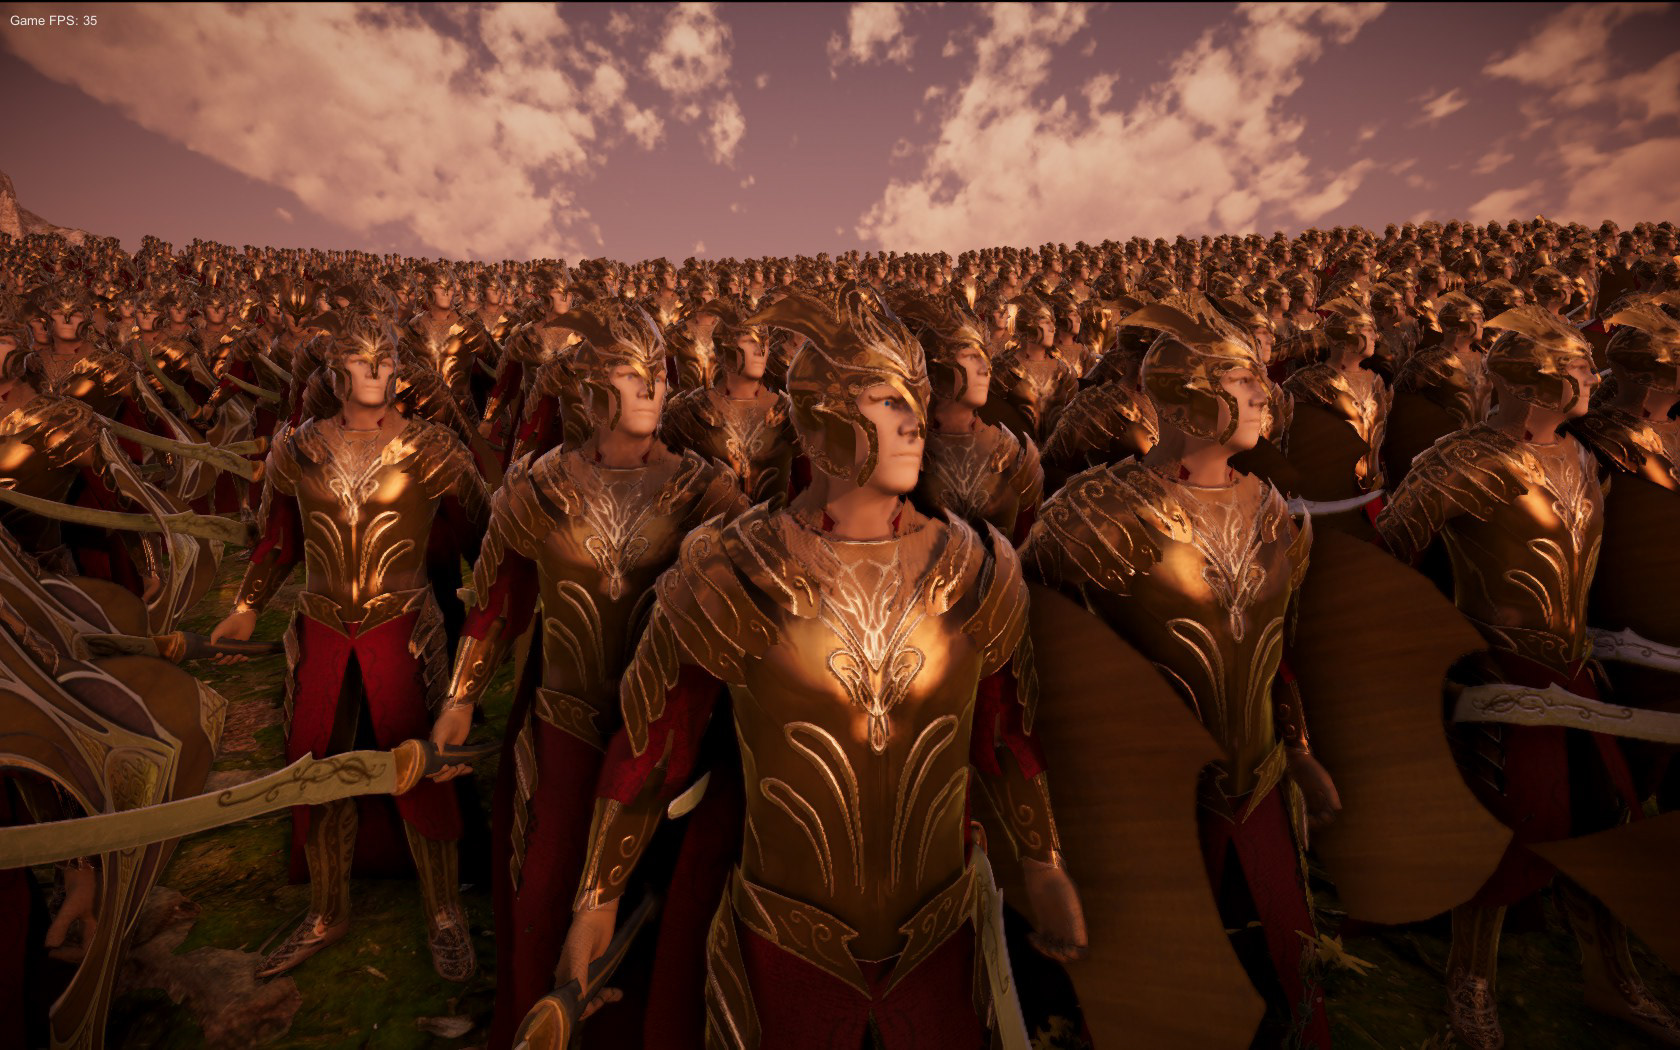

Mirkwood Archers

Before
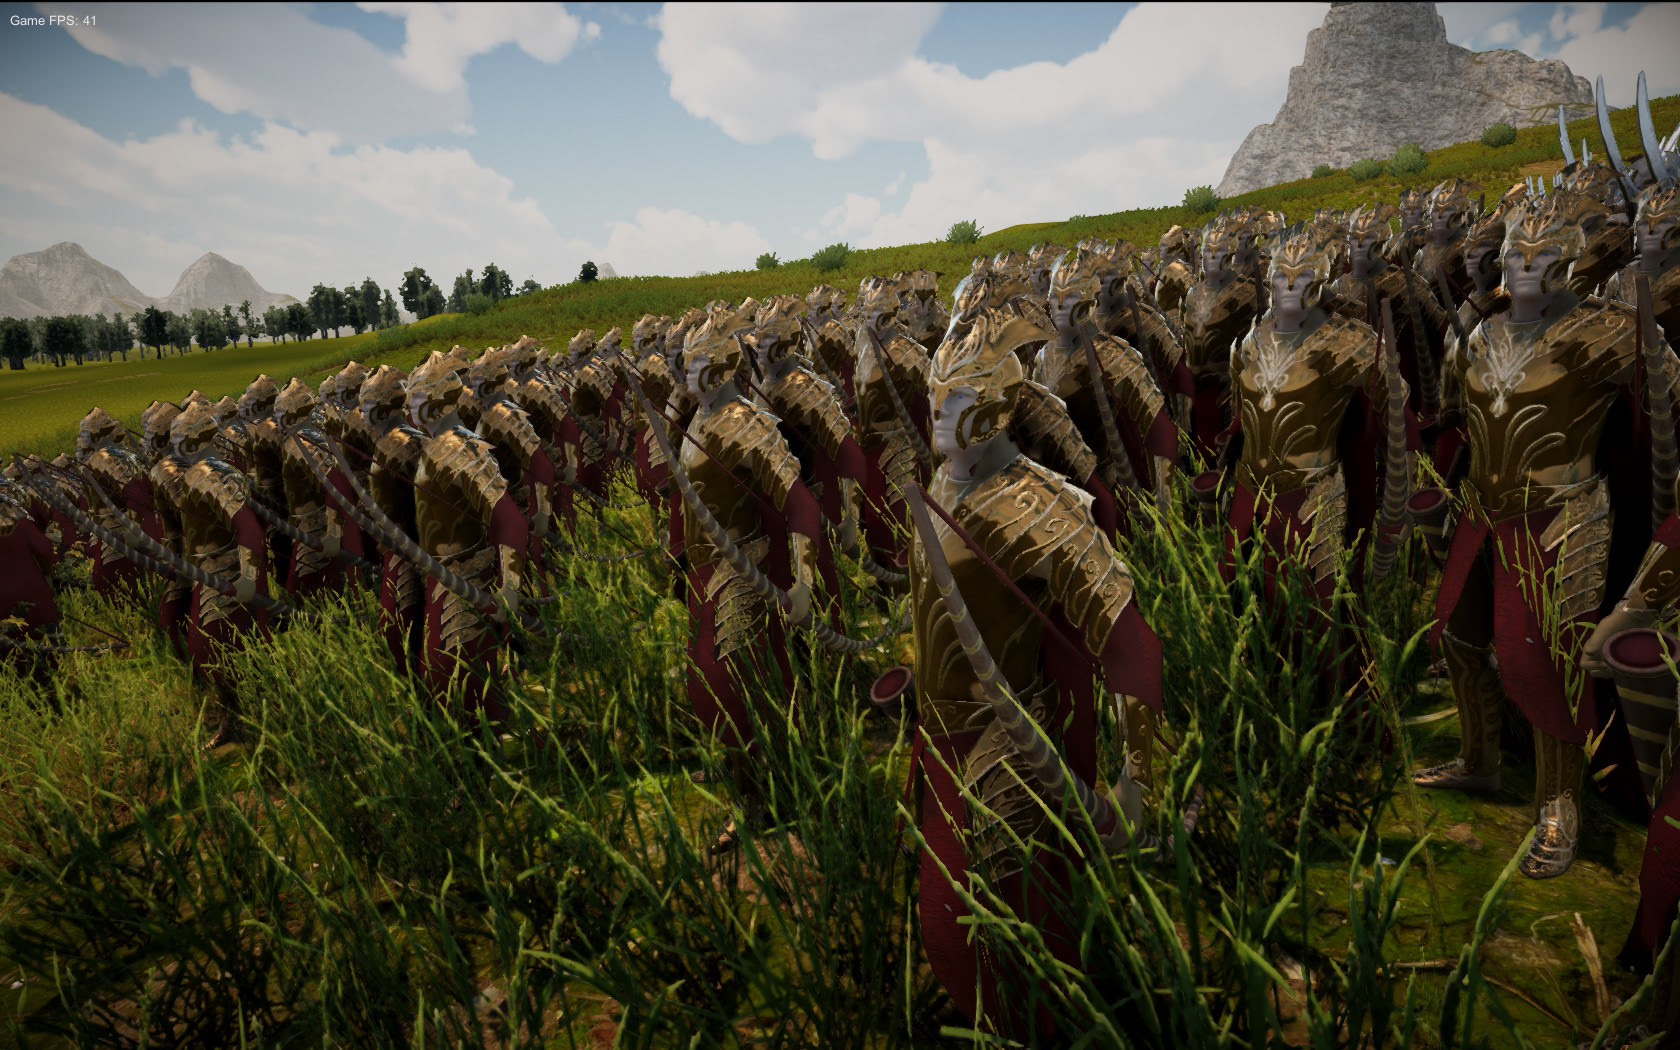
After
