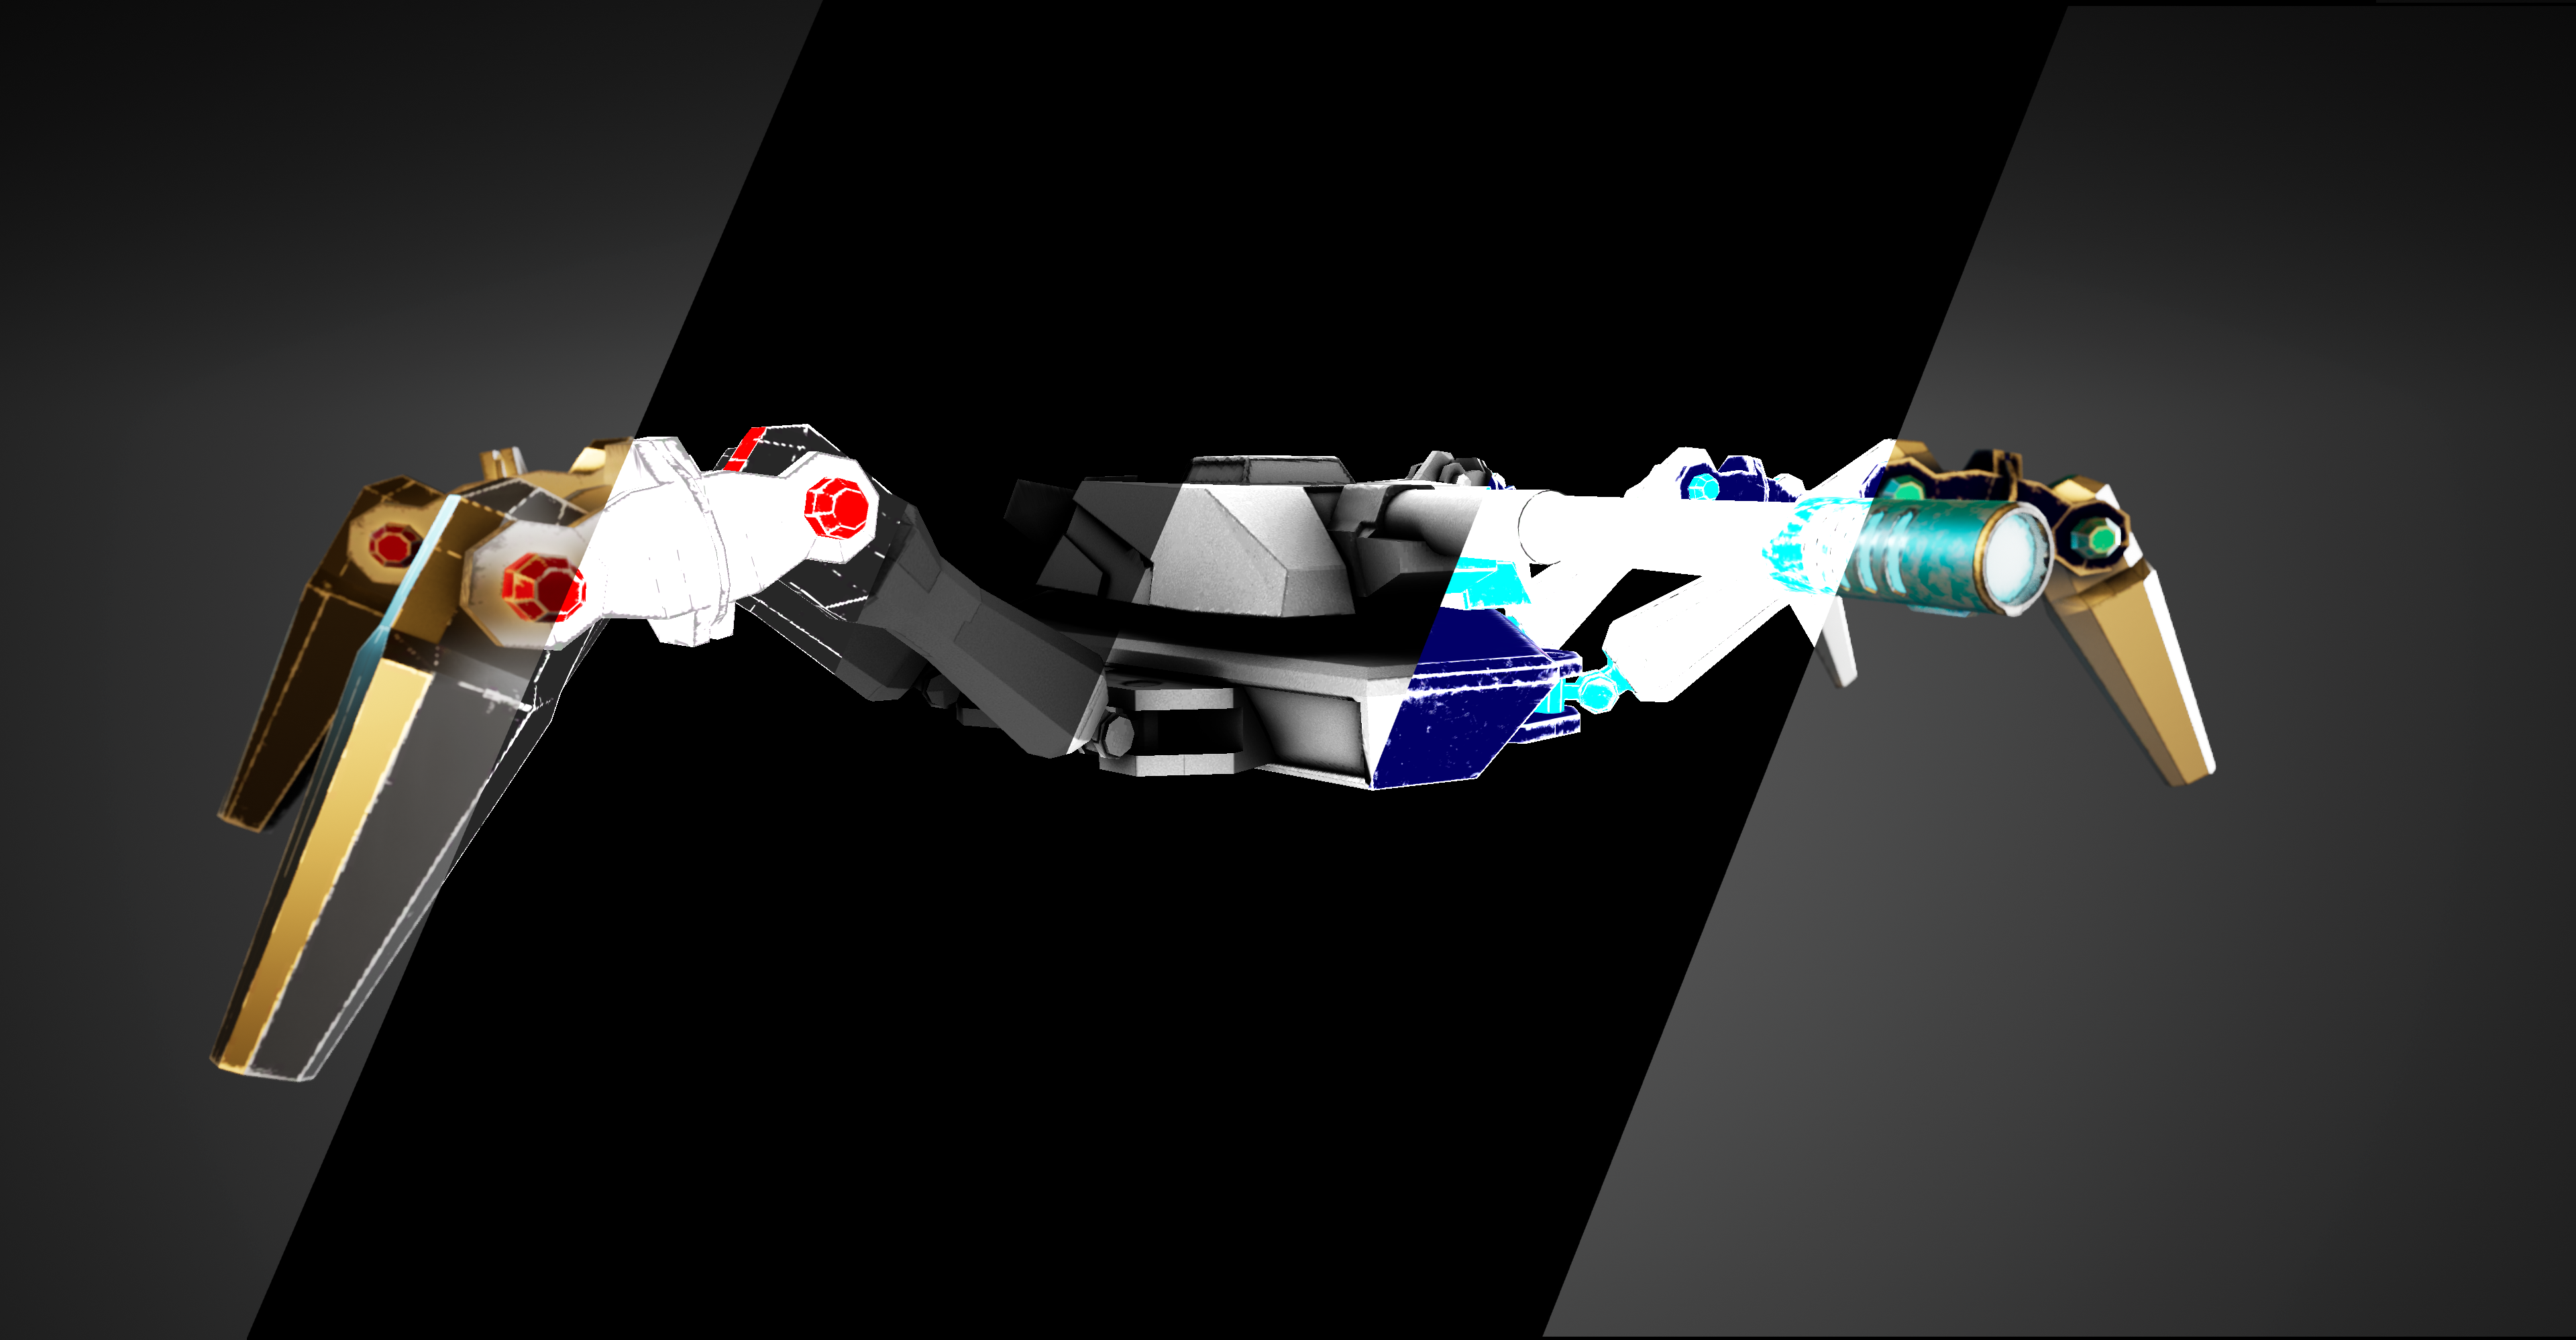
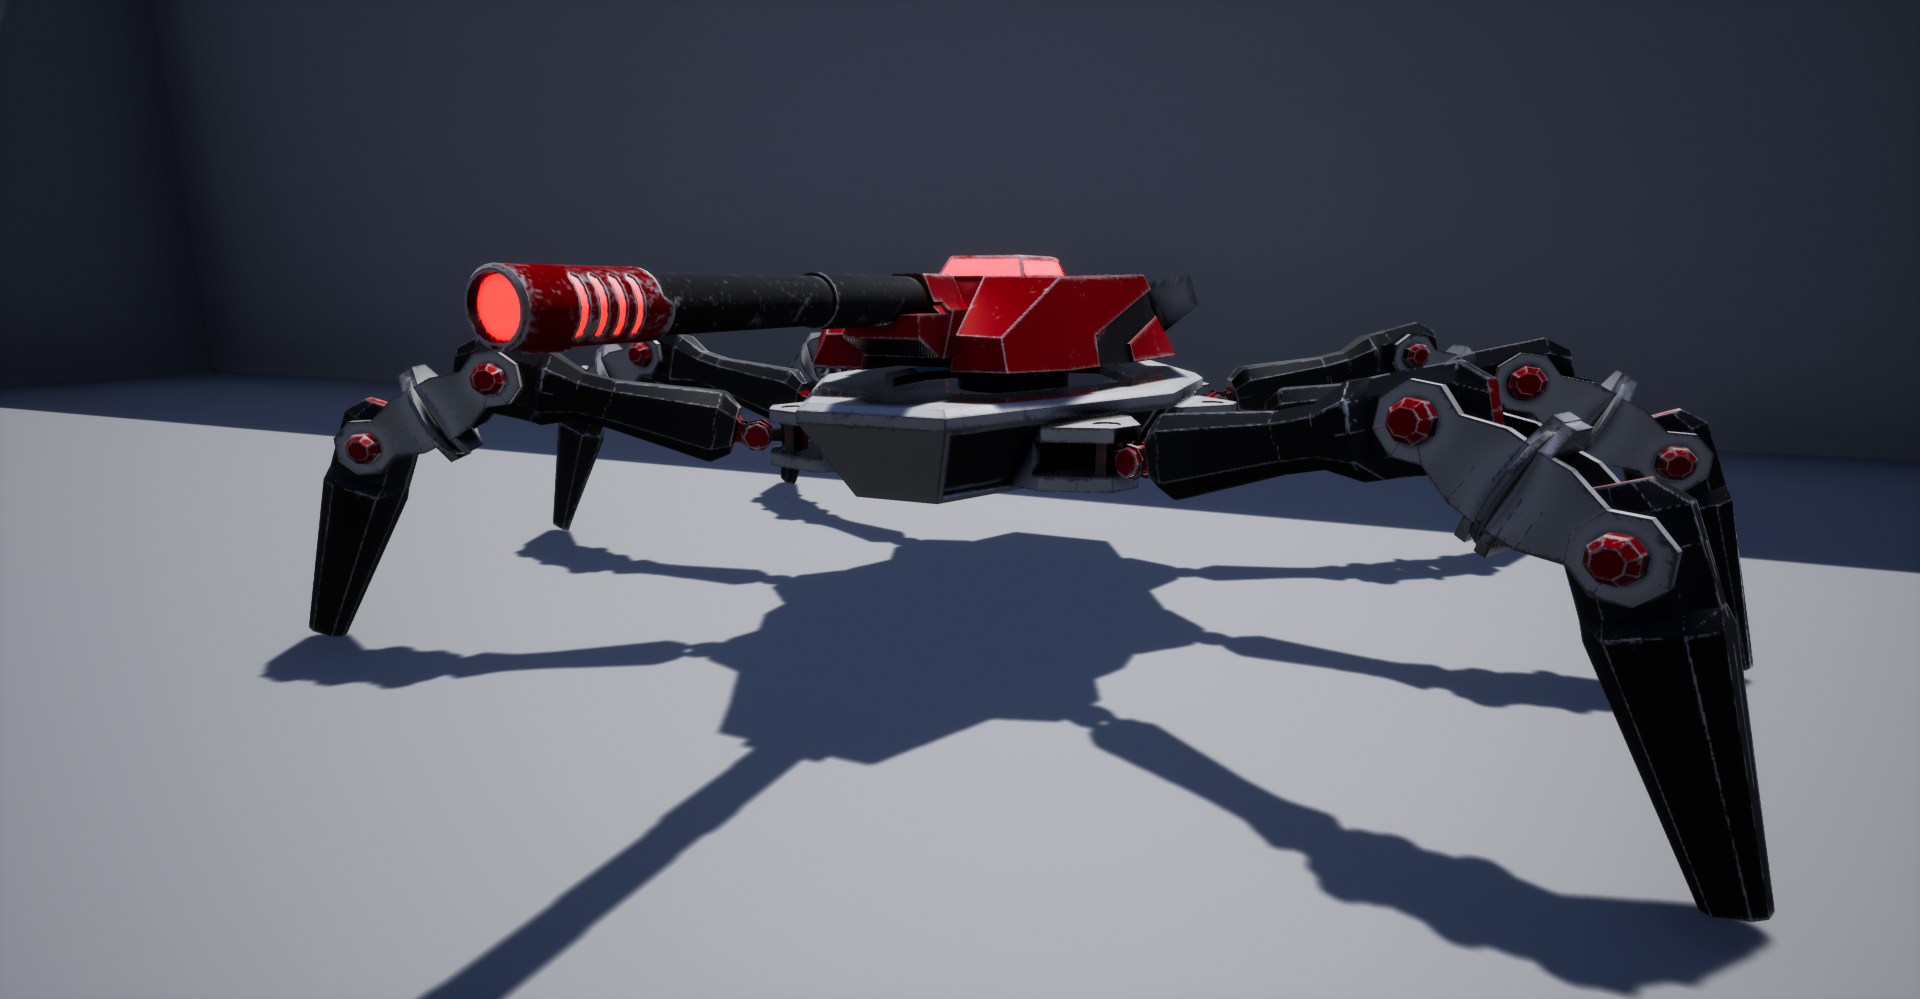
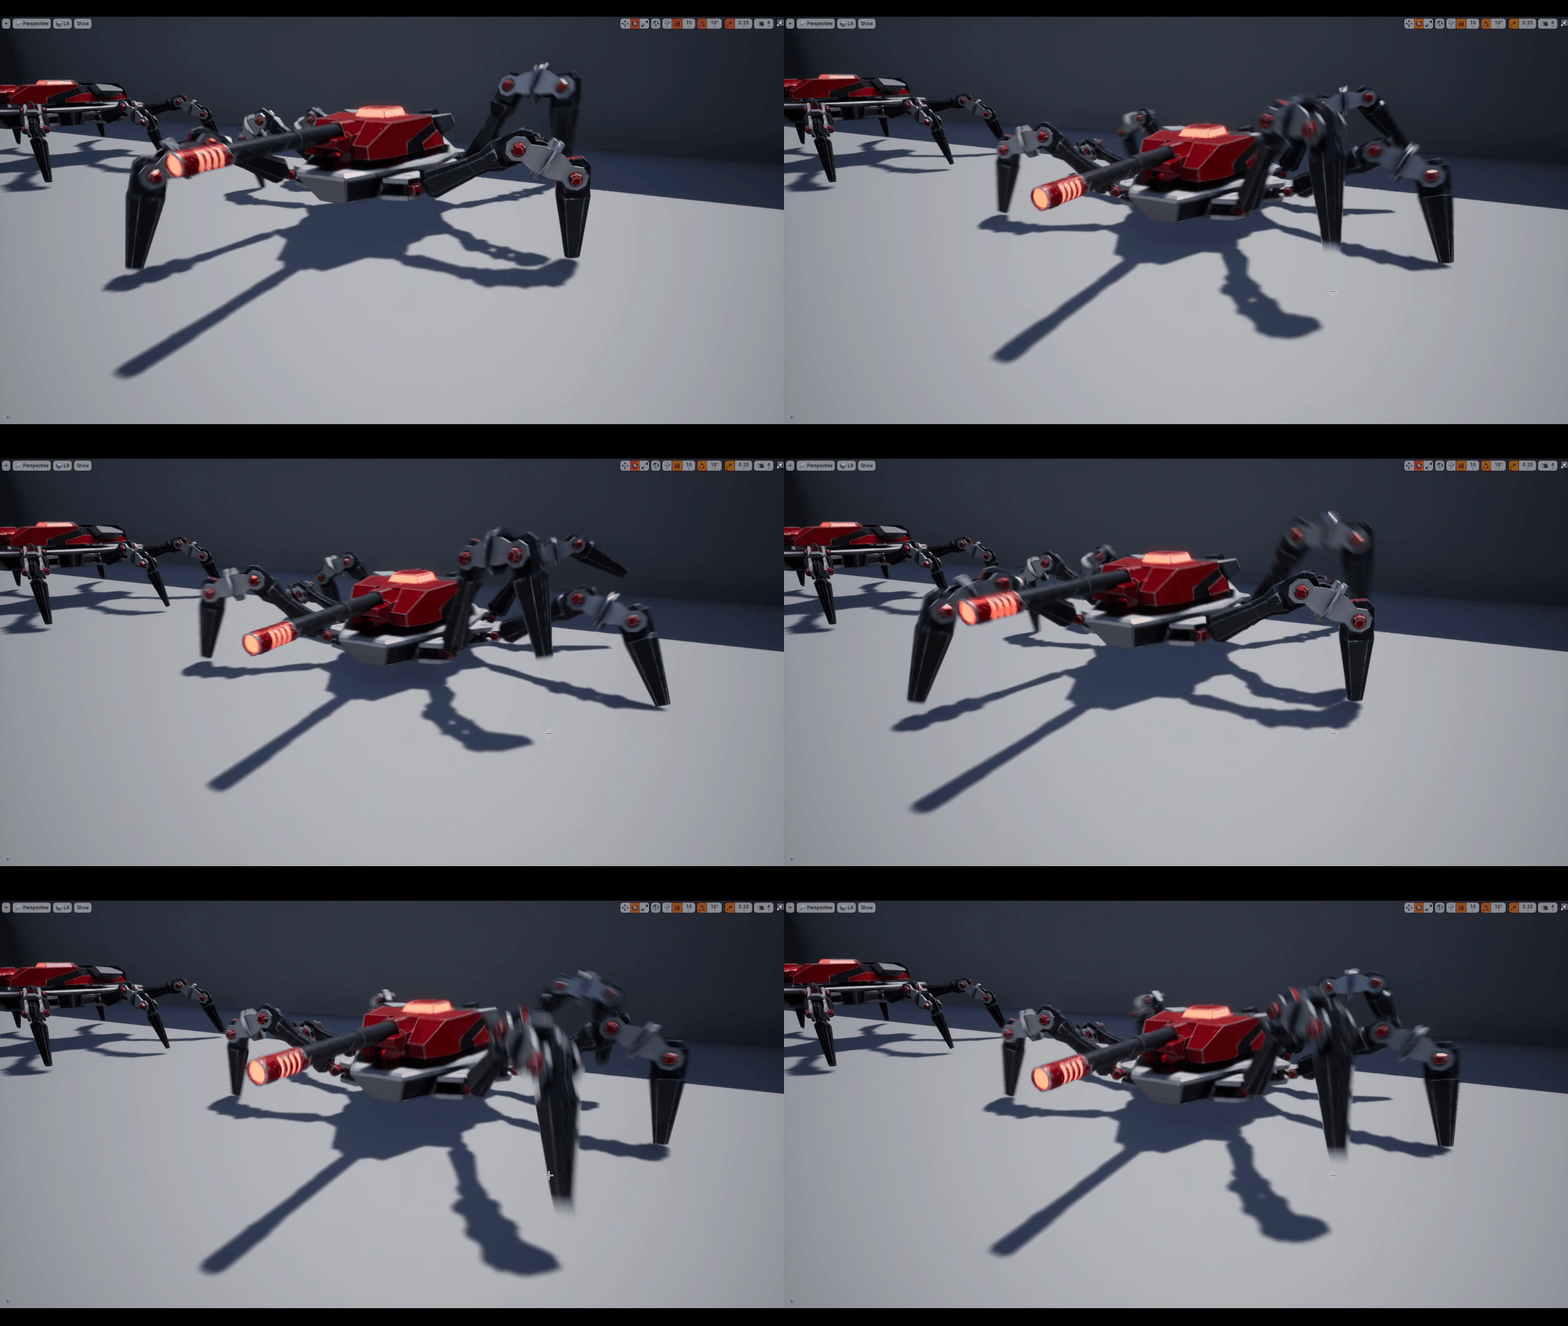
This Spiderbot Rig is small a personal project aiming to create a fully rigged and working, optimsied game asset. The intetion of this project was get a hard surface, rigged asset working in Unreal Engine 4 and problem solve any of the issues which would arise. One of the main issues I came across in previous projects was a scaling issue between Blender and Unreal Engine.
Exporting Tests (Unrigged Box)
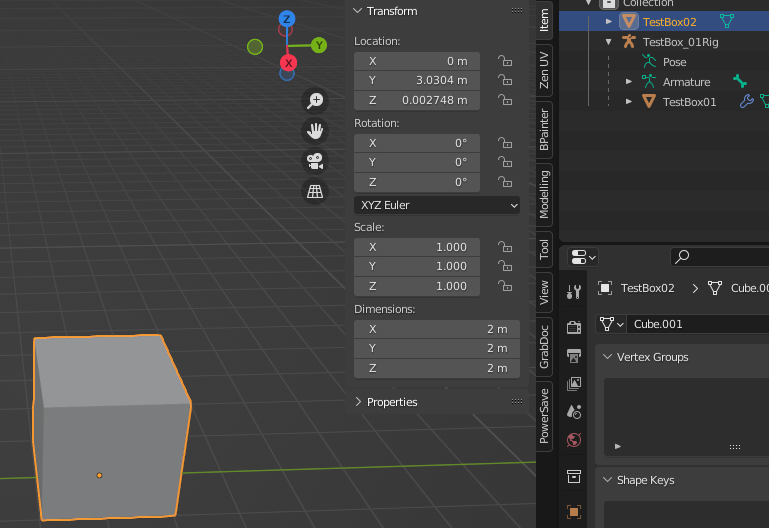
Blender Scene Settings (Unrigged)
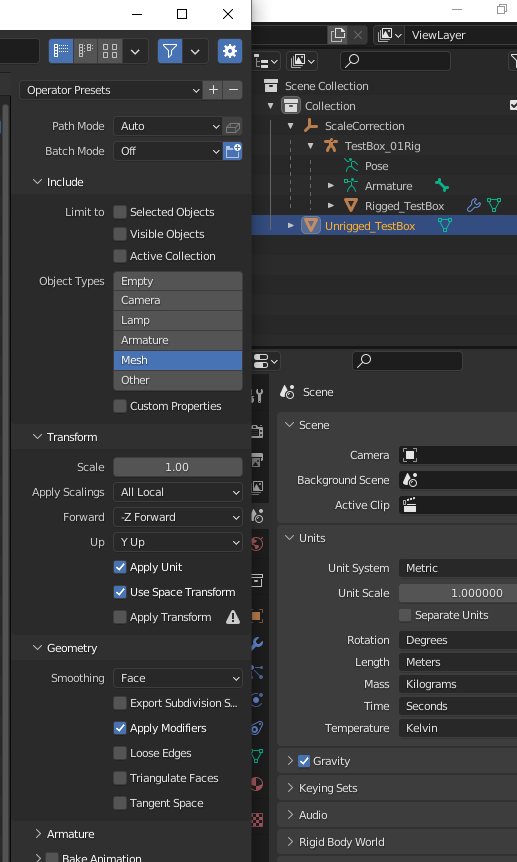
Export Settings
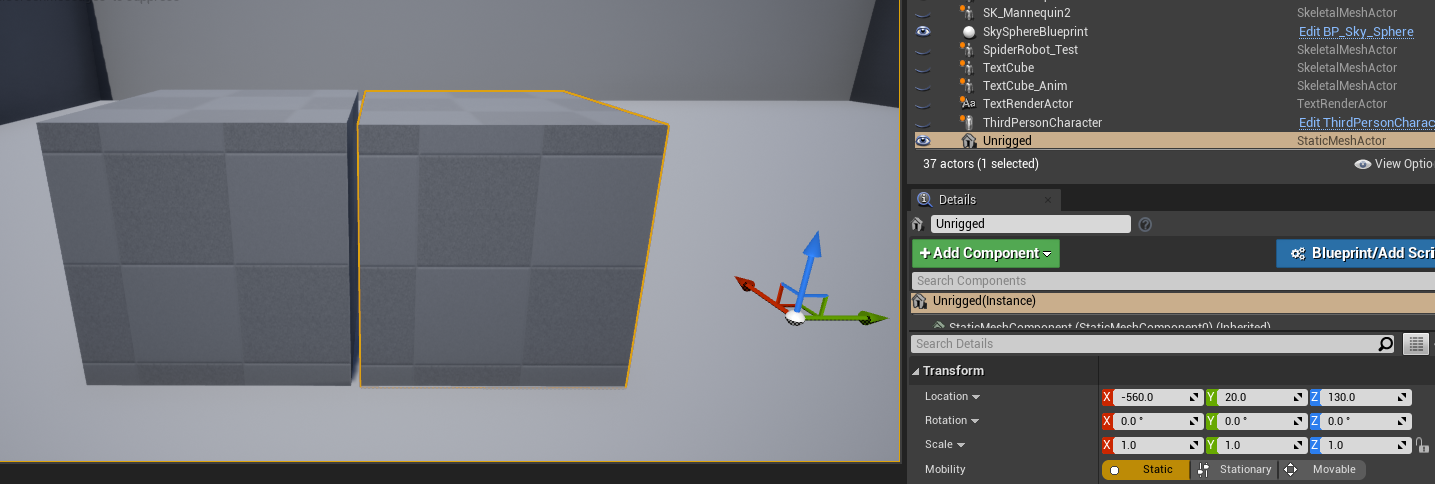
Inside Unreal Engine 4
The scaling Issue does not occure on Static Objects, only Rigged ones.
Export Rigged Box Test 01 (Default Settings)
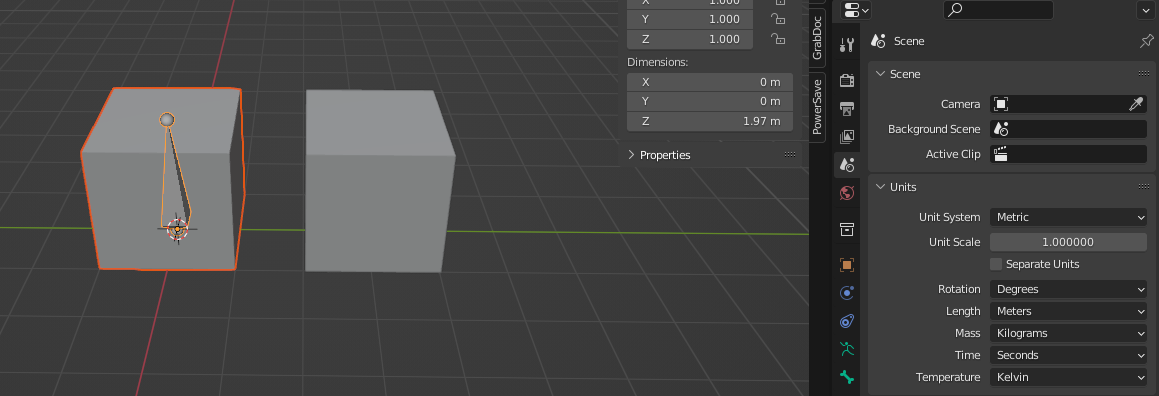
Blender Scene Scale
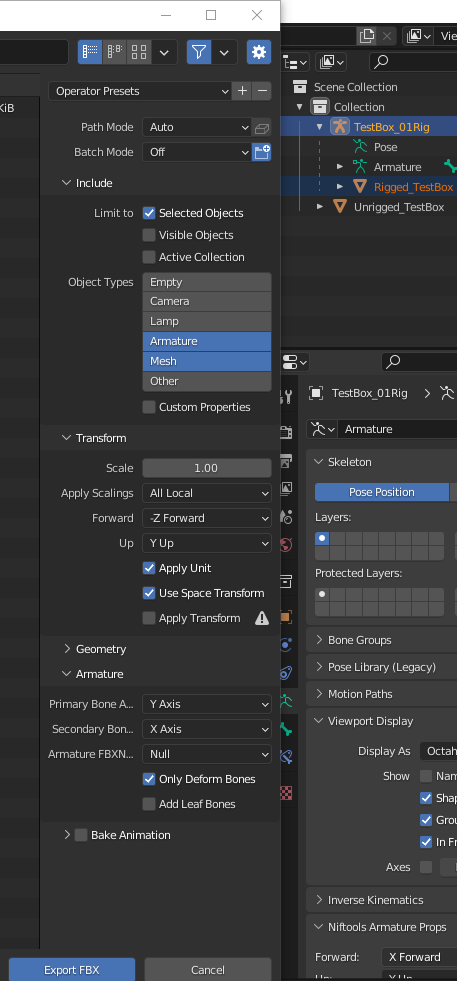
Blender Export Settings
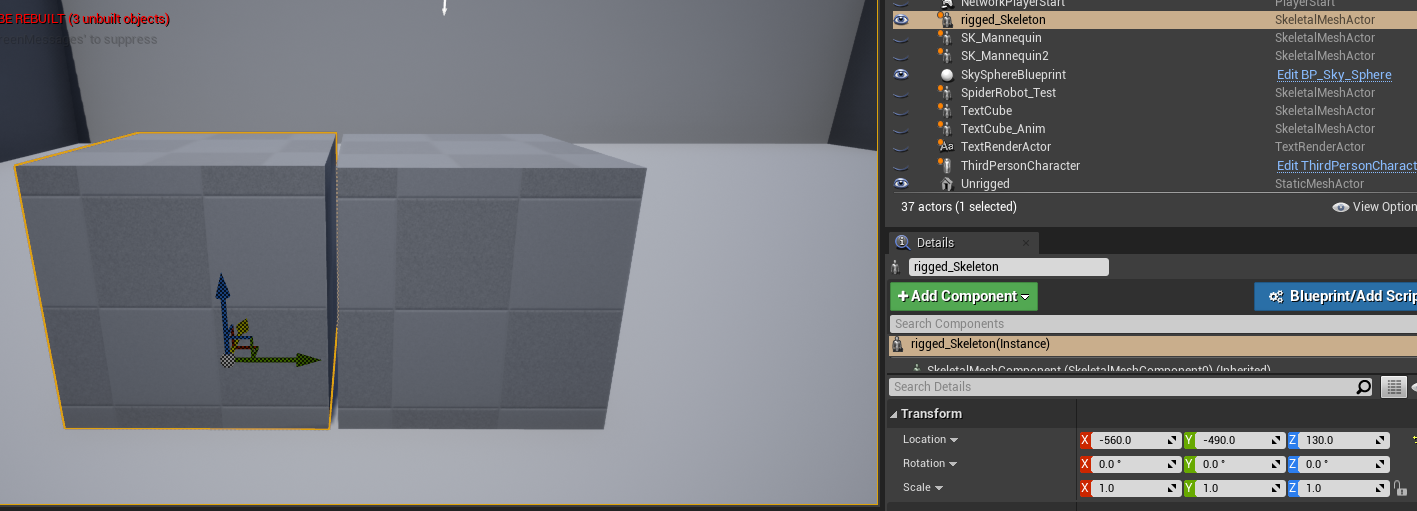
Apparent Scale in UE4 (Rigged asset selected on the right, Static on the Left)
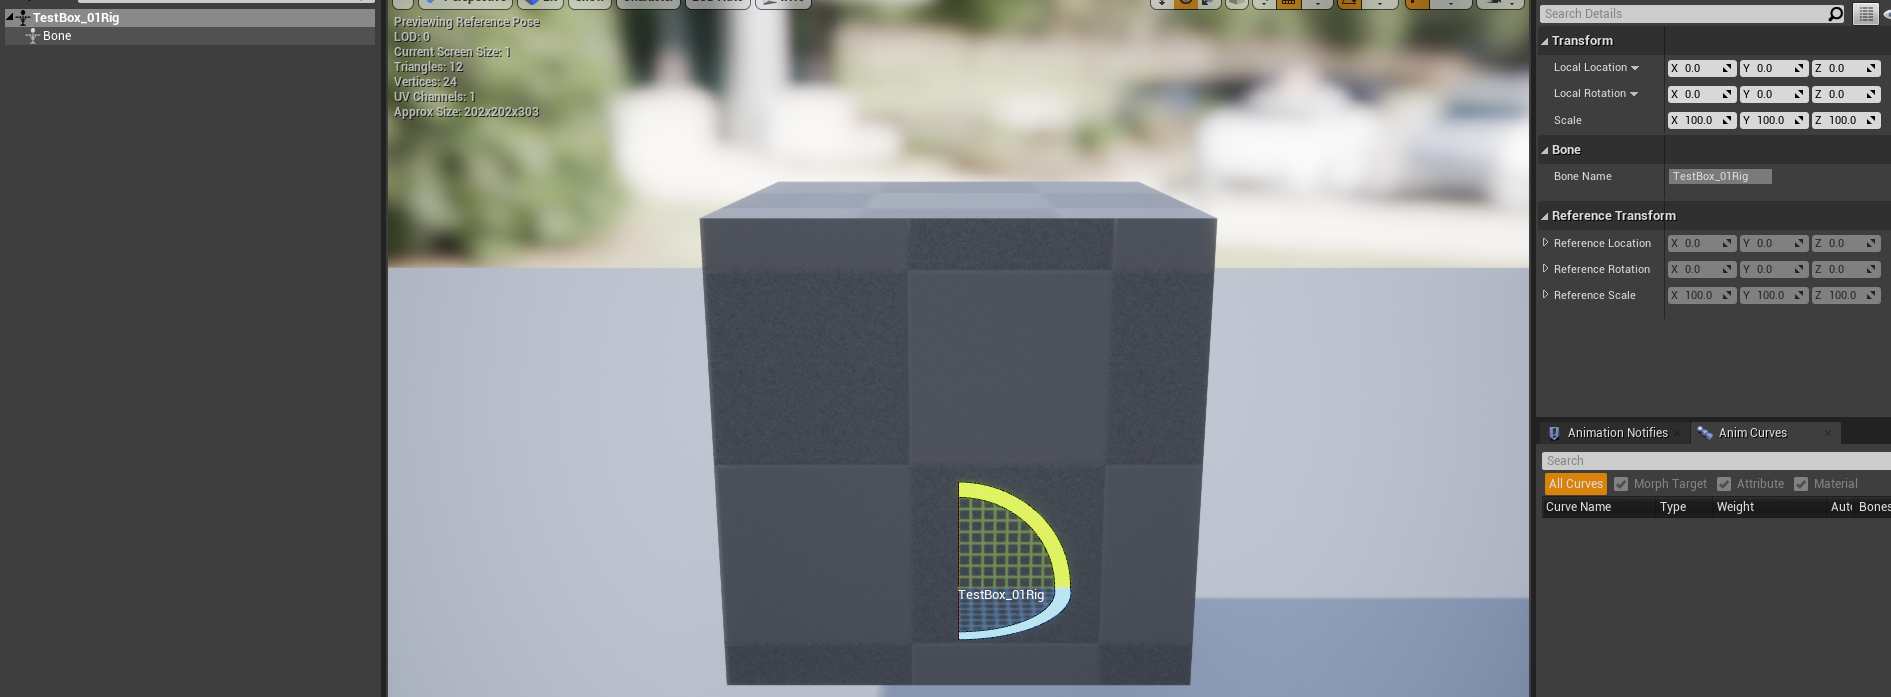
True Scale of Rigg, inside rig viewer
The first test was conducted with default export settings, the exact same settings as the static box mesh. When the asset was imported into Unreal the scale at first did not appear different from the static object. However with closer inspection in the rig pannel it was noticed that the scale was not at the default 1.00. Instead the bone scale was 100x to big, due to the meter to cm difference between Blender and Unreal Engine 4.
Export Rigged Test Box 02 (Changing Scene Scale)
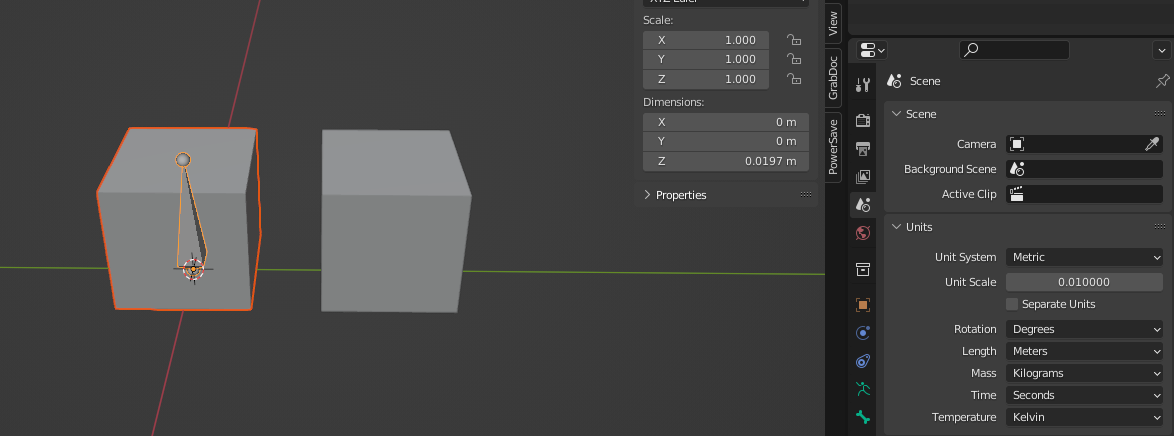
Scene Scale set 0.01
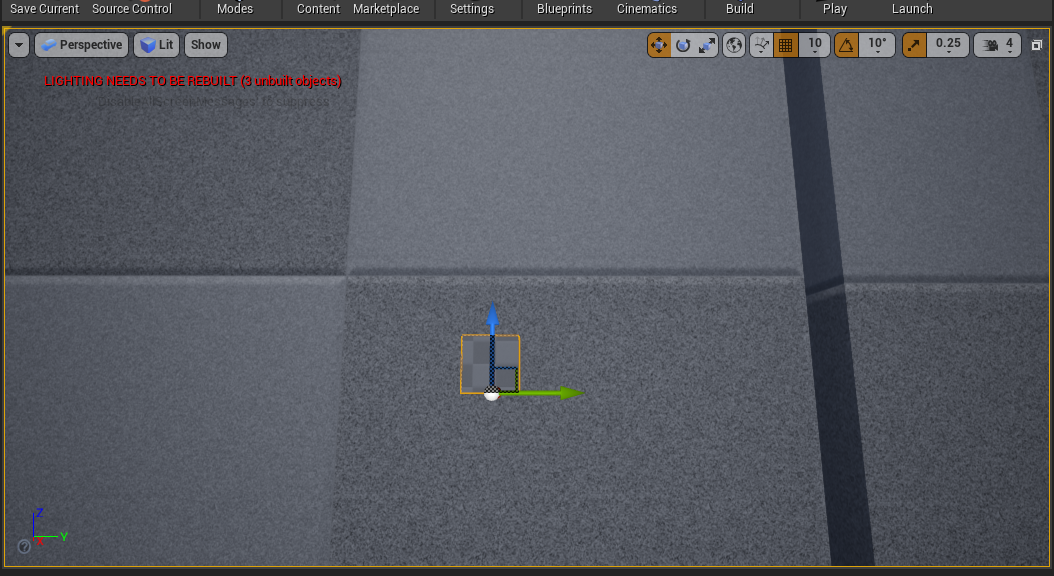
Scene Scale Scaled box imported into Unreal

Bone Scale
The second attempt I tried was to change the scale setting of the scene file in blebnder. This is a common correction made in various videos I have seen online to try and correct this issue. However as seen, this cause the mesh object to be way too small, although it does make bones scale the correct size. This partial solution, fixes one problem, however causes another.
Export Rigged Test Box 03 (Changing Export Scale)
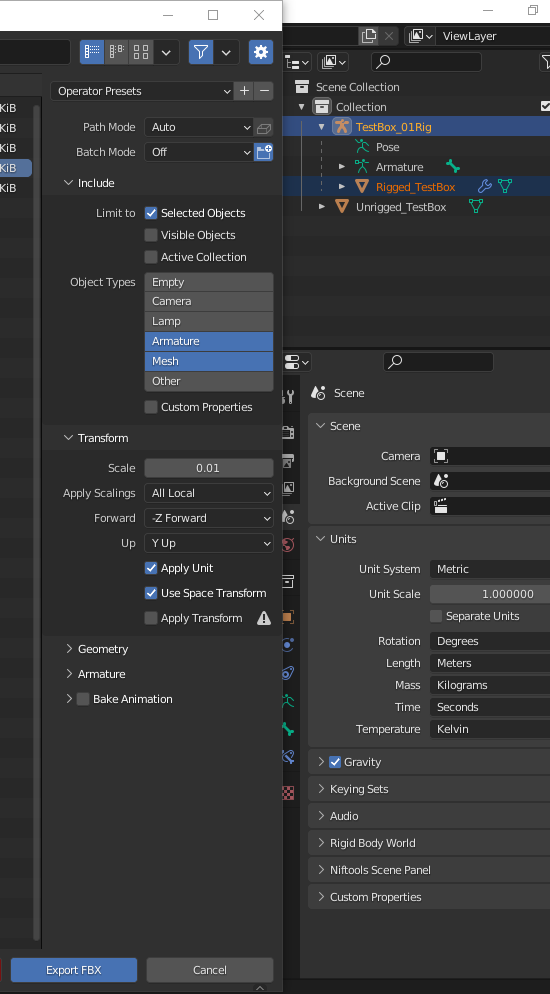
Changing the scale in export settings instead
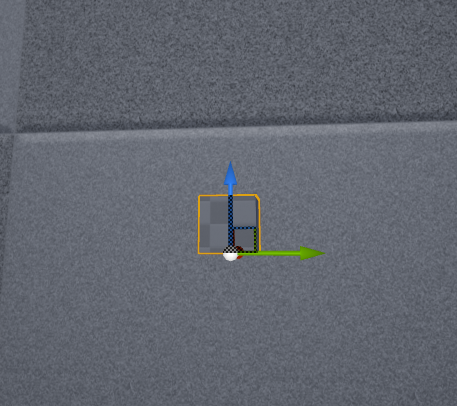
Creates same result as previous test

again corrects scaling issue, but the mesh is too small
The third attempt looked at trying to solve the issue through the export settings, however this caused the same outcome as the previous test, with the mesh being too small, however correcting the bone scaling issue.
Export Rigged Test Box 04 (Parenting Rig to Scaling Empty Object)
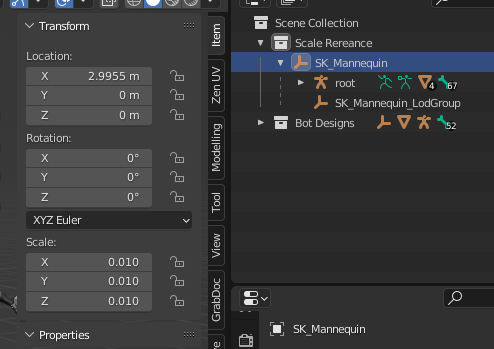
UE4 Mannequin Empty Object Scale

UE4 Mannequin Rig Scale
When trying to figure out the solution to the scaling issue, I was using the Unreal Engine 4 Mannequin to make sure my assets were the correct scale. I later looked at the rigging system of the mannaquin, realising there waas an empty attached to the rig. I knew that alot of rigged assets came with empties when imported FBX files came into Bender, but I had not given much mind to it previously.
The empty object which had the rig as a child object, had the inputted scale difference which I was trying to create with previous attempts. however the scale of the rig was completely unchanged.
I would go on to test this with the rigged box asset I had created.
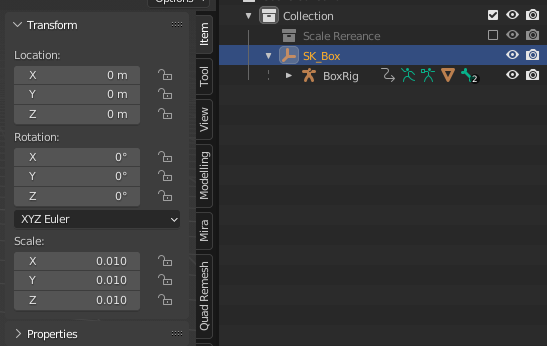
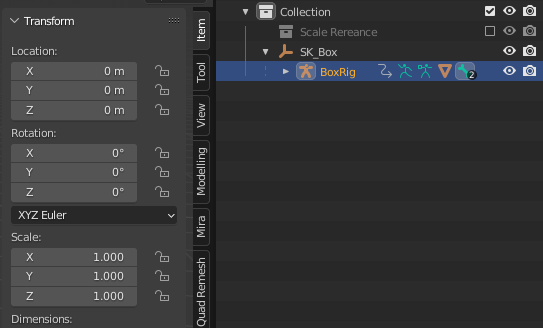
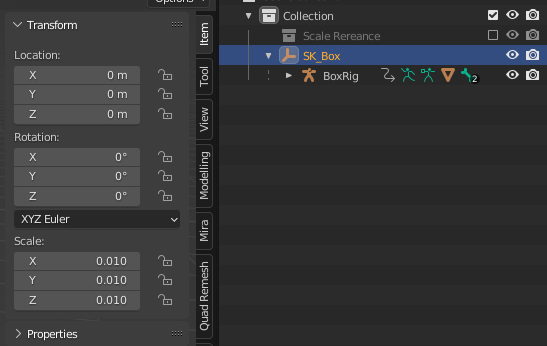
BoxRig - Empty Scale
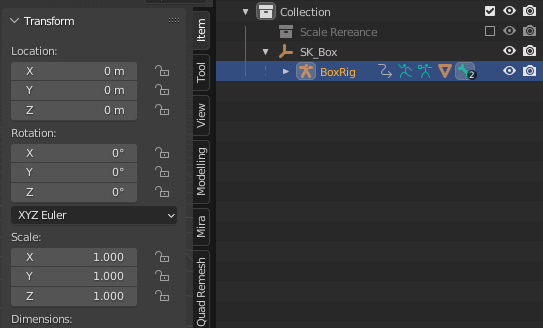
BoxRig - Rig Scale
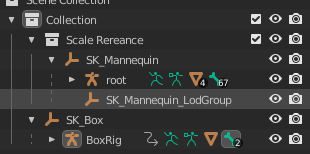
Mannaquin,Box Rig Comparison
I setup the empty and parented it to the rig. On this first setup. I scaled the empty first and parented the rig to it, but it did not make the rig smaller as expected even though the values were correct. I imported this test into Unreal and gained the same scaling issue.
On the second attempt I recreated the empty, parented the rig again to it. I then scaled to the empty to 0.01 and it made the rig smaller as expected. I the increased the size of the rig to 100.00 to bring it back to the orginal size and applied the scale. (This method only works before animation, if you do it after animations are created, they end up breaking). I added a small dancing animation, to see if it would work with them.
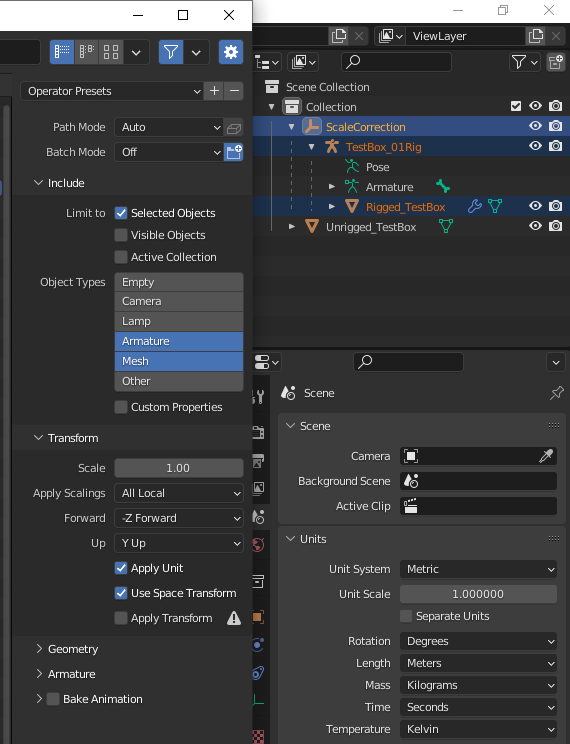
Empty + Rig Export & Scene Settings
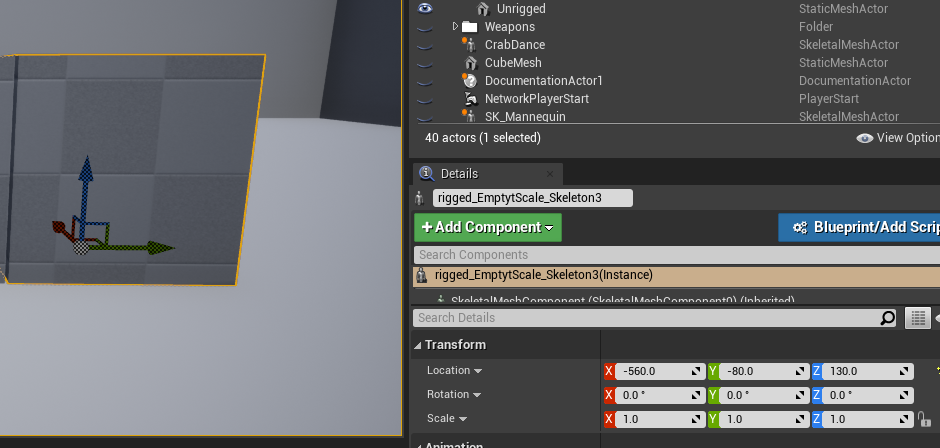
UE4 Box Scale Mesh
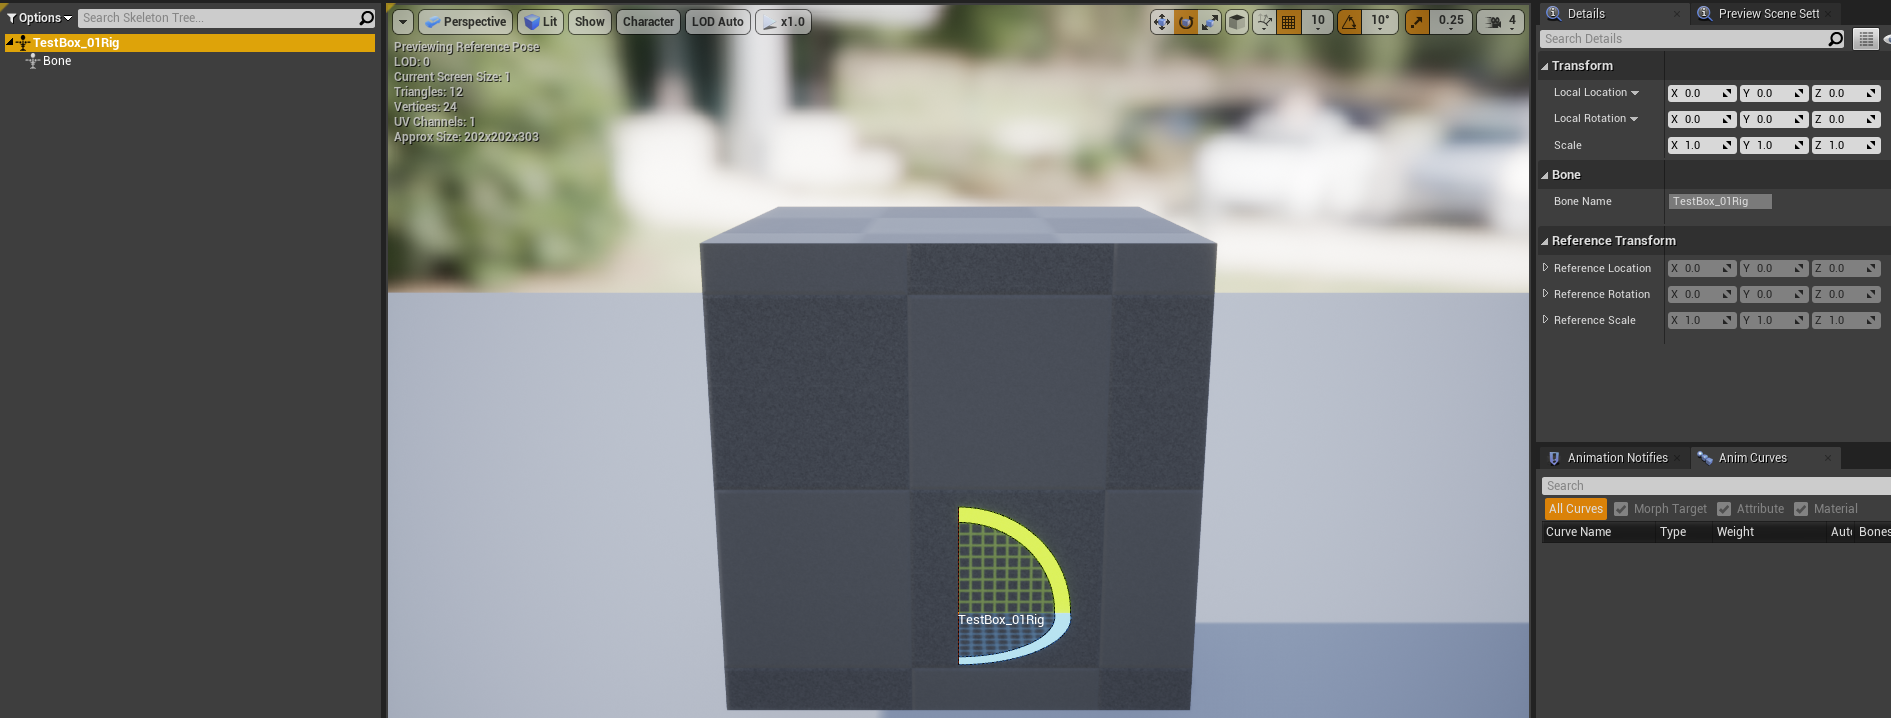
UE4 Correct Scale
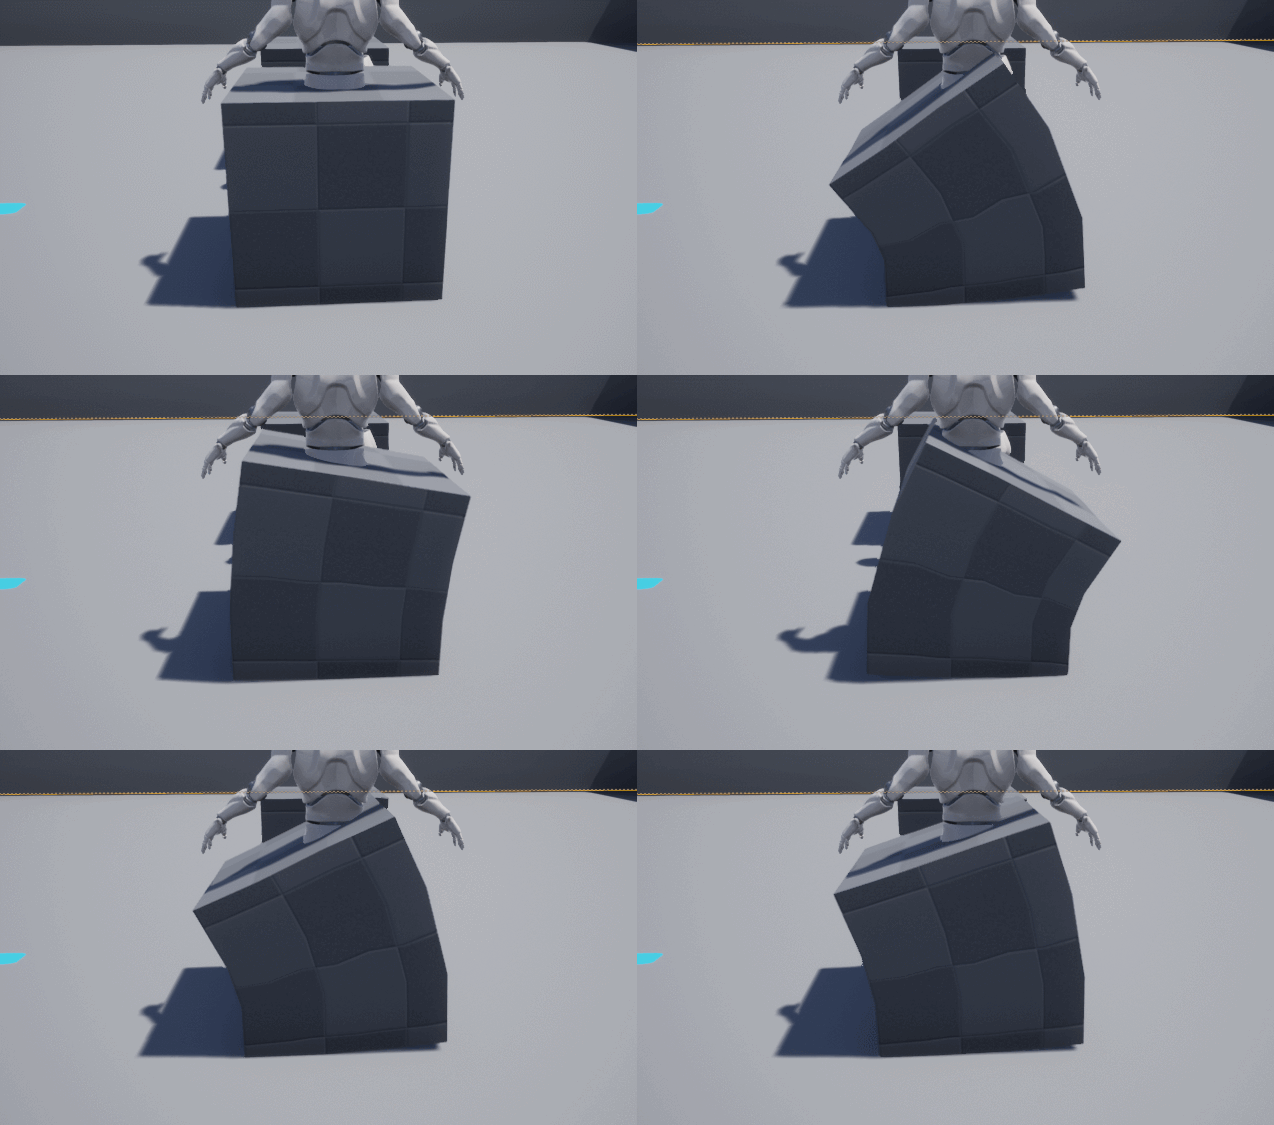
I exported the entire rig heirachy with the rig, mesh and animation. In the export settings Empty did not need to toggled to allow this change to work, If it had been toggled it would have created another unneeded boen inside Unreal. Everything imported with no errors and the rigged box came in with the same scale as the static mesh.
When I inspected the rig, the scale was setup to be 1.00, the correct scale and the mesh was the correct size. The same was said for the animation. With the scaling issue reliably solved, I began work on a spider bot rig which wanted to develop into a complete game asset wth textures, working Ik rig and animations.
Spider Bot Game Asset Development
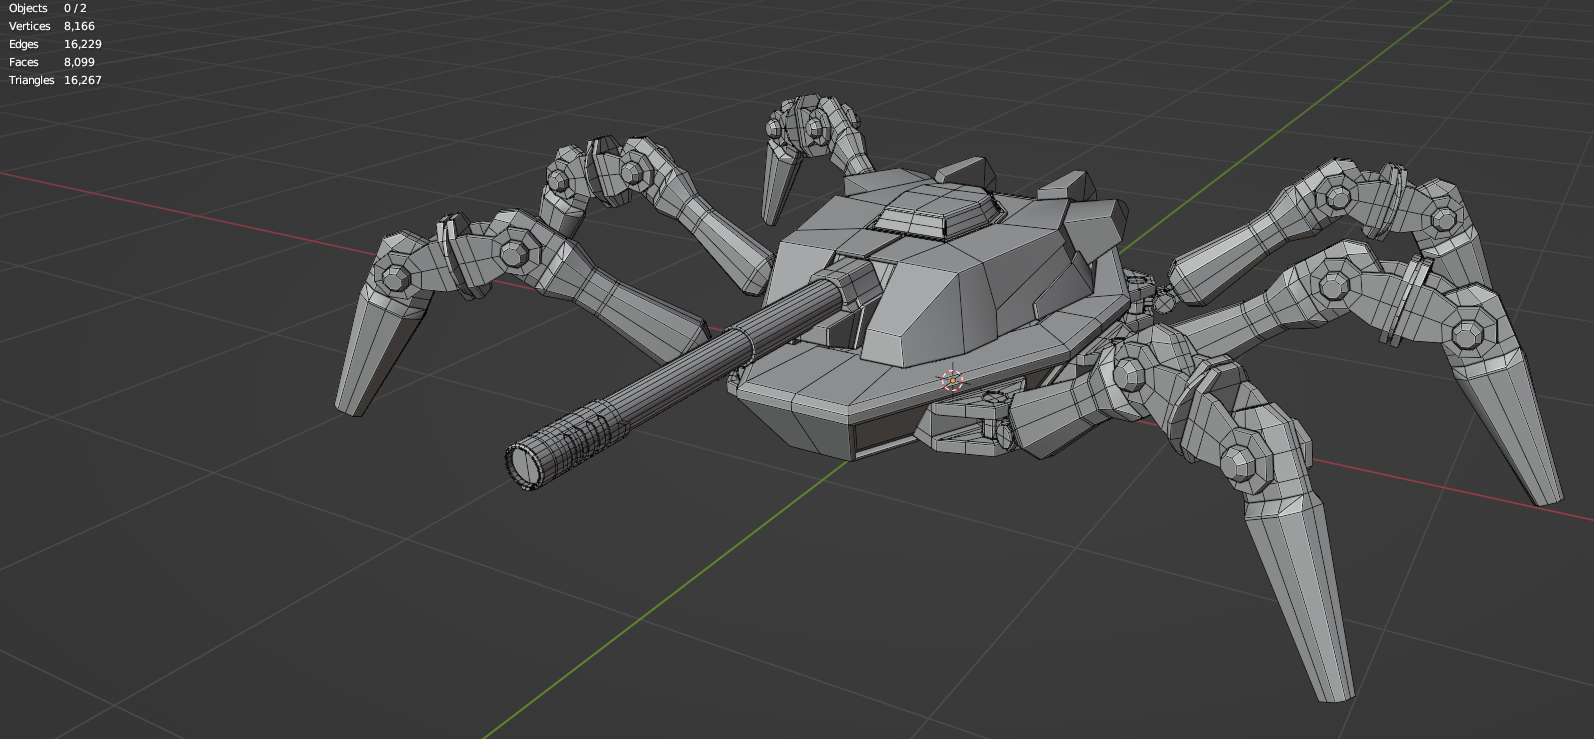
Topology
Rig
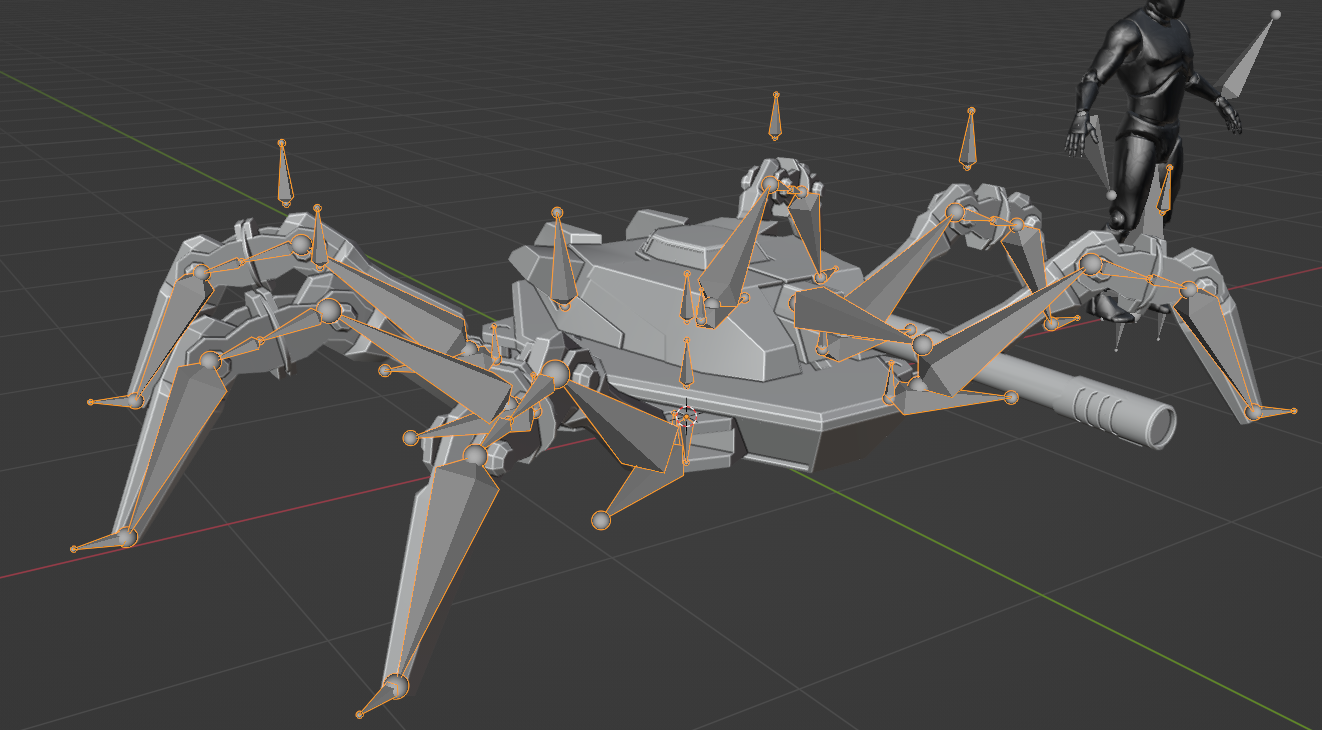
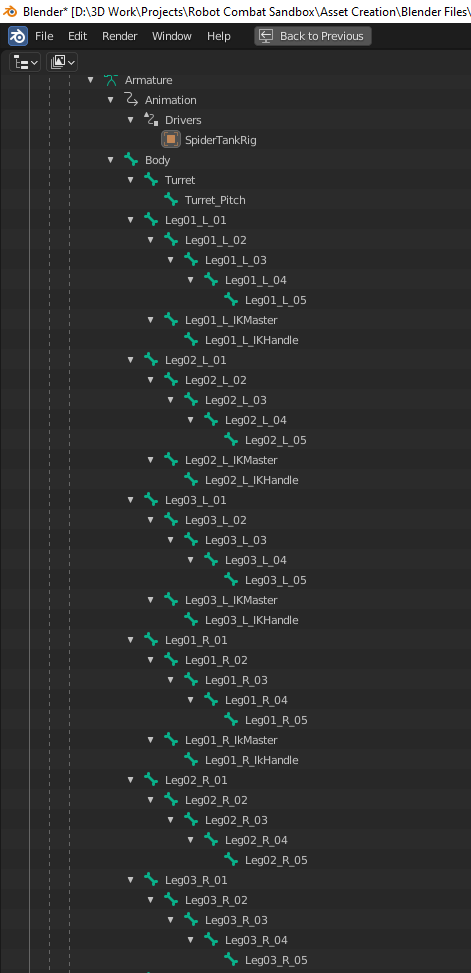
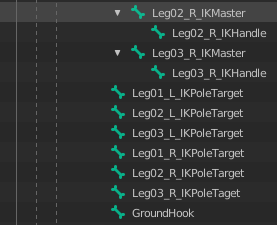
Rig Hierachy
Scale Correction
Animations
Test Animation
Complete Movement Animations
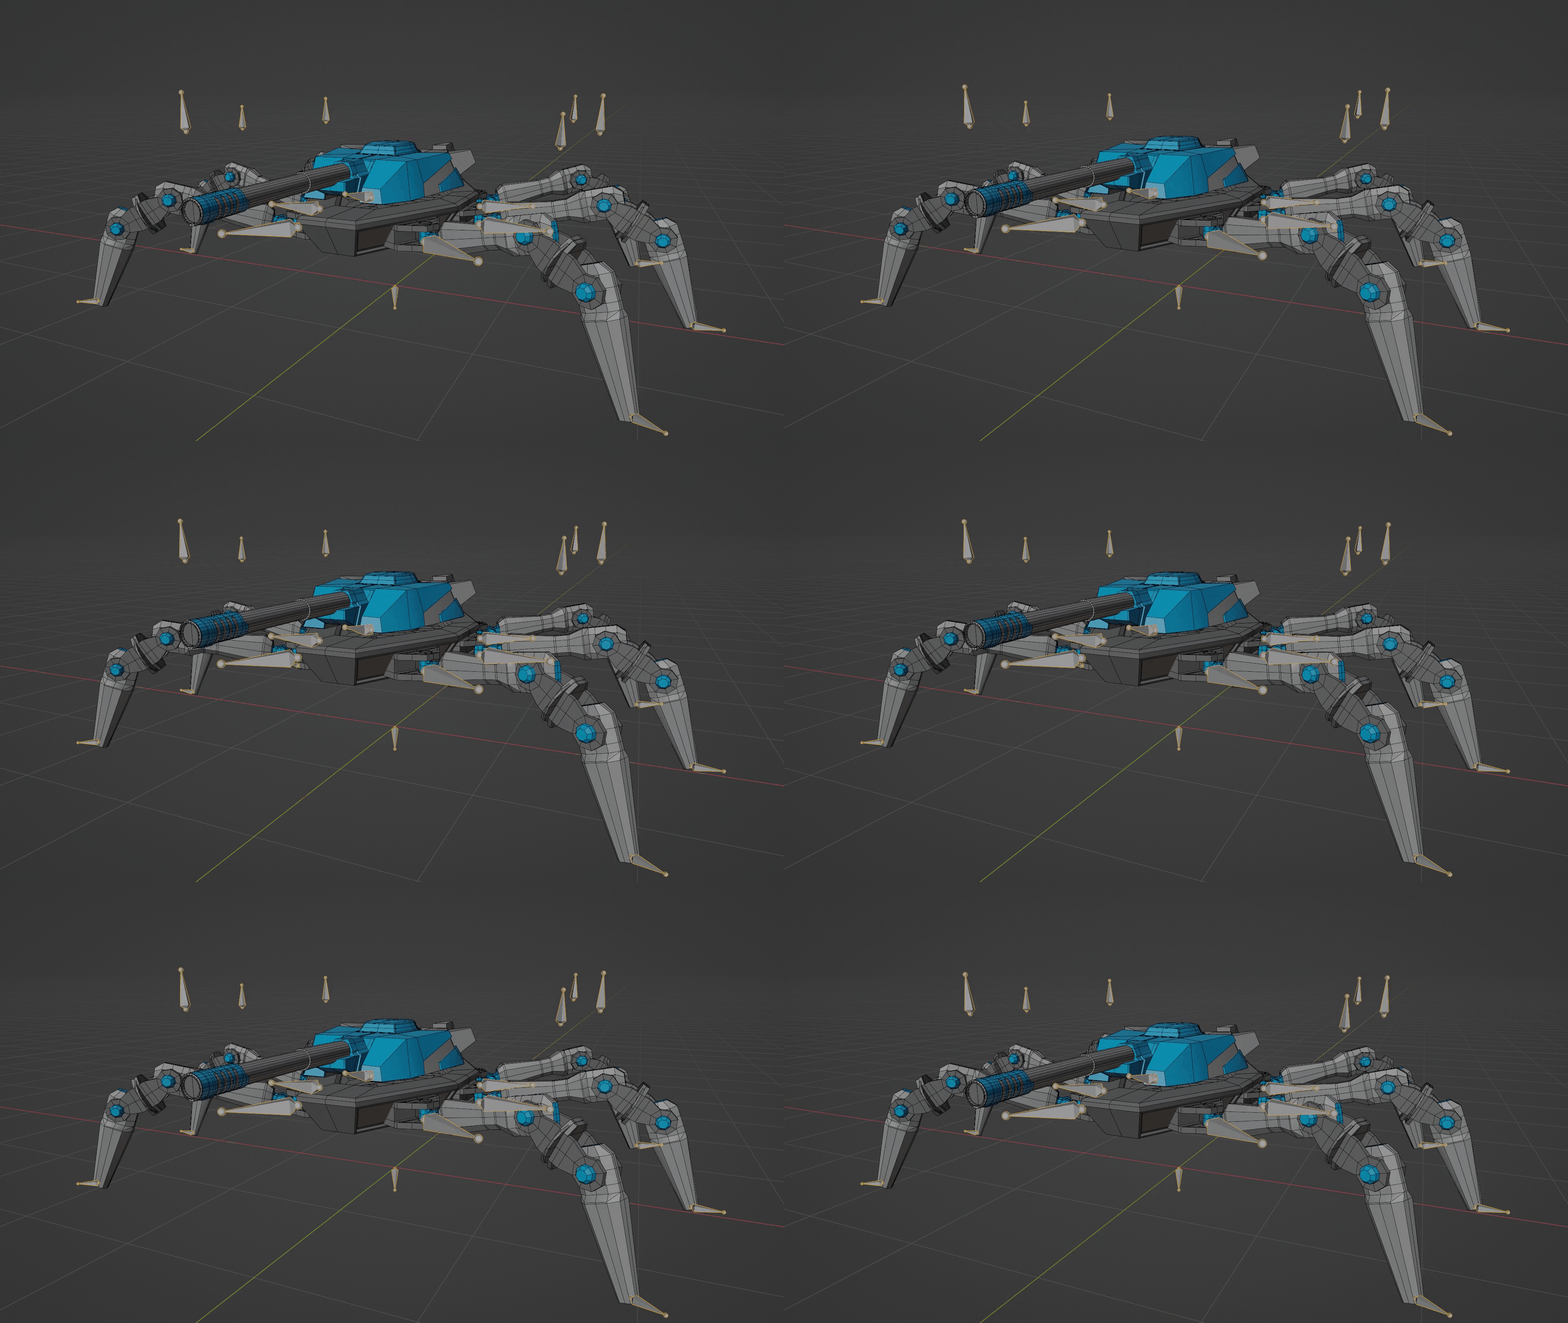
Idle Animation
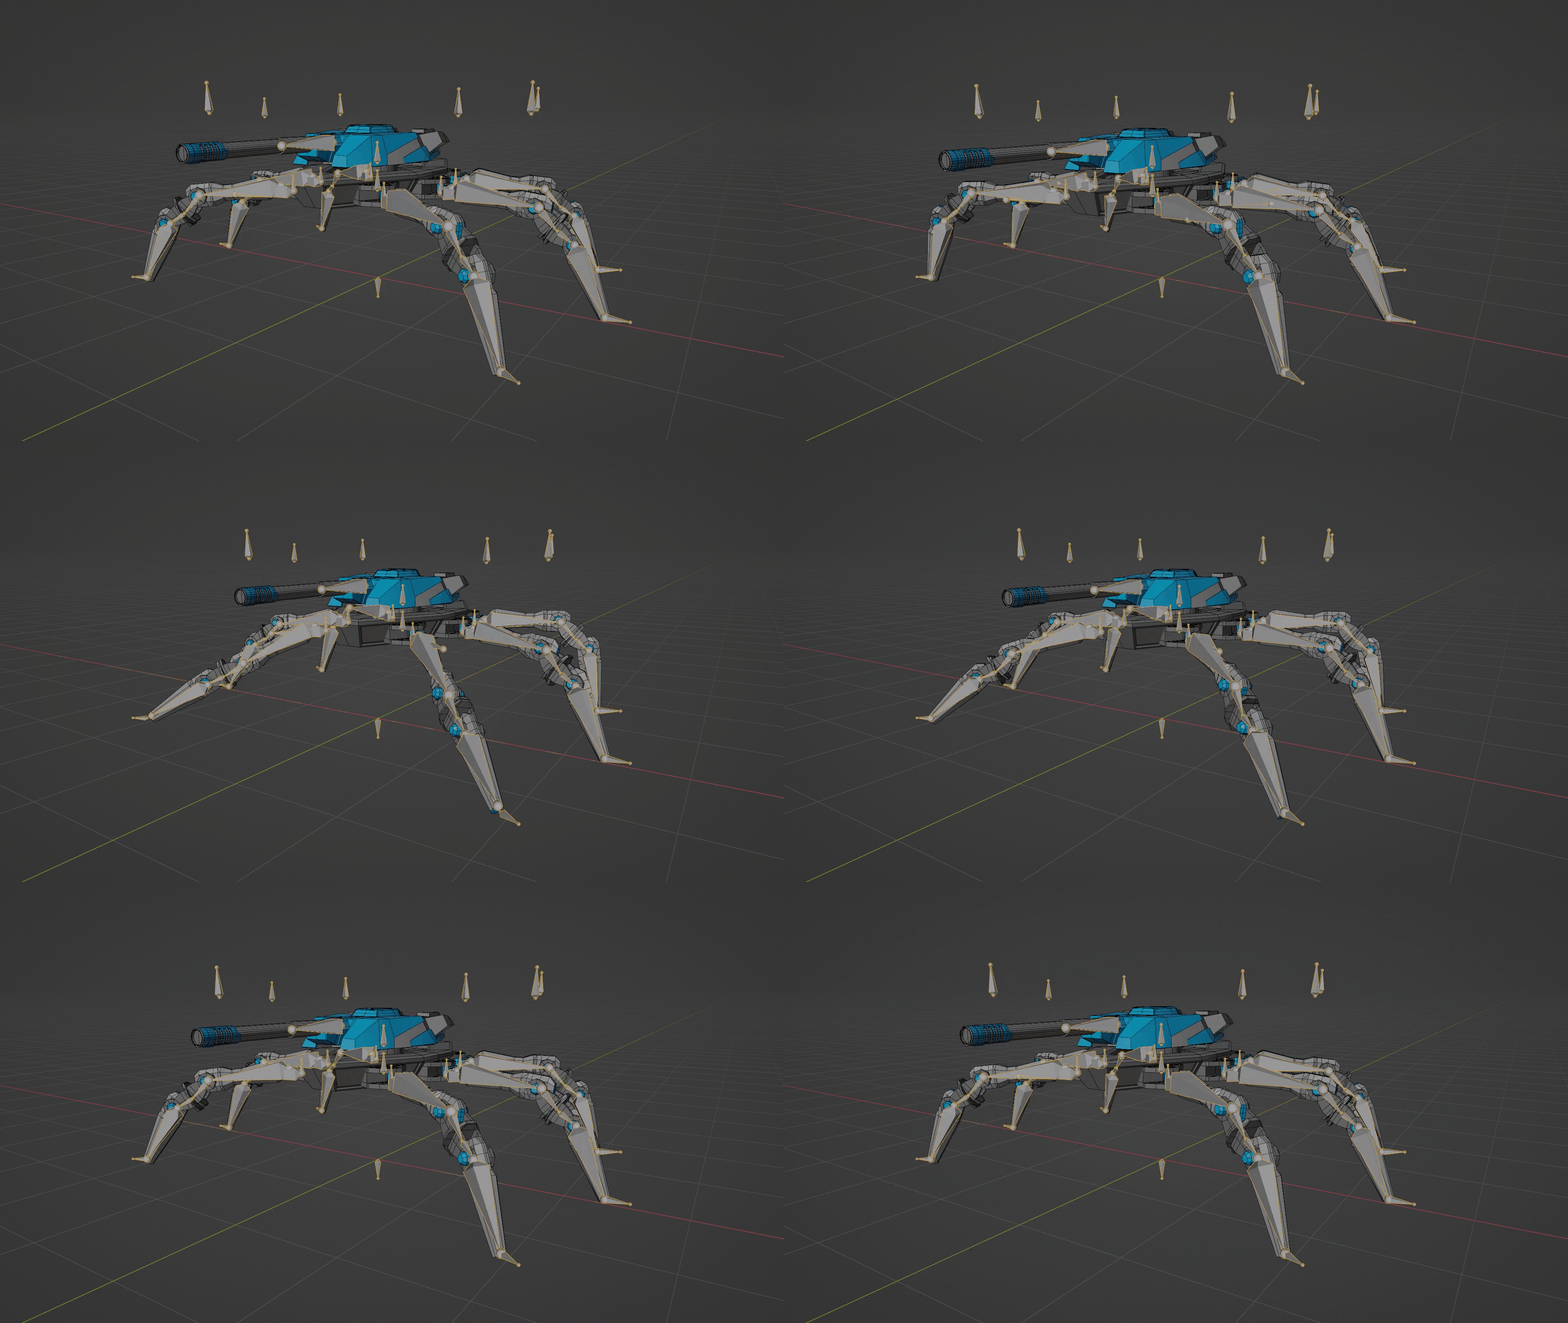
Firing Animation
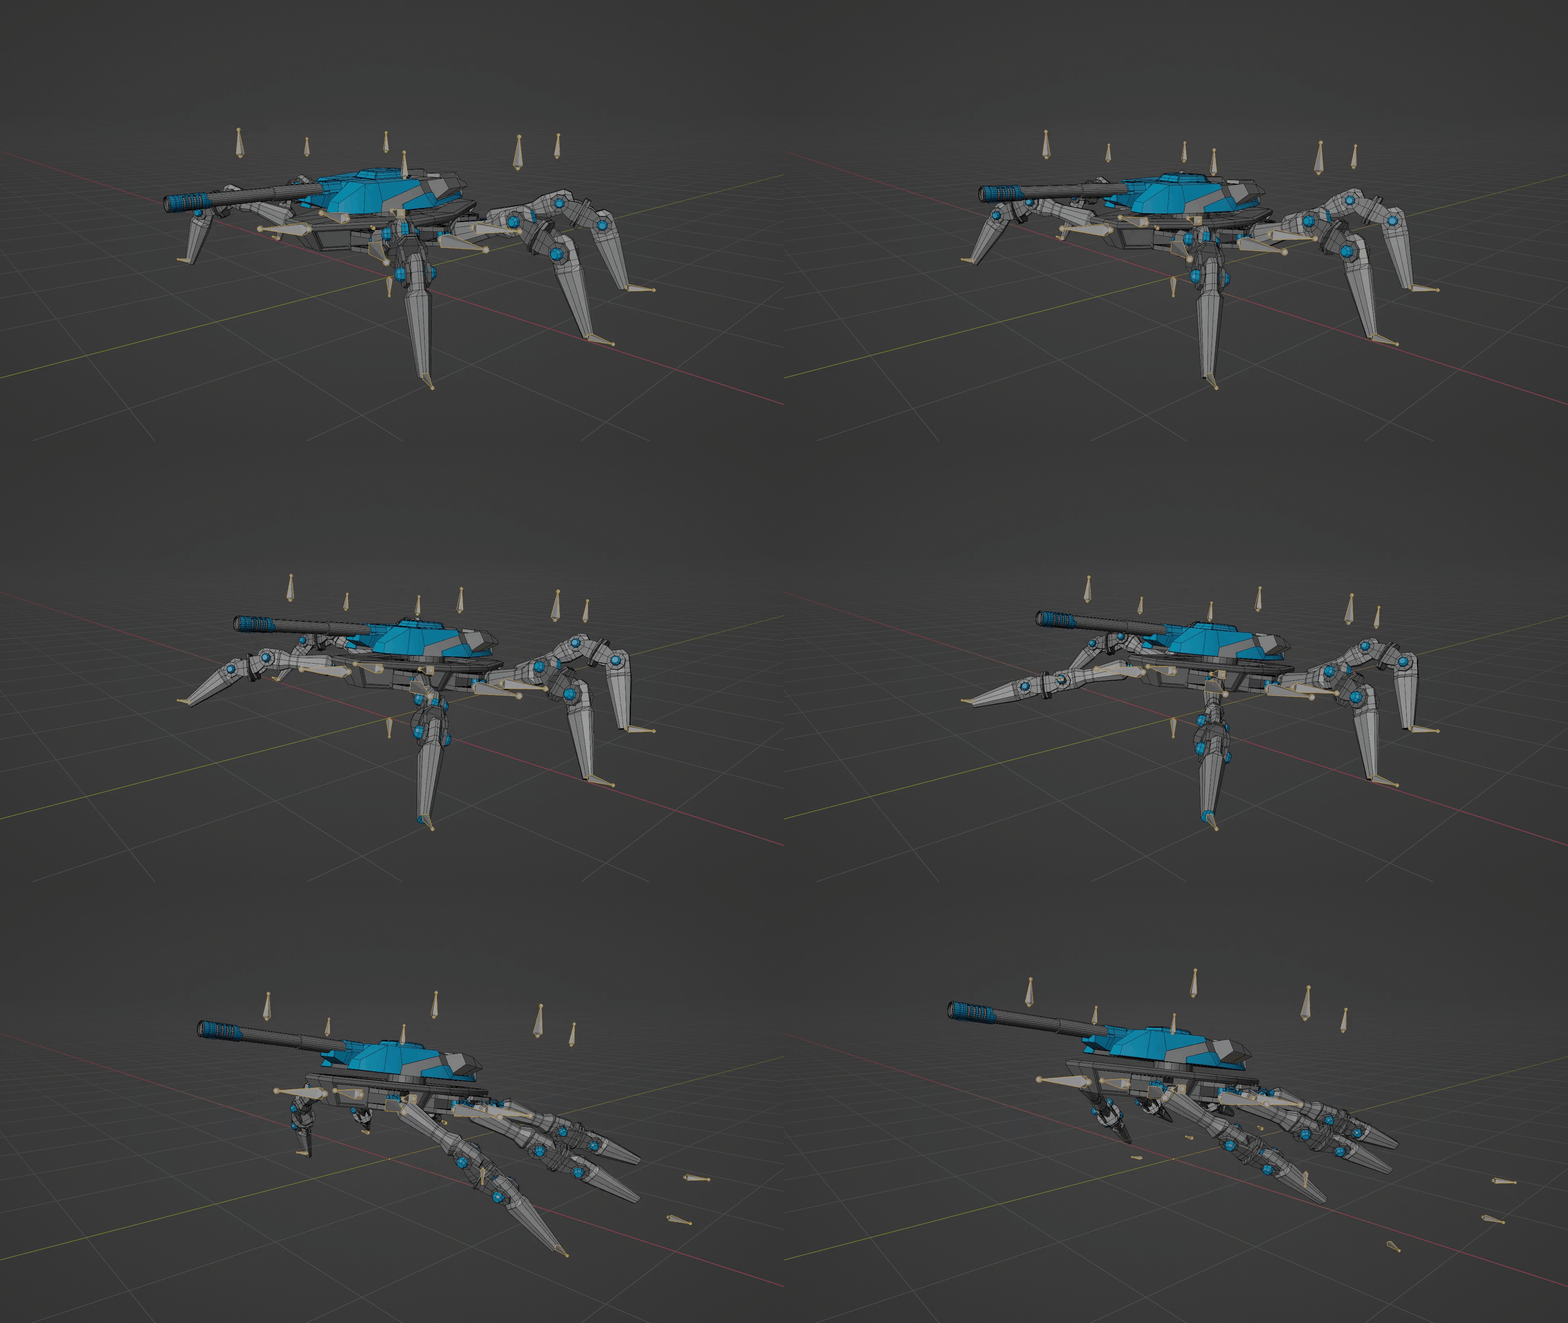
Jump - Start
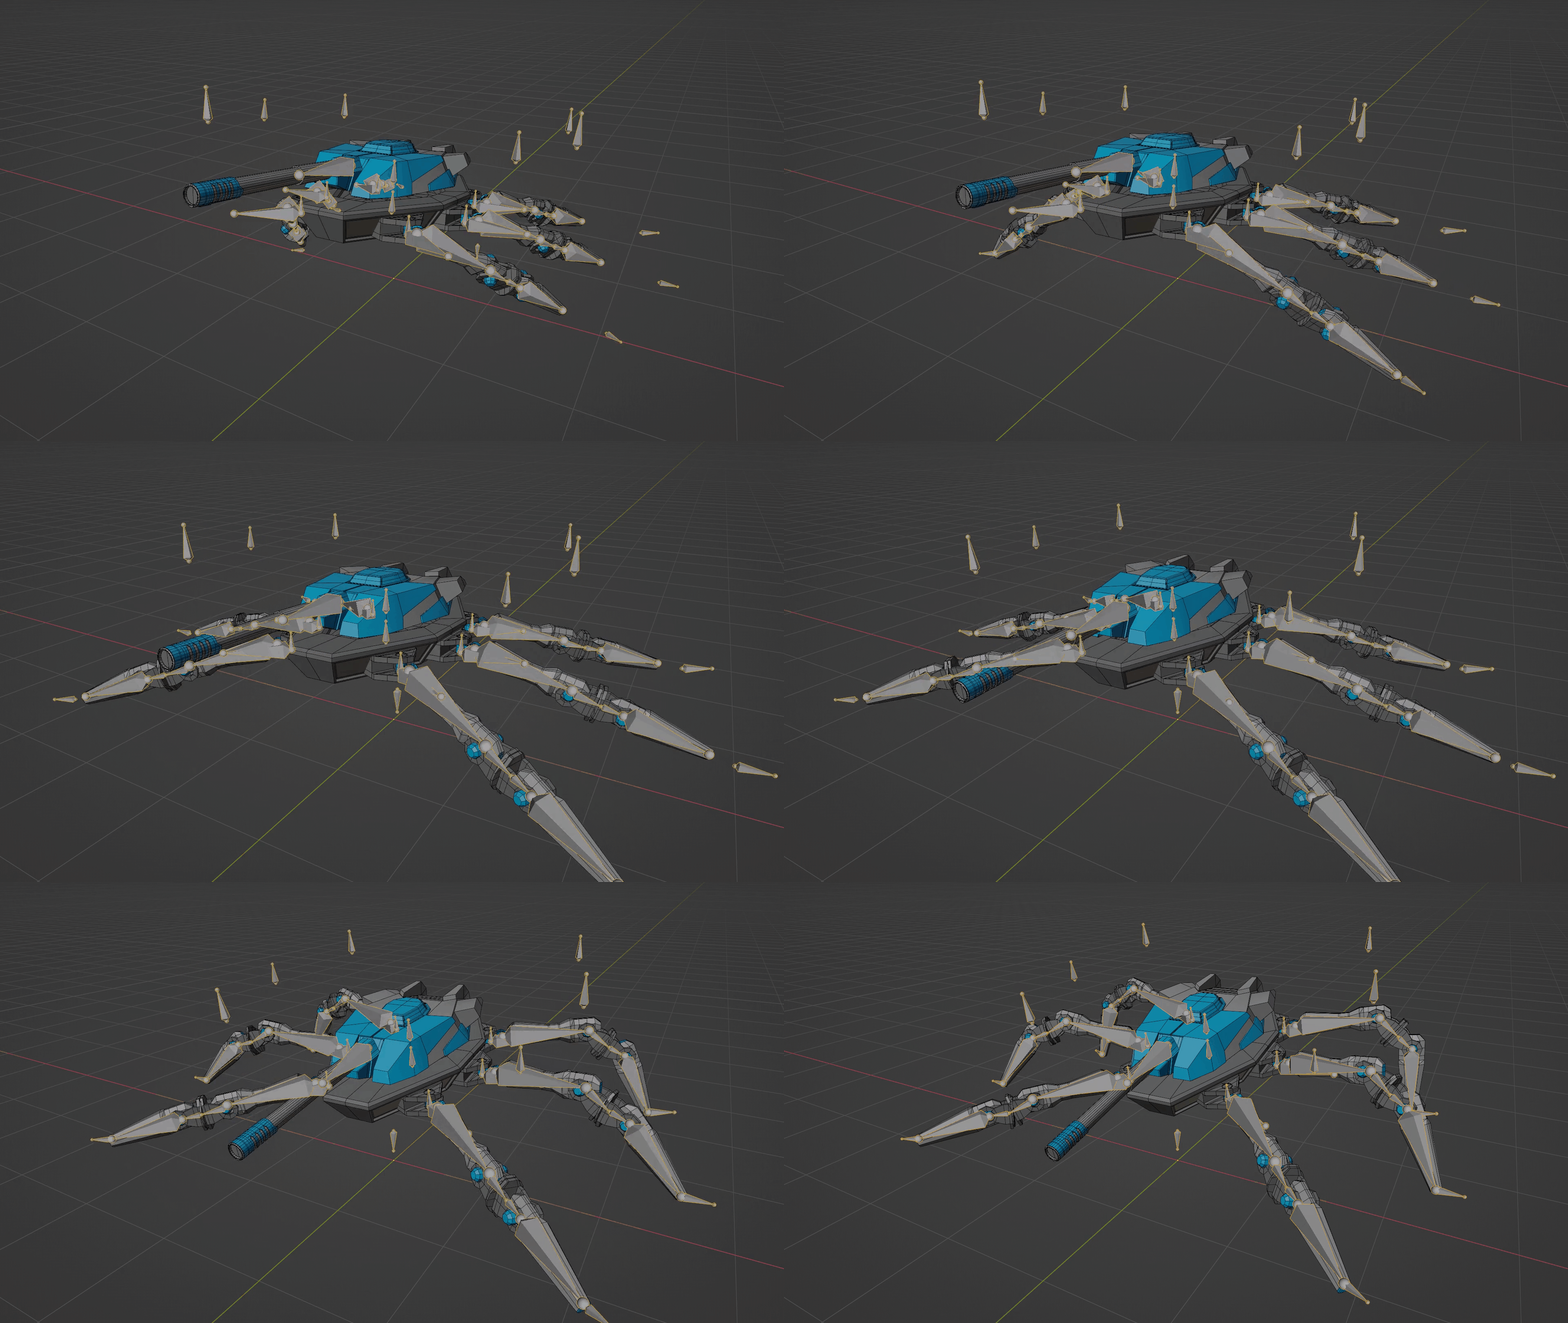
Jump - Mid
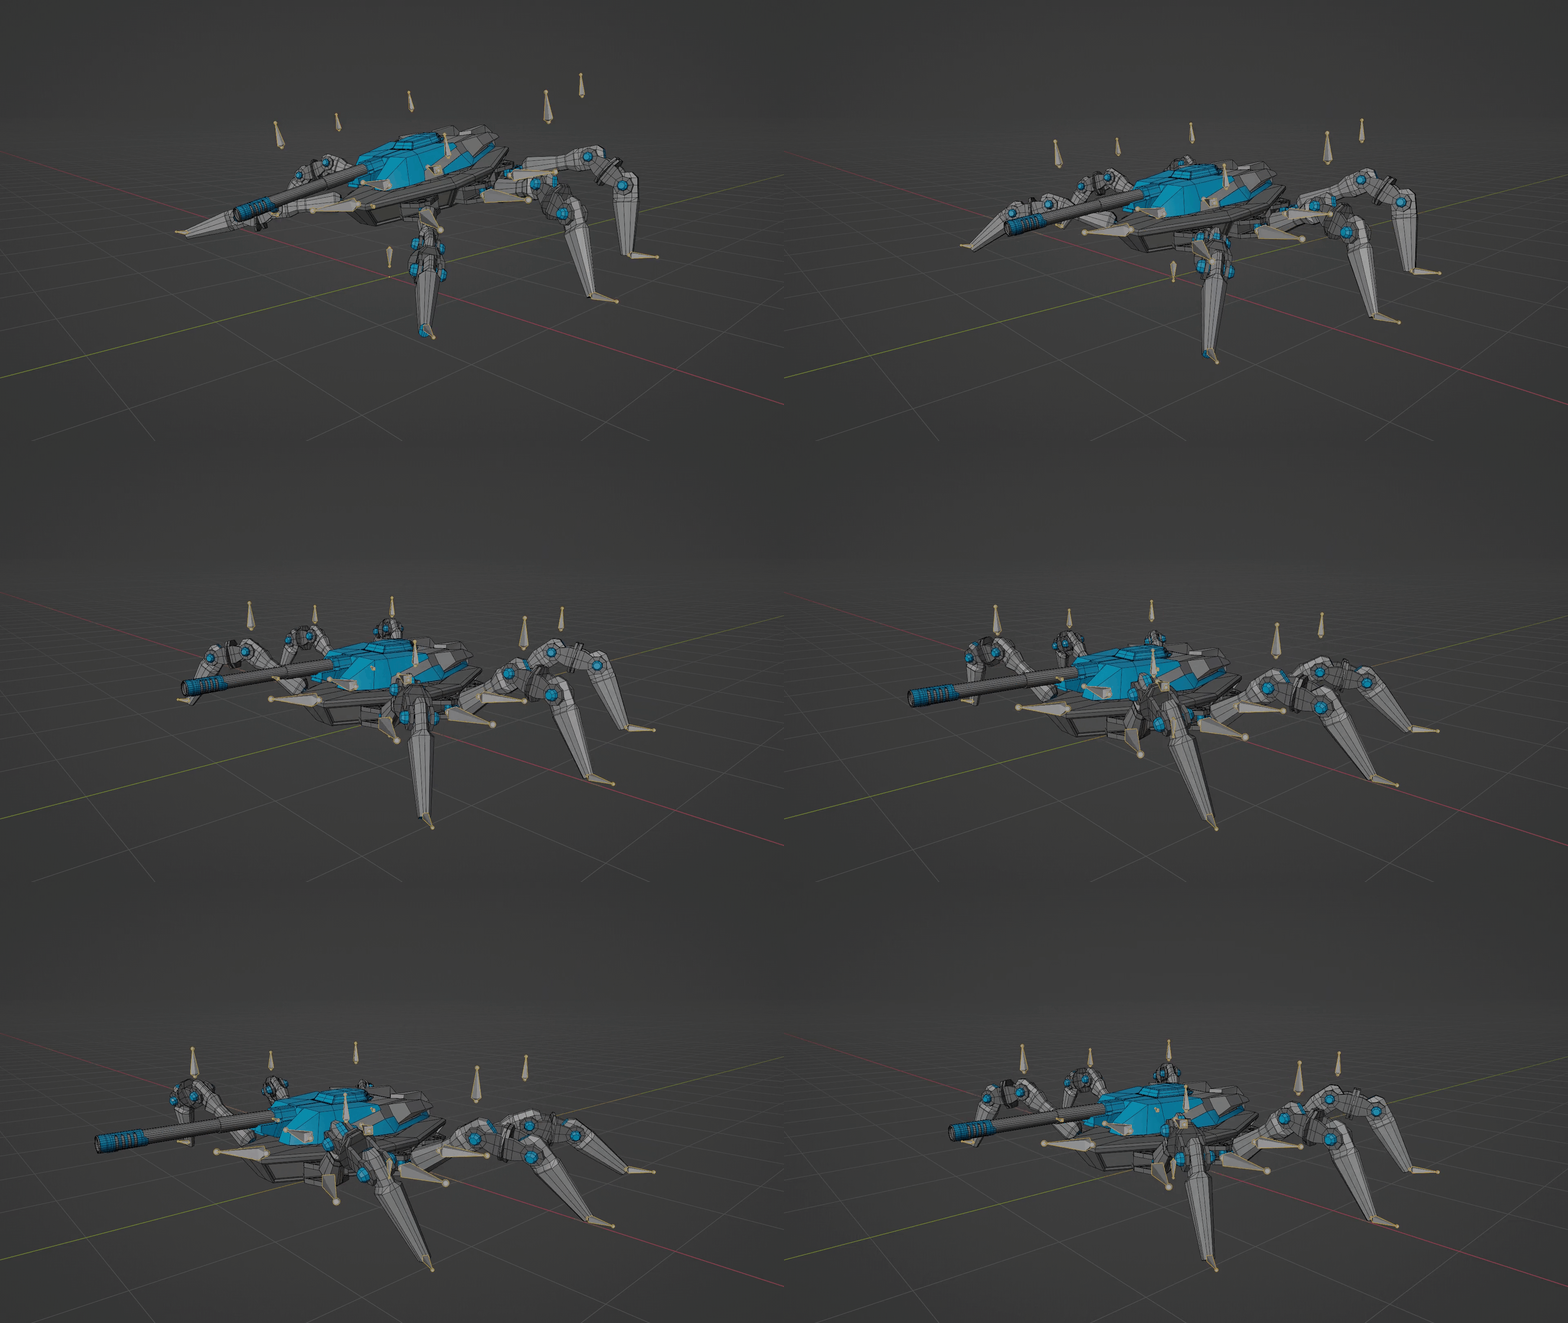
Jump - Land

Strafe - Right
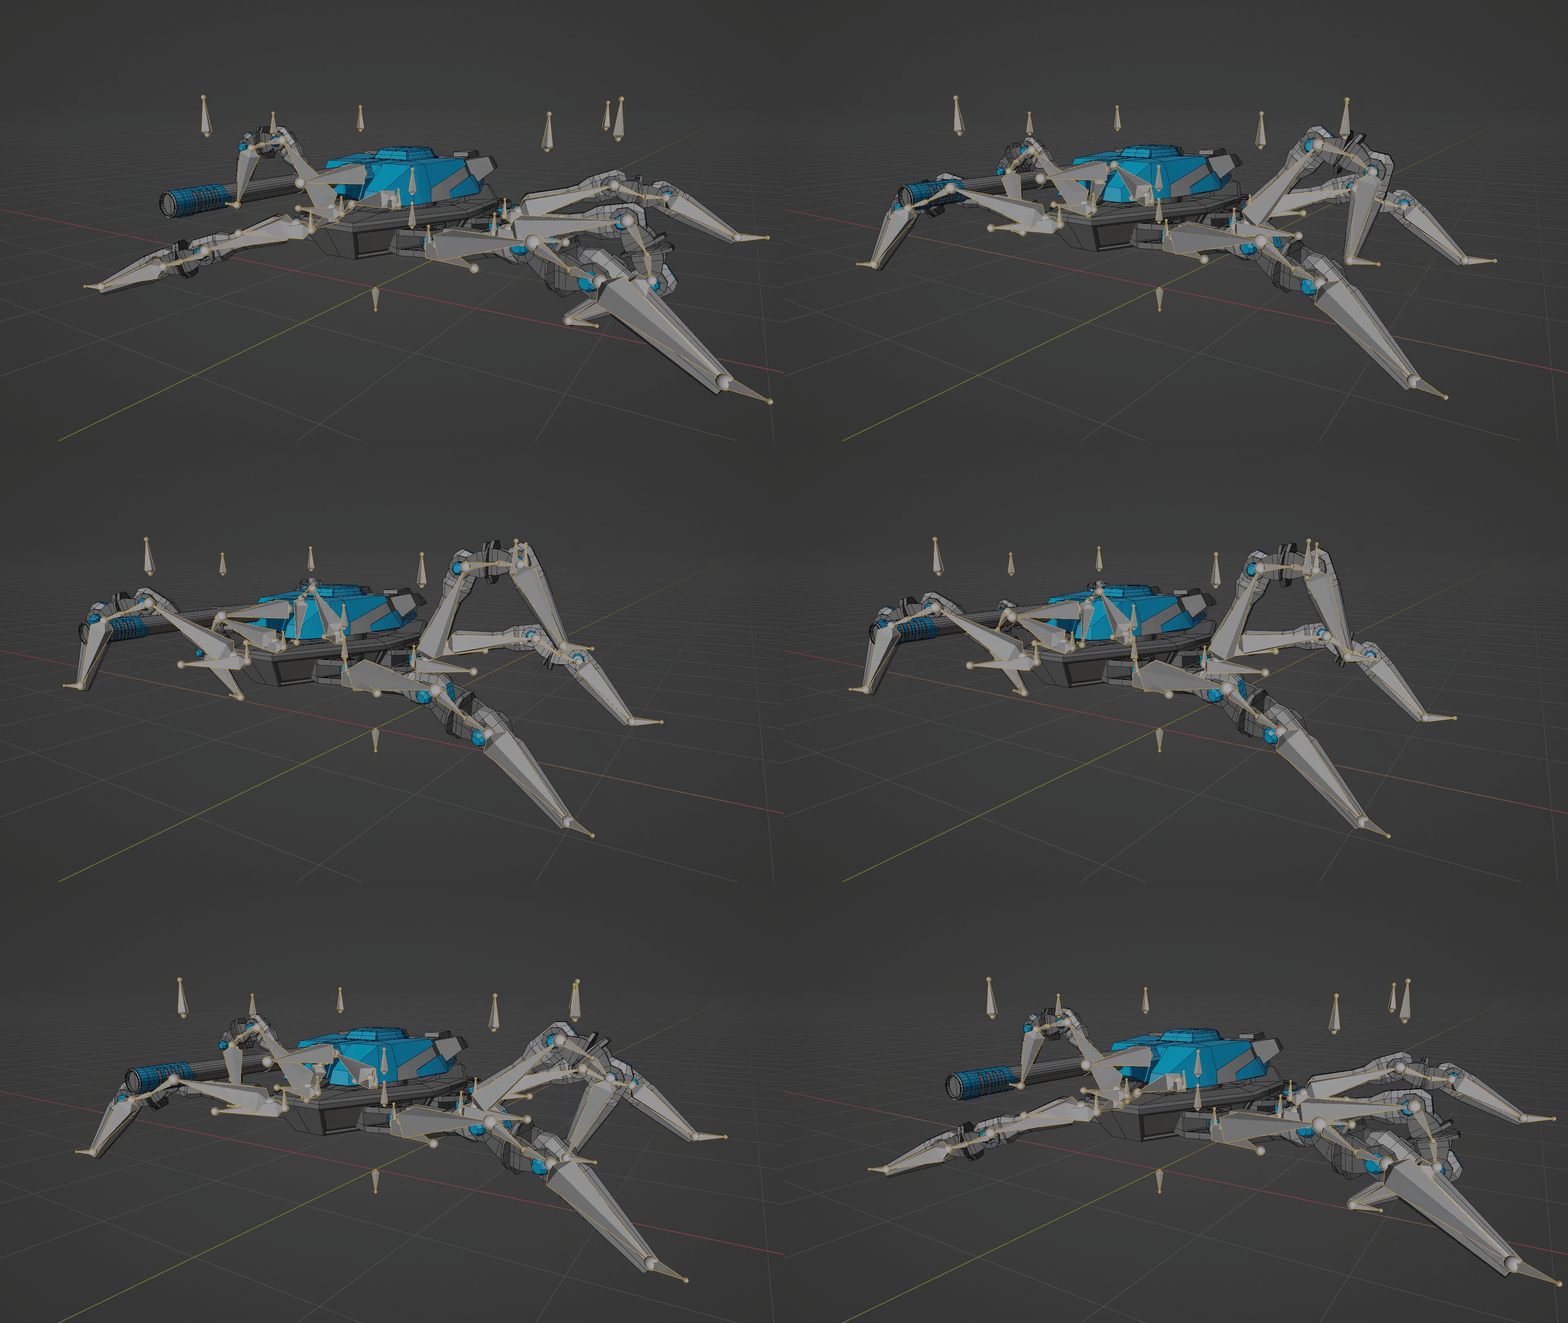
Strafe - Left
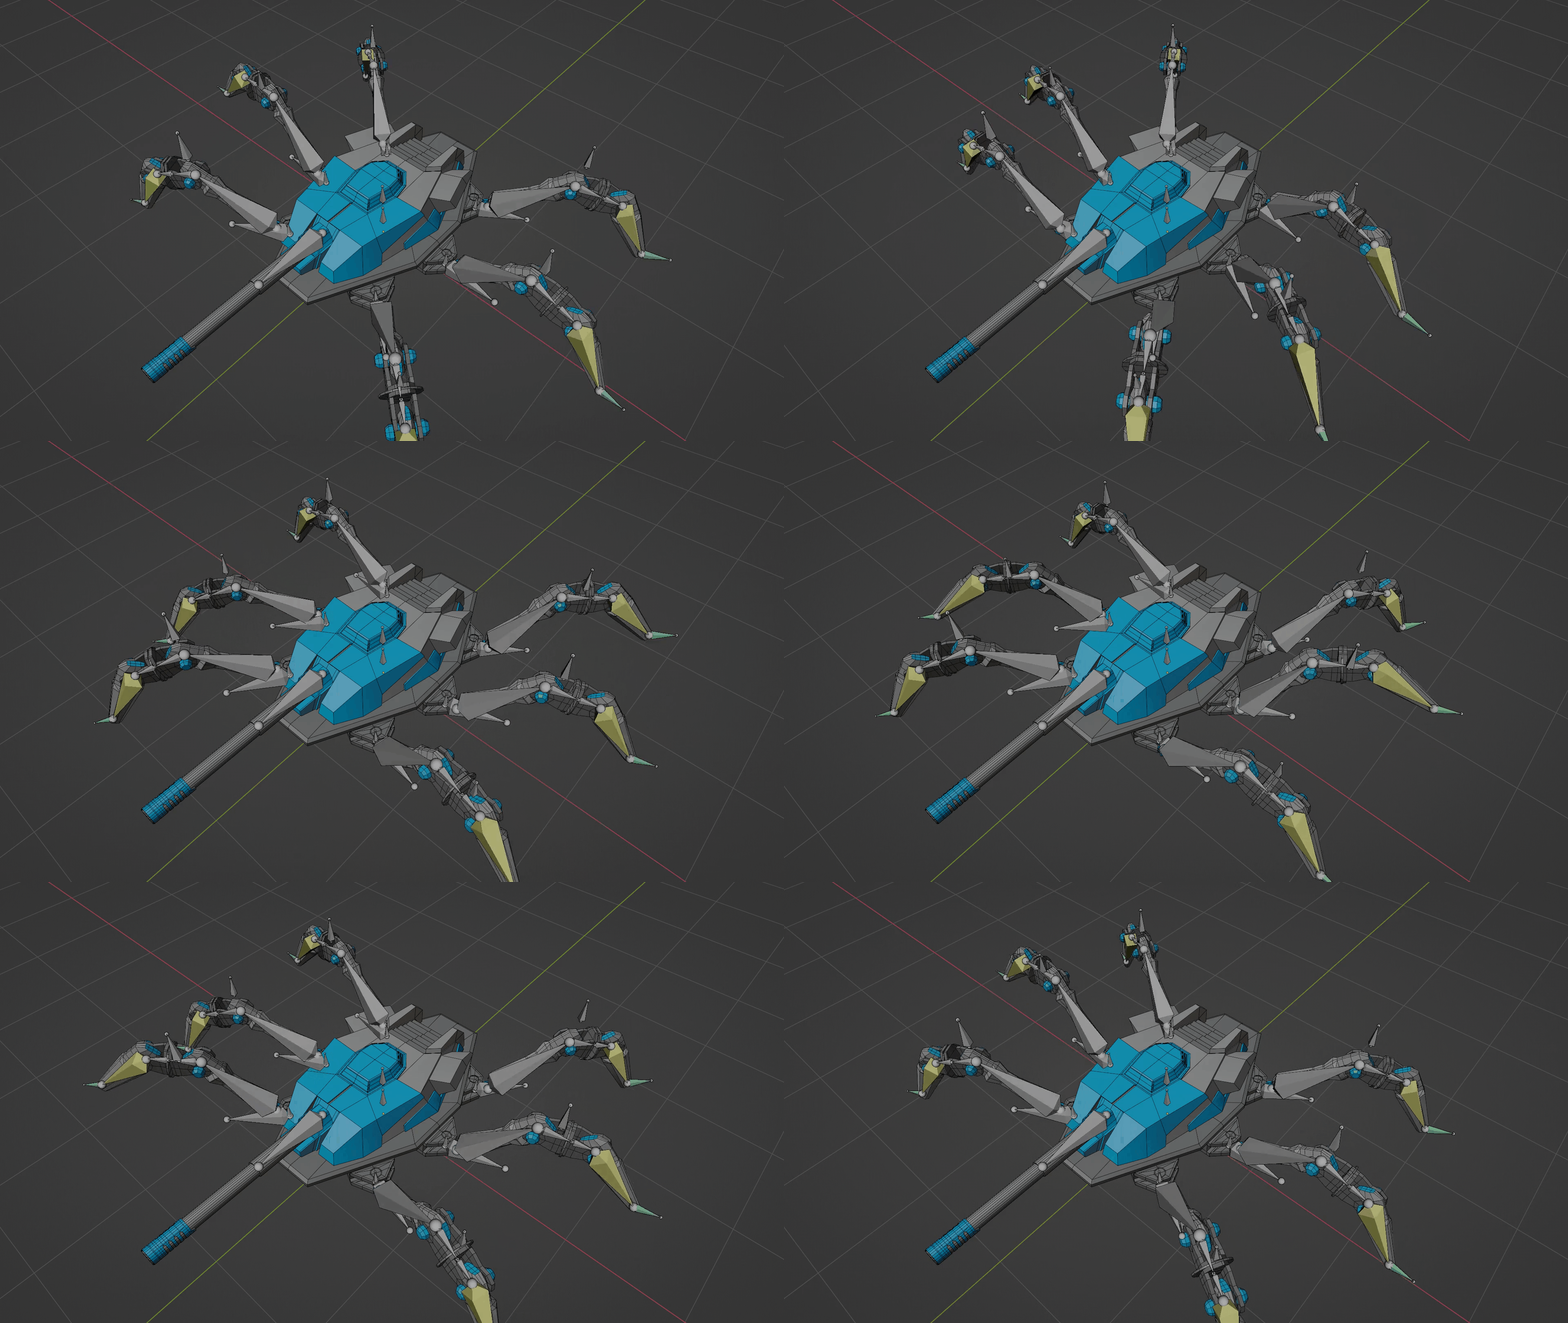
Turn - Right
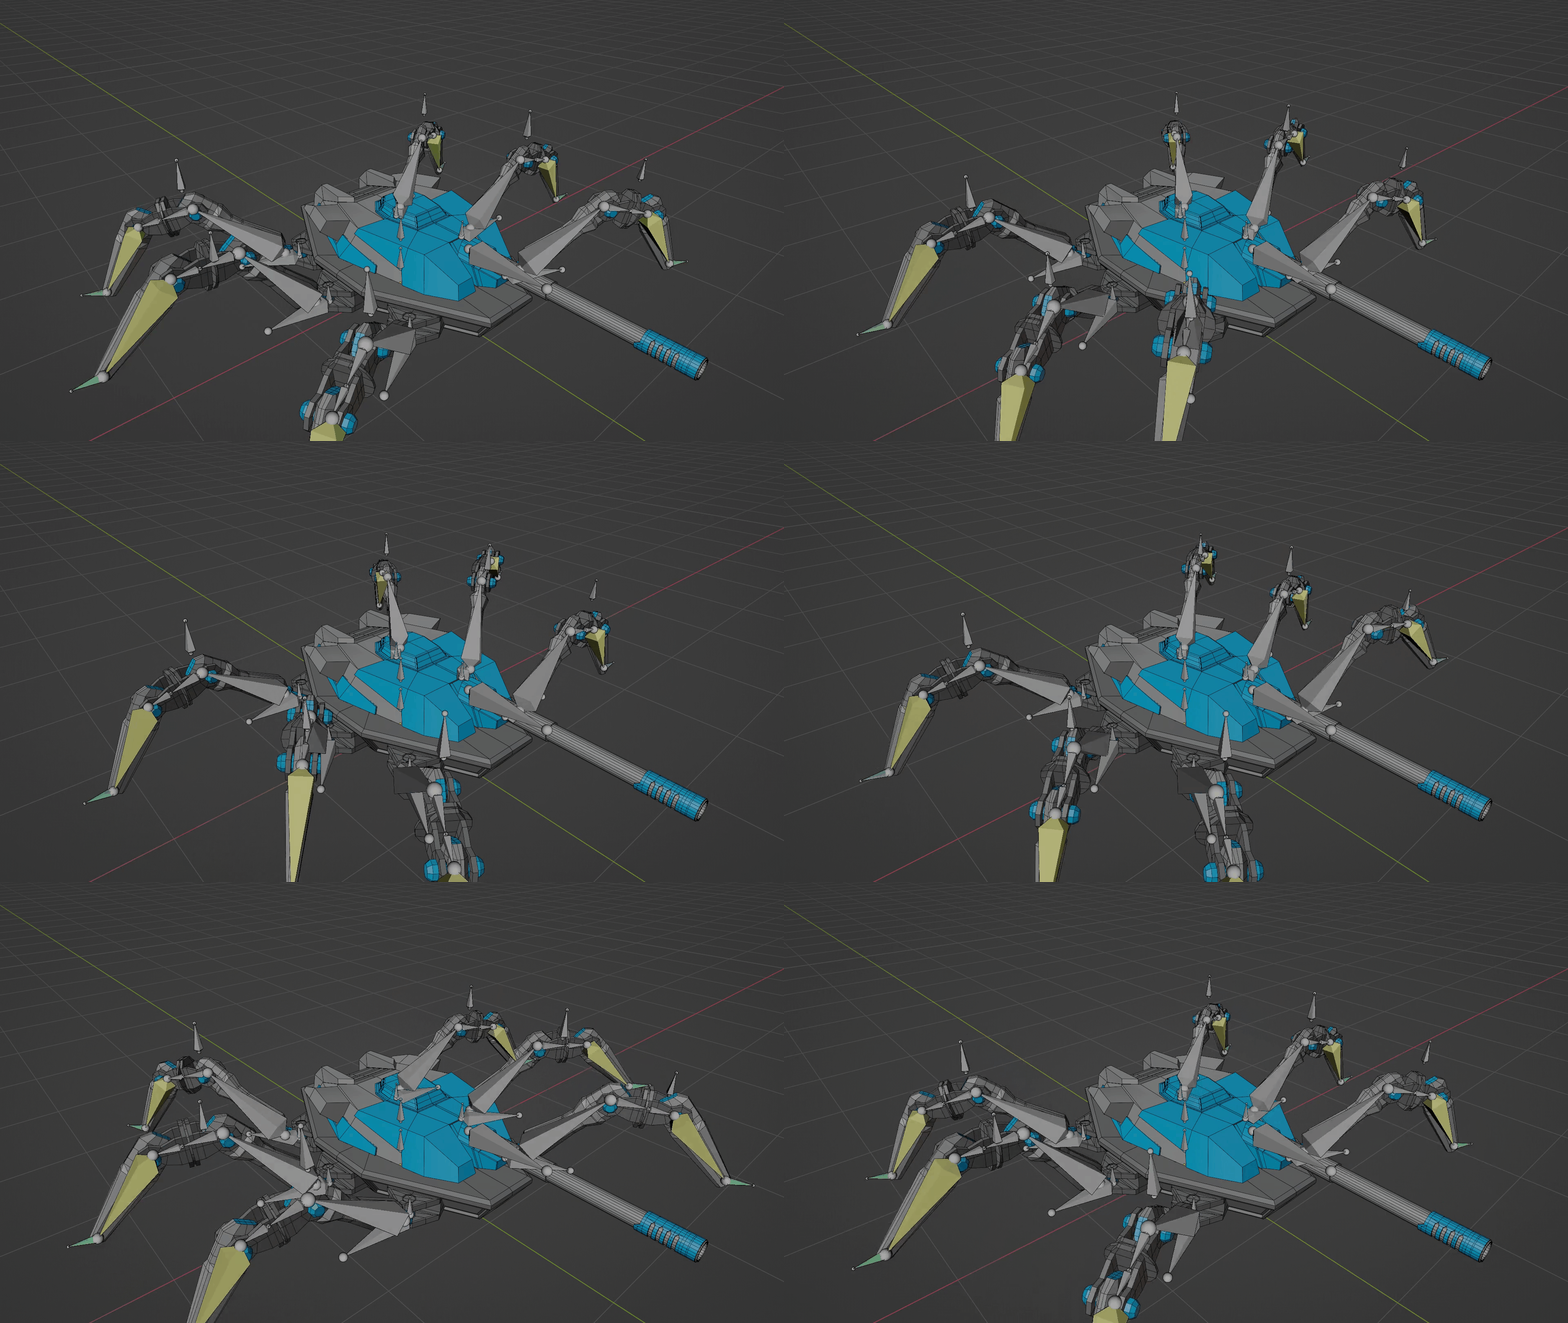
Turn - Left
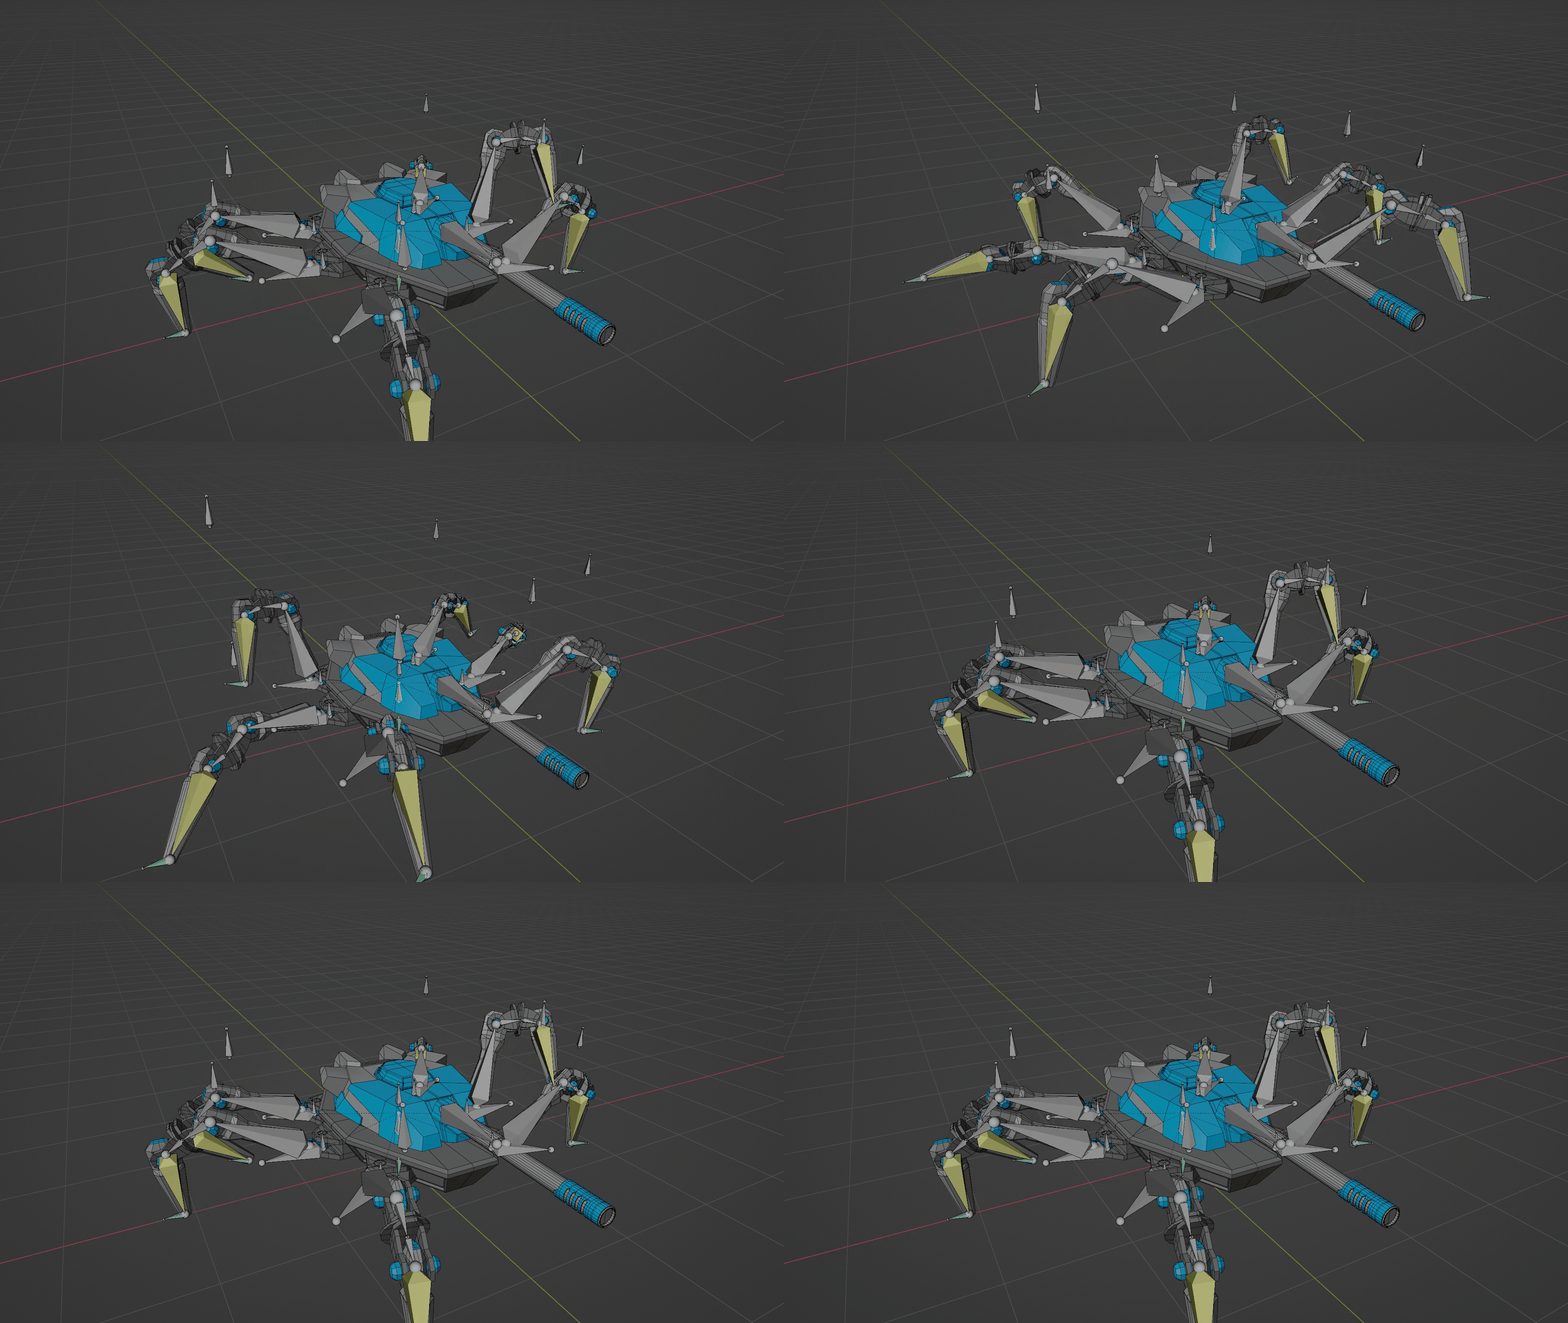
Walk - Forward
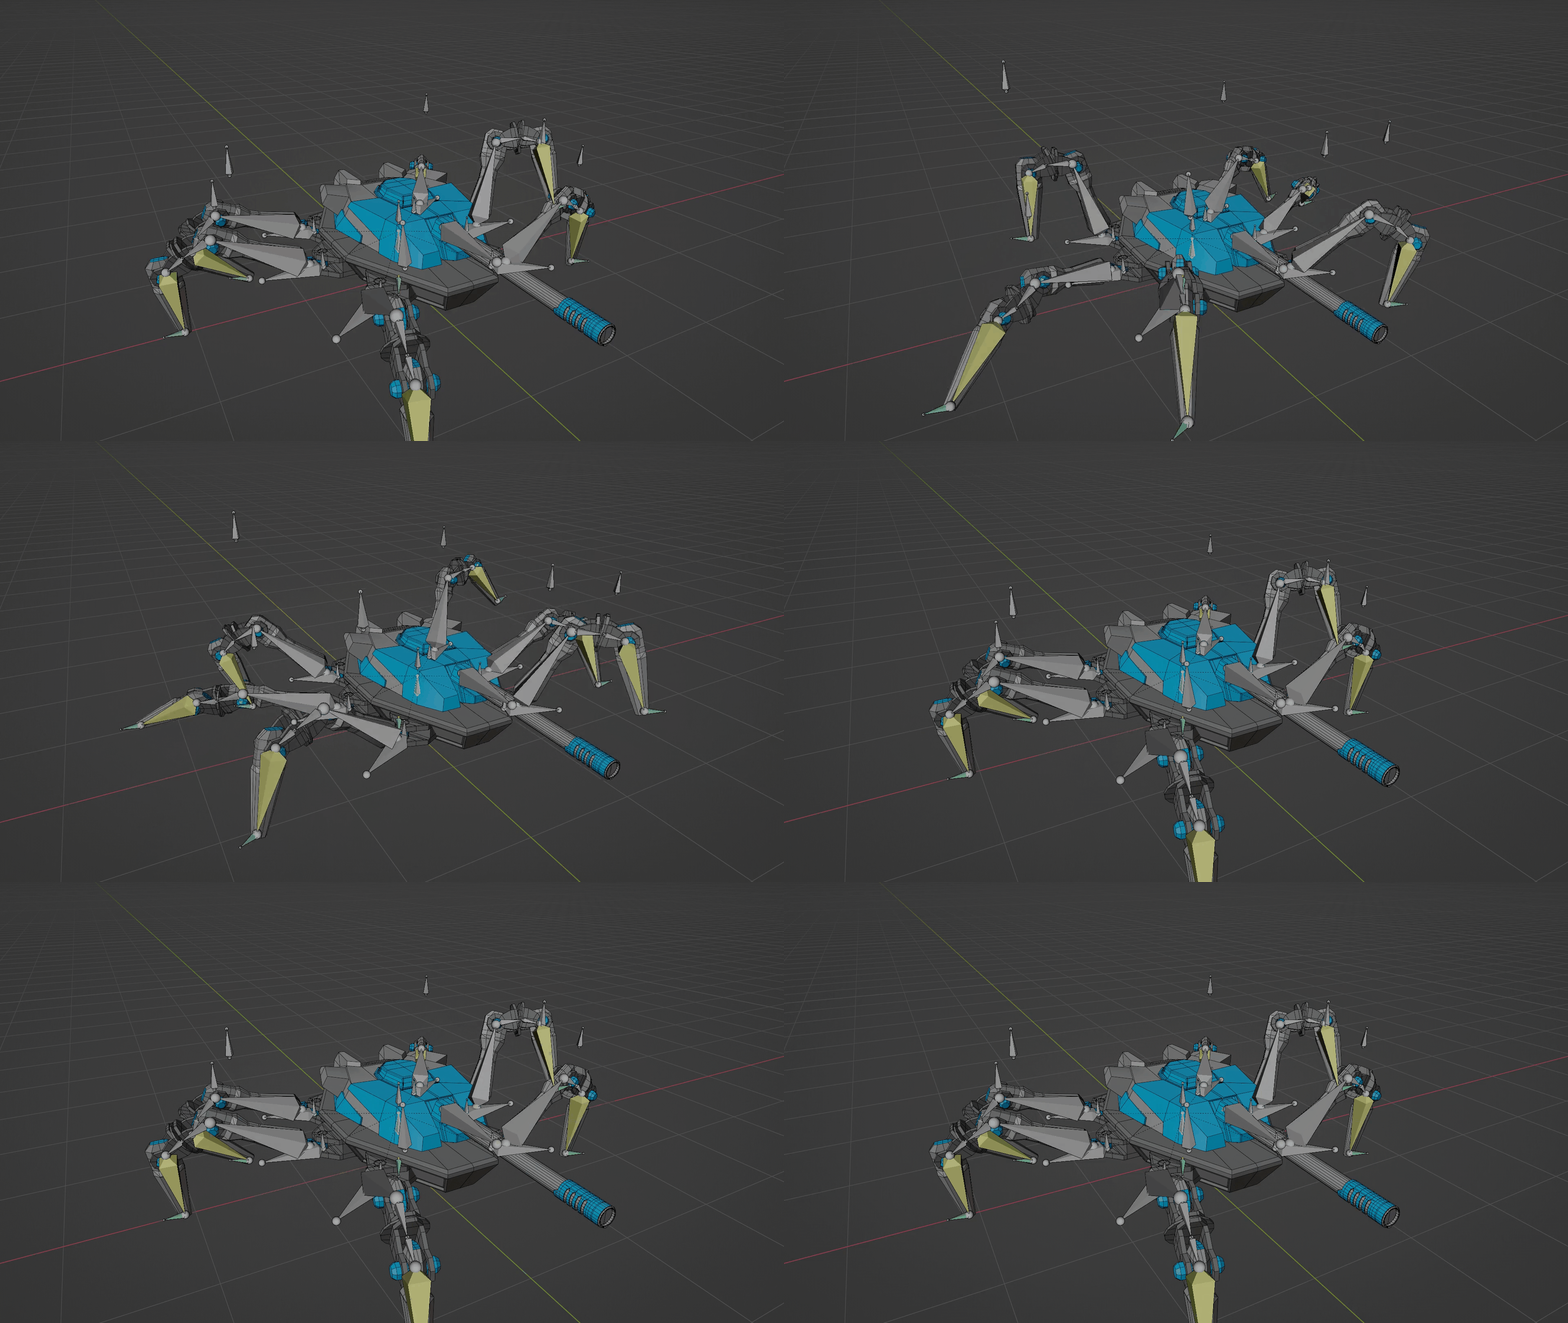
Walk - backwards
Animations in Unreal
Blendshapes/Spaces
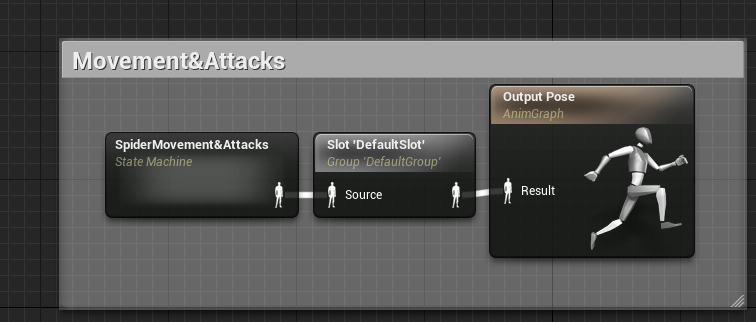
Animation Blueprint/State Machine
I looked at several different Tutorials: https://www.youtube.com/watch?v=OSWX3vEgRcE&list=PLzsK5OyMQ96t0uSUFdb380l50X9dqylJ8&index=15&t=1s & https://www.youtube.com/watch?v=3zVh1-4zmy4&list=PLzsK5OyMQ96t0uSUFdb380l50X9dqylJ8&index=14&t=7s along with looking at the default third person statemachine to develop my characters movments
I looked at several different Tutorials: https://www.youtube.com/watch?v=OSWX3vEgRcE&list=PLzsK5OyMQ96t0uSUFdb380l50X9dqylJ8&index=15&t=1s & https://www.youtube.com/watch?v=3zVh1-4zmy4&list=PLzsK5OyMQ96t0uSUFdb380l50X9dqylJ8&index=14&t=7s along with looking at the default third person statemachine to develop my characters movments
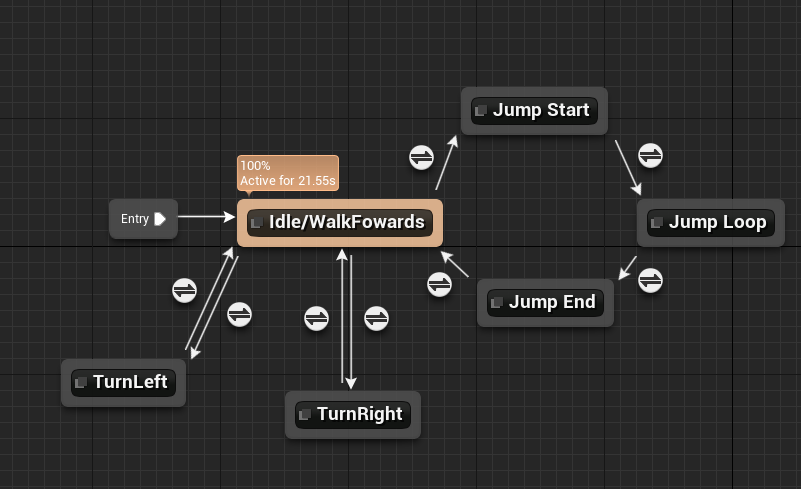
Animation Transitions
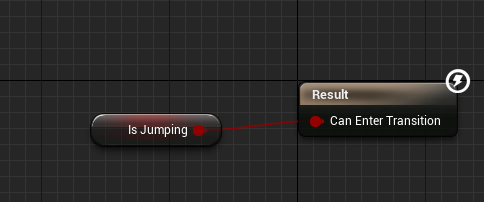
Idle to Jump Transition

Jump Start to Jump Mid Transition

Jump Mid to Jump End Transition

Jump End to Idle Transition

Idle to Turn Right Transition

Turn Right to idle Transition

Idle to Turn Left Transition
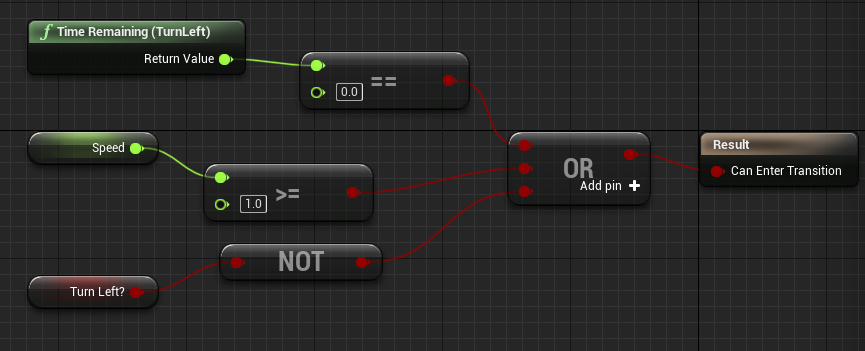
Turn Left to Idle Transition
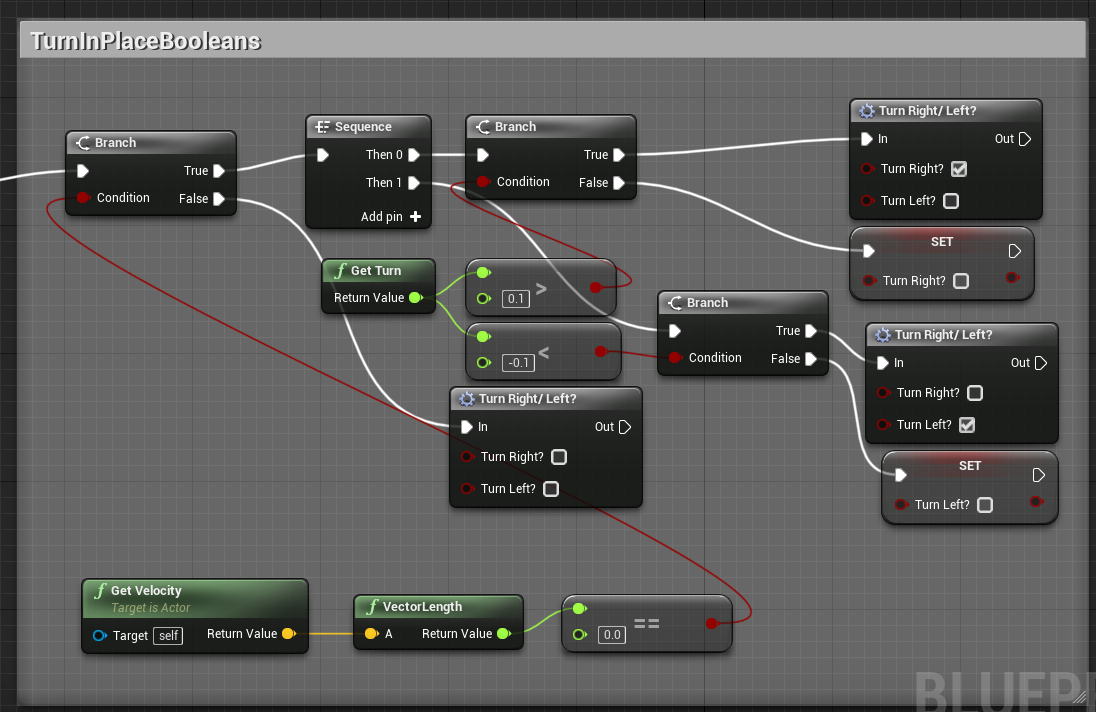
Animation Event Graph

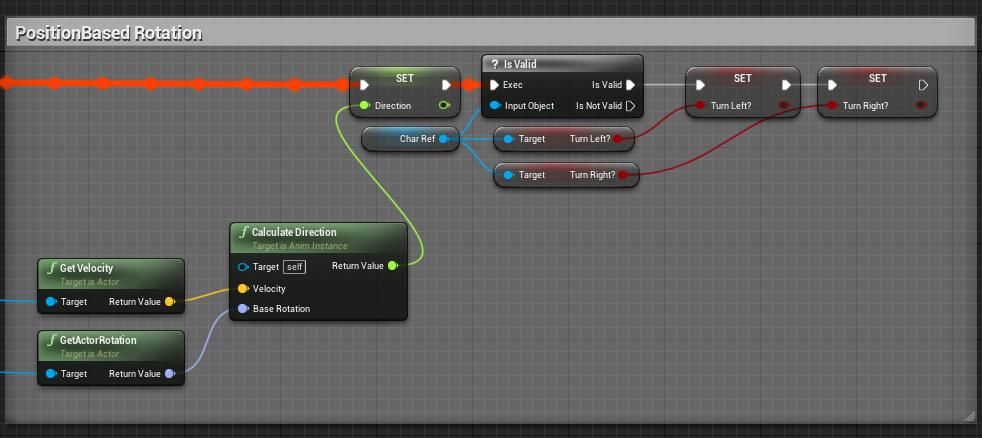

Character Referancing System
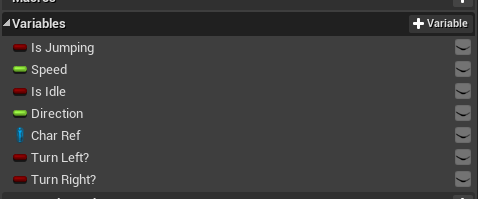
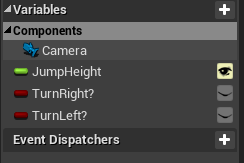
Animation Variables
Unreal Engine 4: Asset Import Correct Scaling
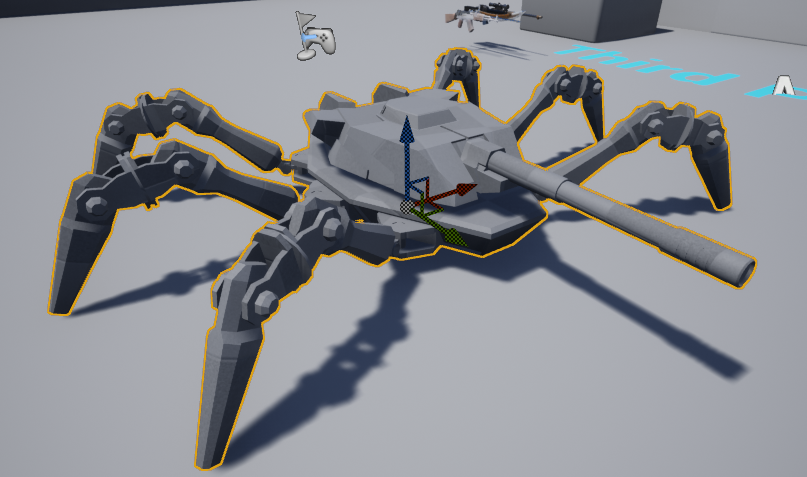

UE4 Scale
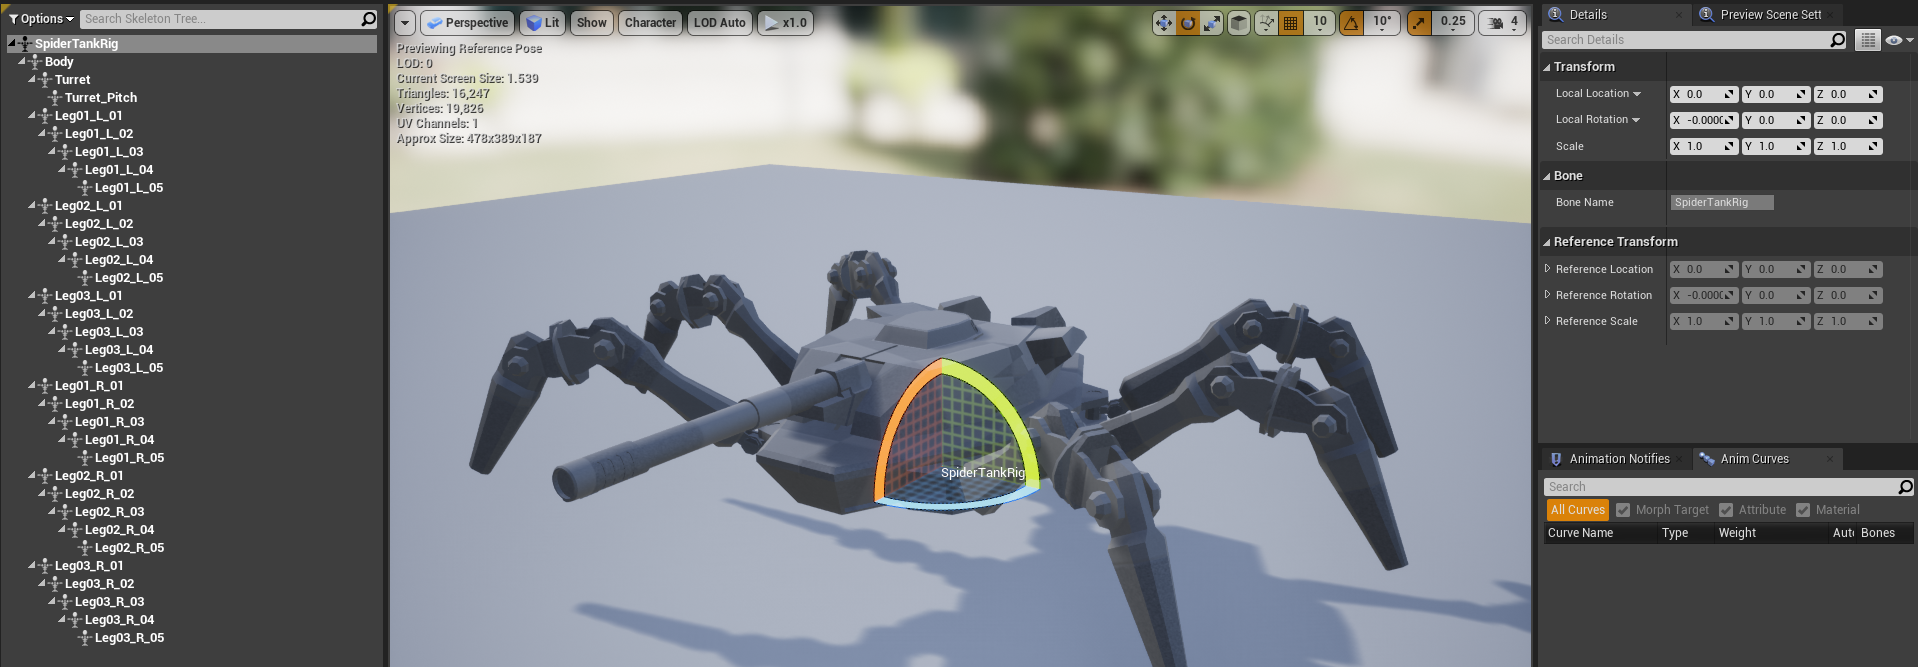
Correct Bone Scale

Socket and Rig addition are created at the correct scale also
Colour Palete Texturing
UVs
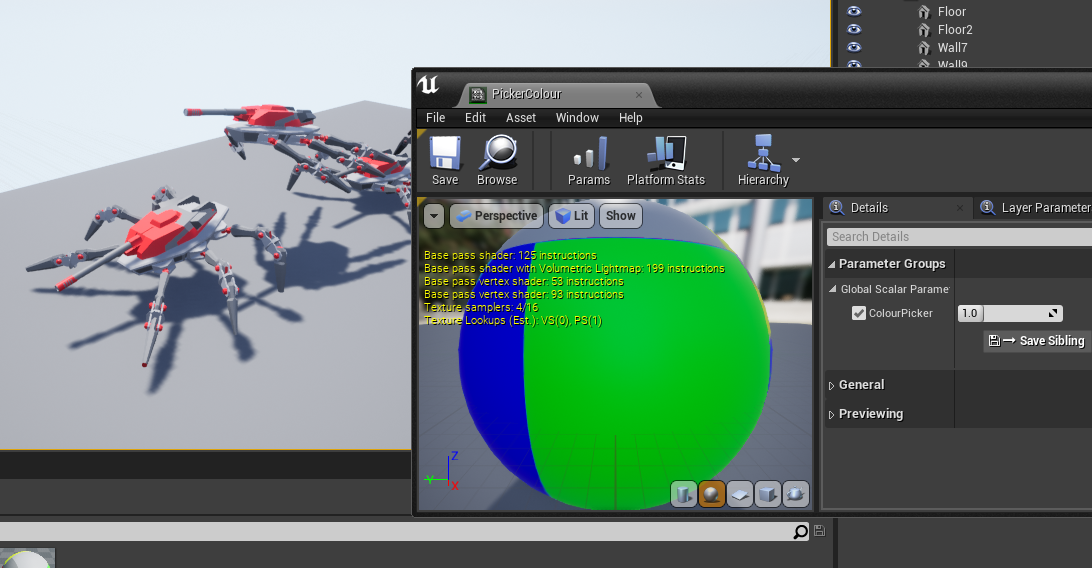
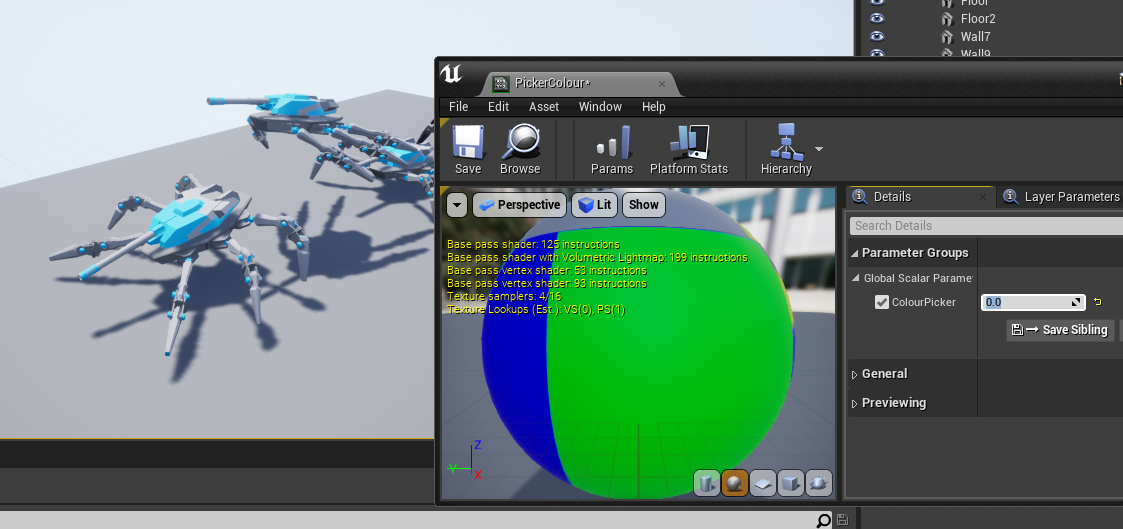
I wanted to look at this style of texturing, becayse of the performance improvements it would prvide if all the assets I would be creating came from the one texture map. The first UV map was used for the baking of shadows and allowing the model to be imported into Unreal Engine without errors.
I wanted to look at this style of texturing, becayse of the performance improvements it would prvide if all the assets I would be creating came from the one texture map. The first UV map was used for the baking of shadows and allowing the model to be imported into Unreal Engine without errors.
The second and third UV maps were created, buy scaling down different faces of the UV map in their respective colour slots on the colour grid. with this approach It would be easu to change the colours of selected parts when nessiary.
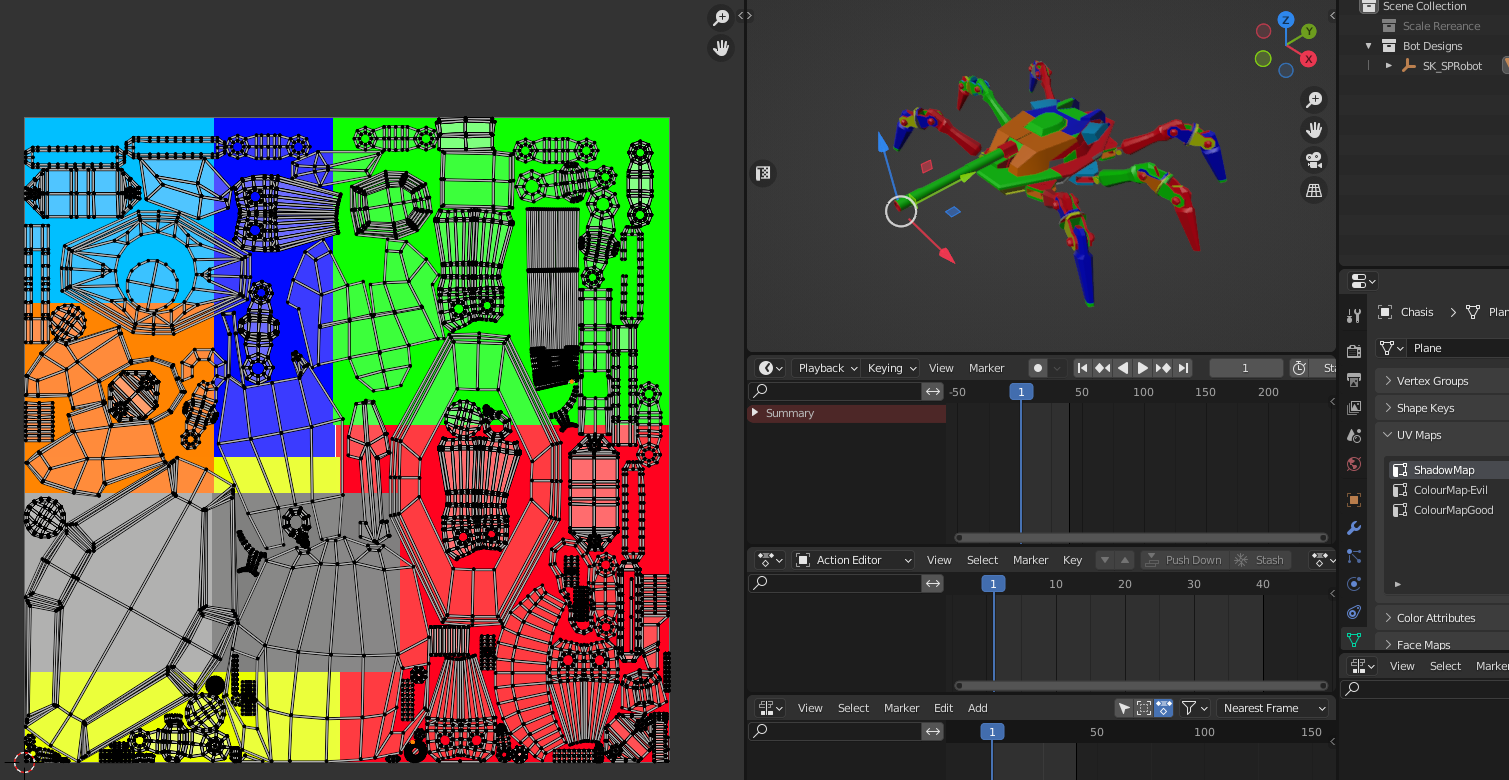
UVMap_01
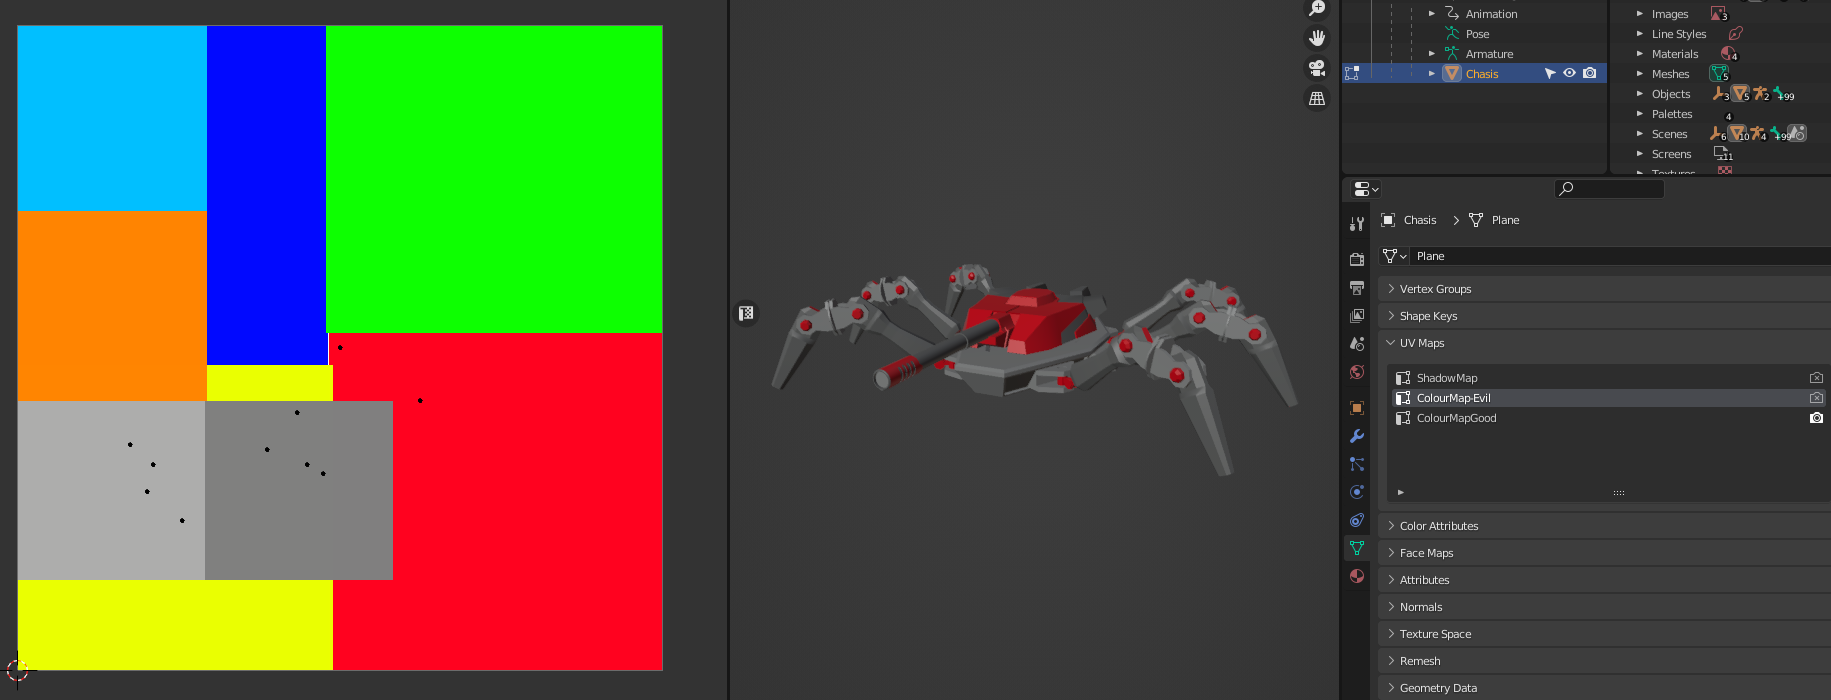
UVMap_03
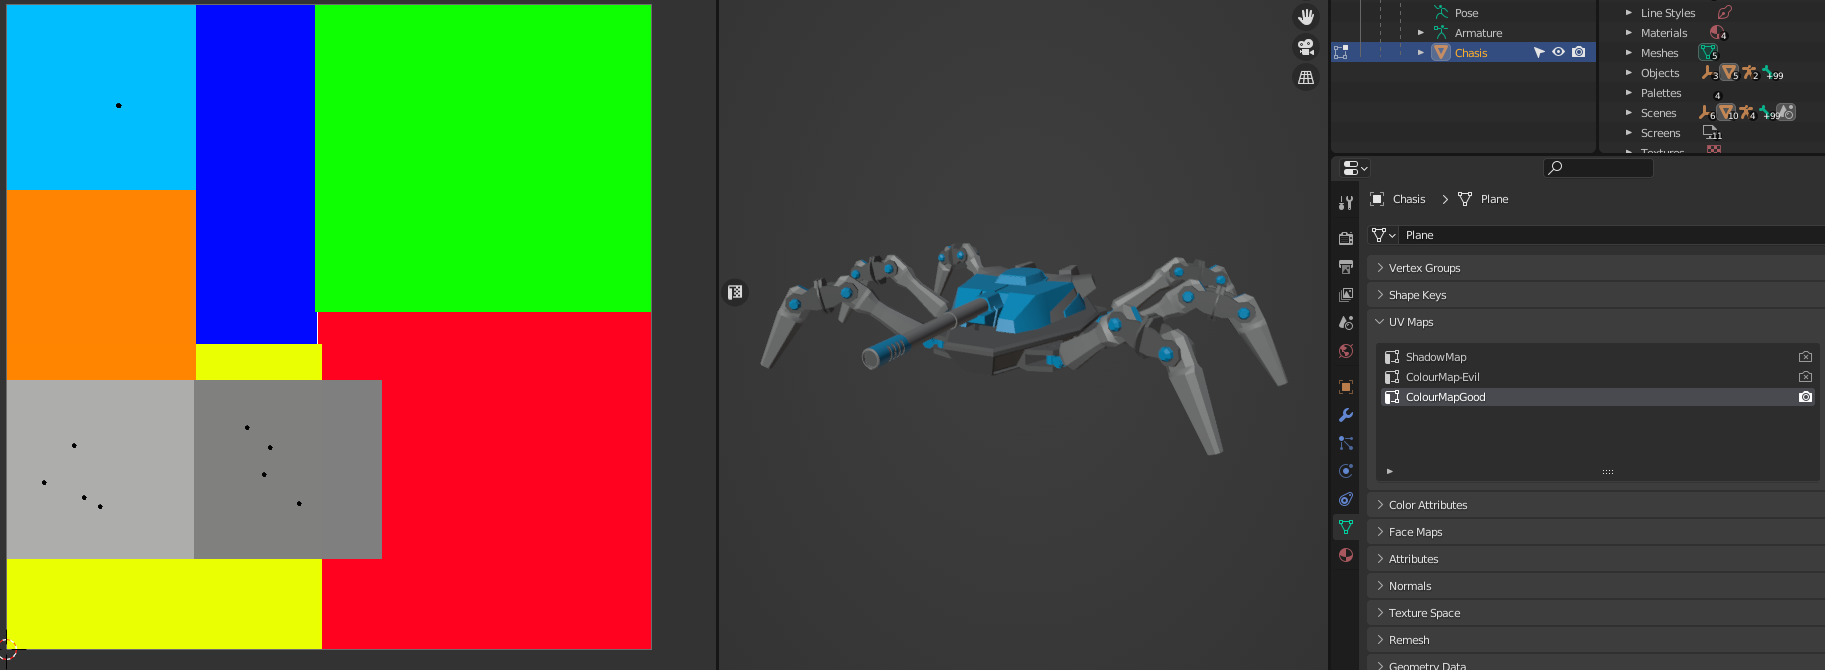
UVMap_02
Inside Unreal
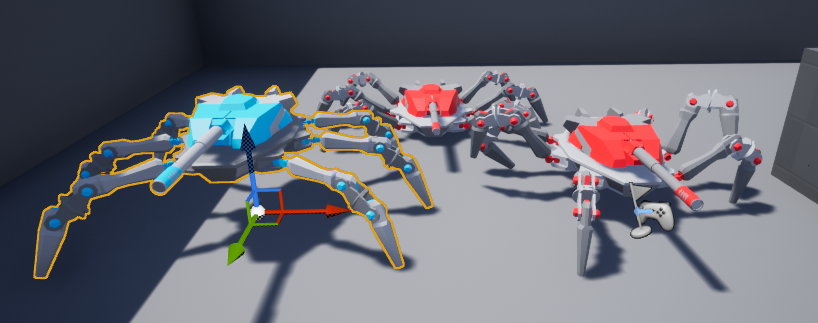
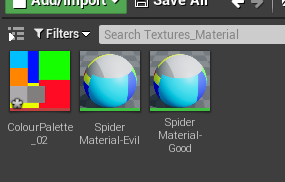
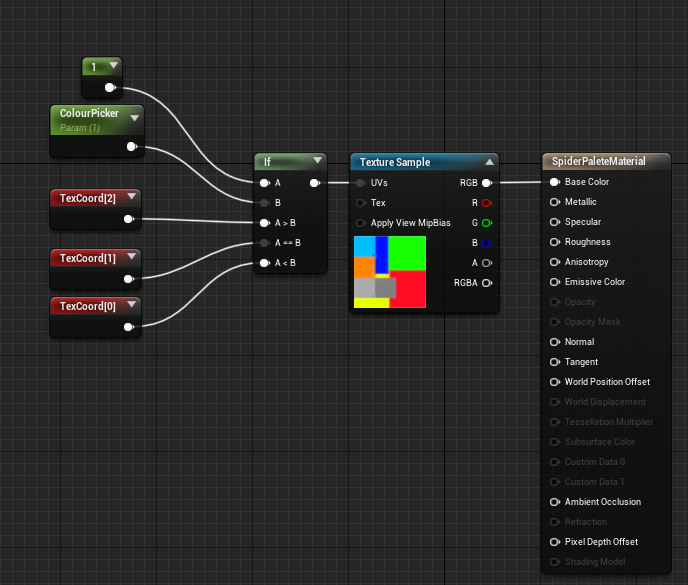
Material Node Setup
Substance Texturing
UVs
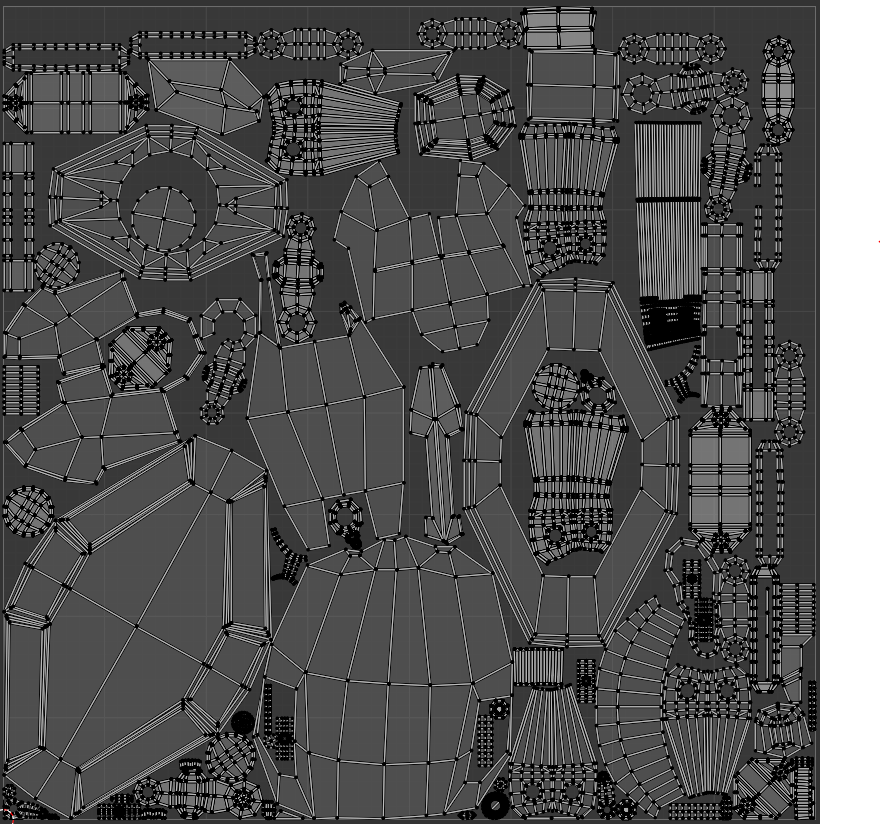
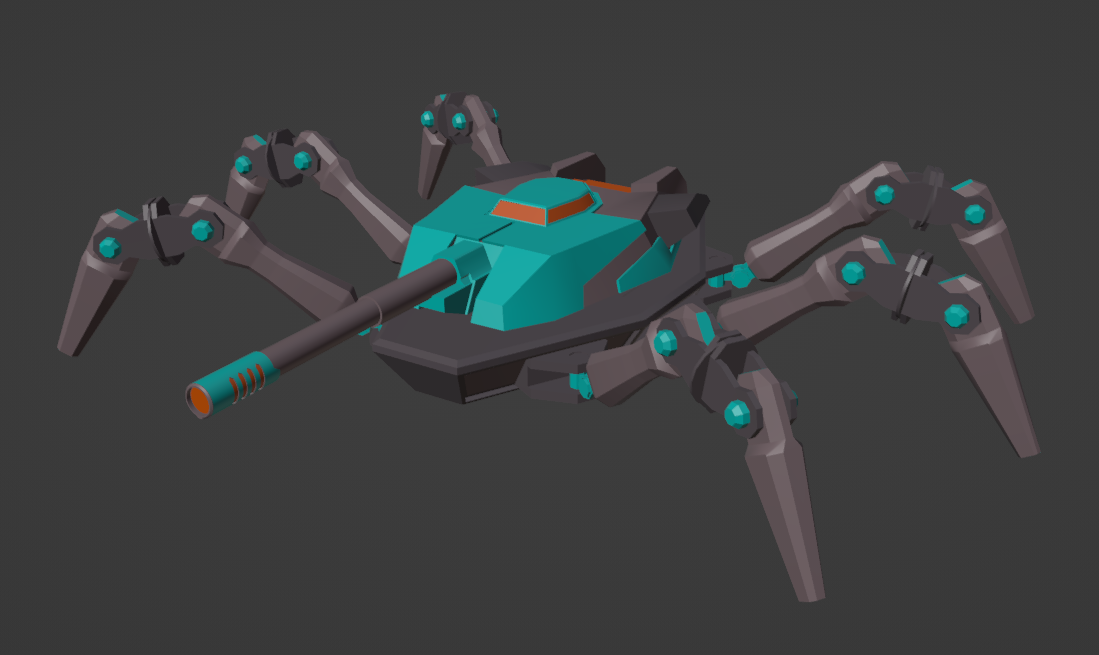
Both the Good and Evil themed spiderbots used the same UVs, unliked the colour Palette which used two different sets of scaled down UVs. Along with this UVset being used for the heigher detailed textures, it was also used as a shadow map, so that baked shadows could be caluculated in Unreal. I attempted to use the colour palete method in my work for the RunninHot game dev project, however i forgot to add in correct UV maps, which caused errors on import and issues when trying to bake lighting.
Vertex Colour ID Map
Good Spider Bot Texturing: Substance
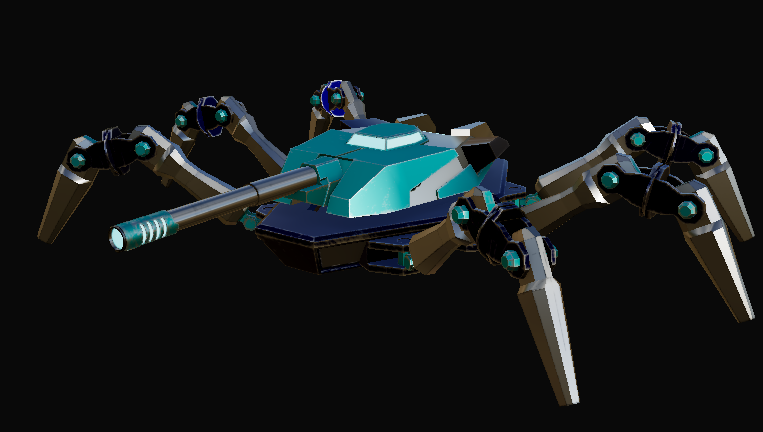
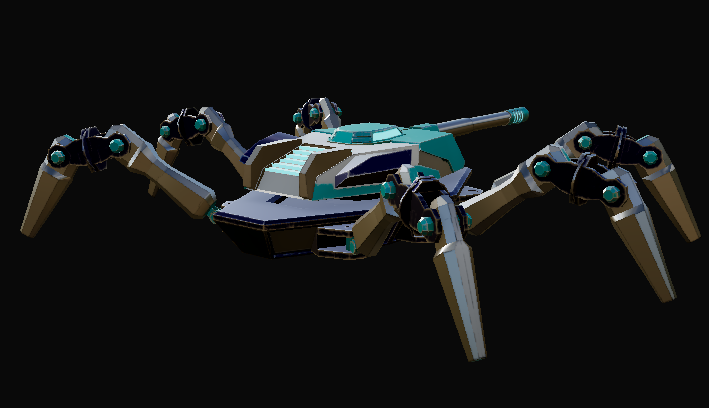
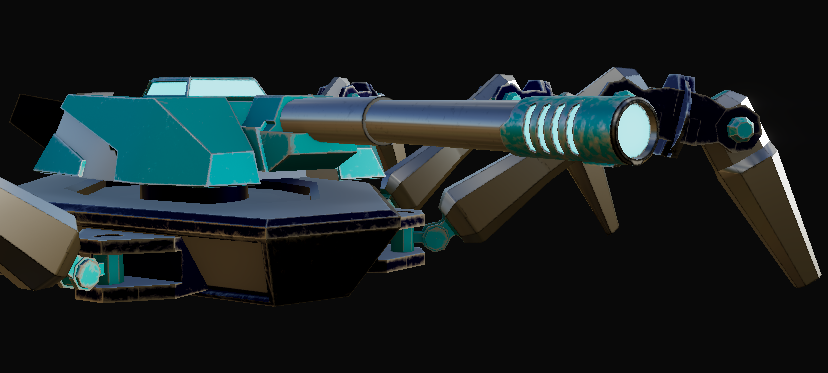
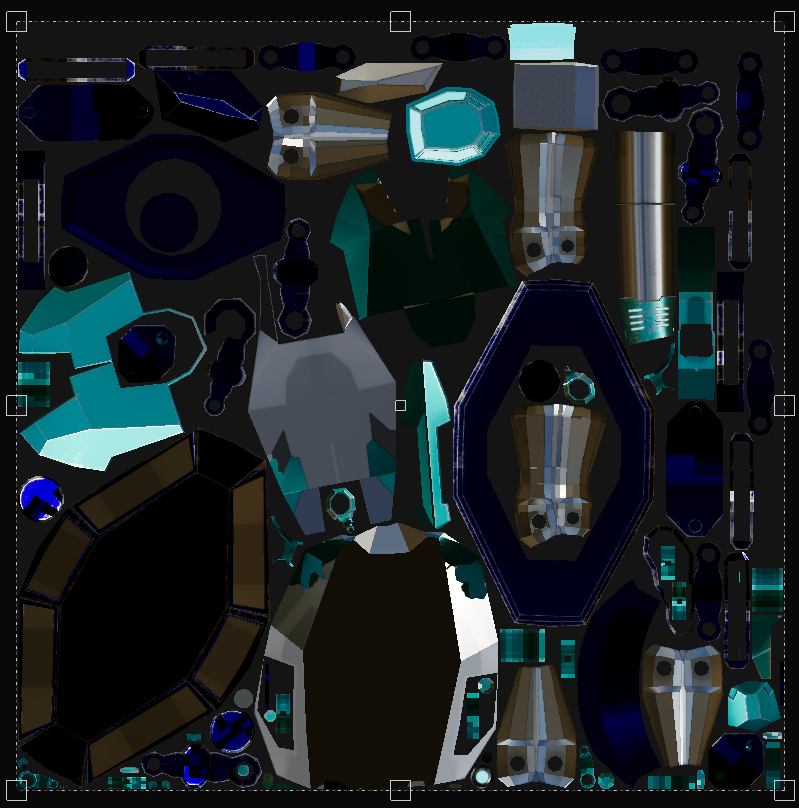
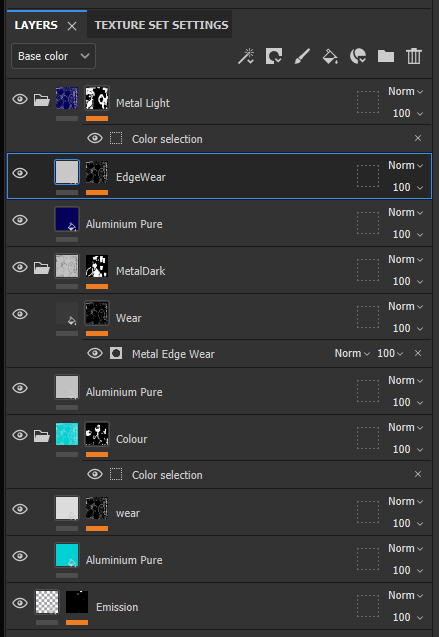
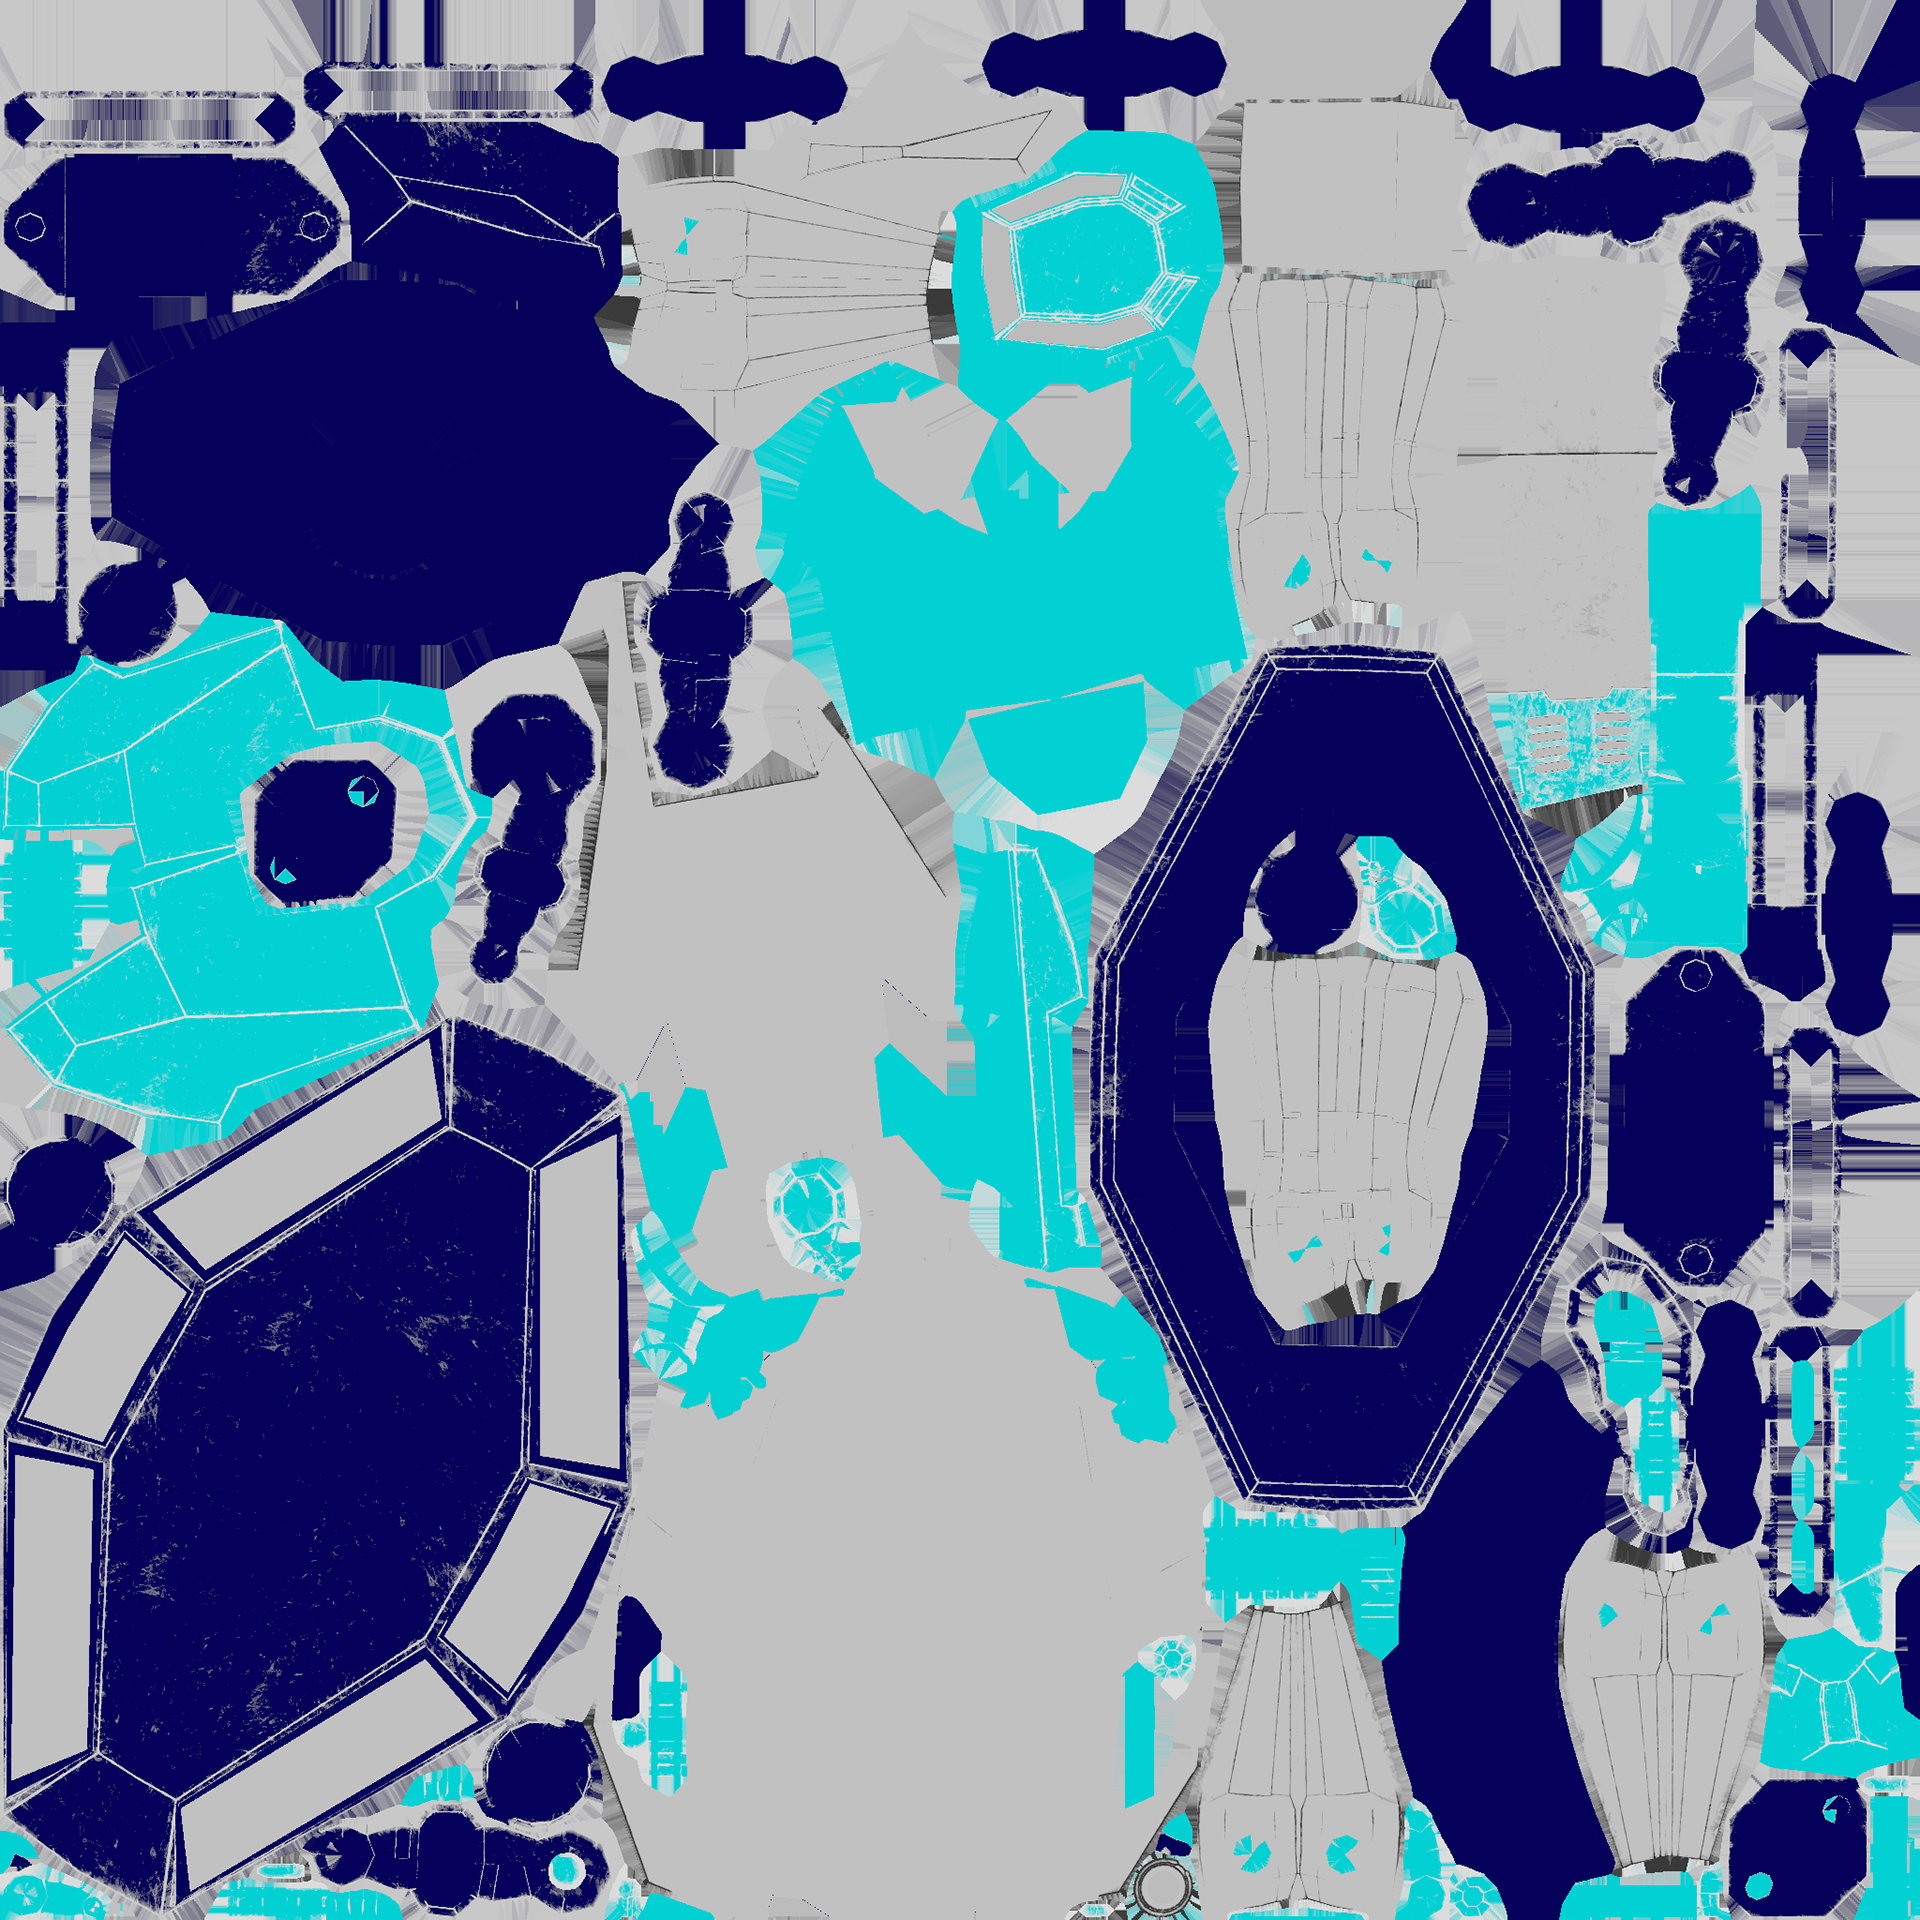
BaseColour
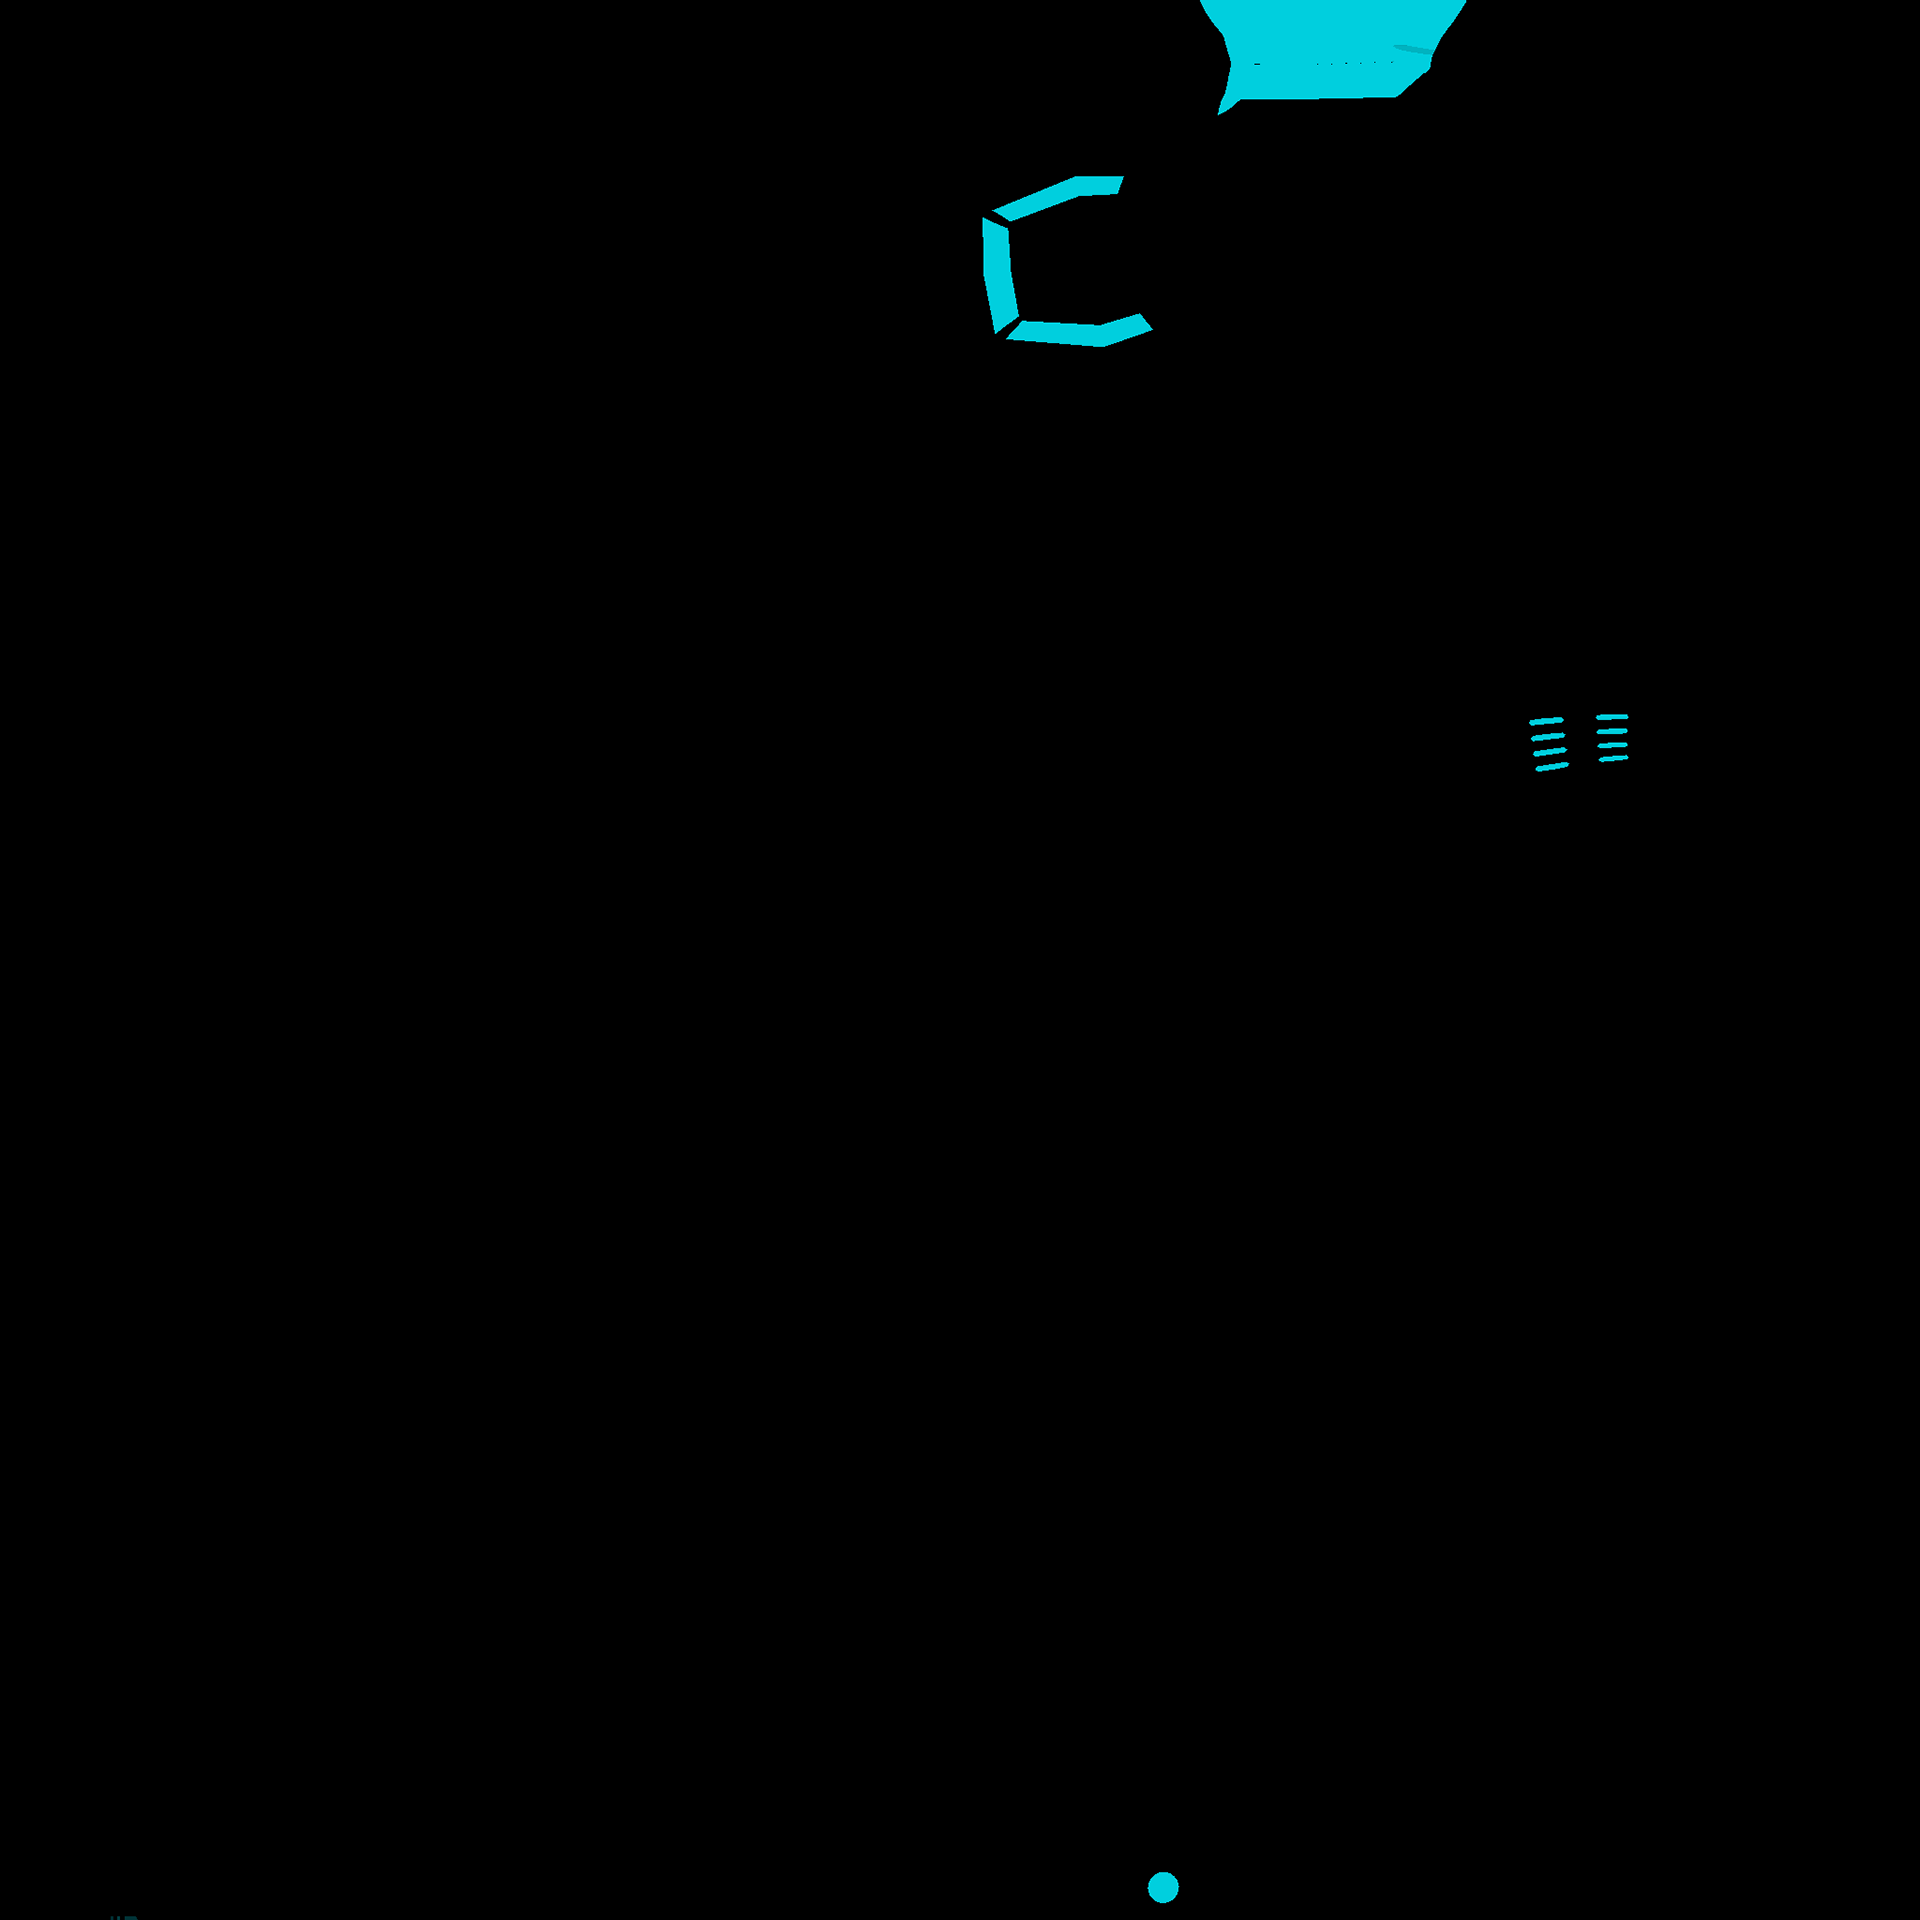
Emission
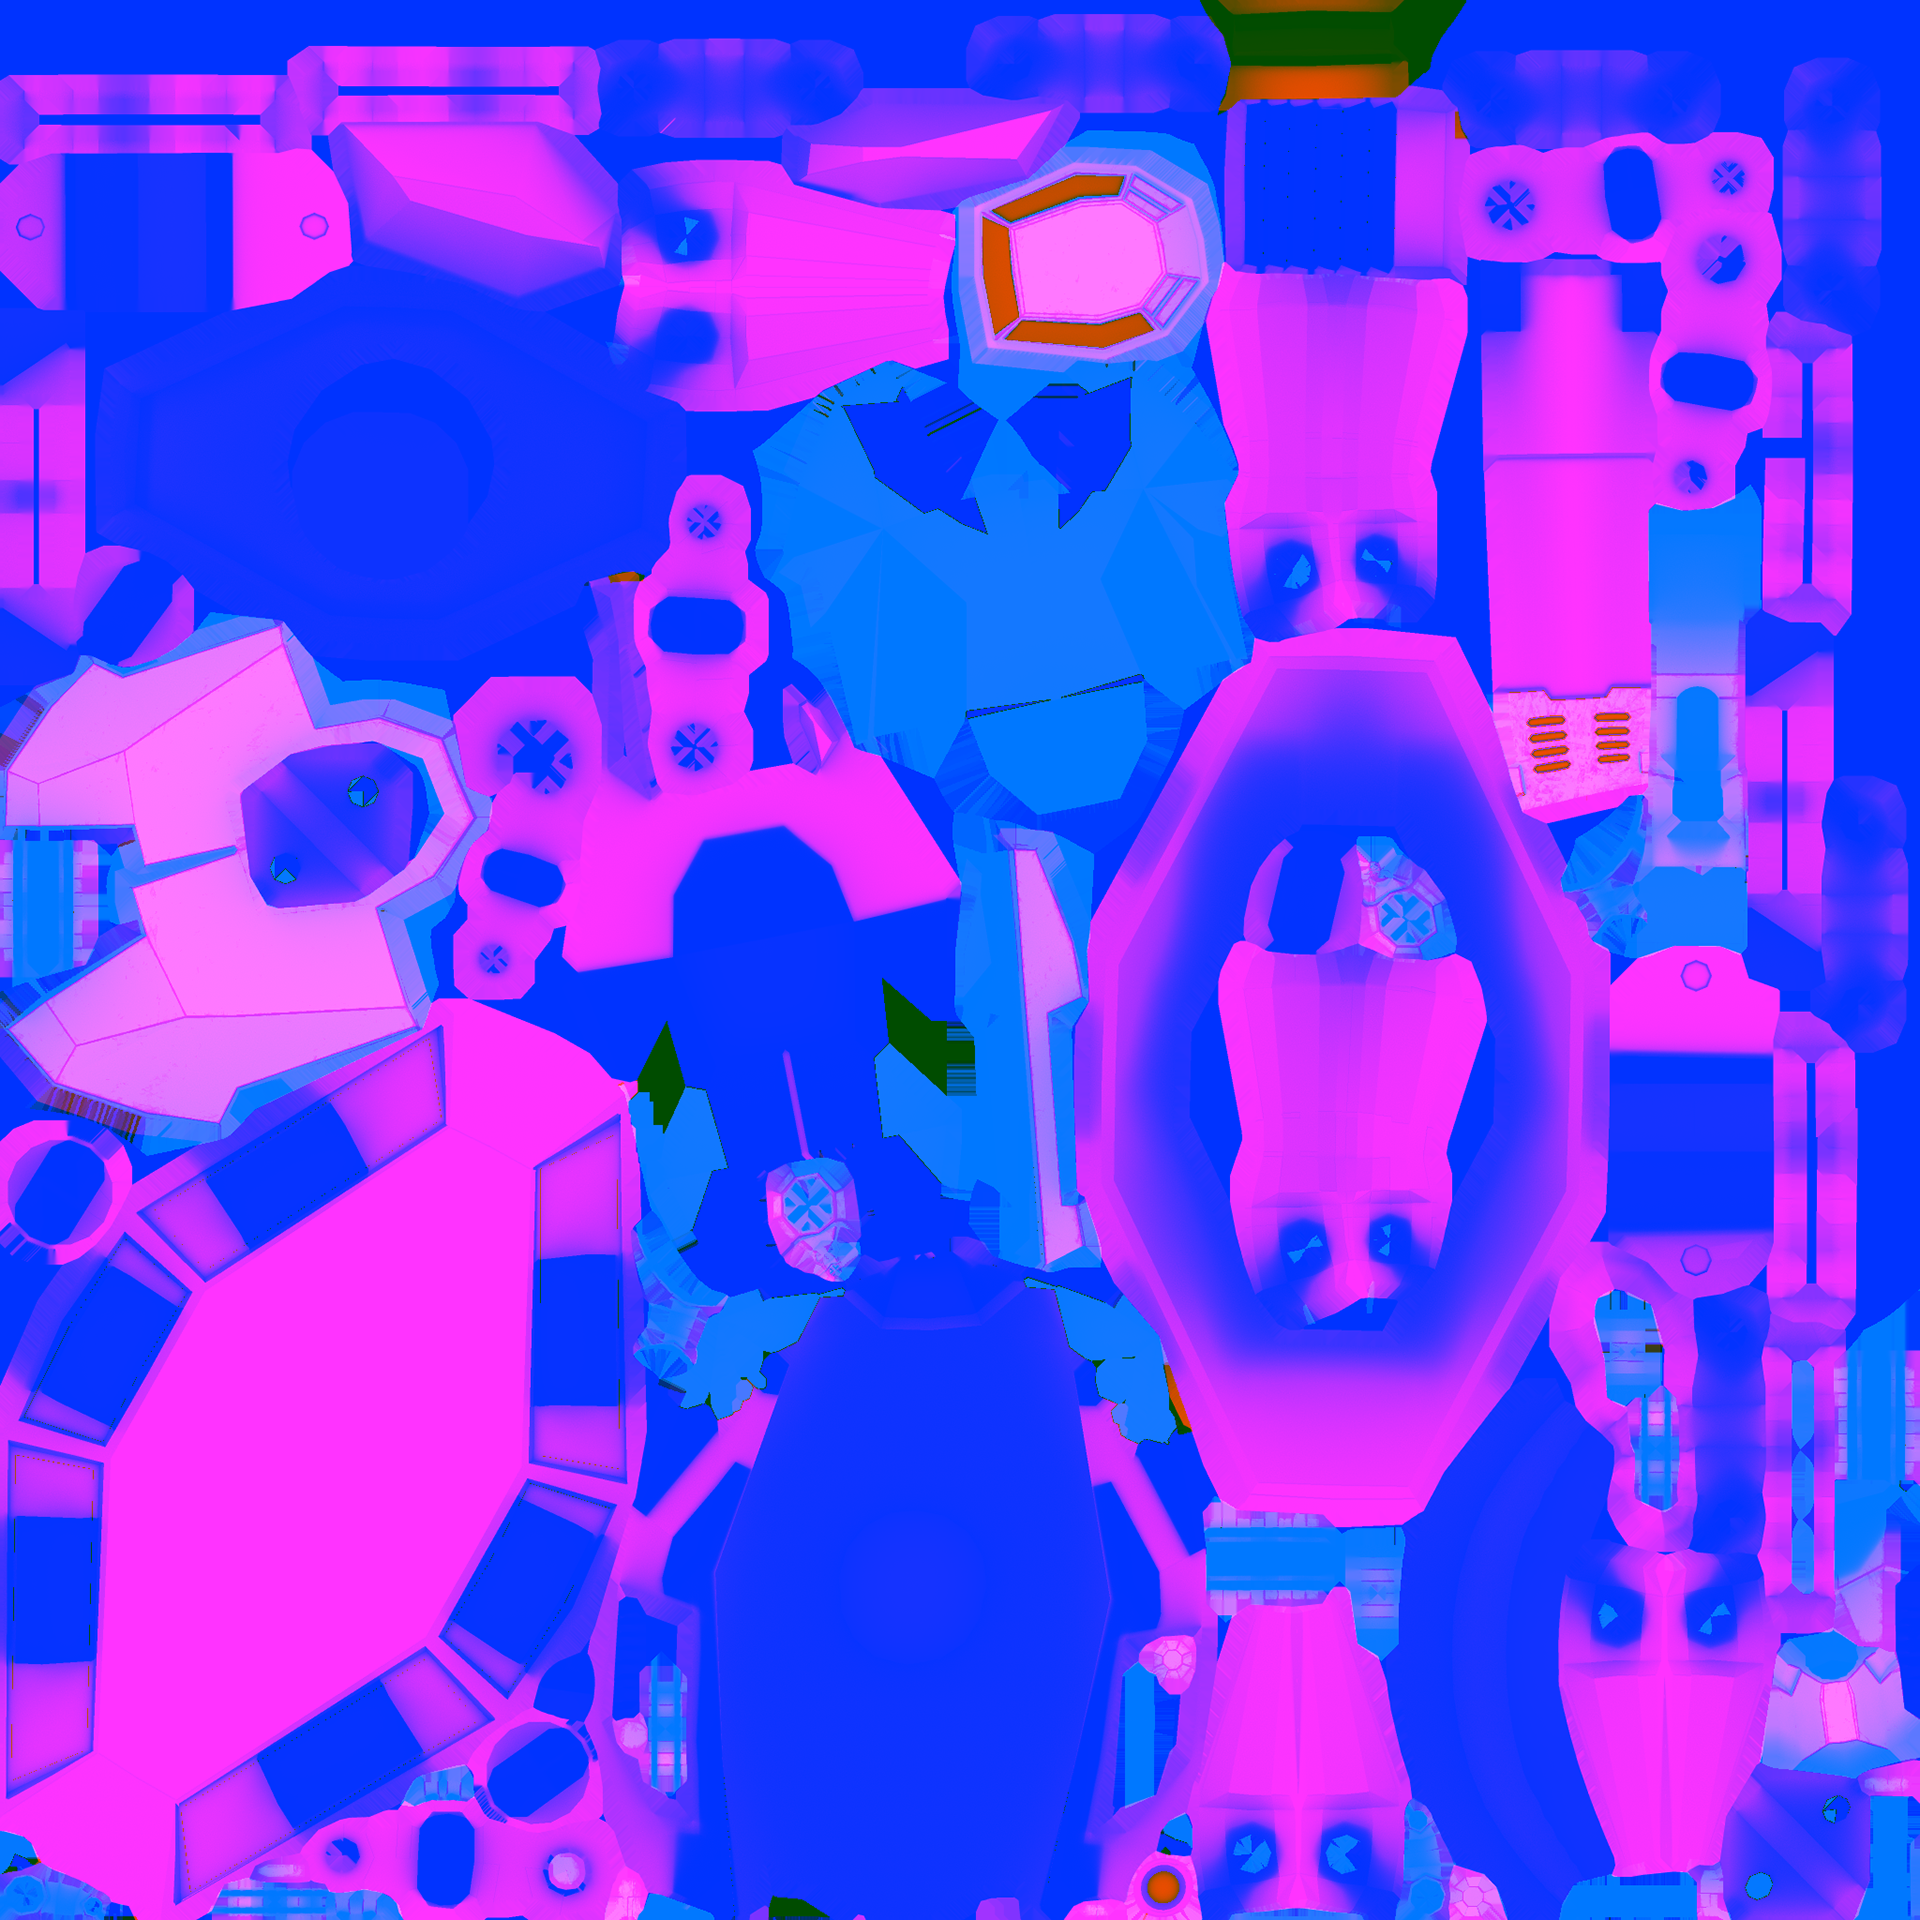
Oclussion+Roughnees+Metalic
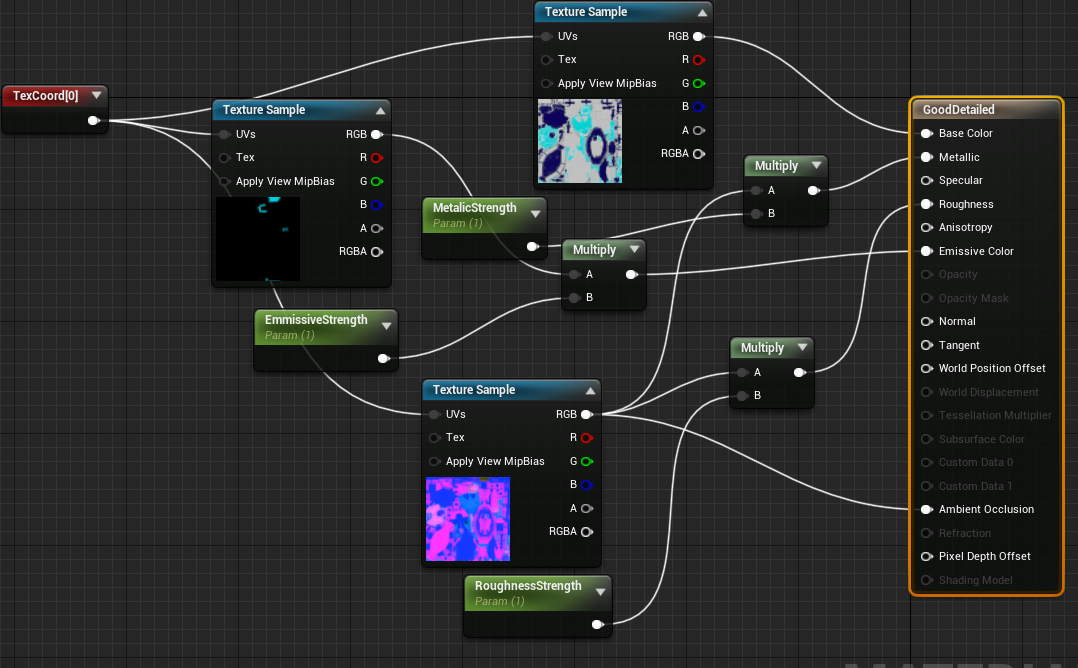
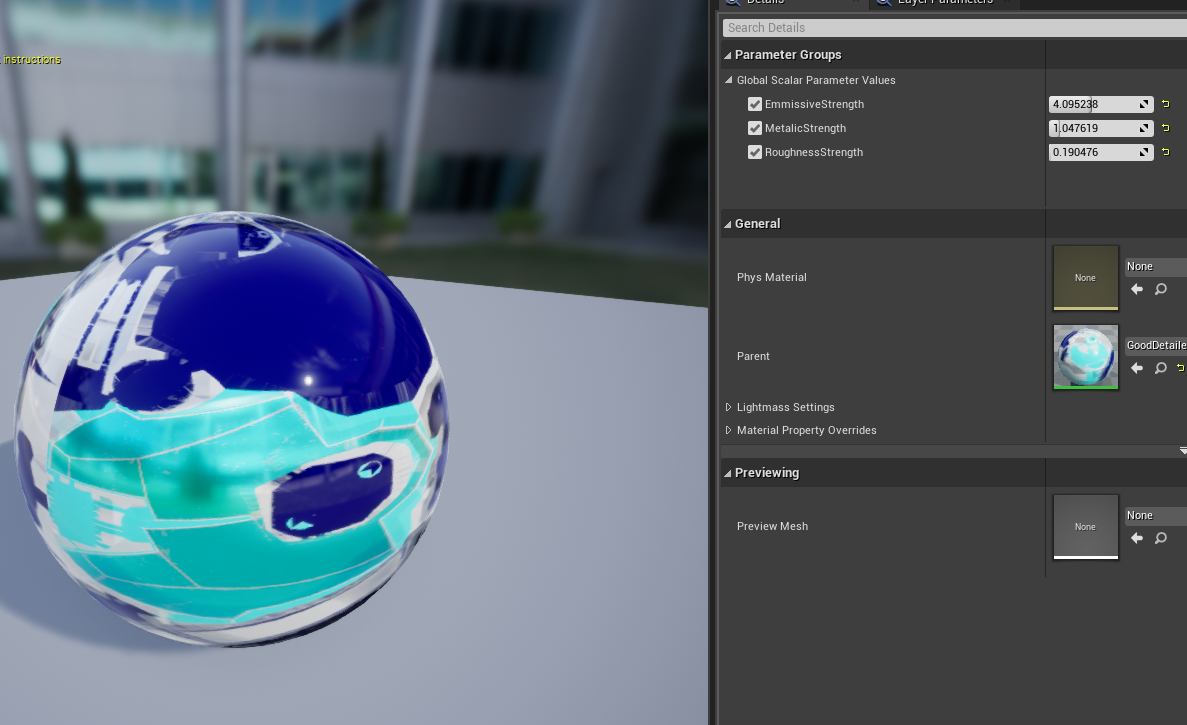
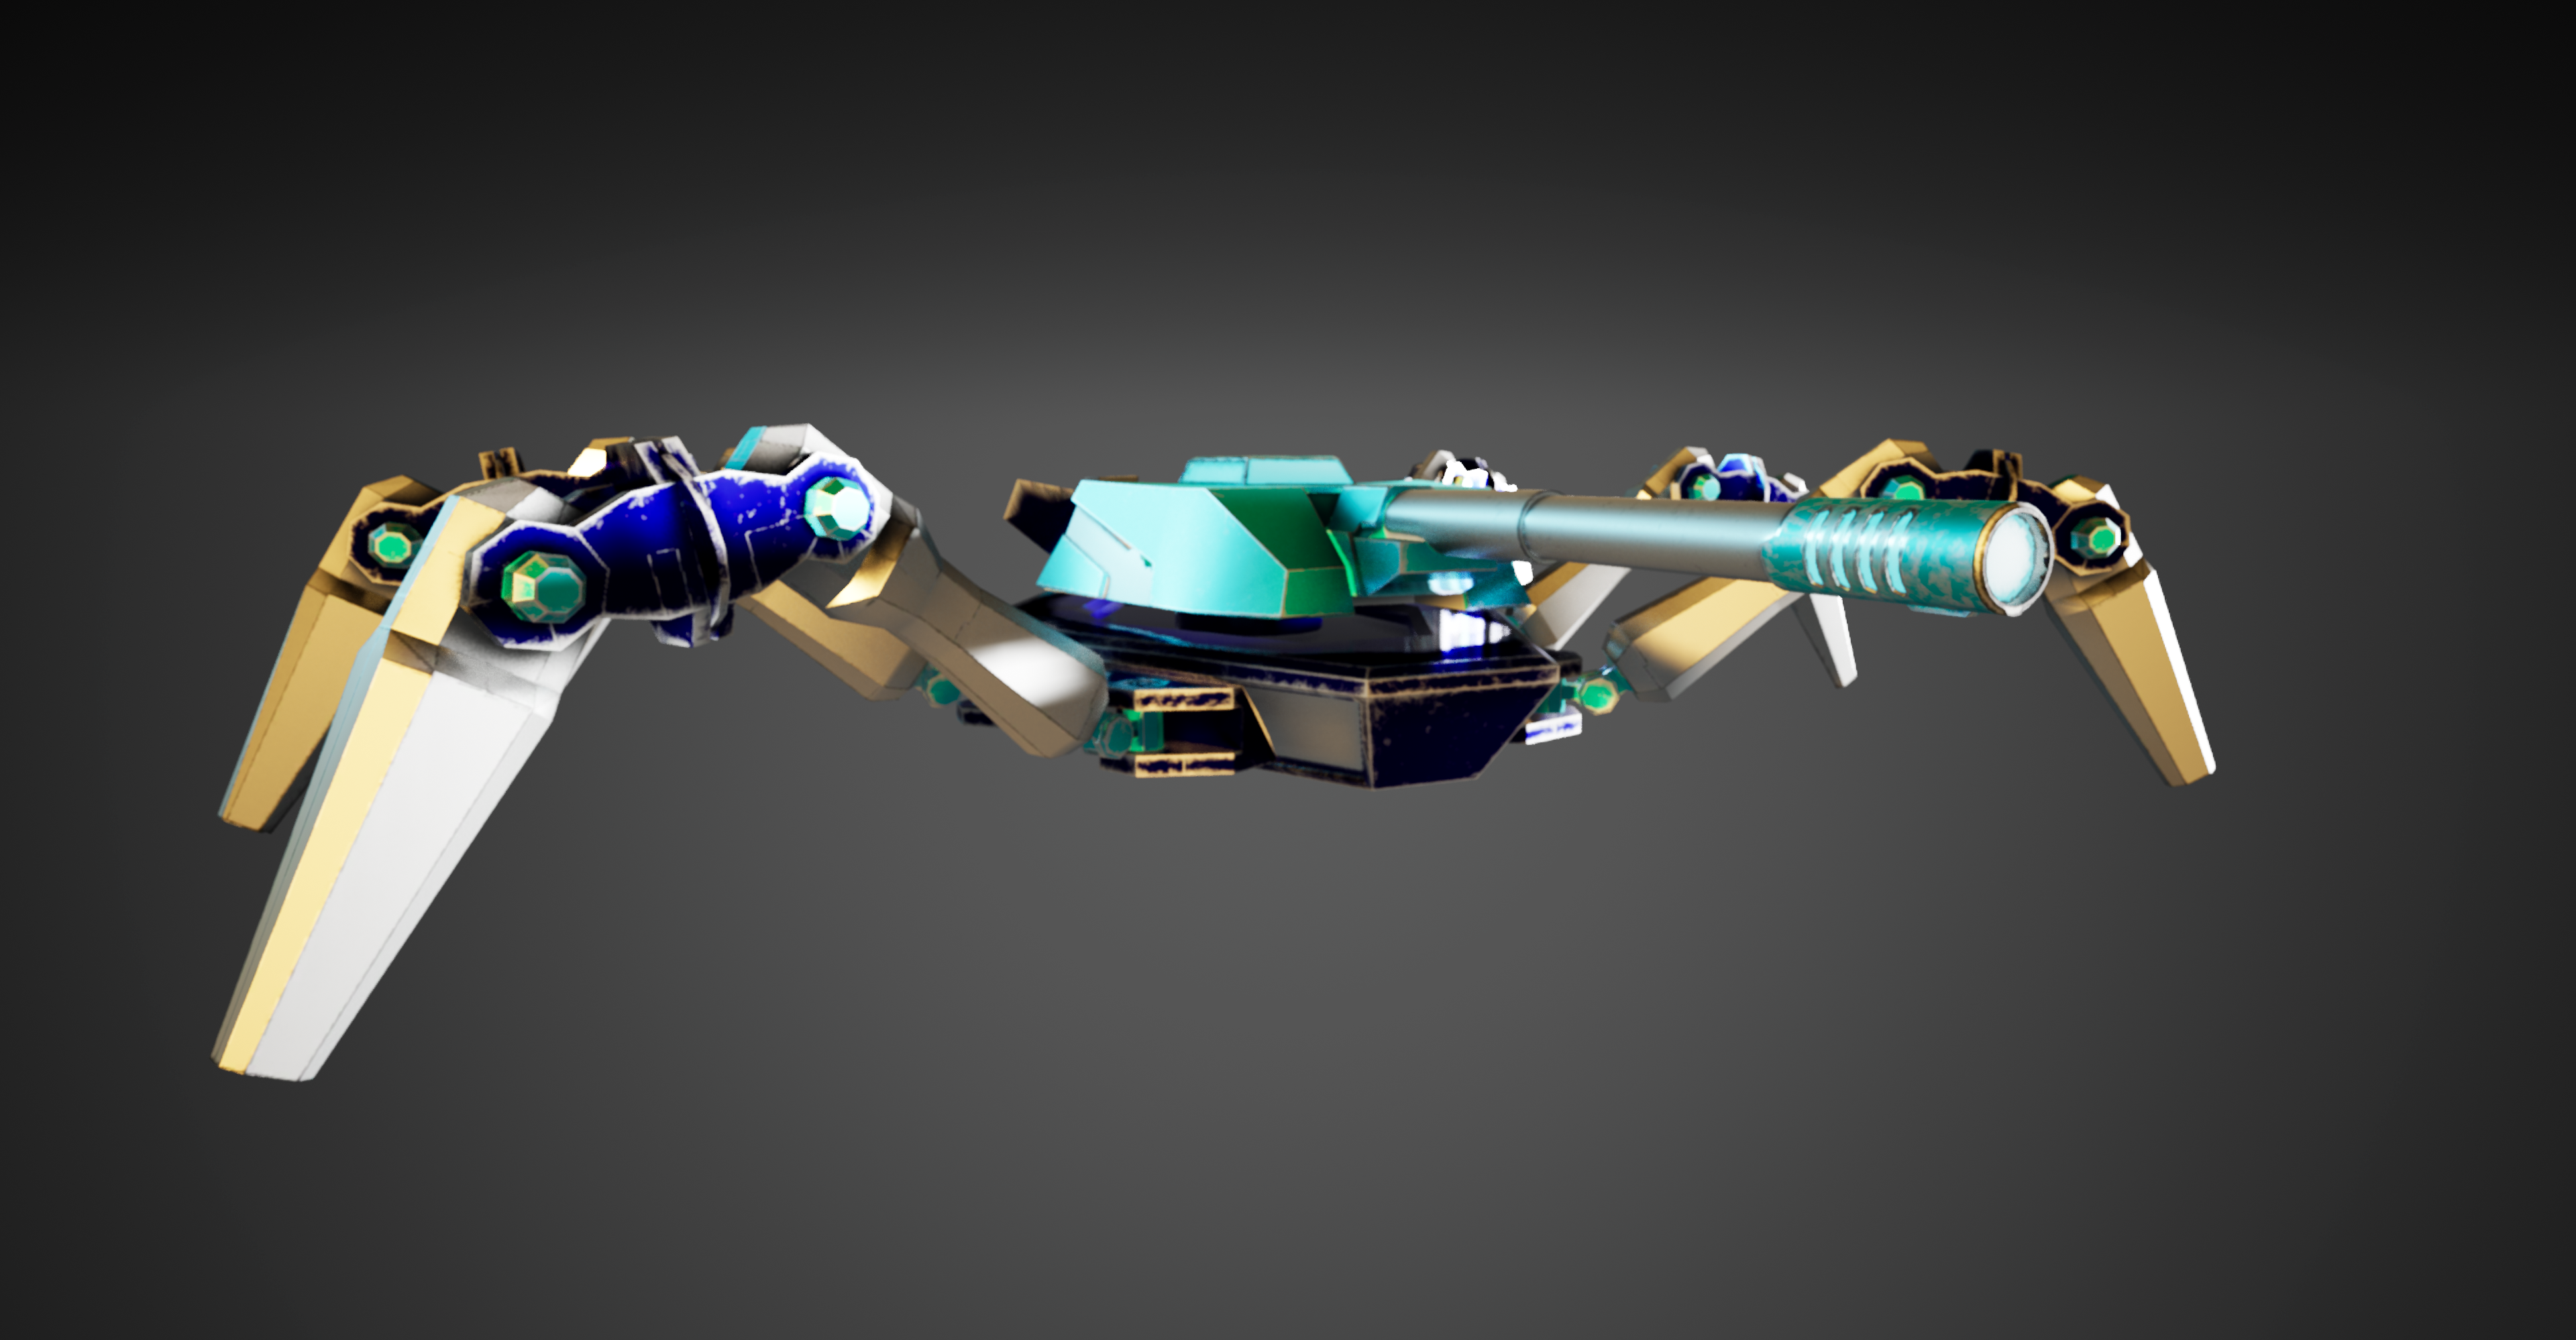
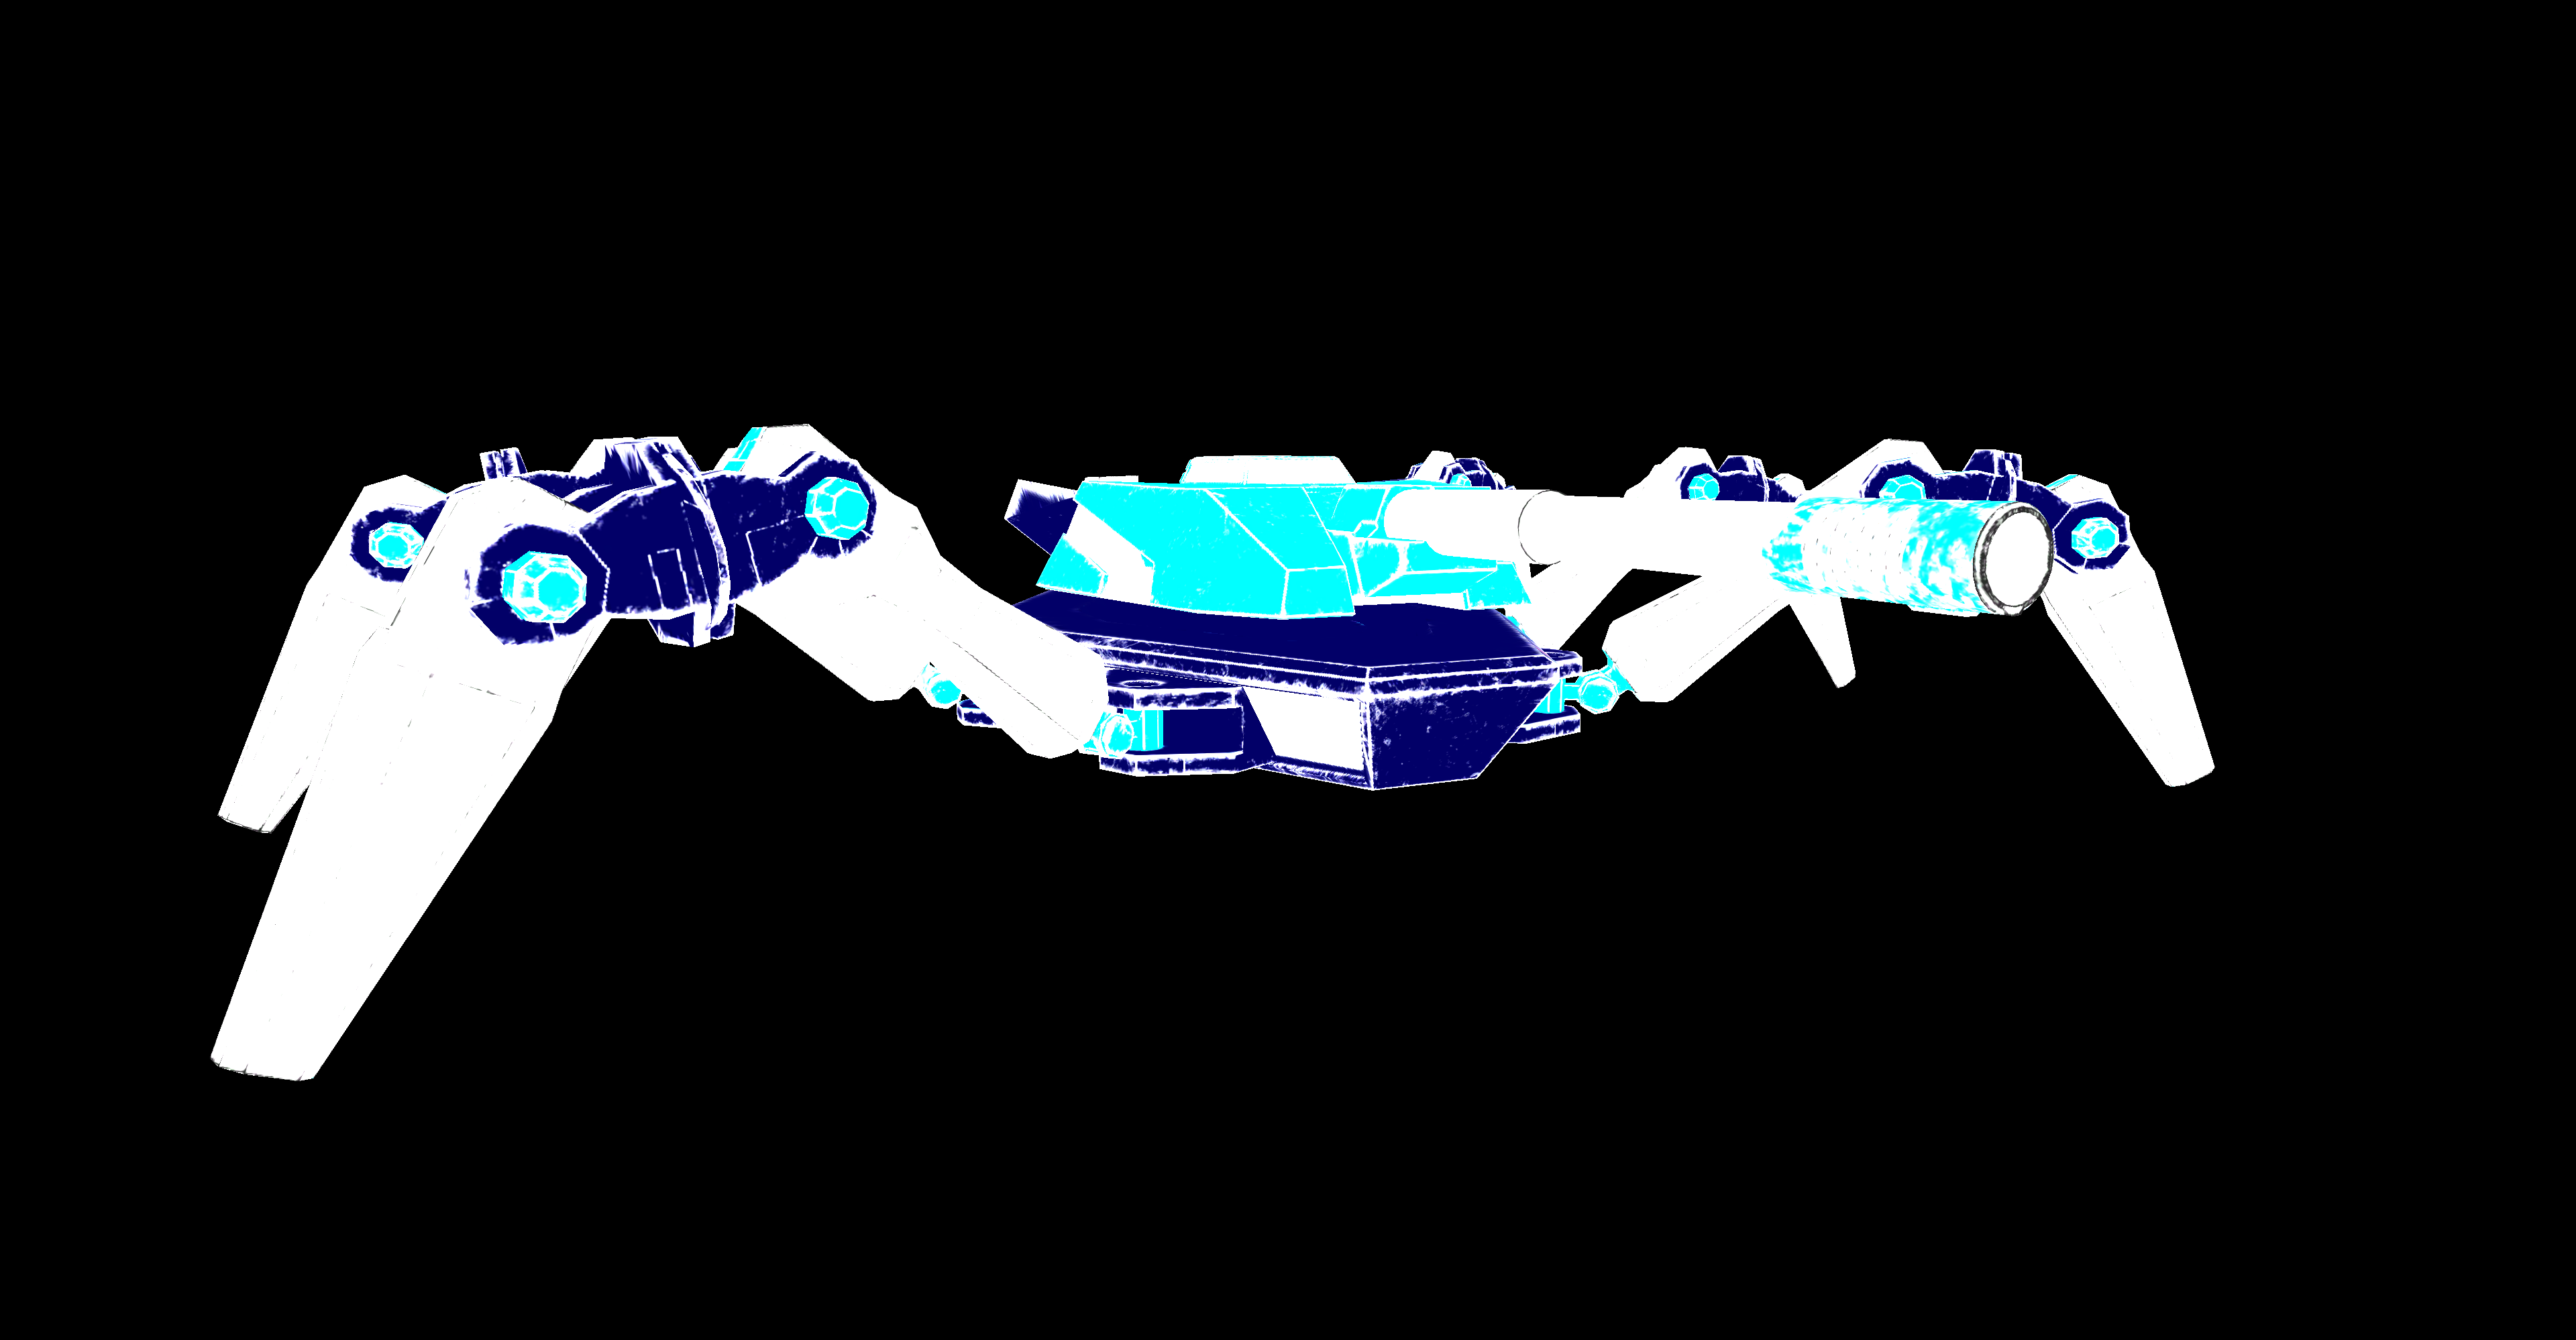
Good Spider Bot Texturing: Unreal
BaseColour
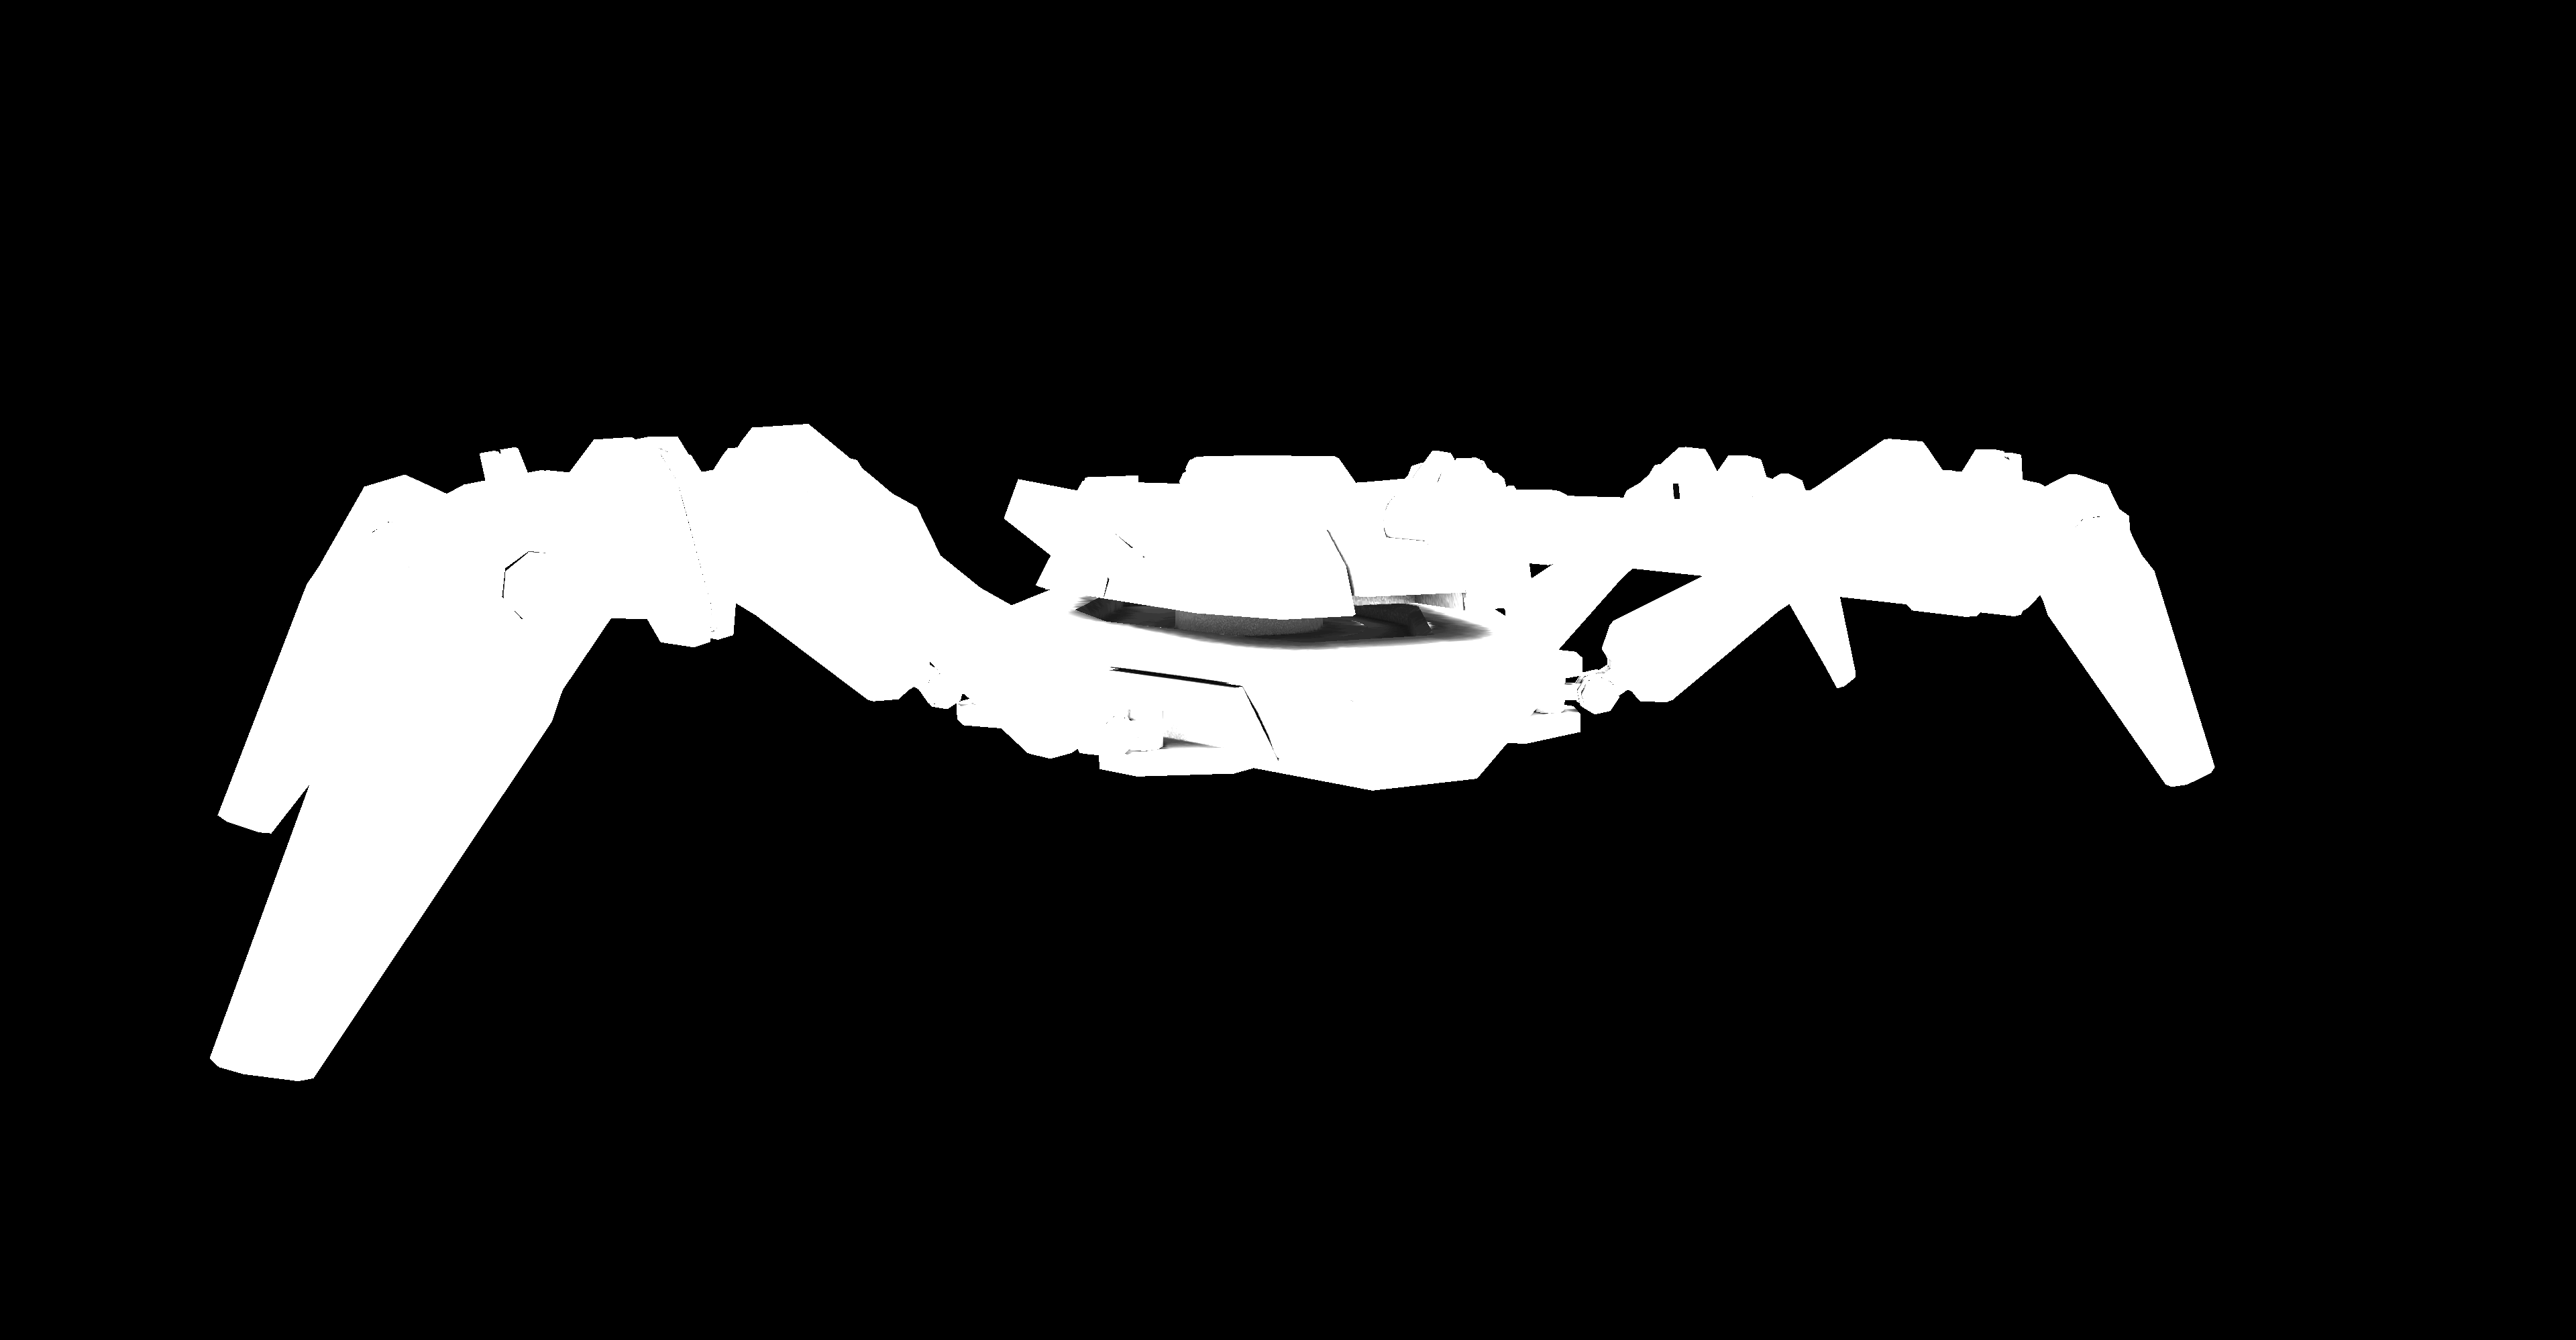
Metalic
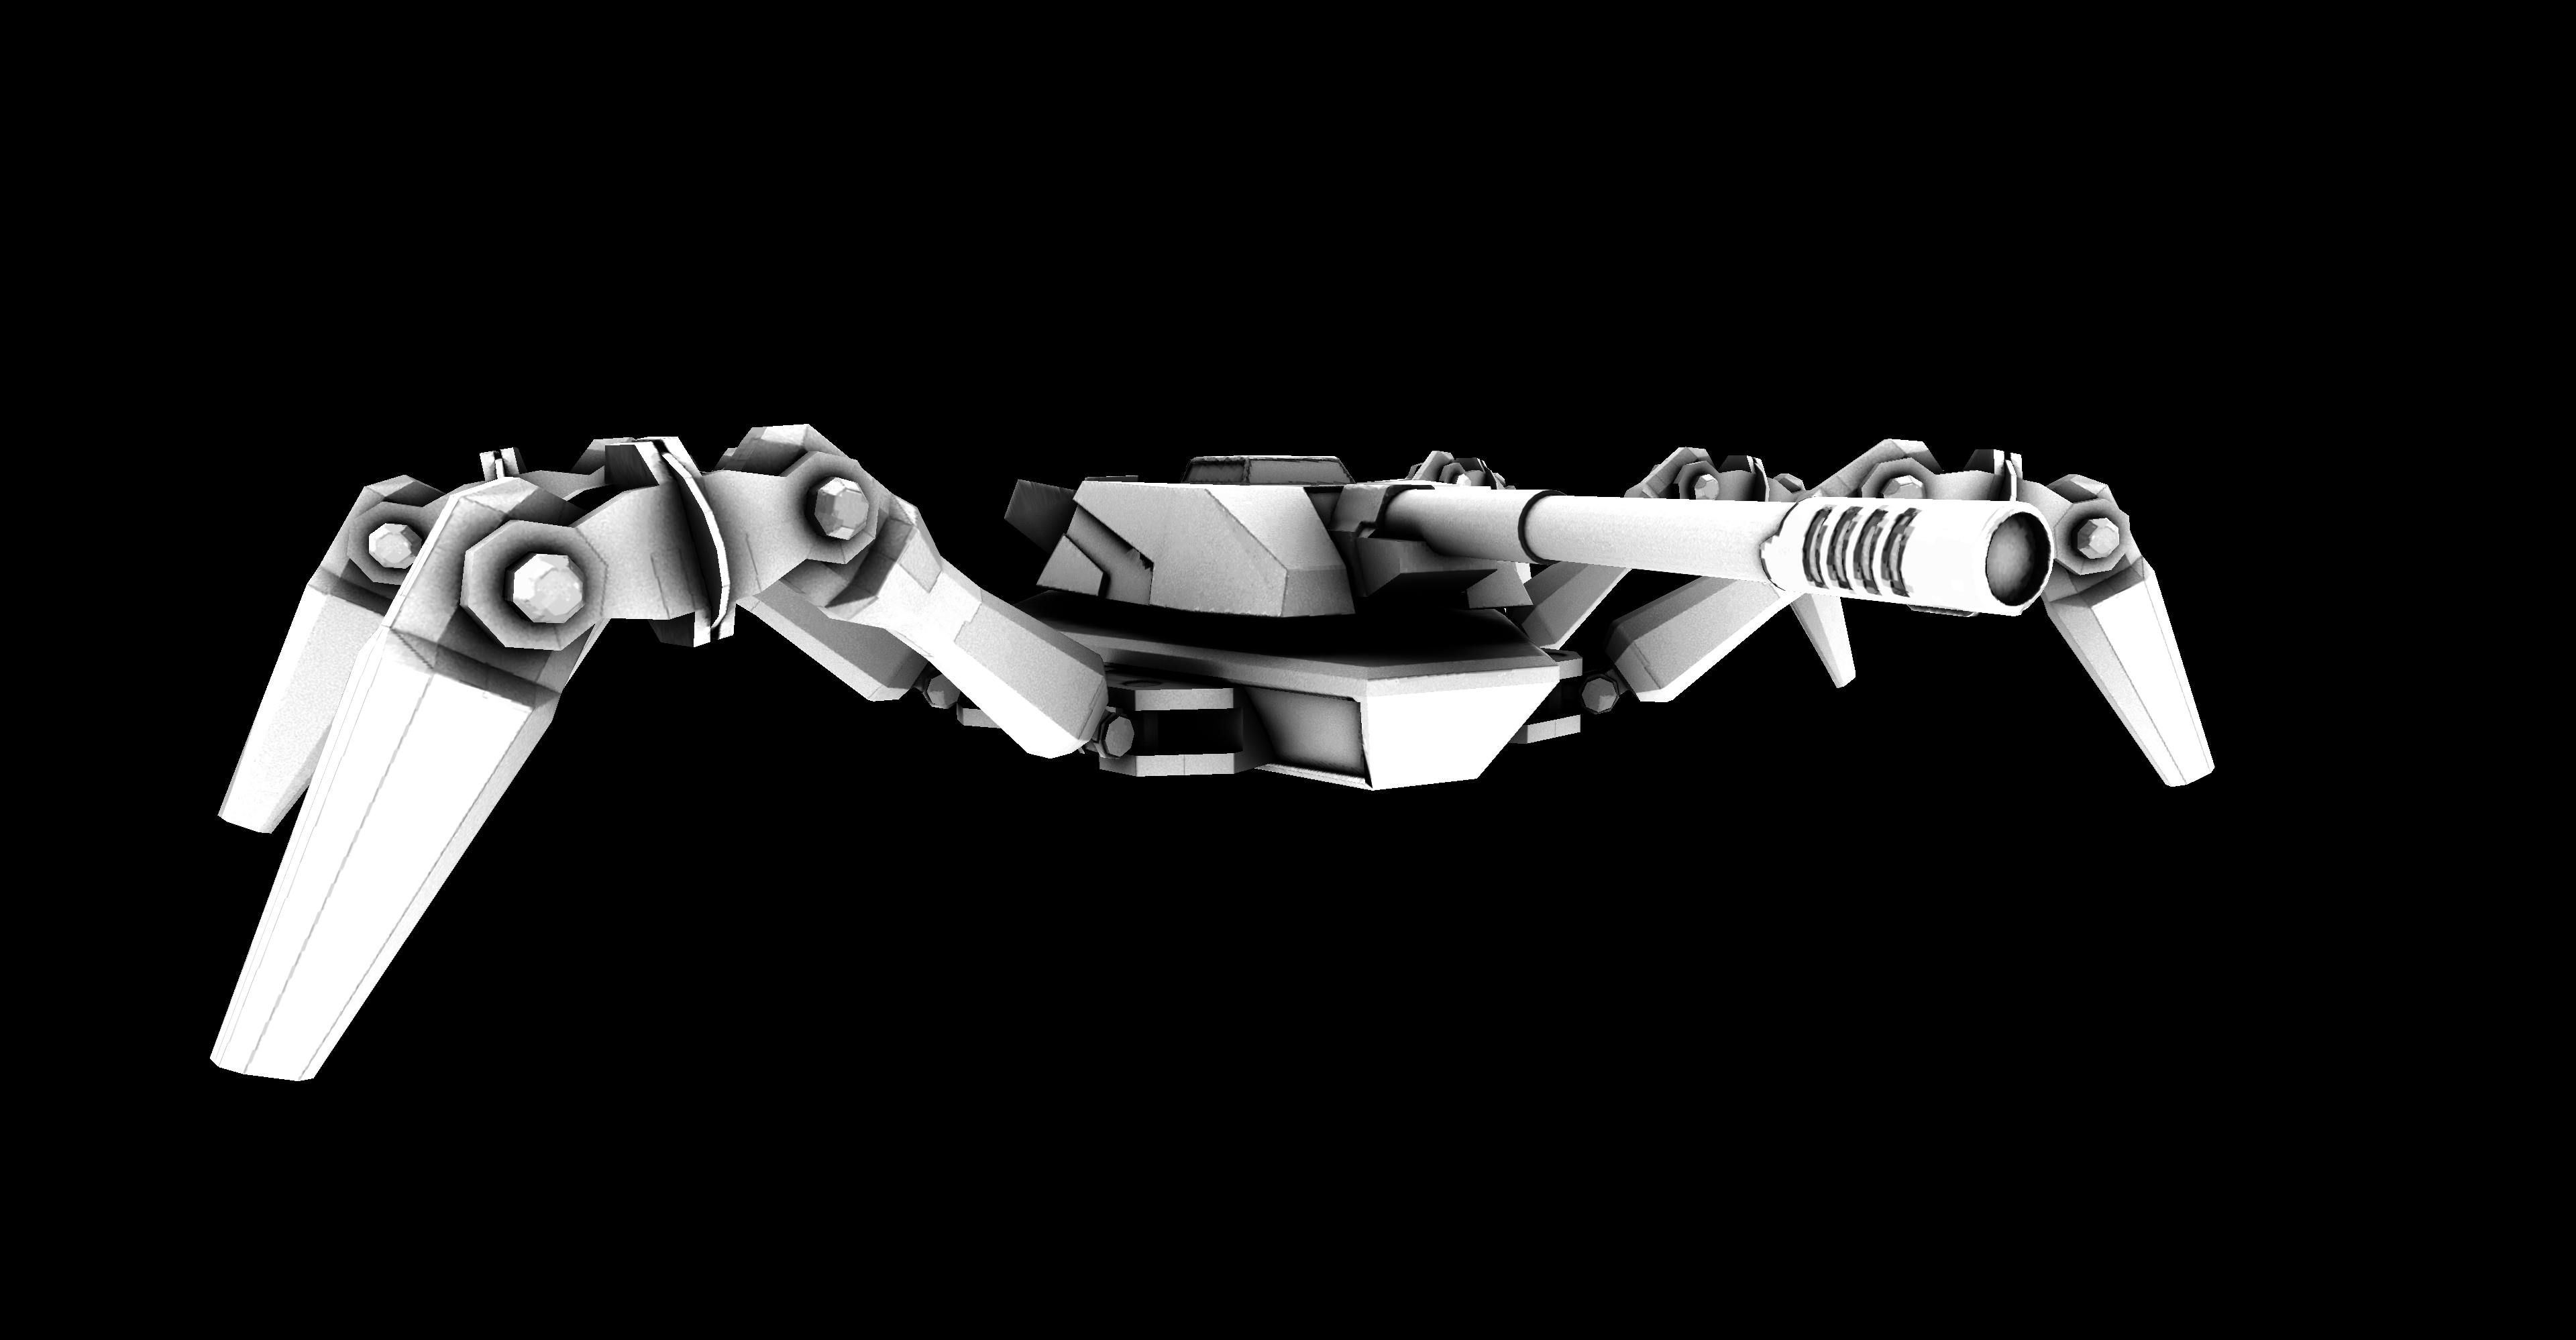
Roughness
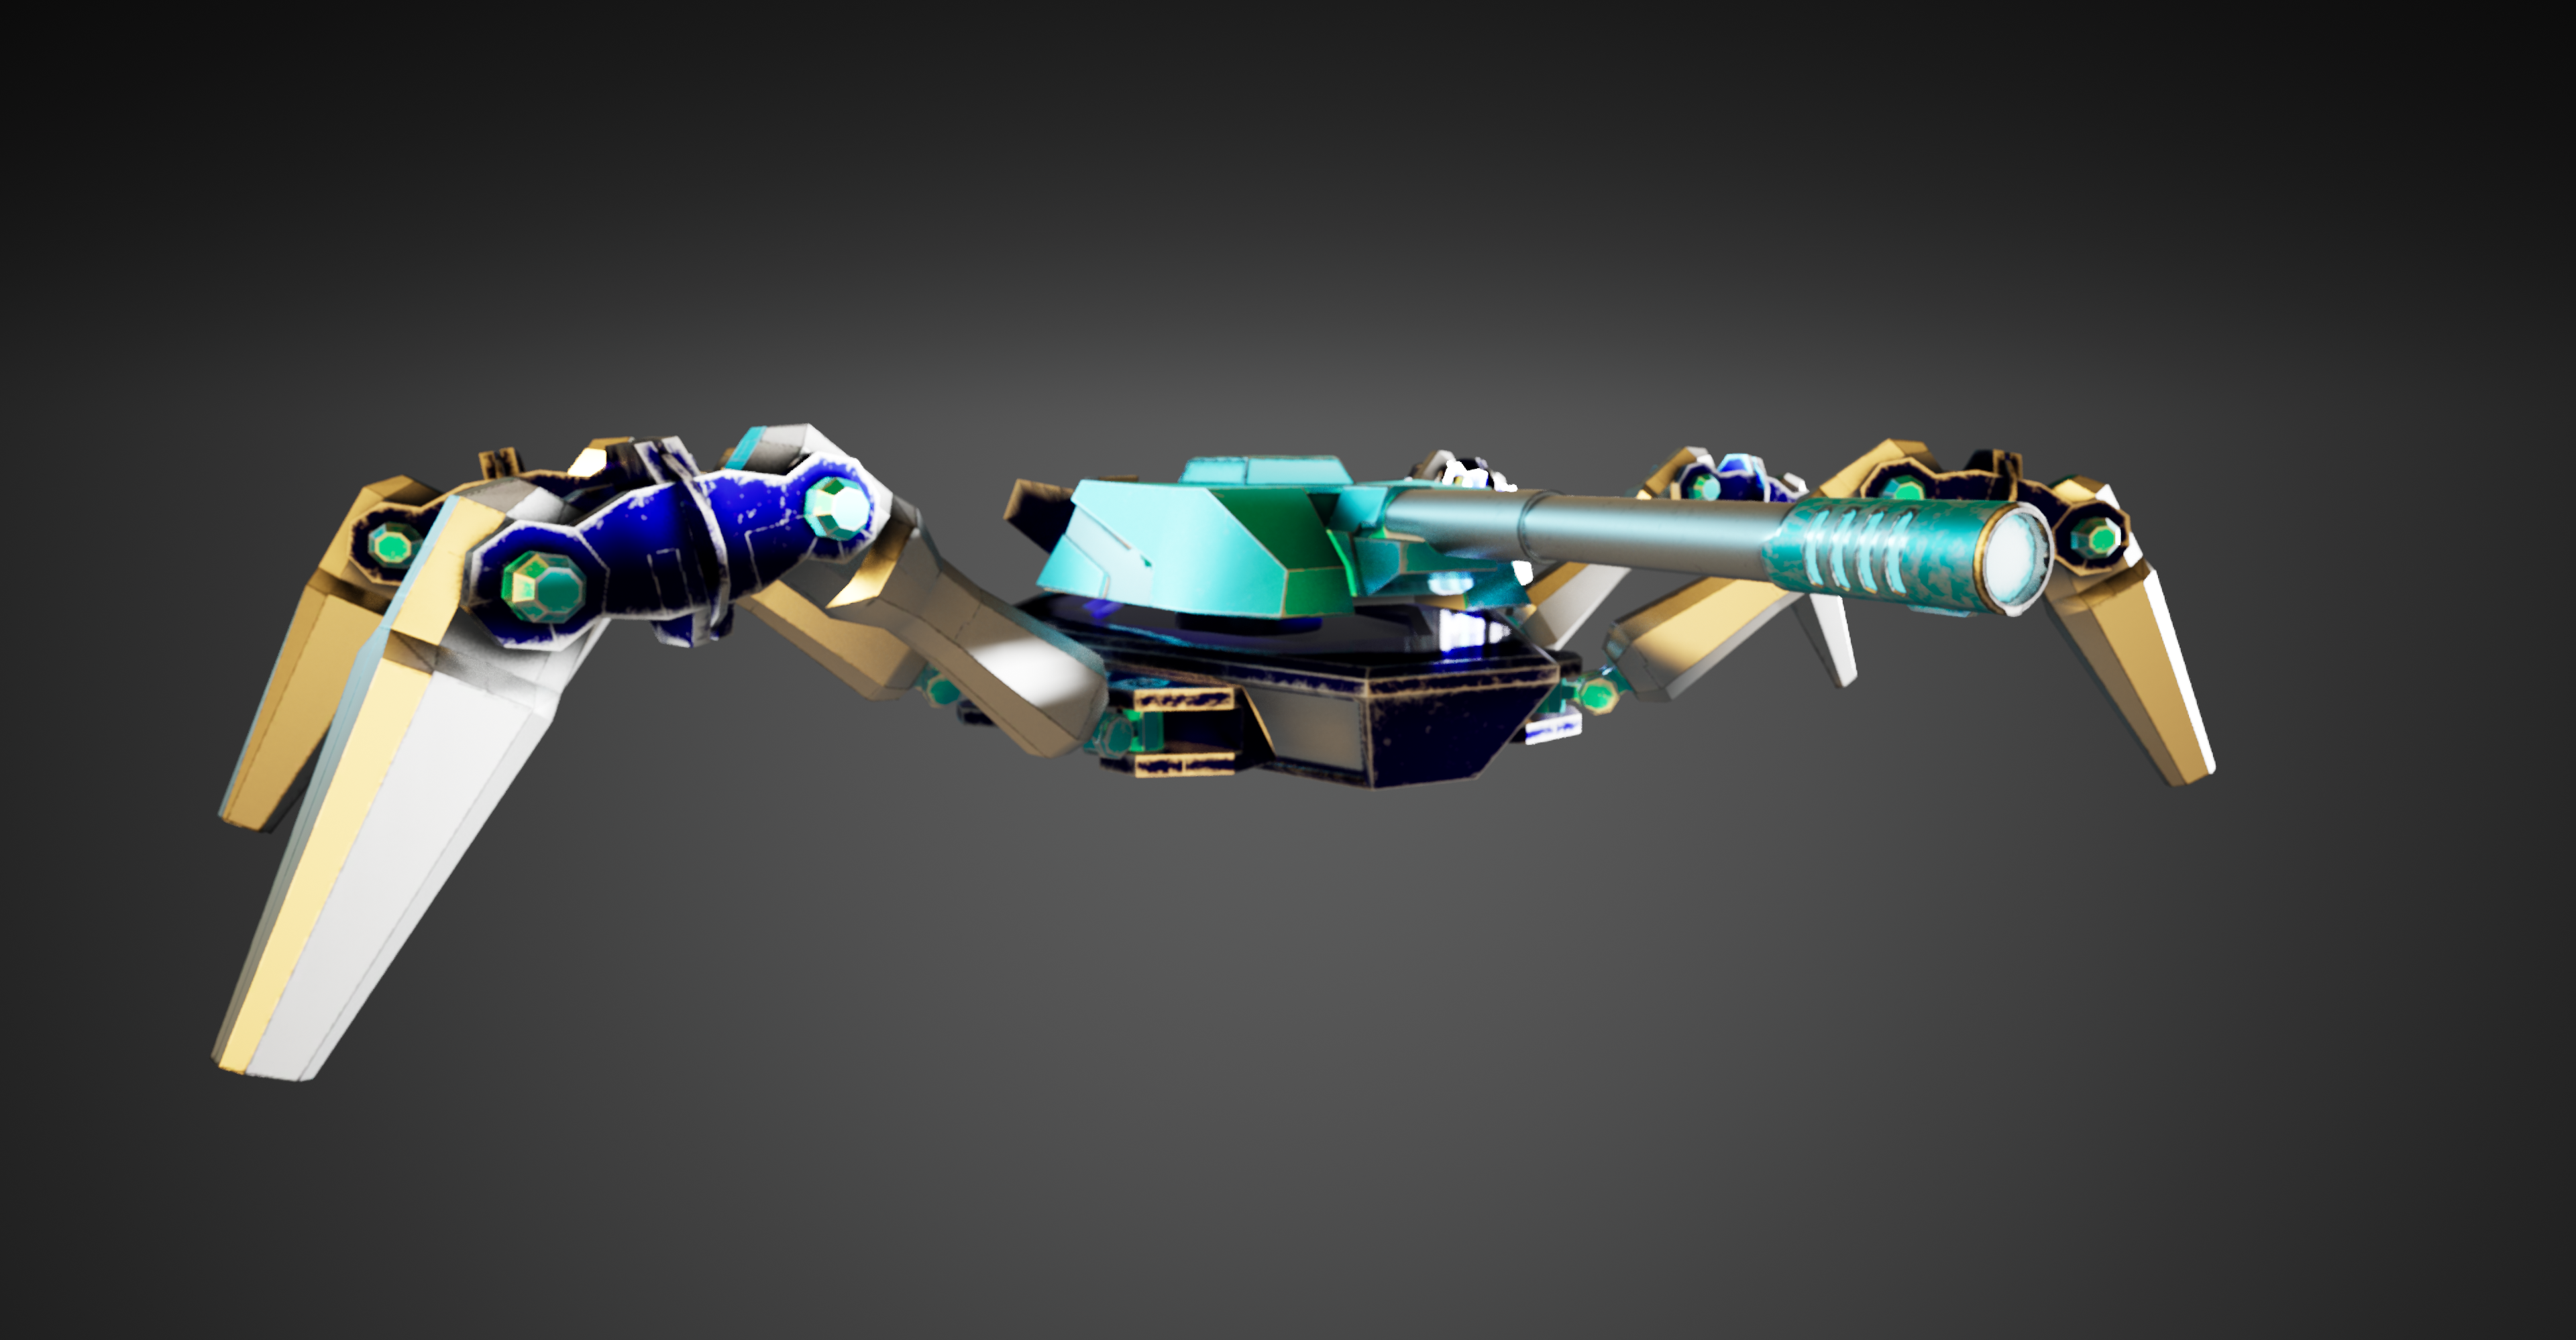
SceneColour
Evil Spiderbot Texturing: Substance
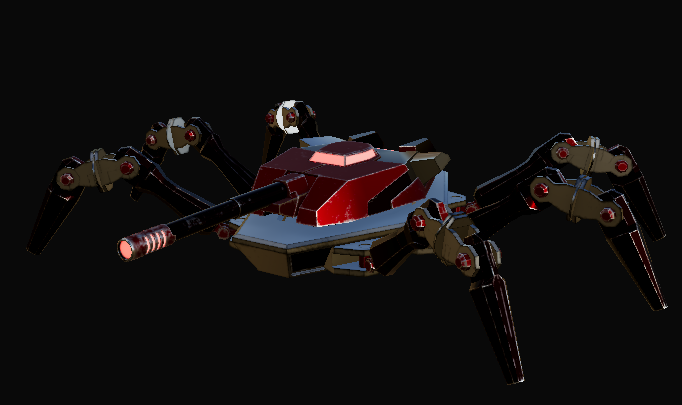
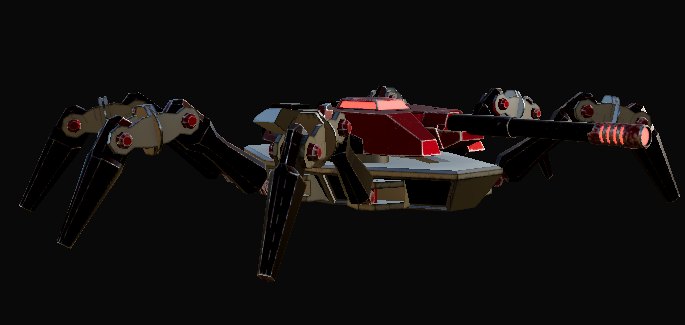
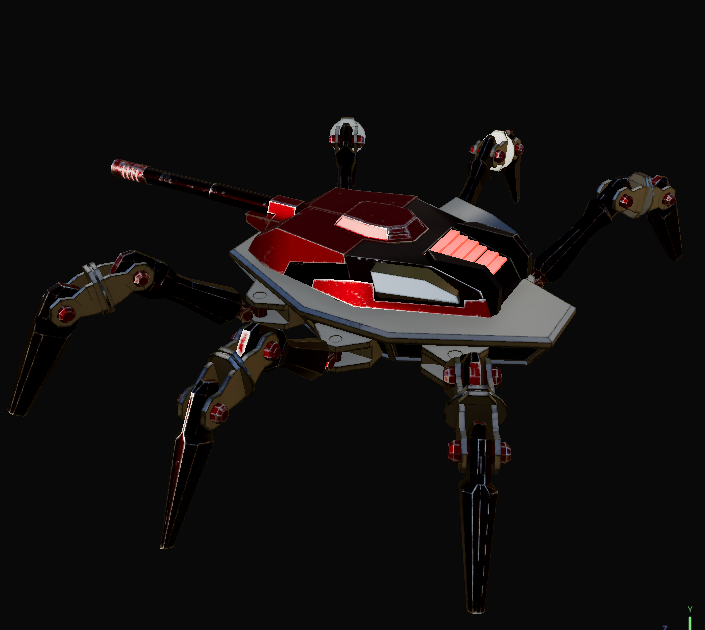
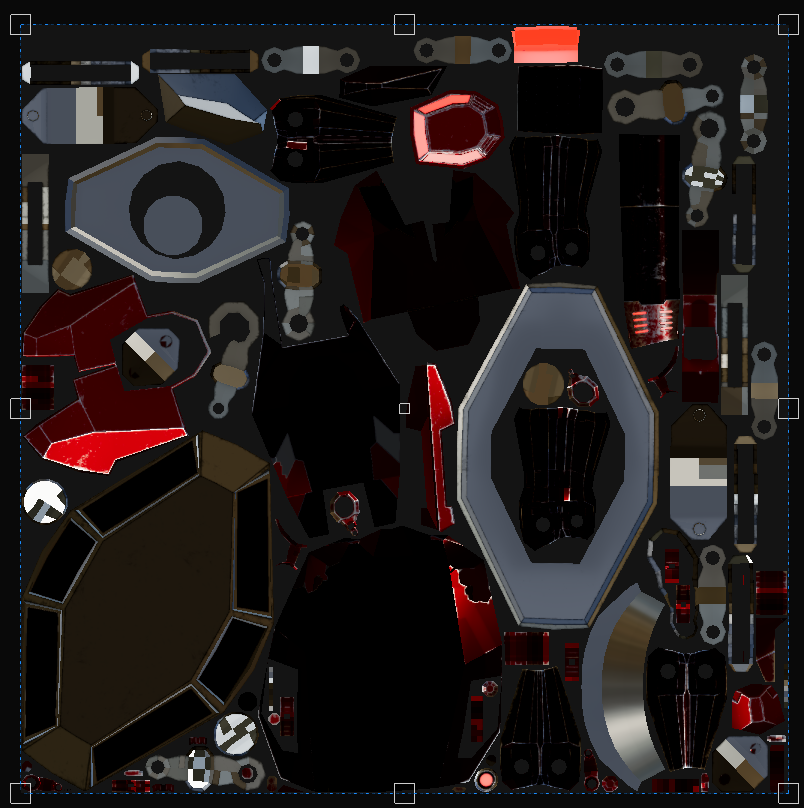
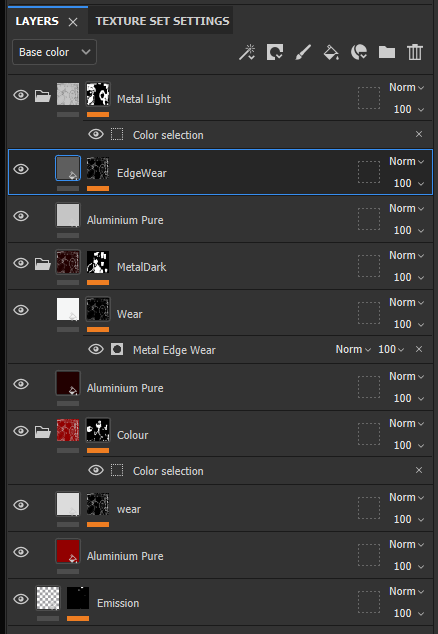
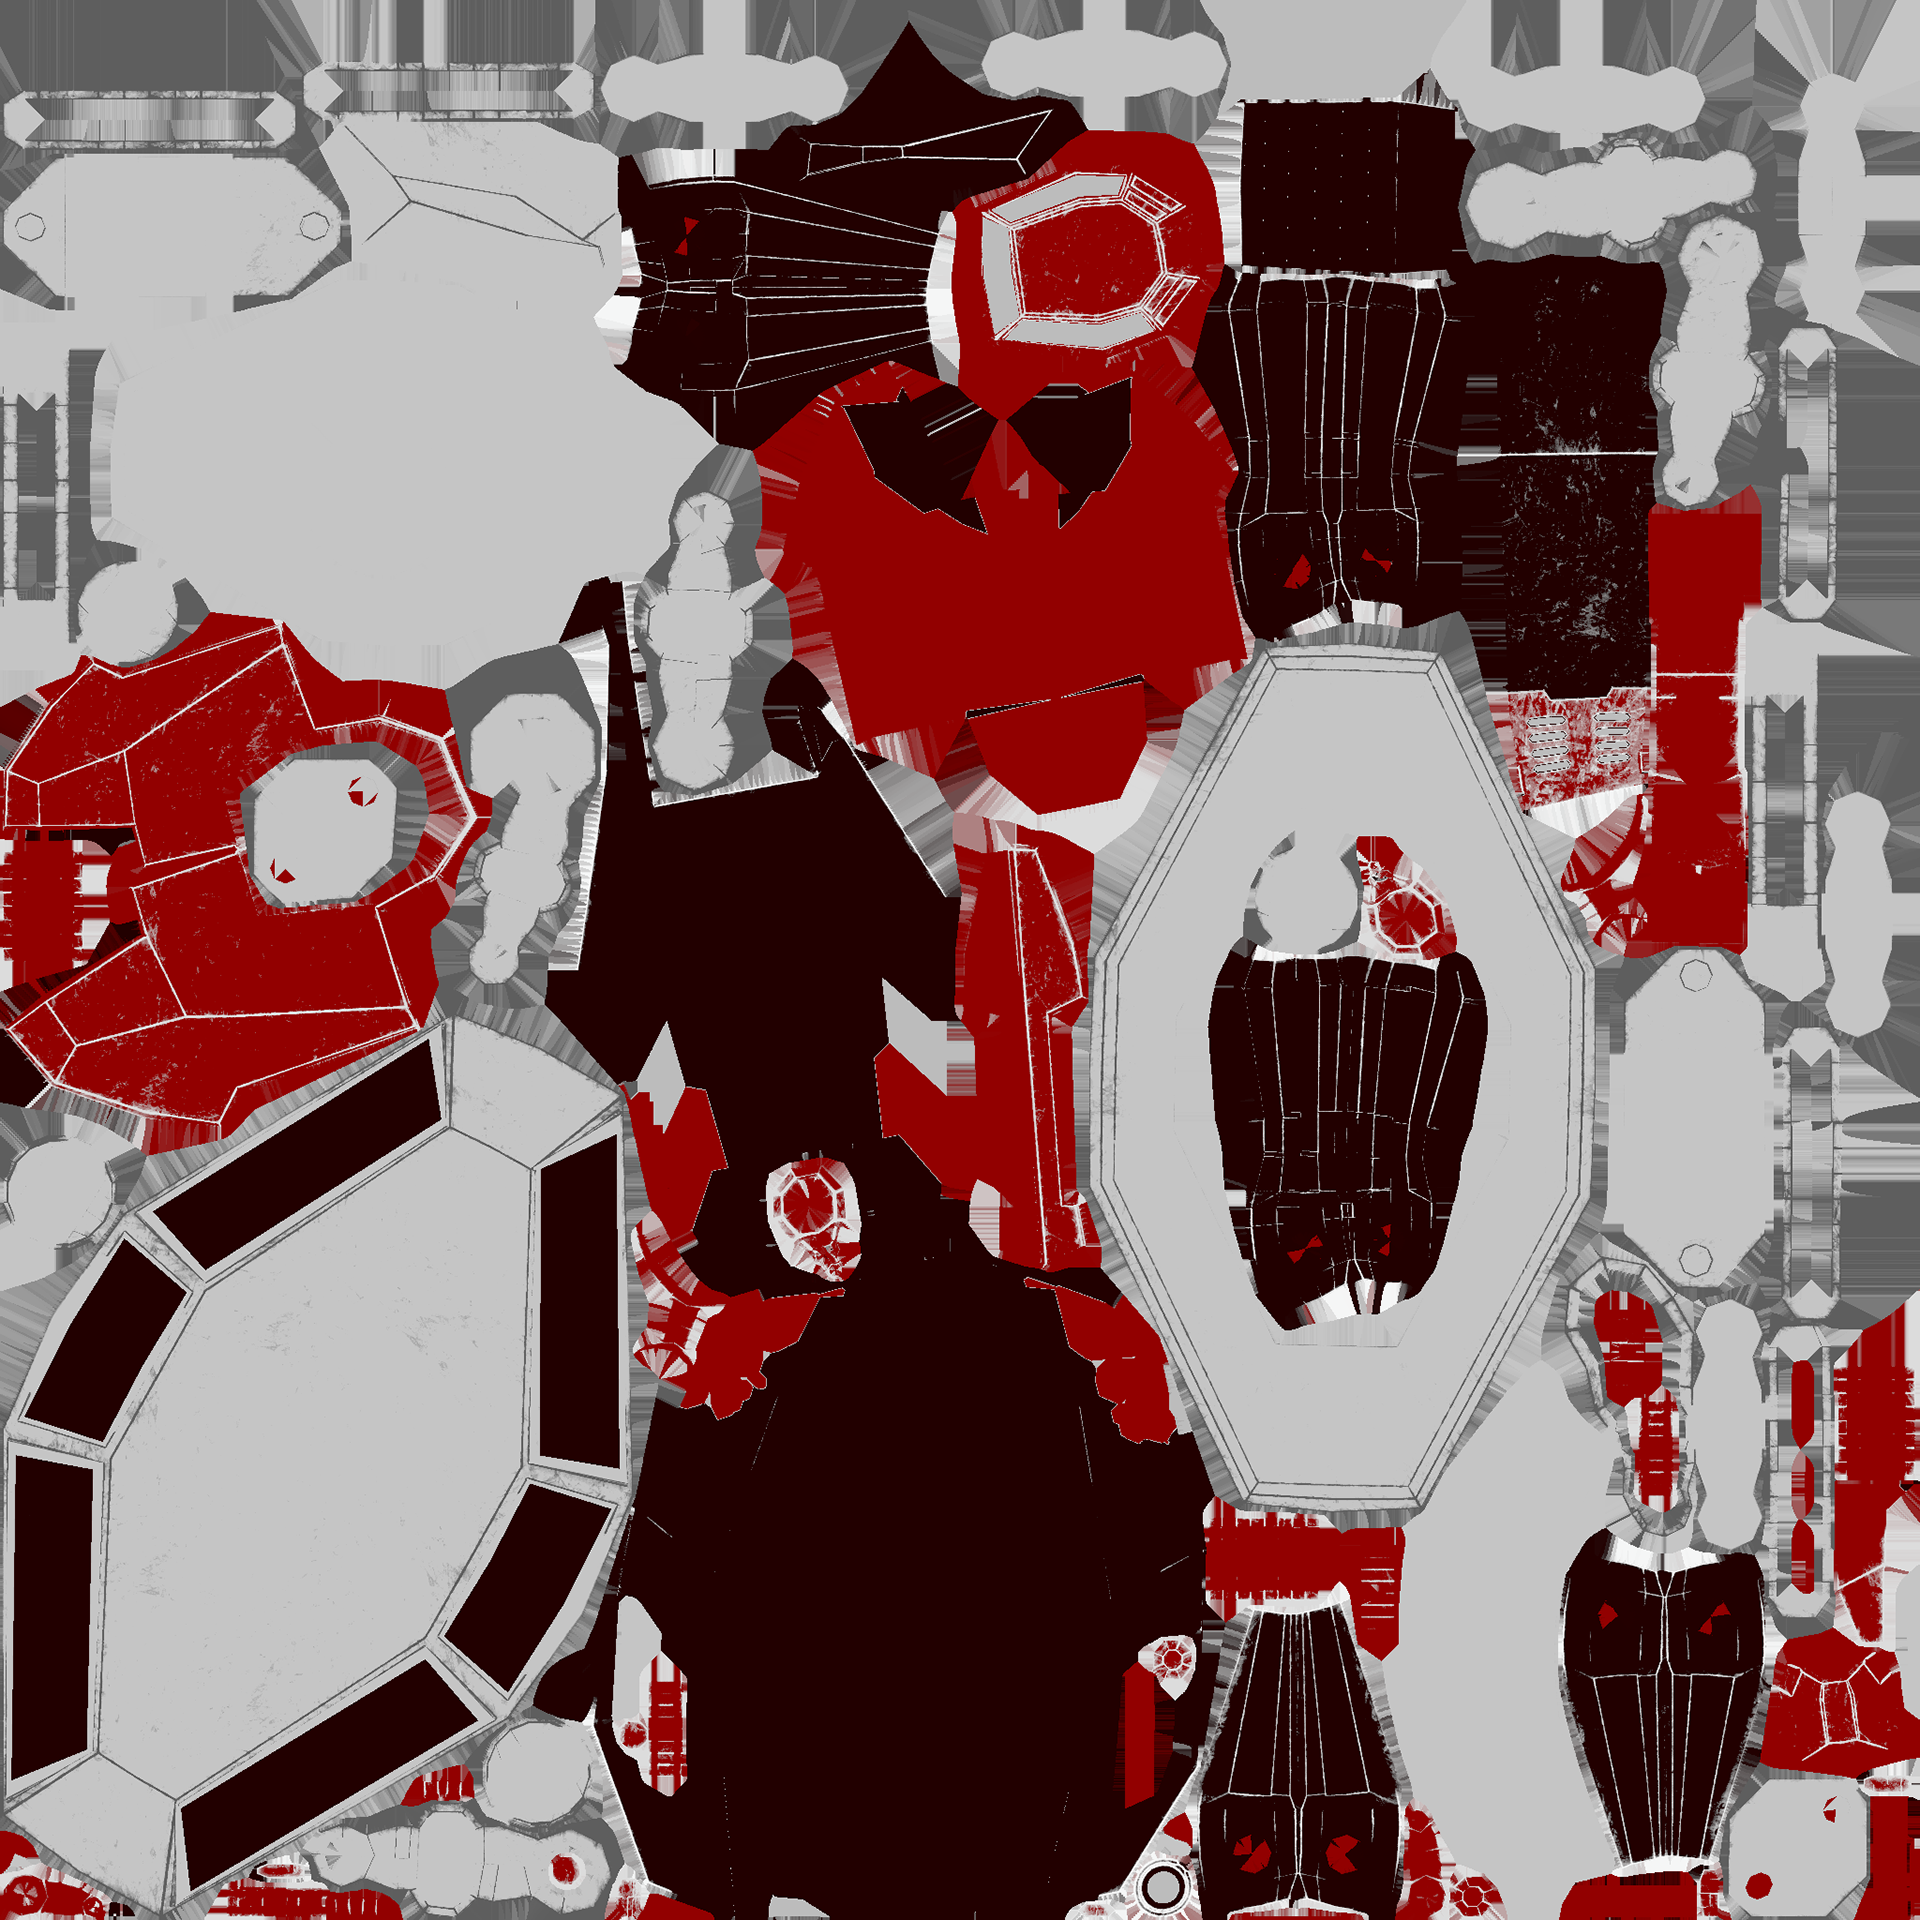
BaseColour
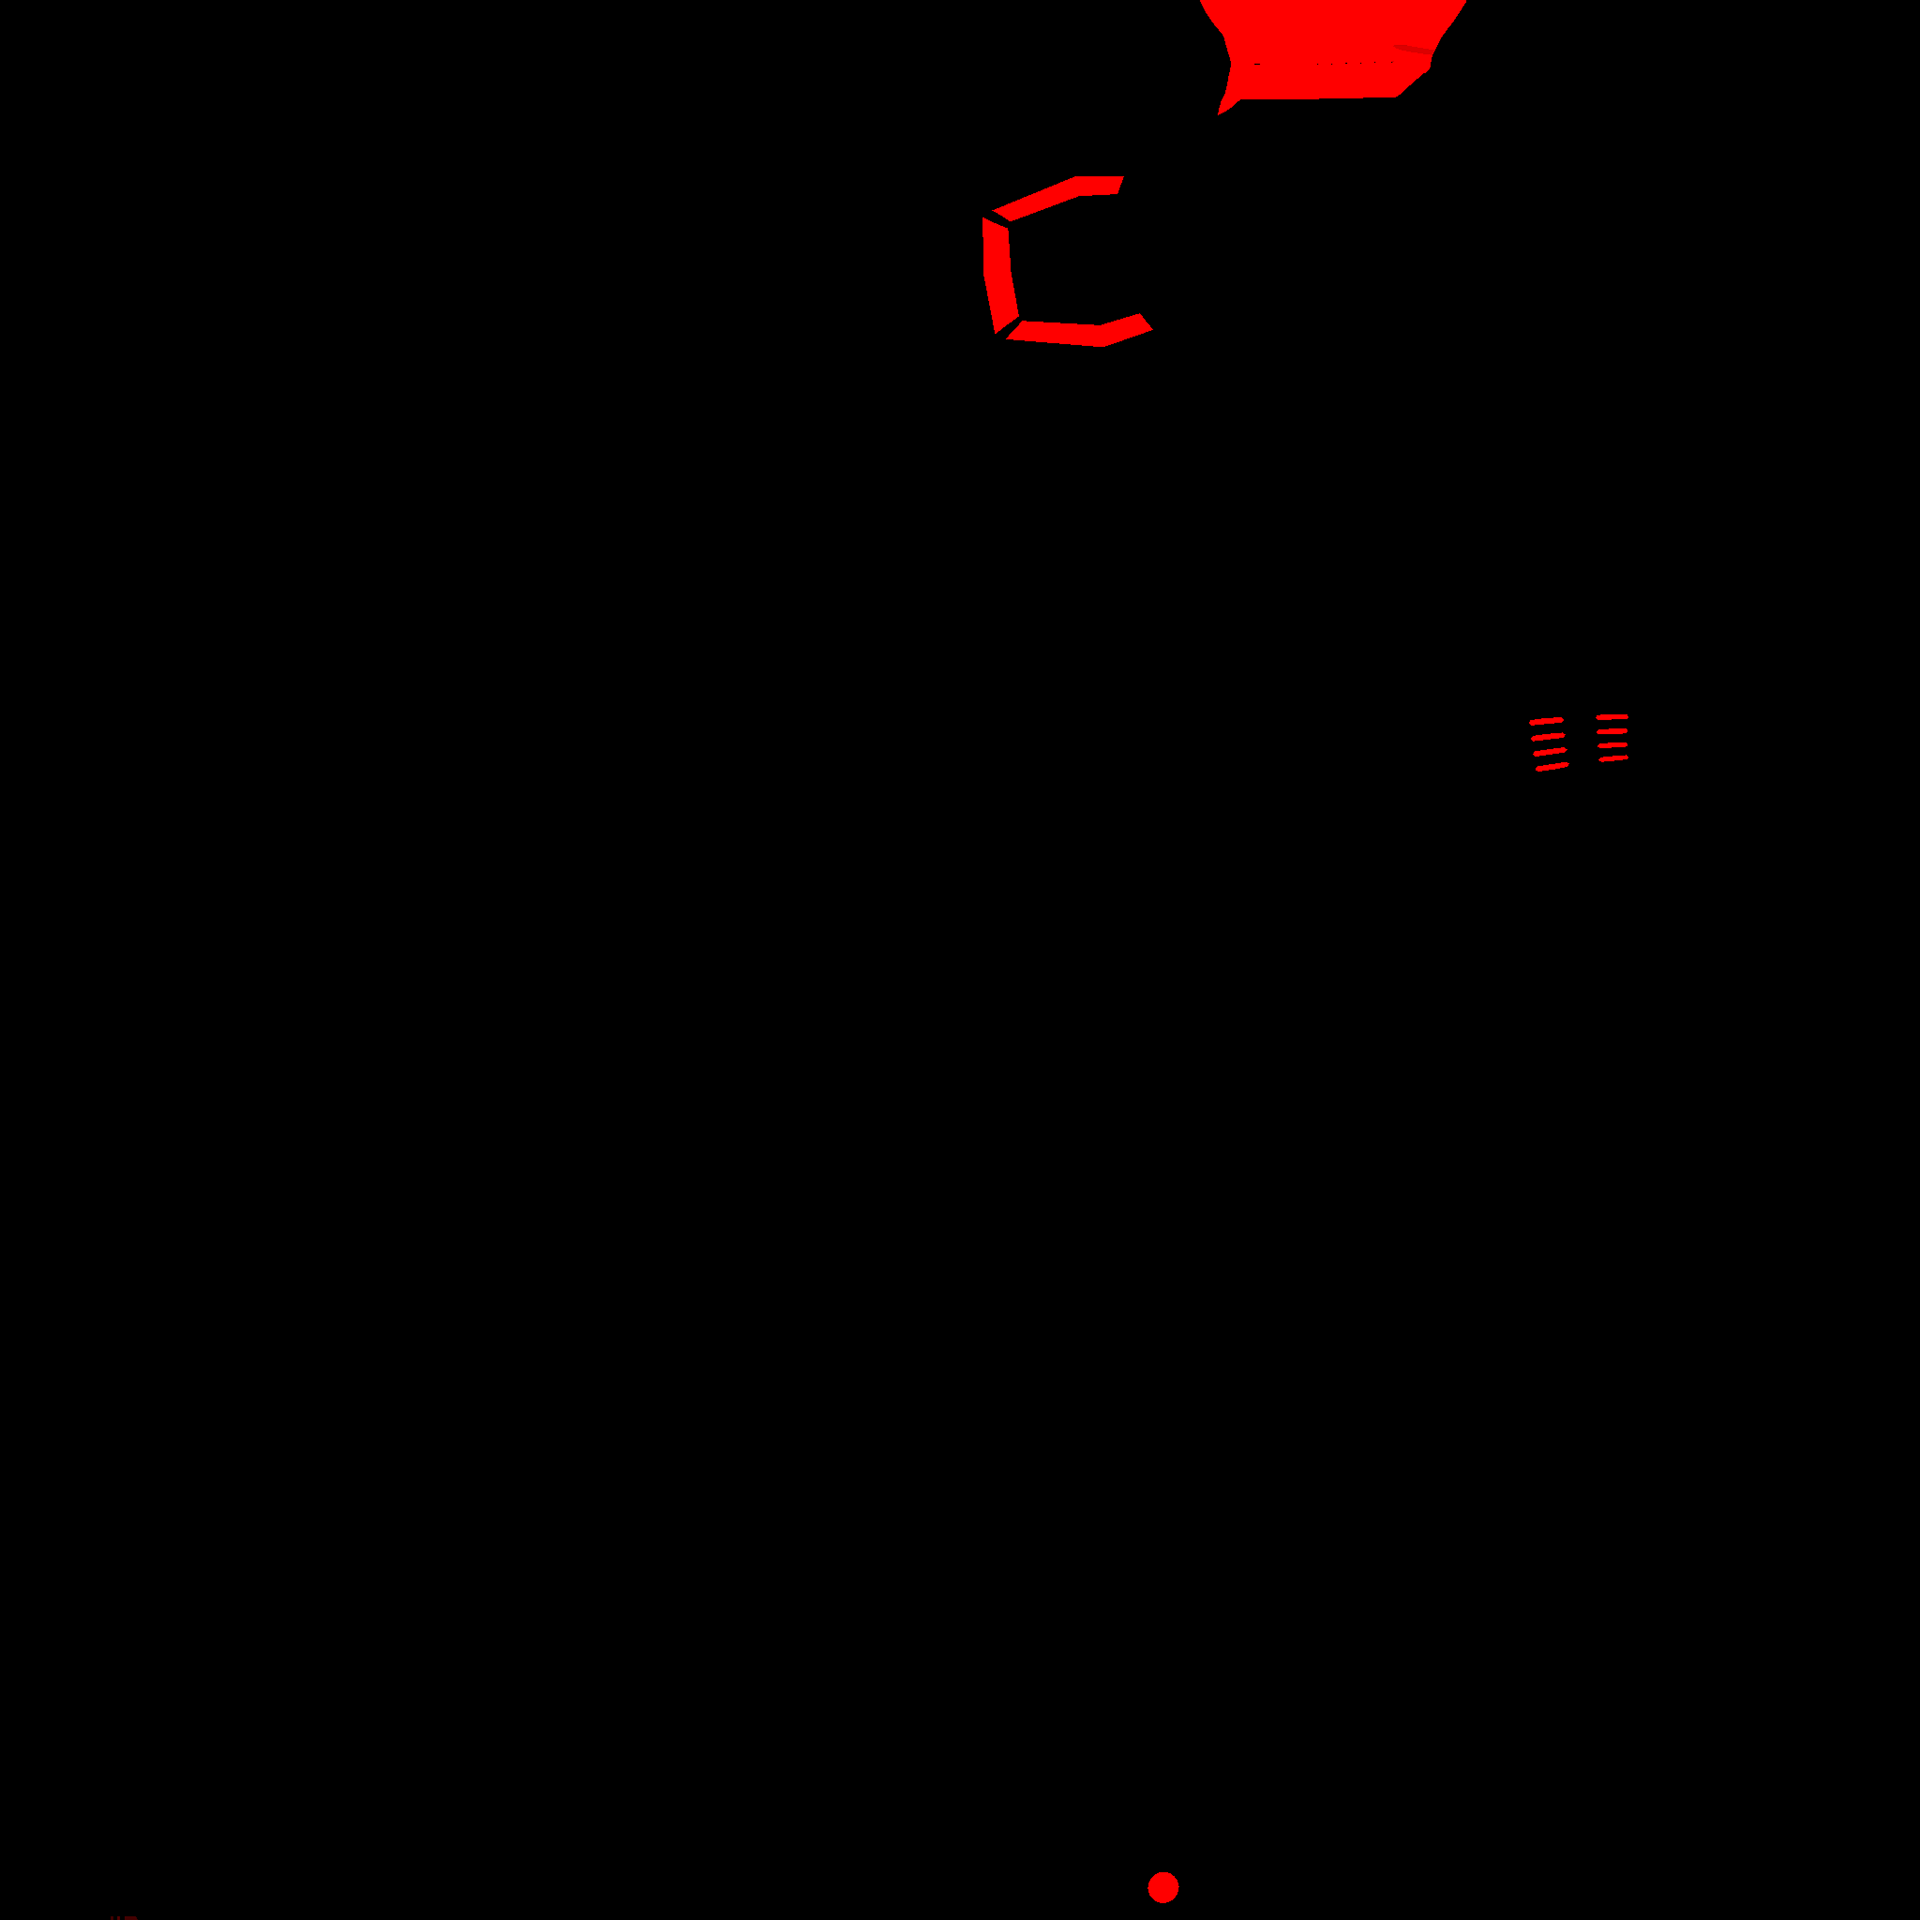
Emission
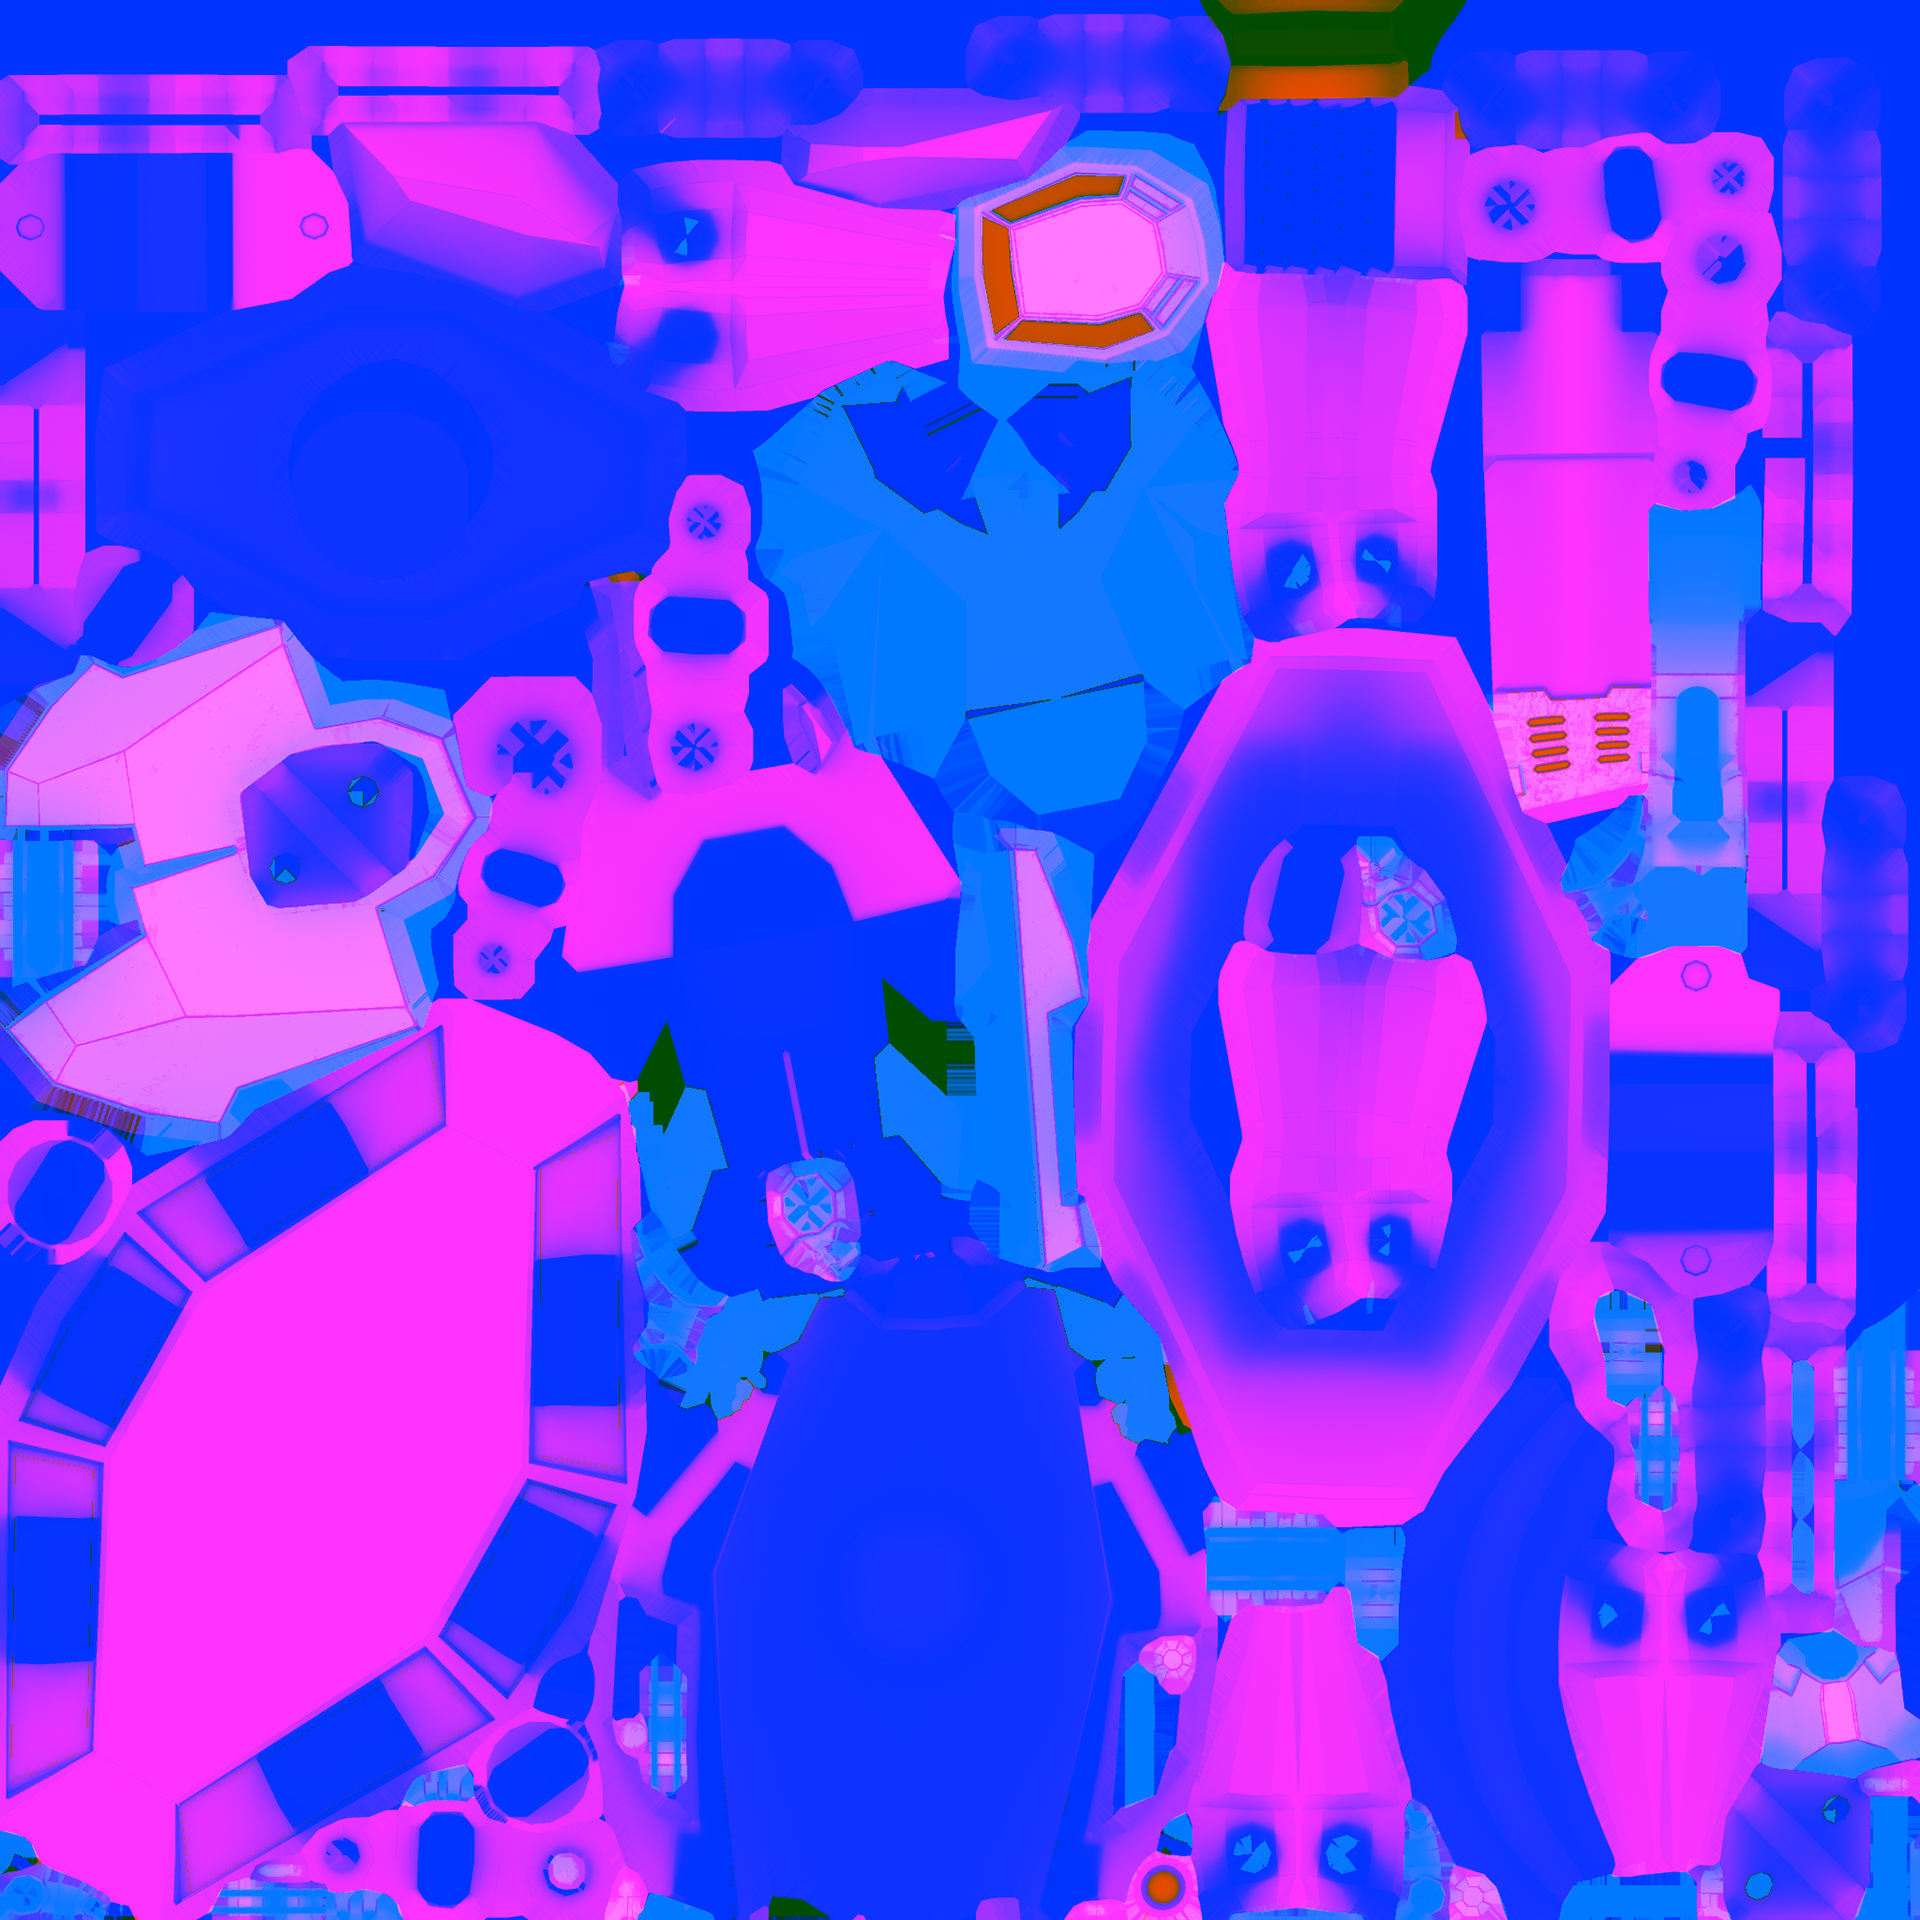
Occlusion+Roughness+Metalic
Evil Spider Bot Texturing: Unreal
The Material and Material Instance setup is the same as the good spider bot, just with swaped out image textures.
The Material and Material Instance setup is the same as the good spider bot, just with swaped out image textures.
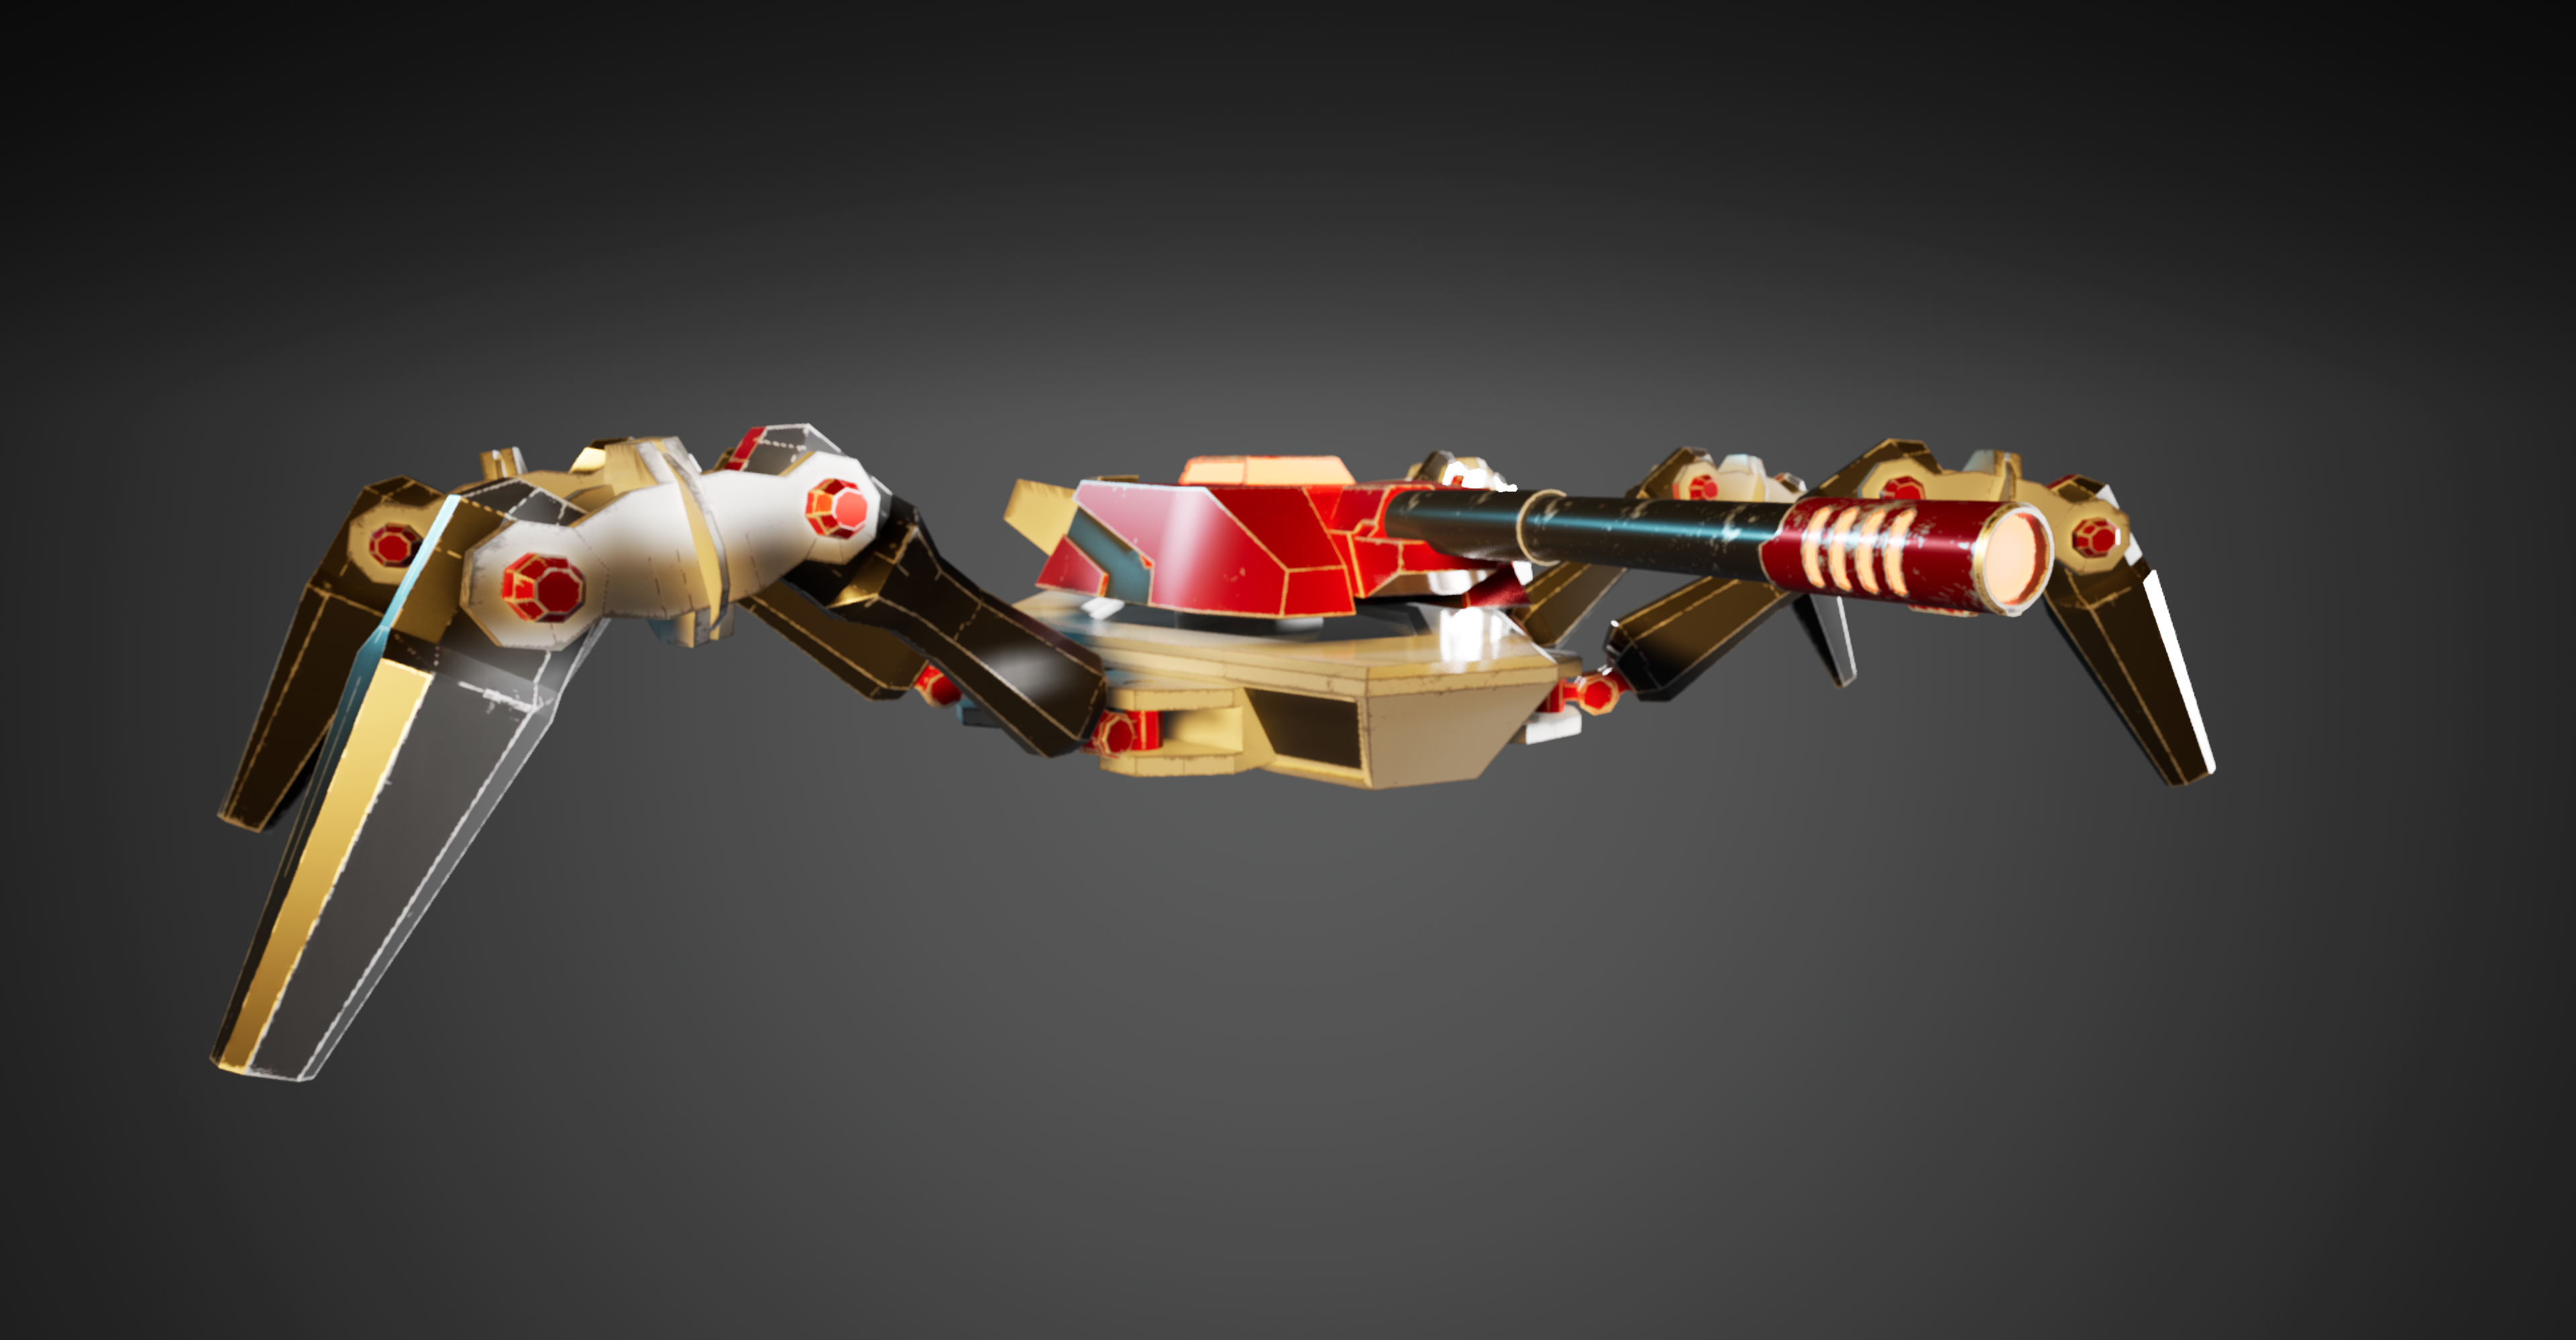
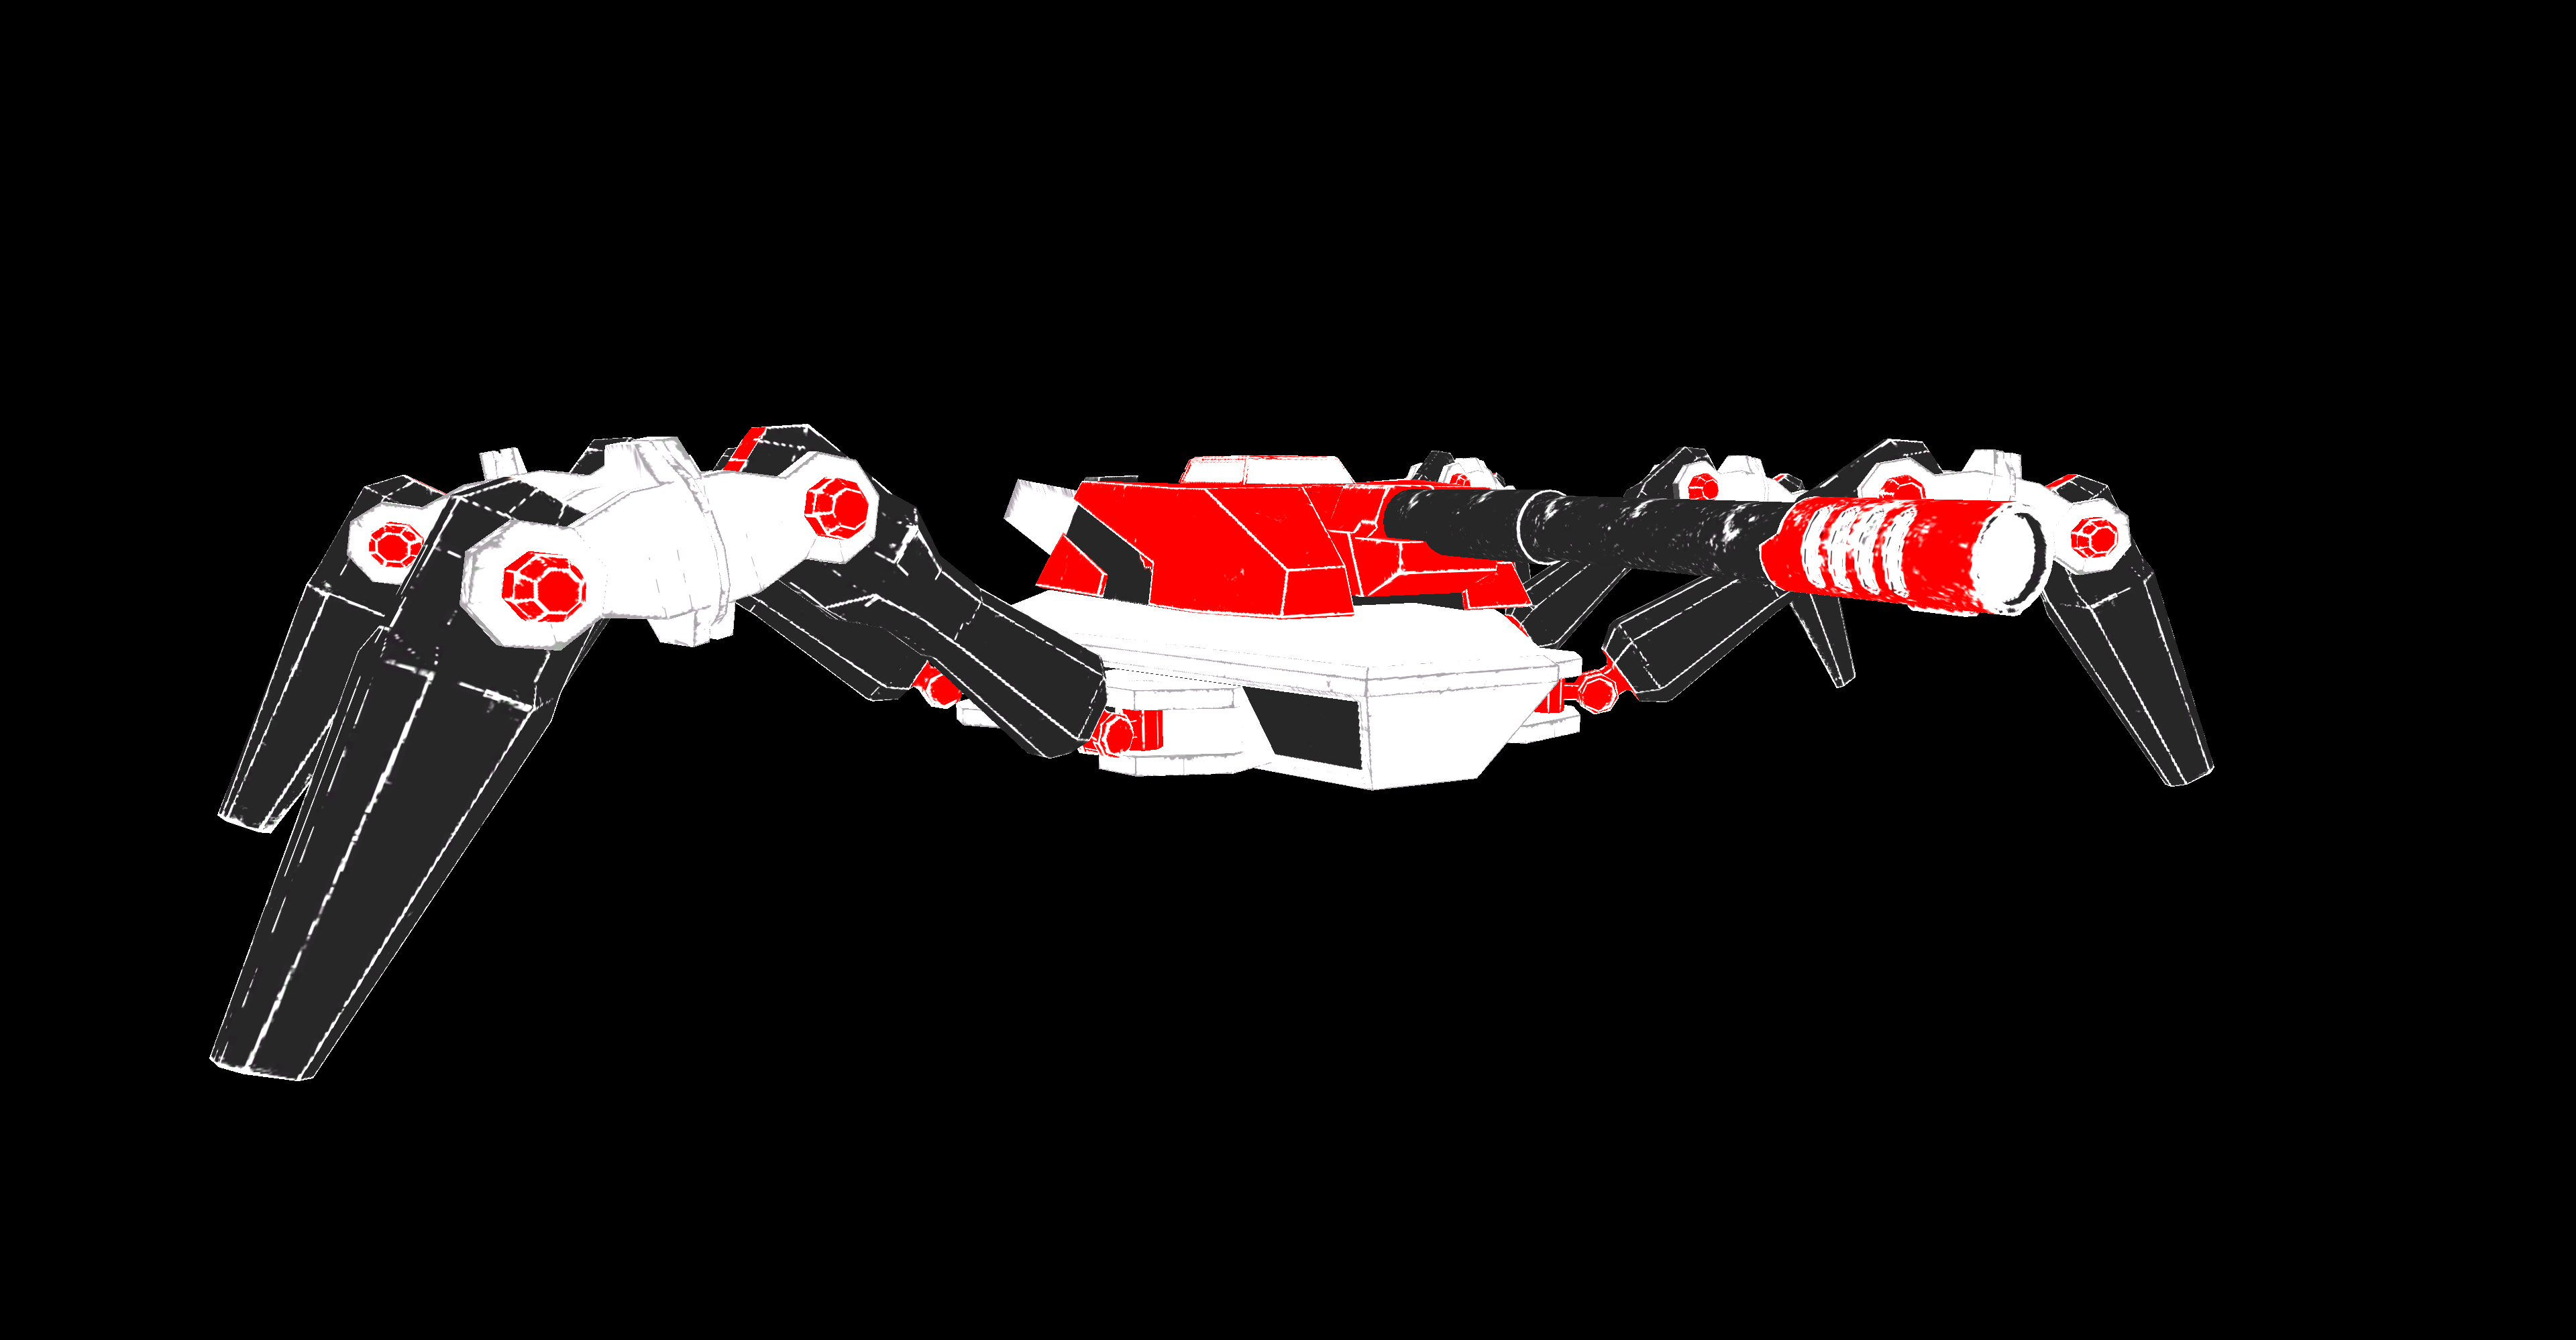
BaseColour
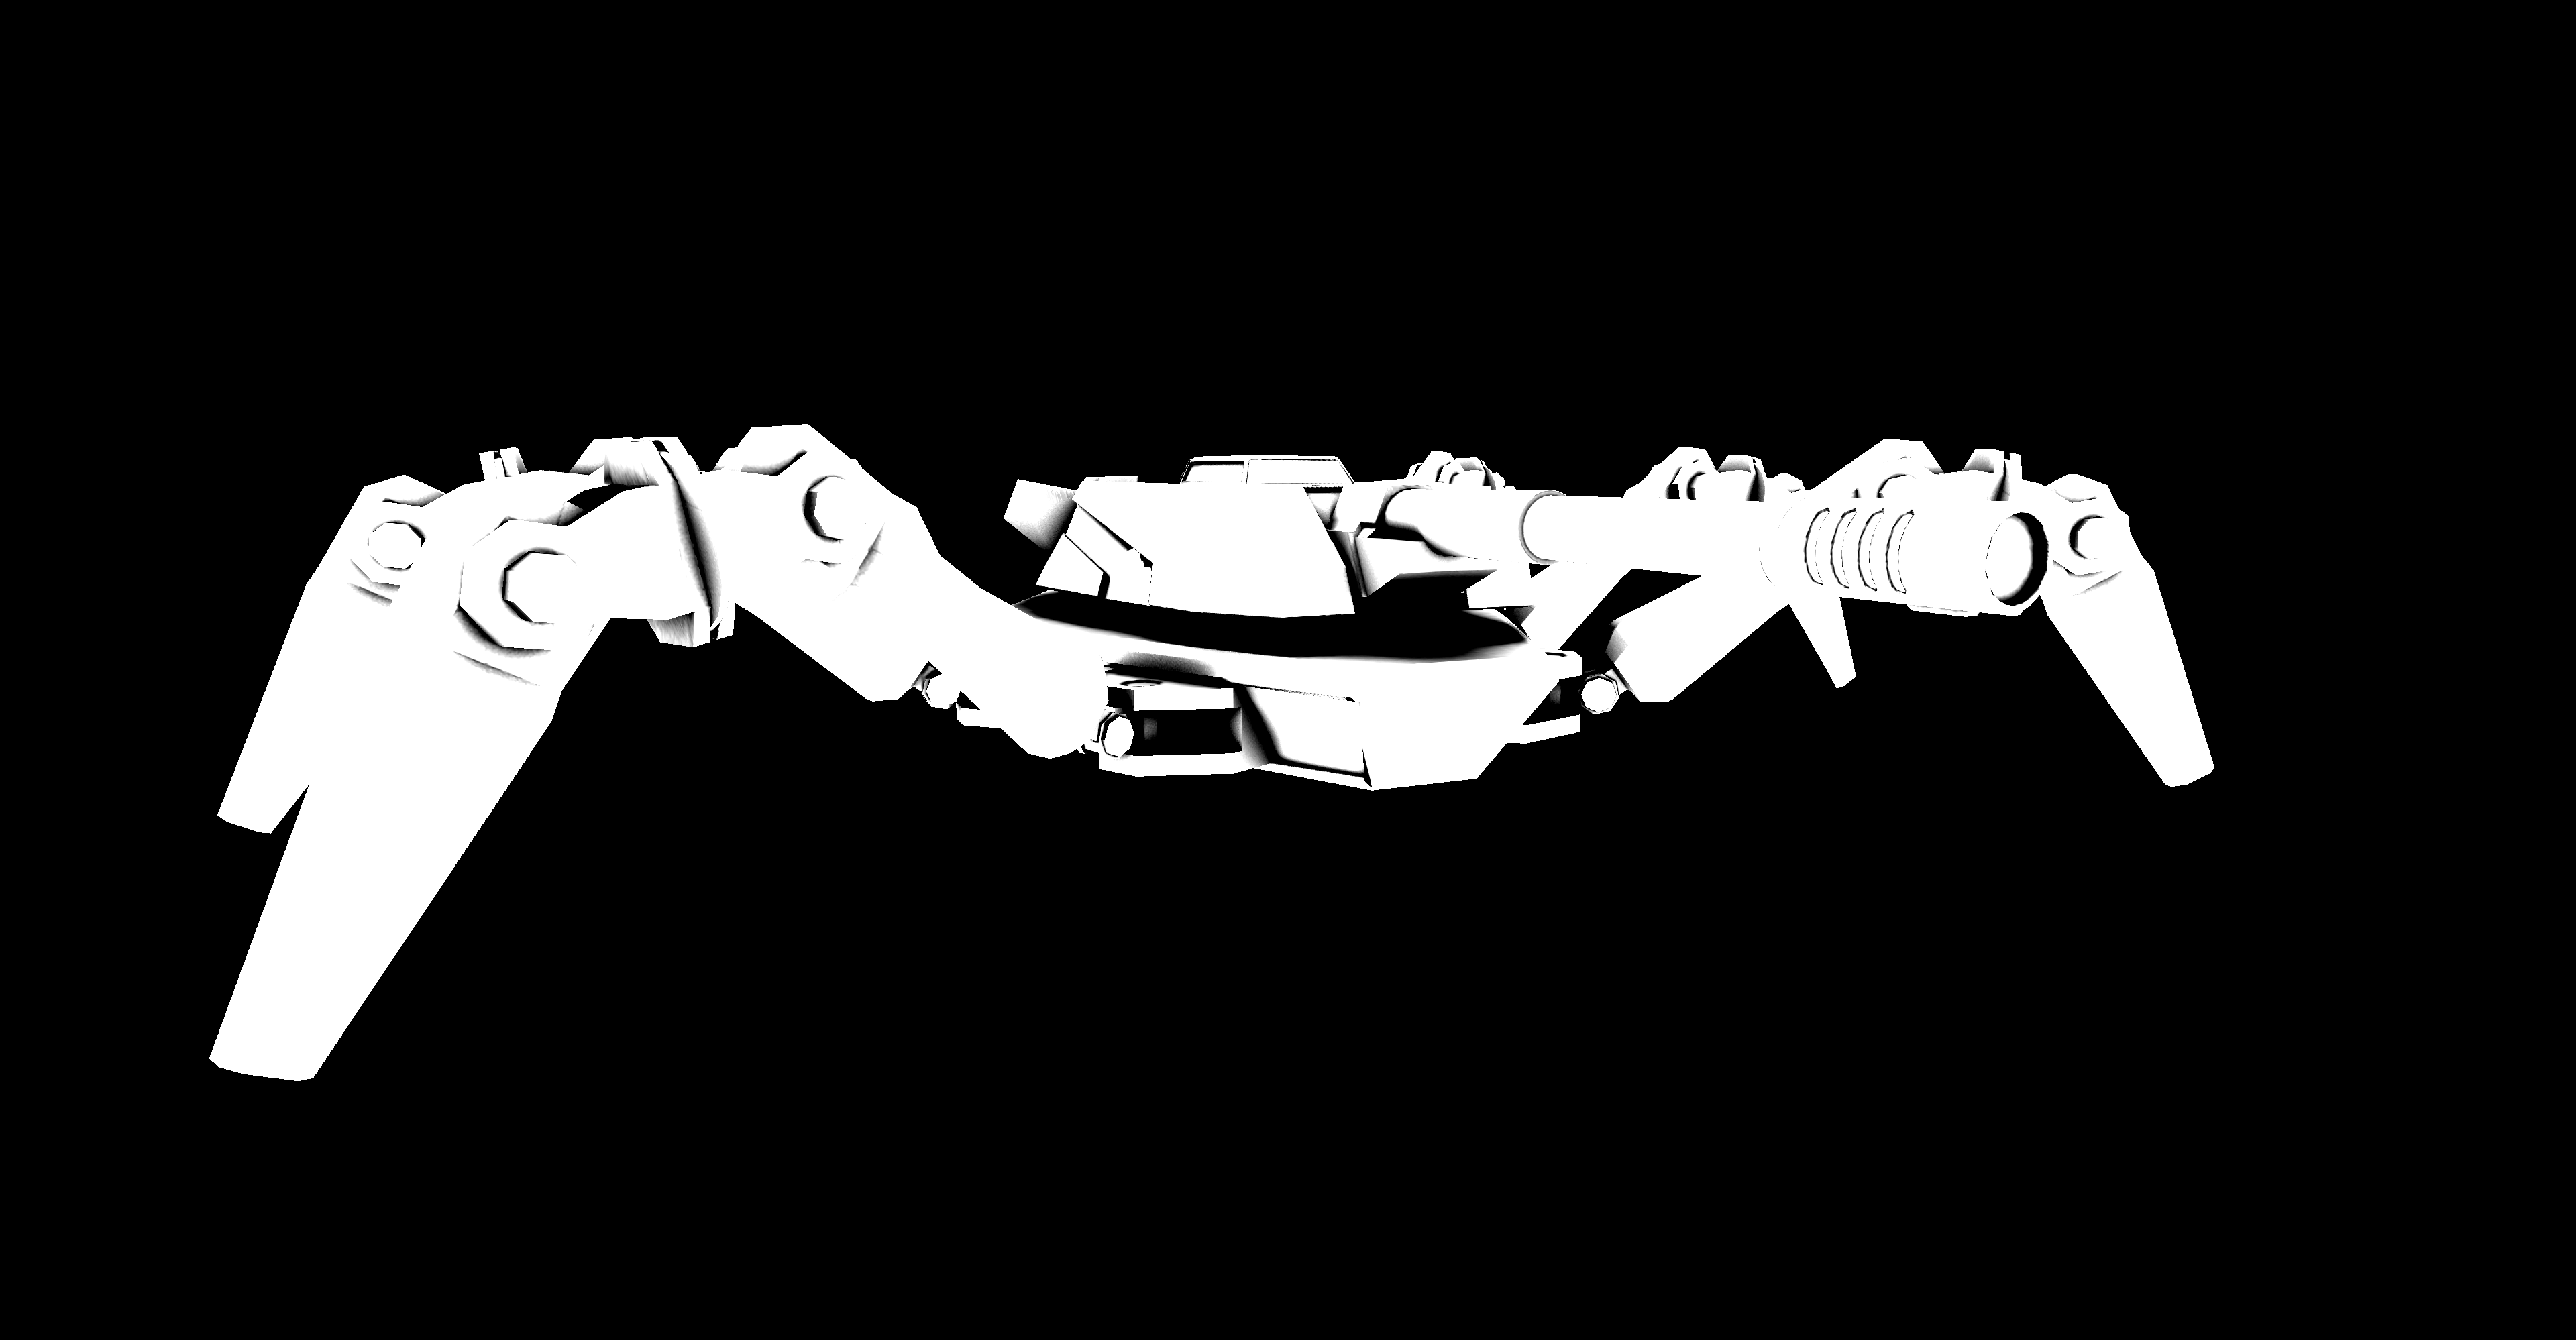
Metalic
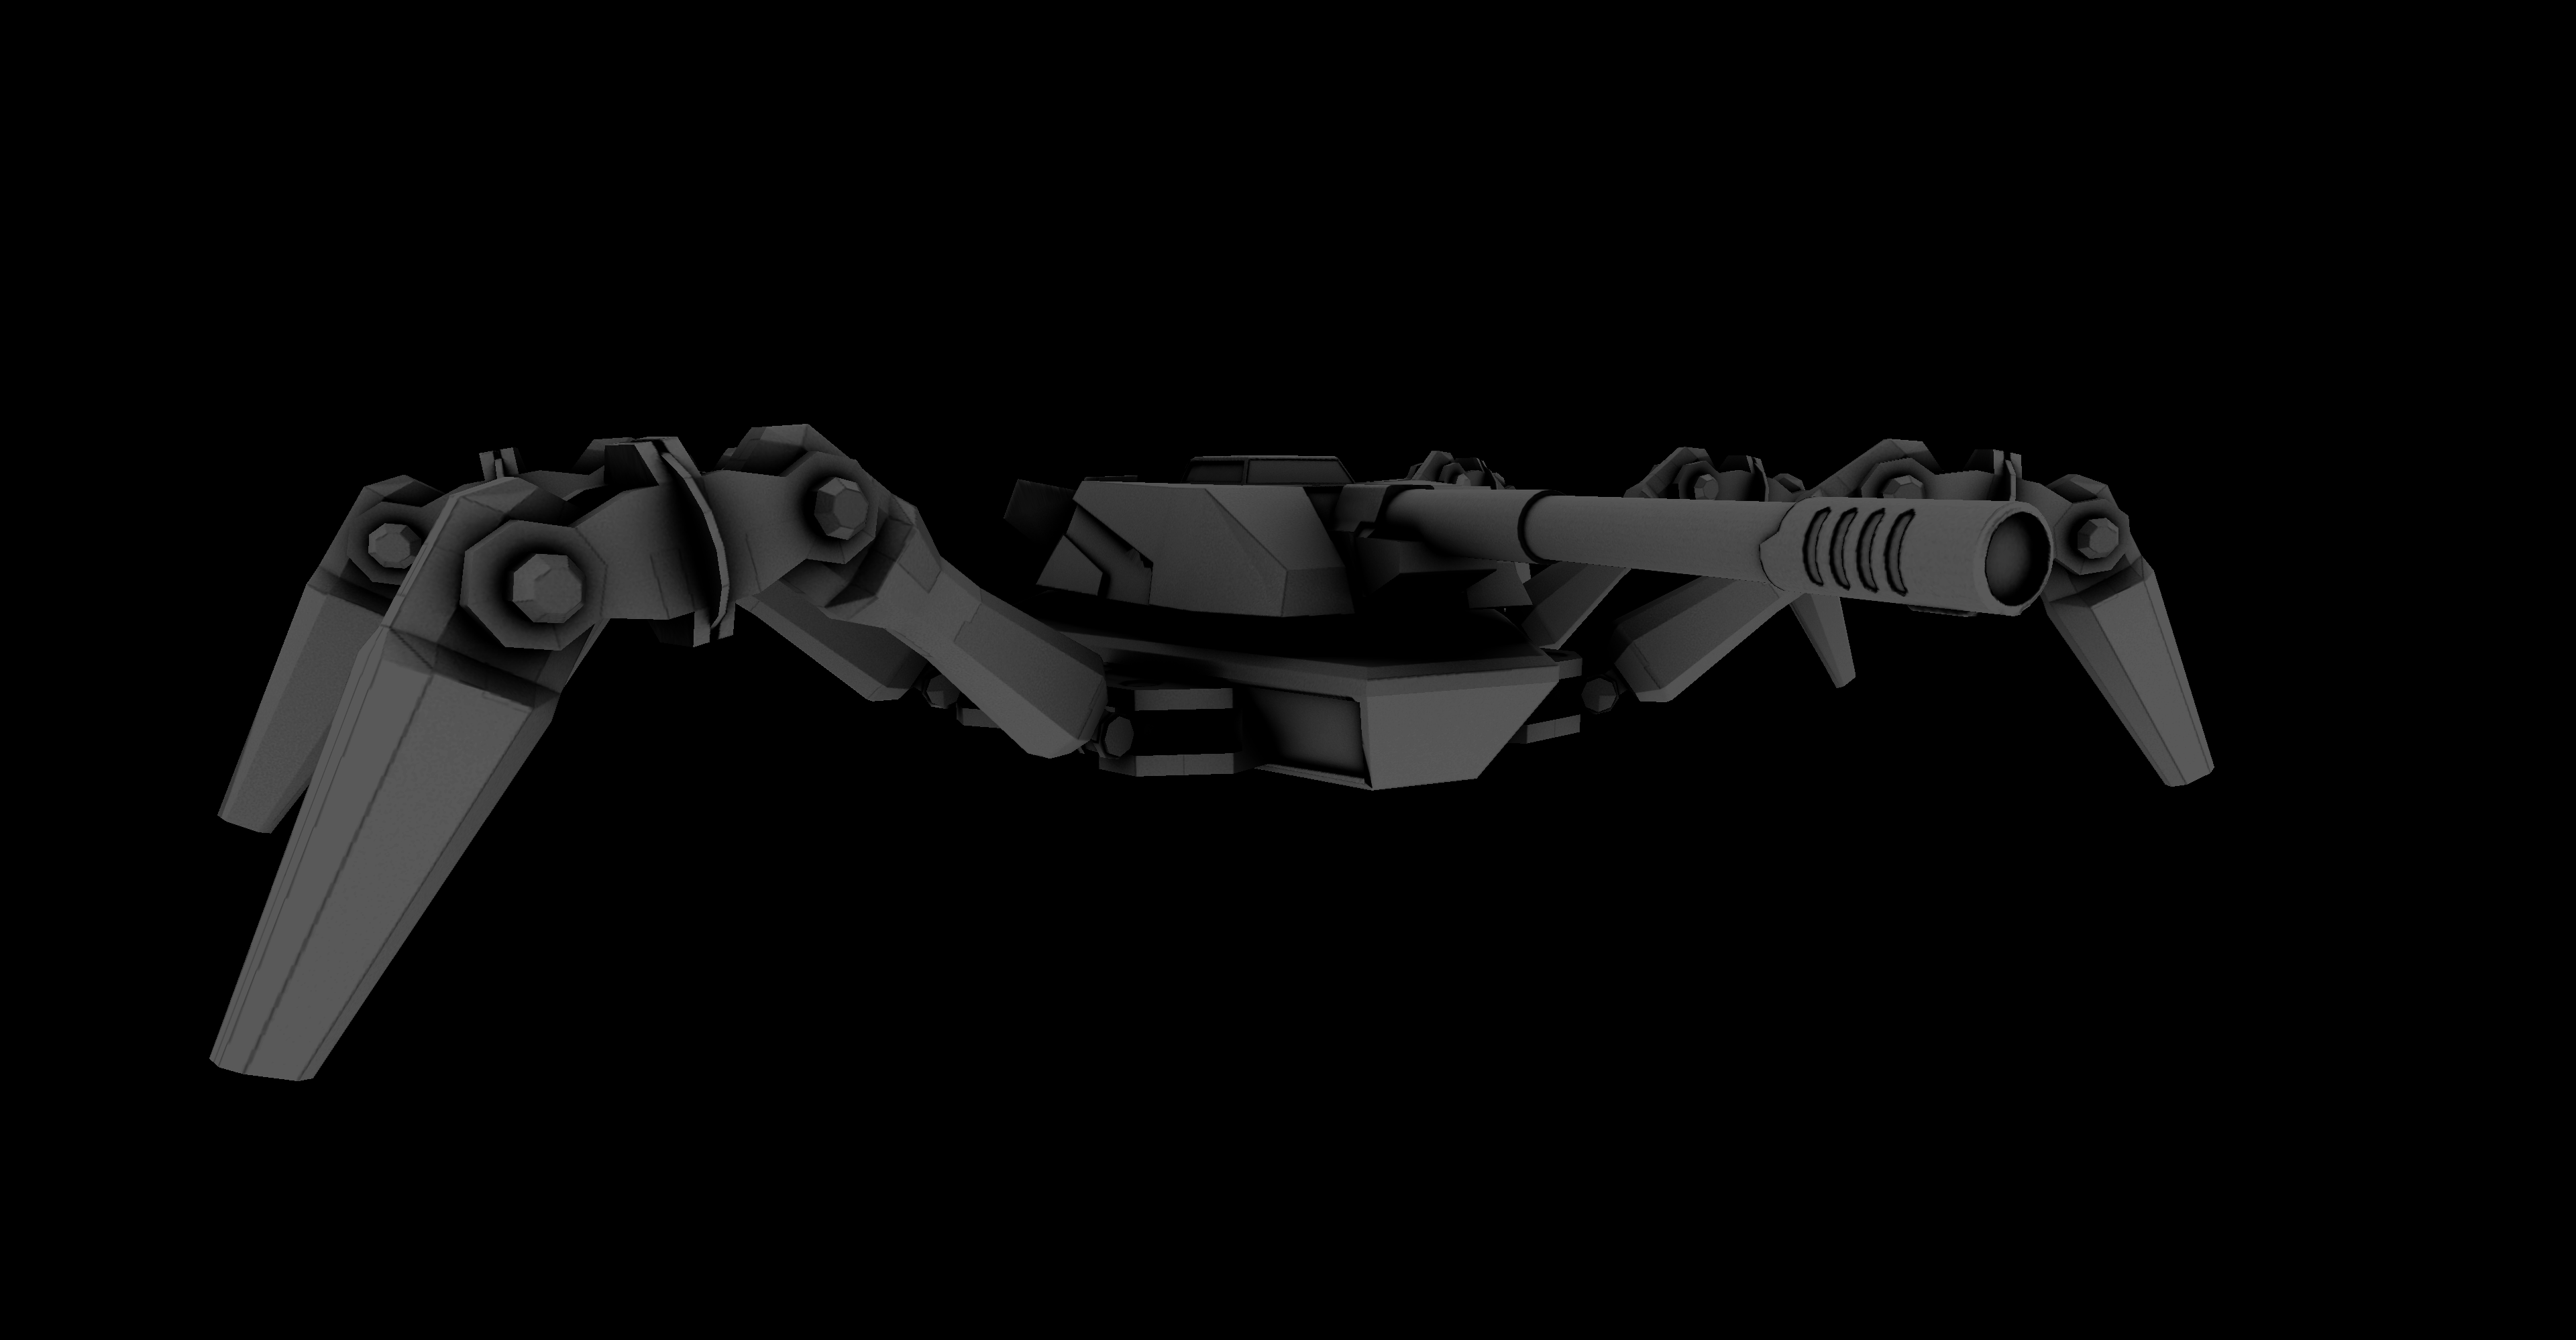
Roughness
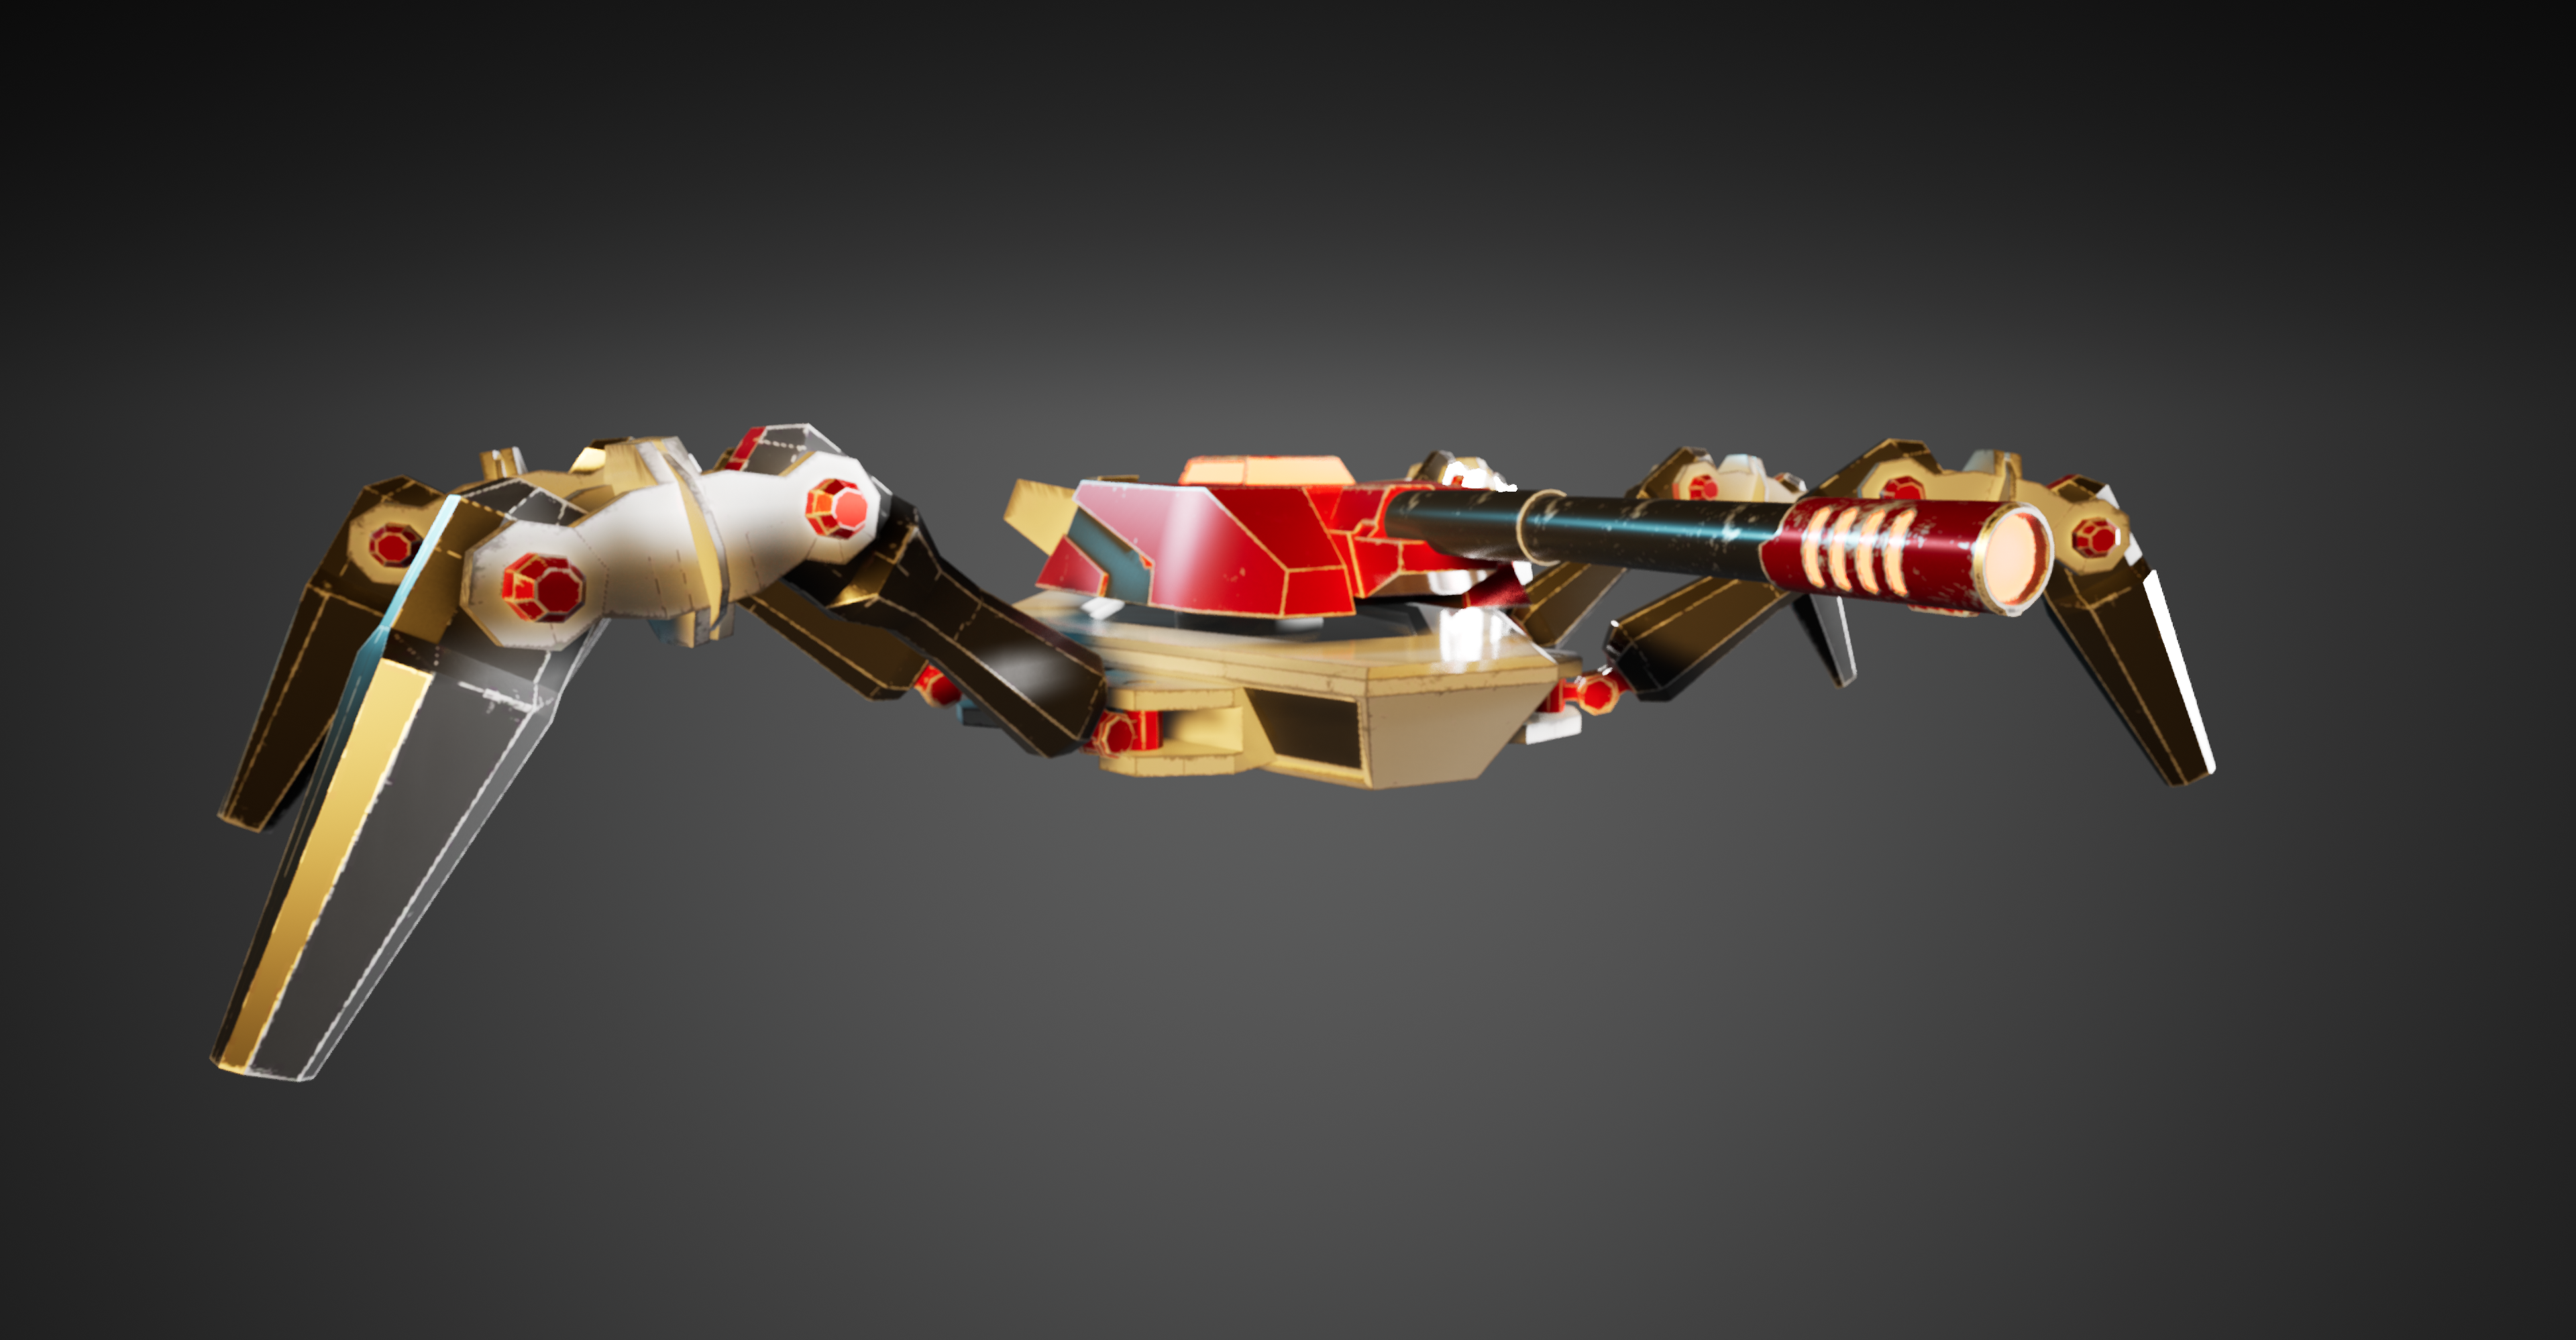
SceneColour
Blueprints & Making Character Playable
https://www.youtube.com/watch?v=w4nJ578XP48
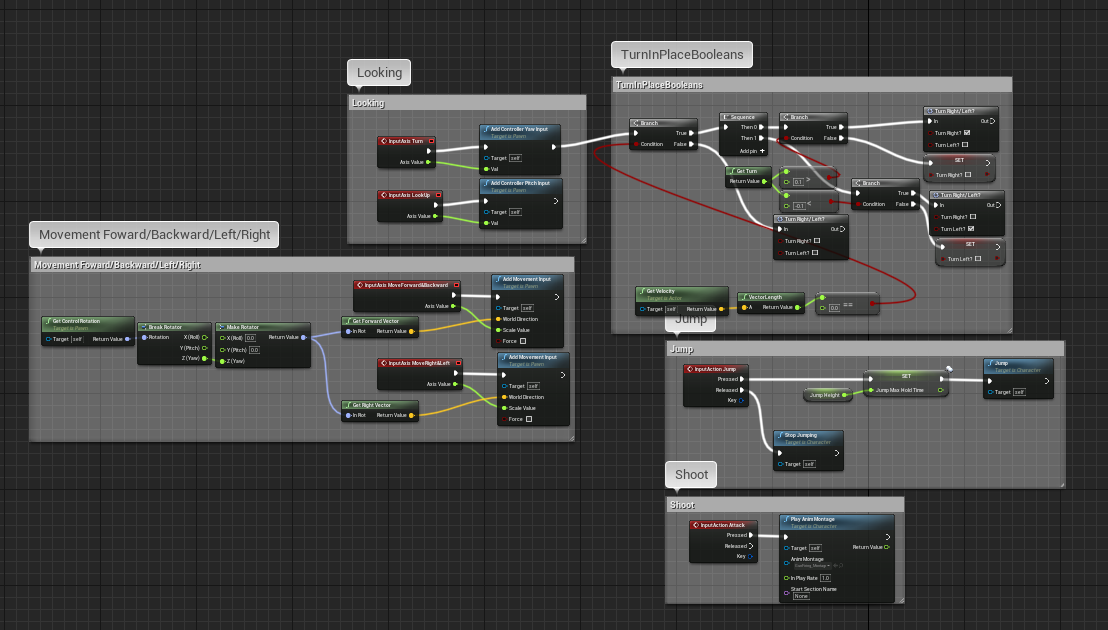
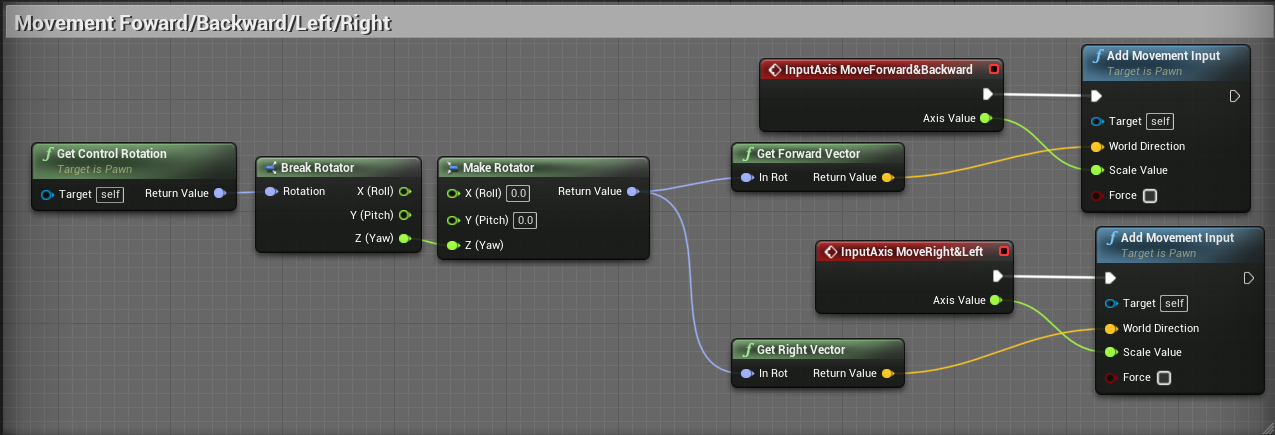

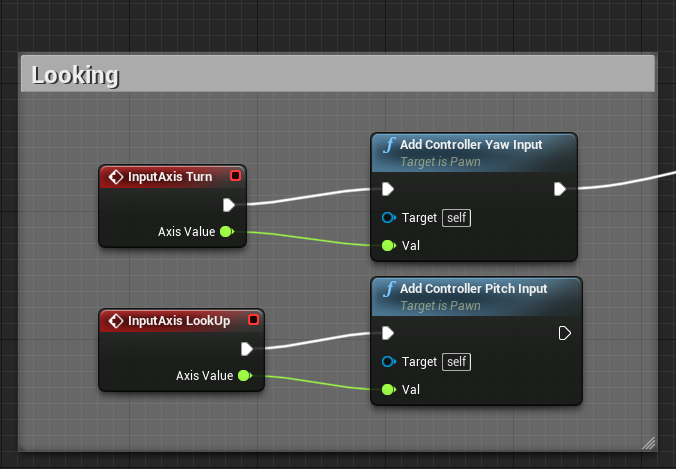
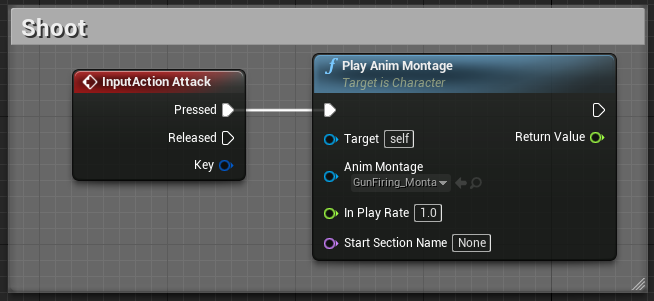
Controlling Spider Character