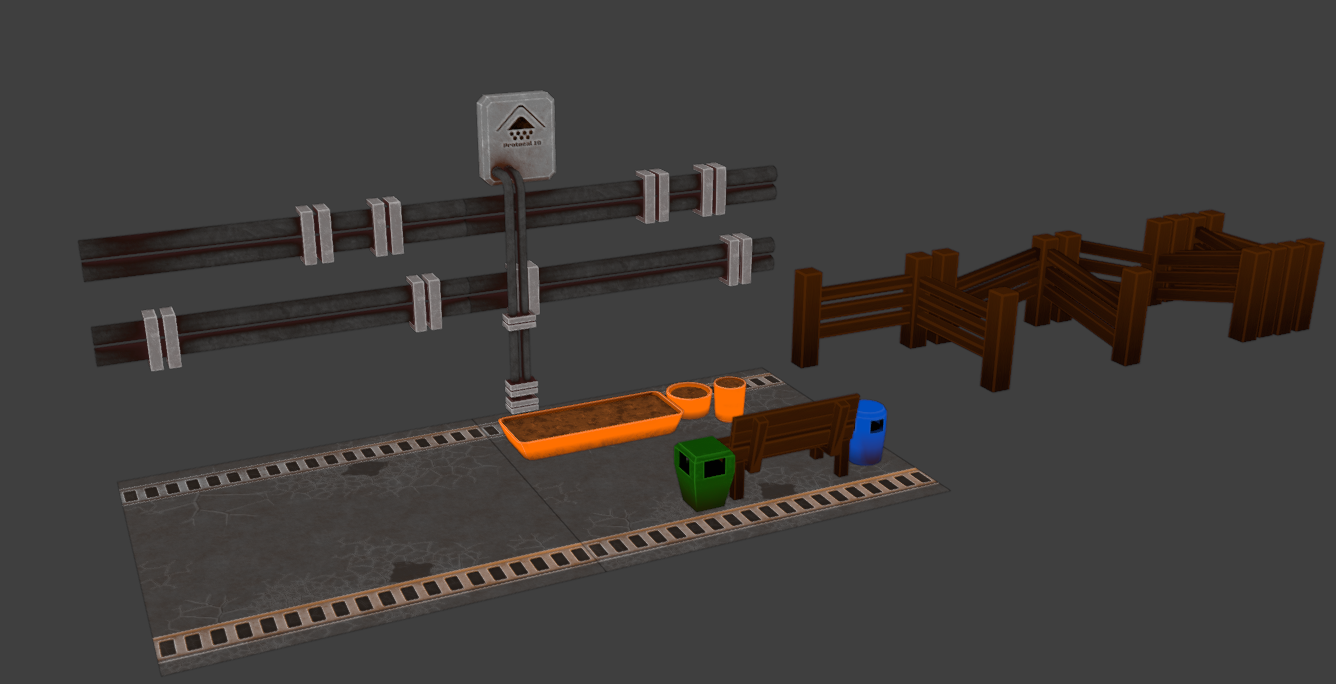
All props took a day to complete: Modelling, UVs and Texturing

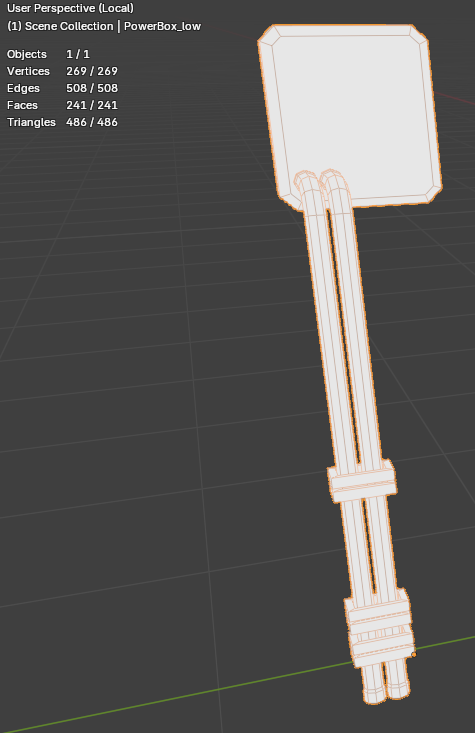
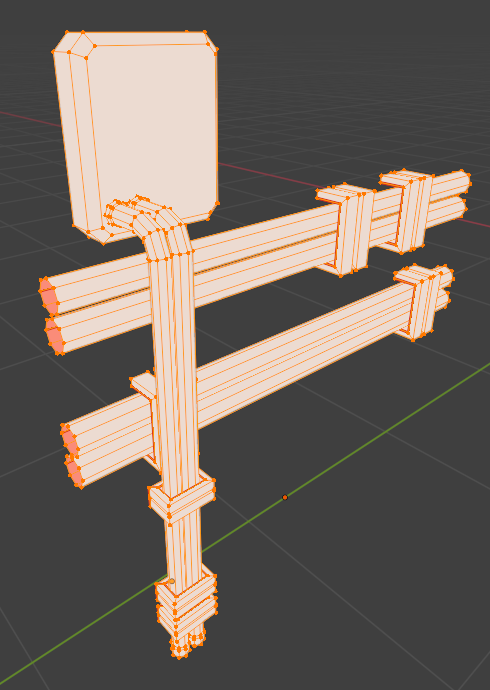
High Poly
Since the style was going to be simple, the high poly was just used for catching highlighted edges with bevels, so the high ploy is just the low poly models with some bevel.
The ground plane prop is more involved with a small bit of ID mapping to add a bit of detail. Most of the detail comes in the surface properties in the textures.
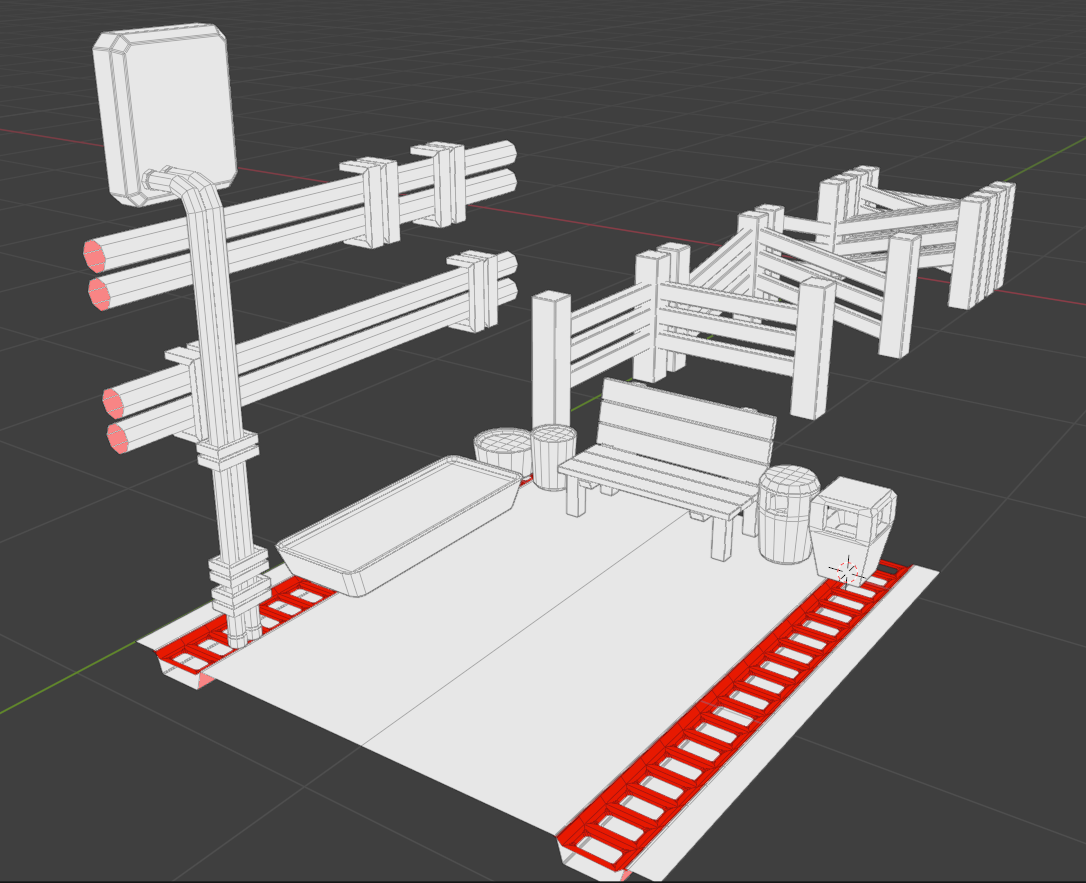
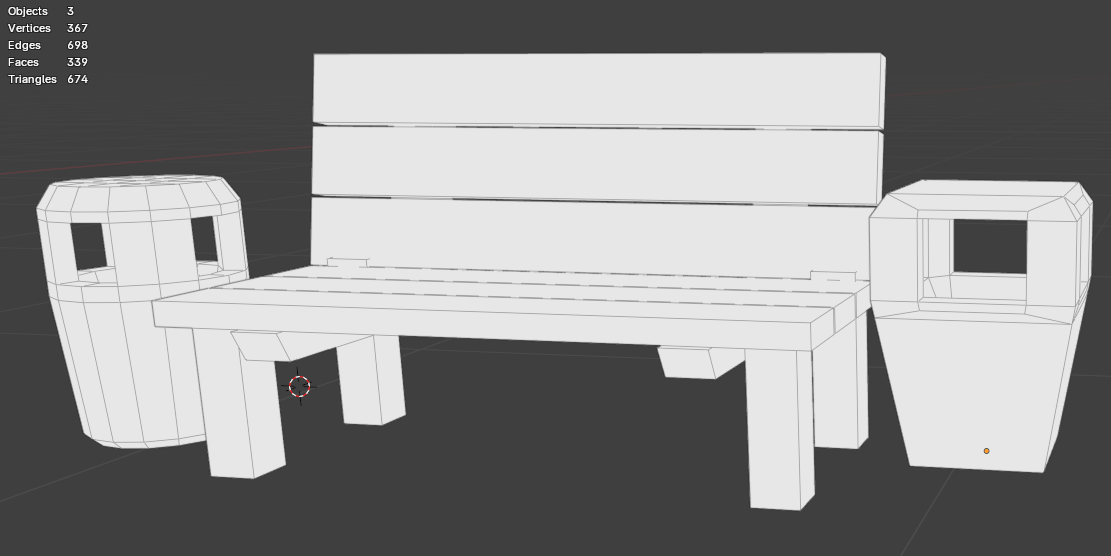
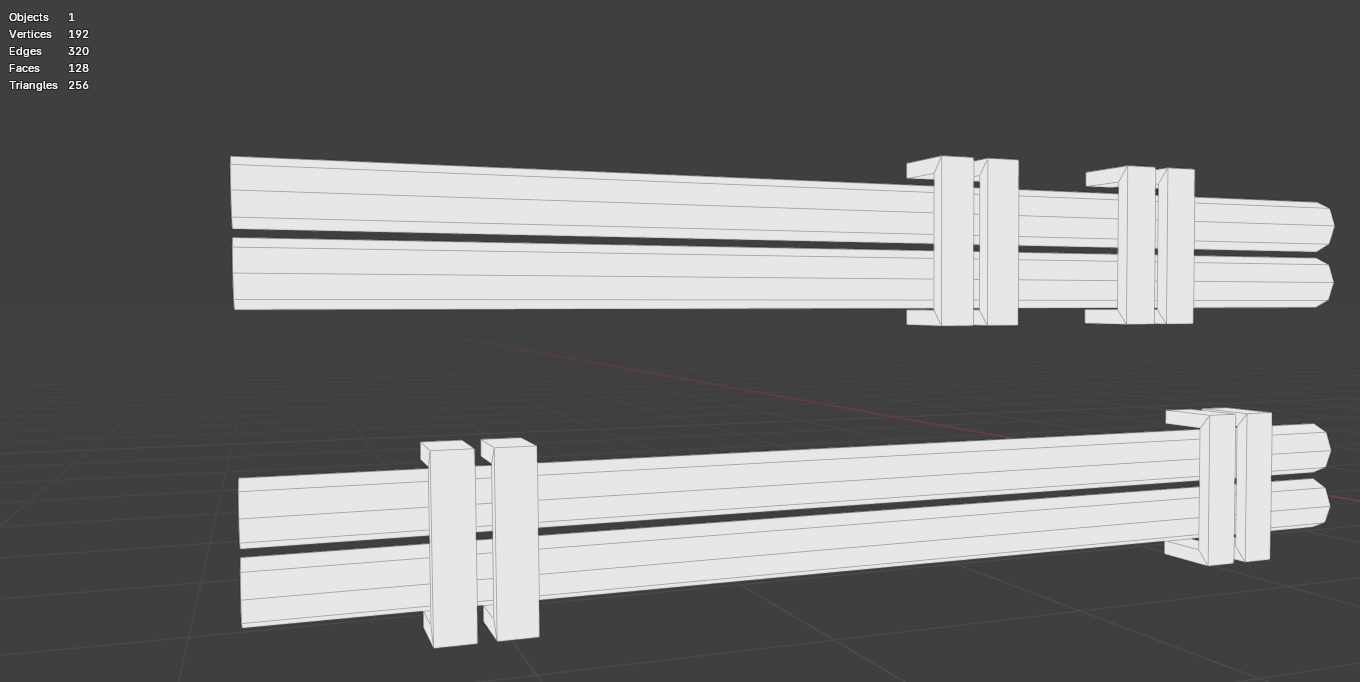
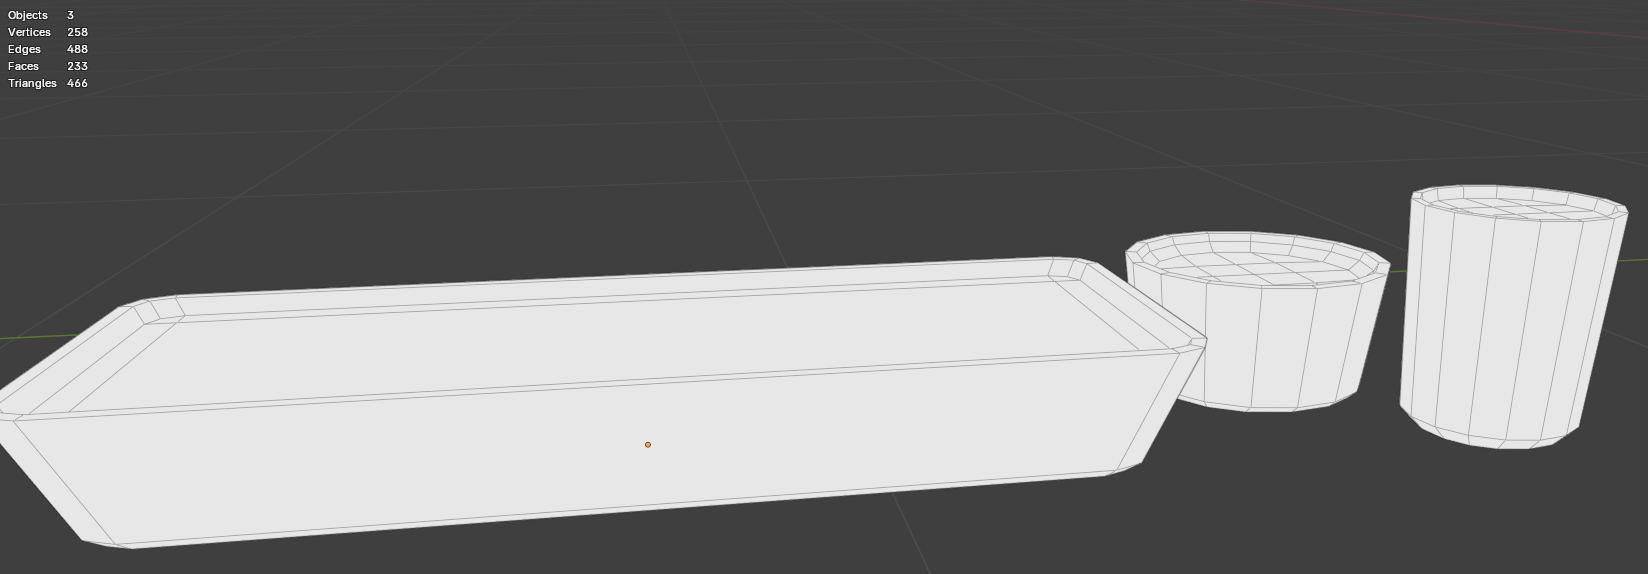
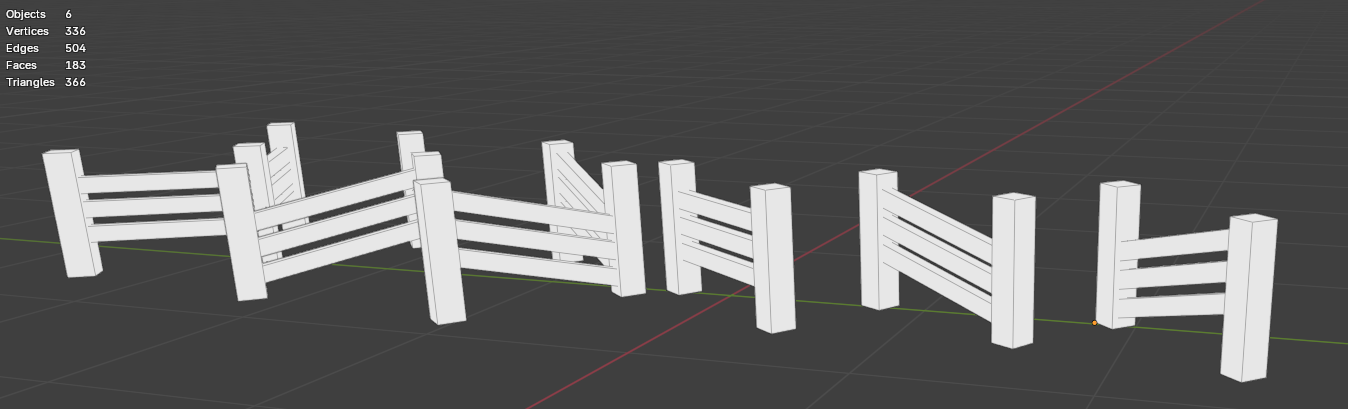
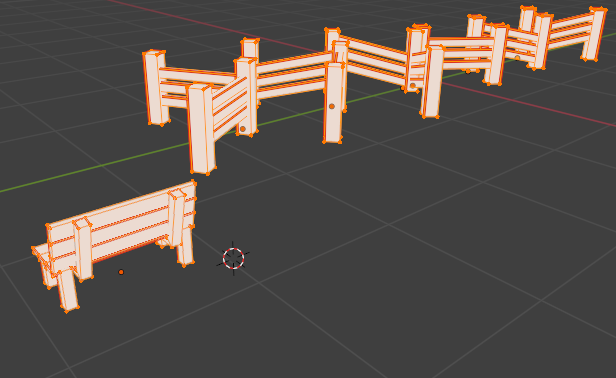
Low Poly
Atlased UVs
To save on texture space, I atlased different objects together. Everything made of wood was atlased together, all the ground objects; bins and platpots where atlased together and the wall props were altased together.
Advantages: Reduction in textures needed, reducing draw calls
Disadvantages: Tricky for Unity to create mitmap levels for textures (texture LODs) if objects at different distances are sharing the same maps.
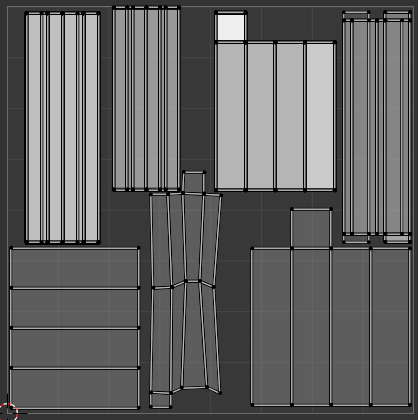
Ground Props UV Atlas
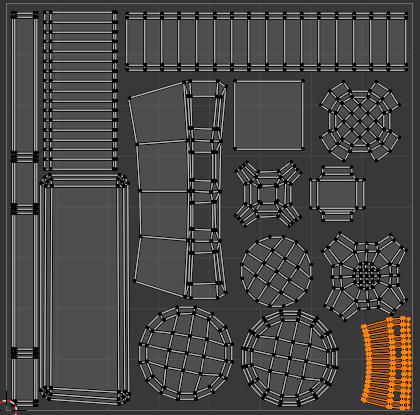
Wall Props UV Atlas

Wooden Props UV Atlas
Substance Painter
As I did with the texturing process with Stone & Veil I textured the props in Substance Painter only looking at the base colour view and then setting the roughness to 1 after I was happy with the result.
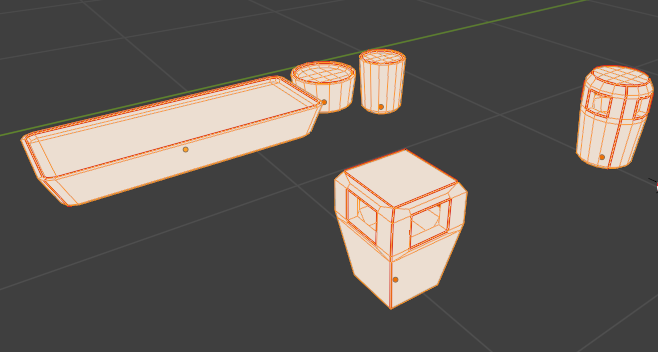
Textured Props inside Blender
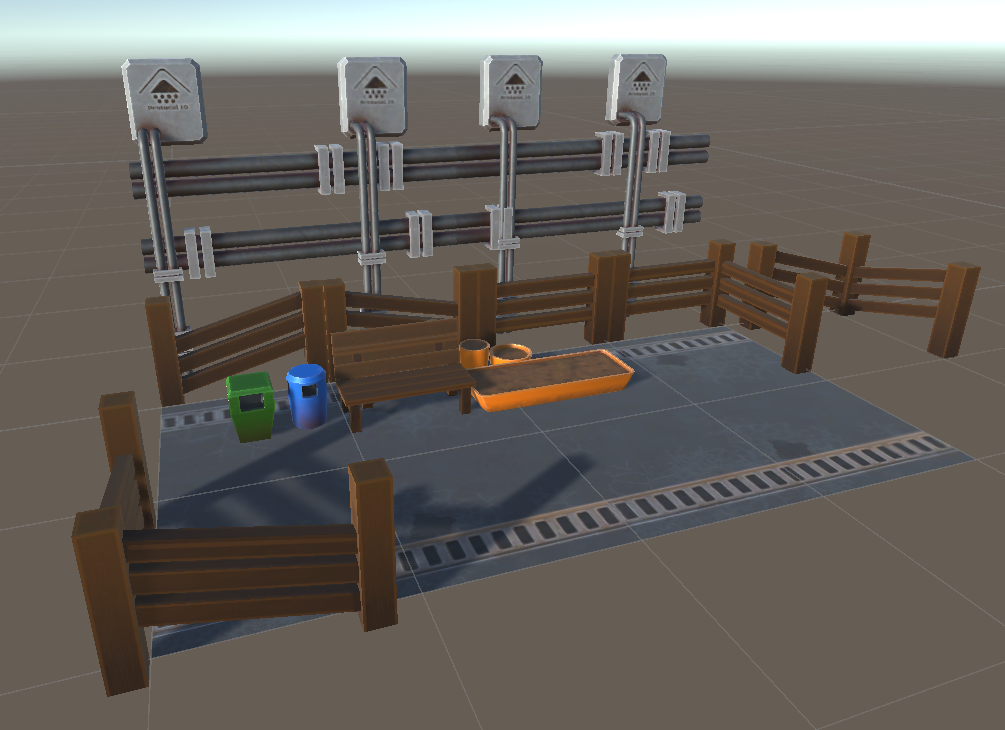
Implementation into Unity
Inside Unity I used the Universal Render Pipeline, creating materials with Aldedo, normal and MetallicRoughness Maps.
Inside Unity I used the Universal Render Pipeline, creating materials with Aldedo, normal and MetallicRoughness Maps.
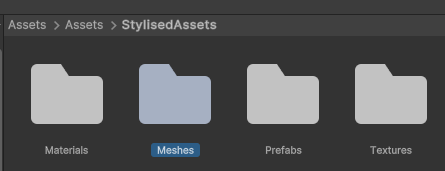
File and Folder Structure
Import Meshes & Textures - correct texture settings - setup materials - apply materials to meshes - create Prefabs.
Folder structure and naming conventions are very important to ahear to, as it makes things easiler for the rest of the team to find what they need. The bigger the team the more important this becomes so that it is easy to find things.
ObjectName_mat: at the end of materials.
T_ObjectName_MapType: for texture maps (there will be lots of these).
ObjectName_Prefab: for prefabs
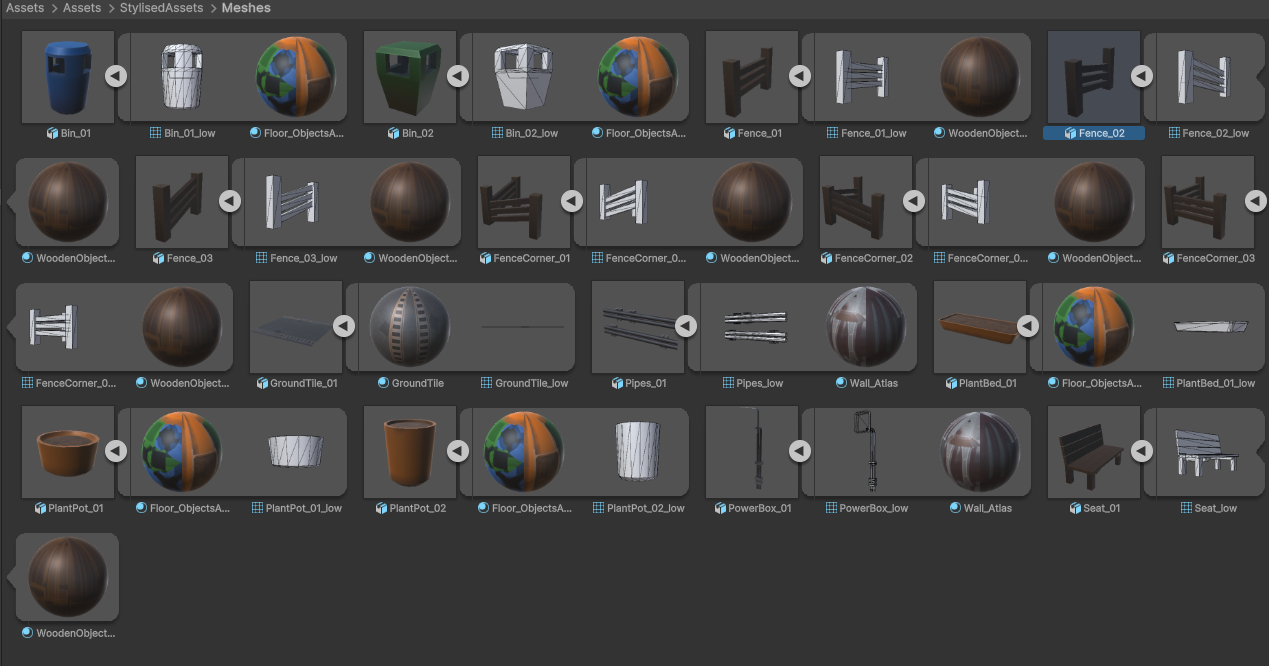
Imported Meshes
When it came to importing the meshes, one of the great things I love about unity is you can just open file exporer from the project window and copy and paste the FBX files in, nice and easy.
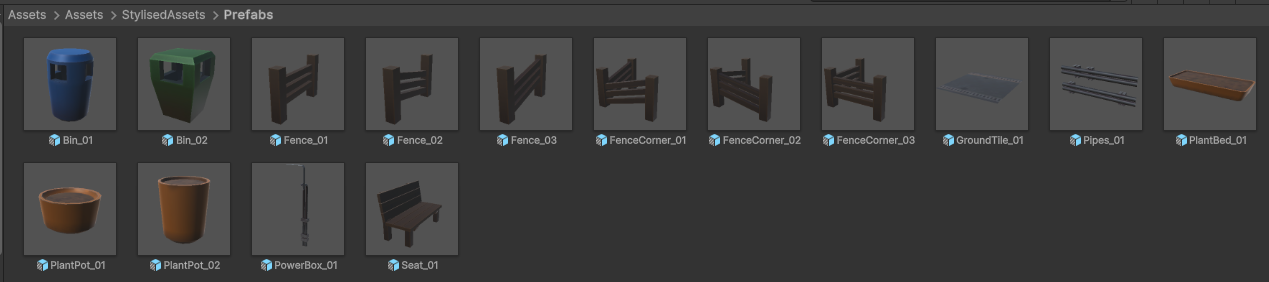
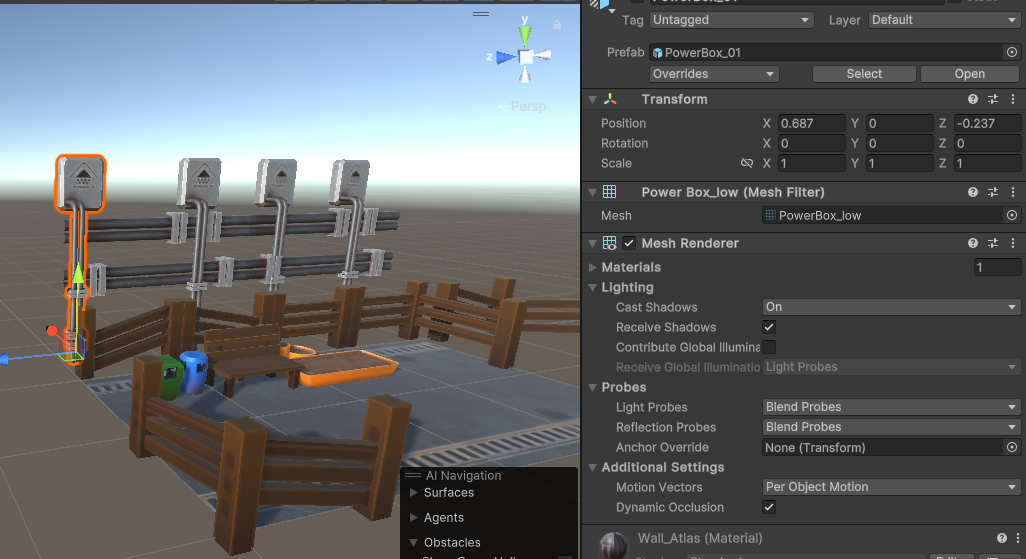
Prefabs
Prefabs can be made very easily by selecting all of the objects in the project window, import them into the scene and then place them back into the project window (hopefully in a Prefab Folder to keep thing organised) and if by magic they all become prefabs.
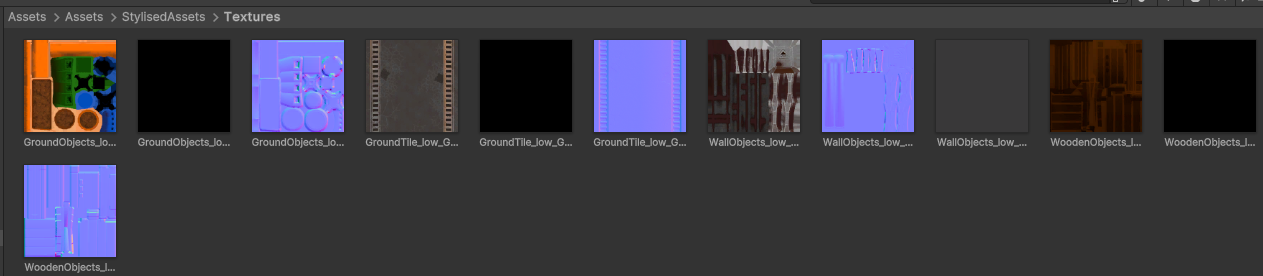
Textures
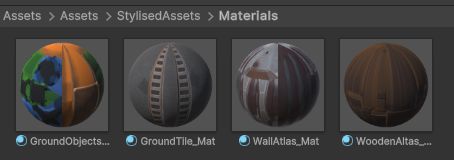
Materials
Importing Checks
Something I also look at when import assets into Unity is, making sure the scale is correct, as that has been an issue I have encountered on many projects I did at University and was a common issues in studios too.
When exporting from Blender to Unity, to make sure the scale is correct (1,1,1), you need to hit apply transforms on export settings in Blender. Applys to static and skeletal meshes.
All meshes had the correct scale applied
Another set of options which need to be set, is that all normal maps need to set to the Normal Map Texture Type in order to work properly and be registered as Normal Maps.
Another property which needs to be changed is the way metallic smoothness maps need to be looked at by Unity. If the Alpha Source is set to Import Texture Alpha it needs to be set to From Grey Scale otherwise the roughness values will be inverted. I learned this when creating mods for the unity game Ultimate Epic Battle Simulator 2.
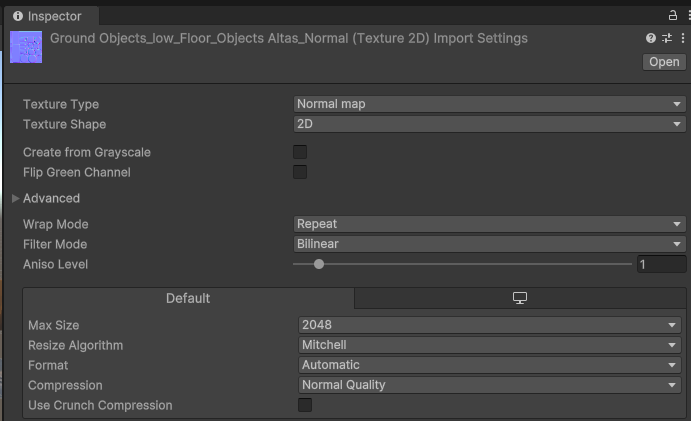
On all the normal maps you need to set it from default to Normal Map for it work properly
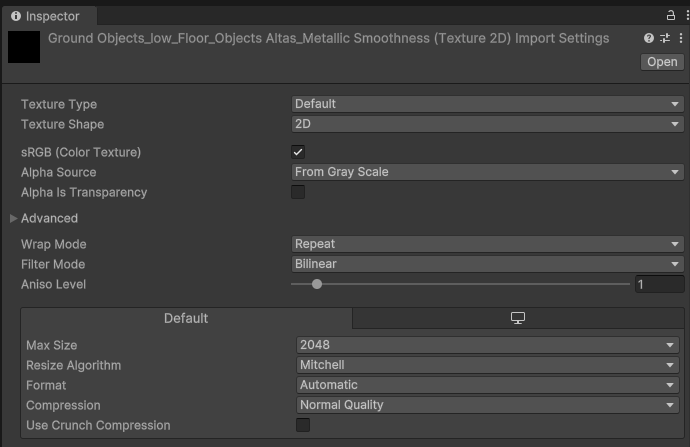
For metallic Smoothness maps, set alpha source from Alpha to From Grey Scale
Final